
Your bin is probably drowning in excess moisture, which blocks oxygen and creates anaerobic conditions that kill worms. Overfeeding adds soggy scraps that turn sour, attract pests, and raise acidity. Too hot or too cold temperatures stress the worms, while clogged vents or drainage holes choke airflow. Lack of buffering from eggshells or lime lets acids build up, further harming the colony. Fix moisture, aeration, feeding, temperature, and pH, and you’ll see the bin revive—keep reading to discover the exact steps.
Spot Excess Moisture in Your Worm Bin Before It Kills Worms
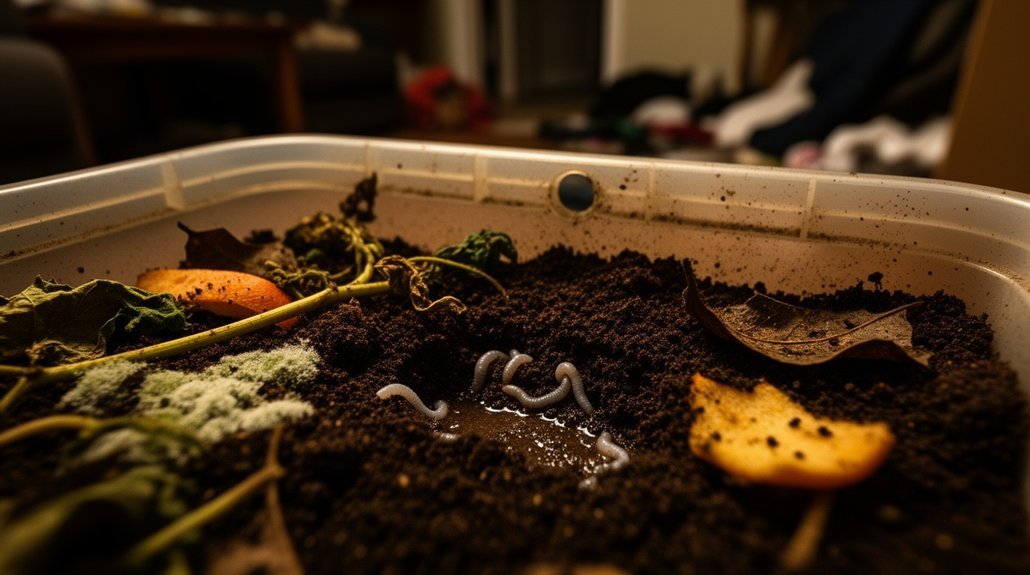
Spot excess moisture early, and you’ll keep your worms thriving. You’ll notice sodden, muddy bedding instead of fluffy crumbs, and water pooling at the bin’s bottom or corners. When you squeeze a handful, it should feel like a wrung‑out sponge; any dripping or more than a couple of drops means it’s too wet. Condensation on the lid that drips when tilted, leachate seeping from spigots, and worms clustering near edges all signal low oxygen. A sour or rotten odor, plus the appearance of ciliates or pests, confirms anaerobic conditions. Check drainage holes and air vents—clogs trap water and suffocate worms. Aim for 60‑80 % moisture, using dry absorbent bedding to rebalance if you see these signs. Consider adding a compost starter accelerator to help restore microbial balance when anaerobic conditions develop. High‑water‑content foods can dramatically raise bin moisture beyond safe levels.
Prevent Overfeeding and Rot
You can keep your bin healthy by feeding it small amounts and burying the scraps under a layer of bedding. This prevents food from sitting on the surface, where it rots and creates foul odors. Excess food can attract insects and cause unpleasant smells. Consider using airtight food storage containers to store your kitchen scraps before adding them to the bin, which helps manage moisture and odor control.
Control Small Feedings
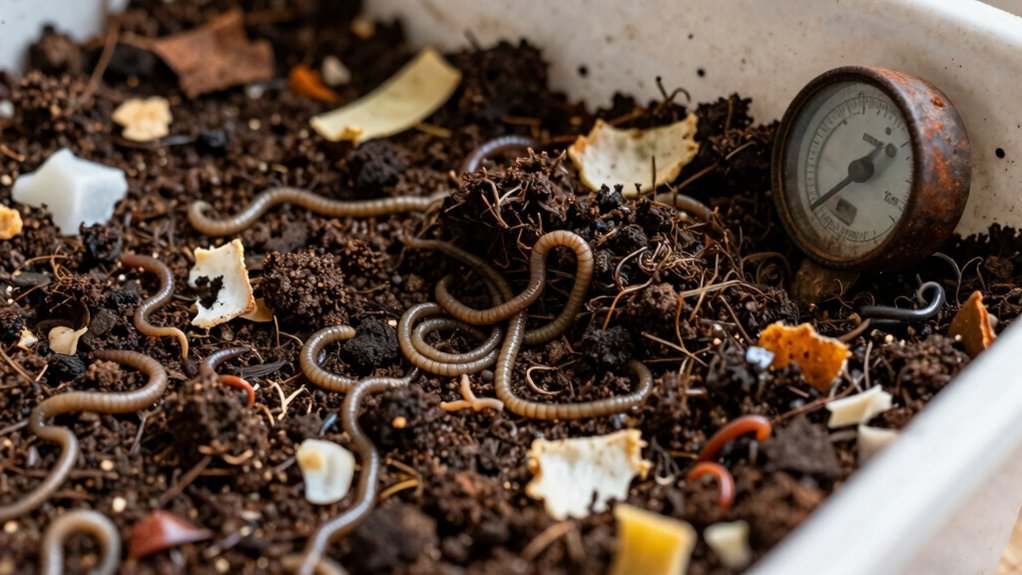
Why worry about overfeeding your vermicompost bin? Small, frequent feedings keep worms busy, prevent rot, and stop odors. Aim for portions they can finish in 1‑2 weeks—usually once or twice a week in a kitchen bin. Start with about half the worm biomass per day; a 1 lb worm population handles roughly 3.5 lb of food weekly. Adjust for temperature, moisture, and airflow, and cut scraps small or pre‑treat them to speed breakdown. If undigested matter lingers after a few days, trim the next portion. Rotate feeding spots around the bin to see how fast food disappears, and fluff bedding to improve airflow. Worms are known to eat 20‑50 % of their body weight daily, so monitoring consumption helps prevent overfeeding.
| Guideline | Typical Amount | Frequency |
|---|---|---|
| Worm weight | 0.5 × worm mass daily | Daily |
| Small bin | 3.5 lb/week max | 1‑2×/week |
| Overfed sign | Undigested scraps, odor | Reduce |
| Adjustment | Cut pieces, pre‑treat, fluff | Immediate |
Bury Food Properly
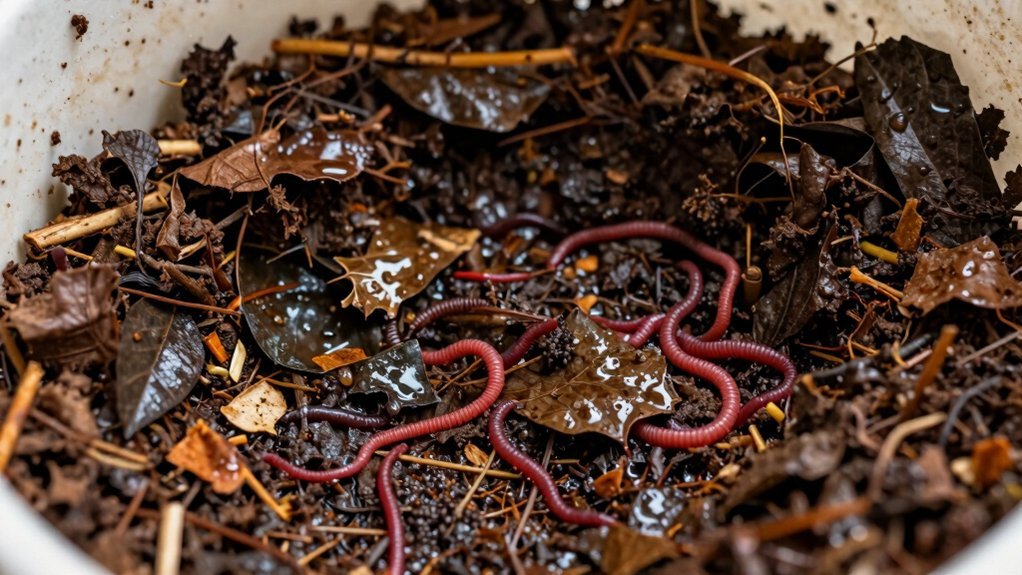
Where does your worm bin go wrong? You’re probably leaving food scraps on the surface, inviting fruit flies and odors. Bury each bite 3–4 inches under bedding, then top it with shredded paper, leaves, or cardboard. This traps smells, keeps the bin drier, and creates a physical pest barrier. Buried scraps meet microbes immediately, so worms can eat softened material faster. Break larger pieces into small bits before burial to boost surface area and even decomposition. Rotate feeding spots; don’t overload one corner. Loose bedding maintains airflow, absorbs excess moisture, and prevents anaerobic, smelly pockets. Watch the top layer—if food lingers a week, you’re feeding too fast or too wet. Consider using expandable tray designs to maximize volume and improve aeration throughout your system. Proper burial sustains a balanced, healthy bin. Red wigglers thrive in shallow, well‑bedded environments and should be the primary species used.
Pick the Ideal Apartment Spot for Your Worm Bin
You’ll want a cool, stable‑temperature spot that stays out of direct sunlight, so the worms stay active and odor stays low. Pick a dark corner or closet with good airflow and a ventilation opening, and keep the bin within easy reach so you can feed and check moisture without hassle. The ideal indoor composting temperature range is 55-77°F, which helps maintain efficient decomposition and worm health.
Low‑traffic areas like under the kitchen sink or in a pantry give you both accessibility and concealment. Compact size bins fit easily in these spaces without crowding your living area.
Cool,, Stable Temperature
Ever wondered which corner of your apartment keeps a worm bin comfortably cool and steady? You’ll want to stay inside the 59‑77 °F sweet spot, because temperatures below 50 °F slow feeding and above 77 °F stress the worms. Pick a place that rarely swings—think climate‑controlled closets, under the kitchen sink, or a pantry that stays dark and cool. Avoid direct sunlight, radiators, or attic spaces that can spike heat.
- Closet – insulated, steady temperature.
- Under sink – away from hot pipes, easy access.
- Pantry corner – cool, dark, low traffic.
- Warm interior room – only in winter, to prevent chill.
Use a probe thermometer, add a small insulation layer, and move the bin if you notice a drift. Consistent temperature keeps red wigglers active, boosts composting, and prevents stress. European nightcrawlers and super red variants also benefit from stable environments, though they tolerate slightly wider temperature ranges than standard composting worms. Airflow is also essential to avoid excess moisture and pests.
Good Airflow, Ventilation Access
Wondering how to keep your worm bin breathing easy in a cramped apartment? Pick a spot that lets air circulate freely—avoid tight corners, direct wall contact, and heat‑generating appliances. Ideal locations include a roomy closet, under‑sink cabinet, spare bedroom, or utility room where ambient air moves.
Drill 1/8–1/4‑inch holes every 3–4 inches along the lid’s edge and the bin’s upper sides, keeping them above the liquid‑collection zone. This lets fresh oxygen in while preventing moisture buildup. For apartment dwellers managing liquid runoff, consider using bokashi liquid harvesters to efficiently collect and store excess drainage.
Use a tray underneath to catch excess liquid, and ensure drainage holes stay clear. By choosing a well‑ventilated area and maintaining proper hole placement, you’ll curb anaerobic smells, keep bedding damp—not soggy—and give your worms the oxygen they need. Proper temperature control also helps maintain active worm metabolism and prevents odor.
Easy Access, Low Traffic
Good airflow sets the stage, but keeping your worm bin within easy reach and out of high‑traffic zones determines whether you’ll actually feed it regularly. You’ll find that a spot under the kitchen sink, in a closet, or behind a pantry door lets you toss scraps straight from the fridge without a trek. When the bin sits in a quiet corner, worms stay undisturbed and you can check moisture levels without constant foot traffic. Choose a location that blends convenience with discretion, so feeding becomes a habit, not a chore. Proper placement also complements activated charcoal filtration systems that help manage odors in confined apartment spaces.
- Near the back door for quick drop‑offs
- Under a kitchen cabinet for daily access
- In a spare closet for low‑traffic stability
- Inside a utility room for temperature control
Control Bin Temperature to Stay Safe
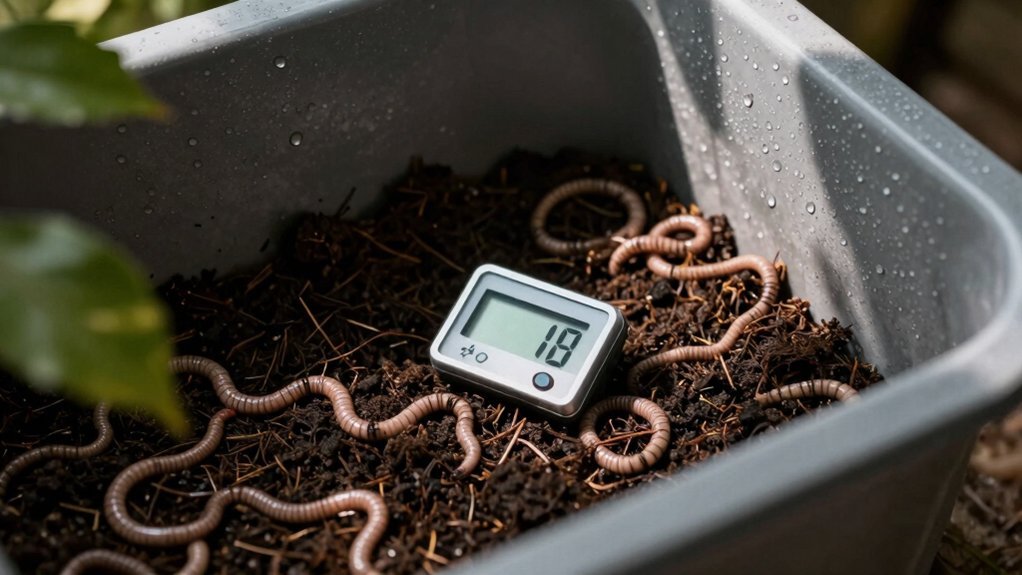
How can you keep your worm bin from turning into a mini‑oven? Keep it in the 65–77°F sweet spot, because red wigglers thrive at room‑like temperatures. First, place the bin in shade or a cooler corner; avoid windows, sunny balconies, and warm closets. Use a compost thermometer and check daily, especially in summer. If the reading hits 85°F, act fast—move the bin, add damp bedding, and put a frozen water bottle on top for quick relief. Remove excess food that creates hot, wet pockets, and keep the bedding moist so evaporation cools the interior. Extra bedding lets worms burrow deeper into cooler layers. Consider placing your bin on a countertop away from direct heat sources to maintain consistent temperatures. By preventing spikes, you avoid dormancy, escape, or death. Cold temperatures below 60°F will also slow worm activity and reproduction.
Boost Airflow in Your Worm Bin to Stop Anaerobic Odors
Ever notice the sour, rotten‑egg smell when your apartment worm bin gets a little too cozy? That stench means oxygen’s low and anaerobic microbes are partying. Boost airflow to keep worms happy and odors at bay.
- Add more holes – drill extra side and lid vents, then cover them with fine mesh to keep flies out.
- Use fluffy bedding – layer shredded cardboard, straw, or wood chips; avoid compacted, fine material that blocks pores.
- Fluff gently – stir the top few inches once a week with a fork, opening dead zones without shocking the worms.
- Install a vent pipe – a short PVC pipe with holes at the bottom draws fresh air deep into the bin.
Worms breathe through their skin, so keeping the bin well‑ventilated ensures oxygen can diffuse in and carbon dioxide can diffuse out. Consider pairing your worm bin with compostable food scrap bags to reduce waste while maintaining a healthy composting system.
Combine these steps, keep moisture like a wrung‑out sponge, and the sour smell will disappear.
Buffer Acid & Protein to Prevent Poisoning
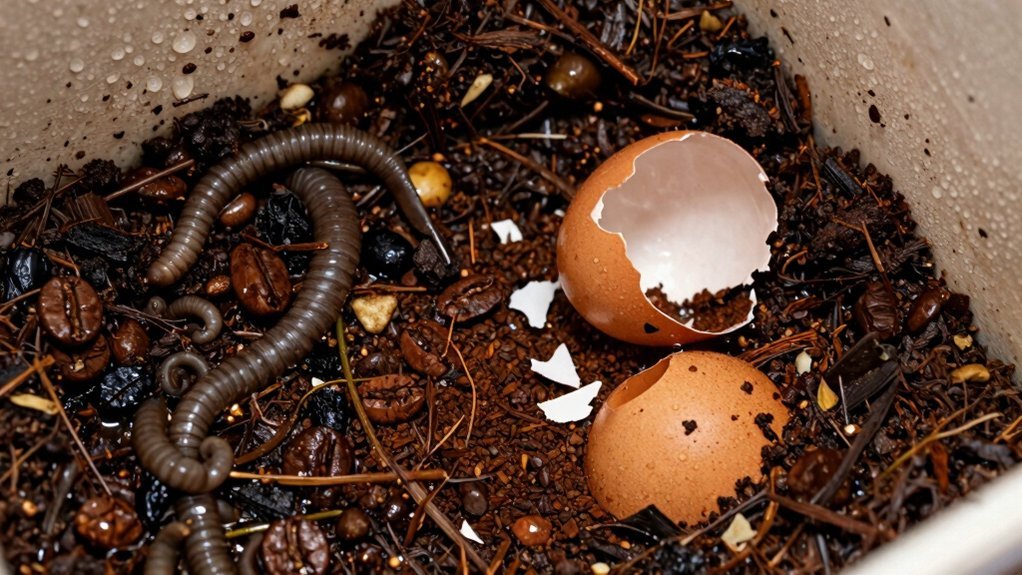
When airflow’s sorted, the next threat is acid buildup from protein‑rich scraps, which can stress worms and trigger “protein poisoning.” Worms depend on calcium carbonate and similar minerals to neutralize the acids that form as proteins decompose, so keeping a steady supply of buffering material is key. Add crushed eggshells, garden lime, or dolomite at each feeding, especially around meat, dairy, or cooked leftovers. Mix the buffer into a carbon‑rich bedding of shredded cardboard or dry coir to disperse acids evenly. If you notice worms clustering, a “string of pearls” look, or a sour odor, stop feeding, remove the offending scraps, and top the bin with fresh bedding plus extra buffer. Regularly sprinkling a thin layer of calcium carbonate maintains pH stability even when protein loads vary. Insufficient calcium can cause fermentation in the intestine, leading to gas buildup and worm damage. Electric composters with multi-layer carbon filtration can complement worm bin management by processing high-protein loads separately, reducing the acidification risk in your bin.
Maintain Stable Bedding to Keep Pests Away
A thick, balanced bedding layer is your first line of defense against flies, mites, and roaches. Keep it deep, generous, and constantly refreshed. Add new bedding with every feeding so carbon‑rich material stays available for decomposition and food waste stays covered. Use shredded newspaper, cardboard, coconut coir, or similar browns, and aim for a moisture level that feels like a wrung‑out sponge—moist but not dripping. Bury scraps under several inches of bedding, then fluff or turn the mix occasionally to prevent compaction and anaerobic pockets. Replace sour or slime‑covered bedding promptly. Adding a layer of dry bedding when the bin feels too wet helps maintain proper moisture balance. 1. Add bedding each feed.
2. Maintain sponge‑like moisture.
3. Bury scraps under inches of bedding.
4. Fluff to keep air flowing.
Do Daily Checks to Spot Problems Early
How can you keep your apartment worm bin thriving? Check moisture and smell each day; the bedding should feel like a wrung‑out sponge. If it’s bone‑dry, add water; if it’s soggy, stir it out to prevent suffocation and odor. Sniff for rotten or anaerobic smells—those signal poor airflow or excess moisture. Inspect food scraps for damp pockets that could turn sour, and note any lingering pieces after 48–72 hours; over‑feeding or moisture imbalance often leaves food behind. Look for worm stress: scattered, lethargic, or discolored worms mean conditions are off. Spot pests early—tiny mite spikes or fly larvae hint at wet, acidic zones. By observing these cues daily, you’ll catch shifts before worms escape, stop feeding, or pests multiply. Mite spikes may indicate acidic conditions or overfeeding.
Apply Simple Fixes to Rescue a Failing Bin
You’ve spotted the warning signs, so now it’s time to act. First, give the bin a short reset: stop feeding for 1–2 weeks, discard moldy scraps, and let moisture stabilize.
Next, balance moisture with fresh, dry bedding—shredded cardboard or newspaper should feel like a wrung‑out sponge, and a dry top layer will keep pests at bay.
Then, improve aeration by fluffing the bedding, draining excess liquid, and preventing compaction.
Finally, correct feeding habits: bury small, finely chopped pieces, avoid piles, and stick to worm‑friendly foods.
- Pause feeding and clean out rot.
- Add dry carbon bedding to absorb excess.
- Fluff and ventilate to break anaerobic pockets.
- Feed tiny, evenly distributed scraps.
Overfeeding can cause a stinky bin and trigger escape behavior.
Frequently Asked Questions
How Often Should I Add Fresh Bedding to the Bin?
You should add fresh bedding every 3‑5 weeks, or whenever the surface thins noticeably. Top off with a thin, moist layer, and replace larger sections every 6‑9 months to keep airflow and moisture balanced.
Can I Use a Plastic Container With a Lid for My Worm Bin?
Yes, you can use a plastic container with a lid—just drill enough holes for airflow, keep the bedding moist but not soggy, and add food scraps in thin layers to avoid over‑wetting.
What Type of Food Scraps Are Safest for Apartment Worms?
You should feed your worms mainly vegetable scraps like carrot peels, lettuce, kale, and broccoli, plus modest fruit bits, coffee grounds, tea bags, and crushed eggshells, avoiding meat, dairy, oily foods, and excess citrus.
Do I Need to Separate Fruit Flies From the Bin Regularly?
You don’t need to separate fruit flies constantly; instead, focus on burying food, adding dry bedding, and reducing moisture. Regularly vacuum adults helps, but proper bin management prevents infestations.
How Can I Tell if My Bin’s pH Is Too Low?
You can spot low pH by noticing sour smells, worms climbing walls, and fruit flies; test the bedding with pH strips or a meter, and compare readings to the 6.0‑7.0 ideal range.
In Summary
By keeping moisture in check, feeding sensibly, choosing a cool, ventilated spot, and regularly monitoring temperature, airflow, and bedding, you’ll prevent the common pitfalls that kill worm bins. Spot issues early, adjust acidity, and stay on top of pests, and your bin will stay healthy and productive. Follow these simple habits, and your apartment worm bin will thrive instead of failing.


Leave a Reply