
Keep your bin moist but not soggy, aiming for a wrung‑out sponge texture, and always add a generous brown layer after greens to soak up excess liquid. Stir or aerate daily to break up stagnant pockets and prevent mold‑friendly zones. Clean the interior with a 1:1 vinegar‑water spray after each emptying, and use a compostable liner with an absorbent pad to capture leachate. Place the bin in a cool, well‑ventilated spot, sprinkle a little baking soda for odor control, and promptly spot and remove any slimy or fuzzy clumps. Refresh compacted material regularly to maintain airflow, and you’ll discover even more tips ahead.
Control Moisture to Prevent Kitchen Compost Mold
When you keep your kitchen compost moist but not wet, you stop mold from thriving. Aim for a texture like a wrung‑out sponge; excess water creates mold‑friendly conditions, while too little slows decomposition. Use a bin with drainage holes or a sloped bottom, and never let it sit in standing water. Empty any drip tray promptly and add a dry liner or absorbent paper to soak up extra liquid.
Limit high‑moisture scraps—drain or freeze juicy produce, cut large wet items into smaller pieces, and balance them with drier material. Turn the bin regularly to improve airflow and oxygen flow, and wipe condensation from the lid and sides. Consider using airtight lid designs that balance easy access with reliable sealing during storage to minimize moisture accumulation. Clean the bin thoroughly between uses, drying it completely to eliminate lingering dampness. Apply a biocover layer over the pile to protect moisture and further reduce mold risk.
Add Brown Layers Every Time You Add Greens
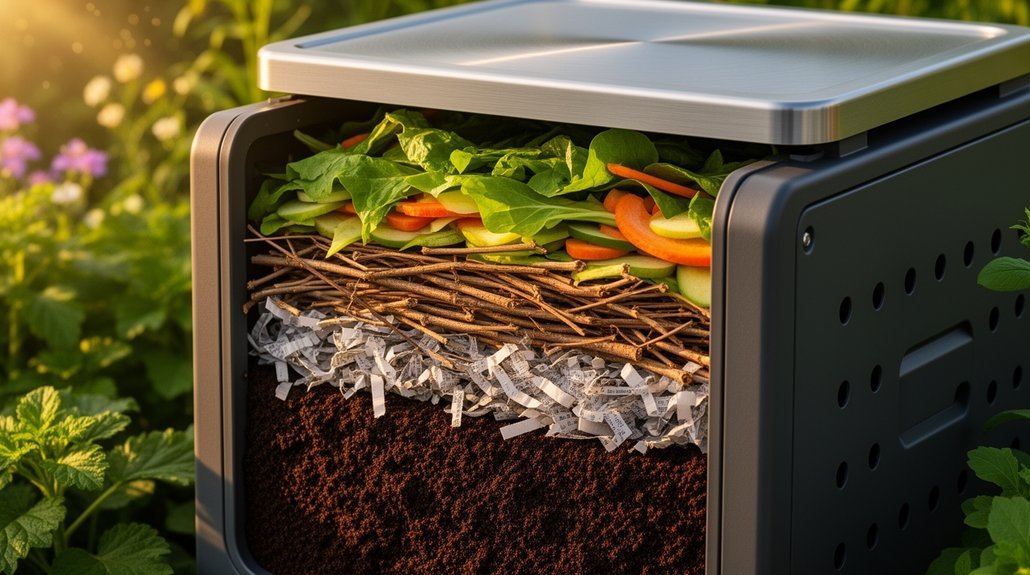
Whenever you toss greens into the bin, cover them with a generous layer of brown material to soak up excess moisture. This carbon‑rich blanket keeps the pile aerated and deprives mold of the damp conditions it loves. By balancing each green addition with browns, you’ll maintain a healthy, mold‑free compost environment. Shredding browns increases surface area, which speeds decomposition and helps prevent mold growth. Consider using dried corn stalks as an excellent source of carbon-rich brown material for your compost bin.
Add Brown Materials
Ever wondered why your compost stays dry and odor‑free? Adding brown materials each time you toss in greens gives the microbes the carbon they crave and soaks up excess moisture. Aim for a 2:1–4:1 brown‑to‑green ratio, layering about six inches of dry leaves, shredded cardboard, newspaper, straw, or wood chips over two to four inches of kitchen scraps. The bulkier browns create air pockets, keep the pile fluffy, and block mold‑friendly pockets. Keep a stash of fallen leaves, shredded paper, and straw on hand so you can alternate layers without delay, ensuring steady aerobic breakdown and a clean, mold‑free bin. For countertop bins, stainless steel materials resist moisture absorption and stay fresher longer, making them ideal partners for your layering system.
| Material | Typical Form | Approx. Thickness |
|---|---|---|
| Dry leaves | Loose, shredded | 4‑6 in |
| Shredded cardboard | Flat strips | 2‑4 in |
| Newspaper | Crumpled sheets | 1‑2 in |
| Straw | Bundles | 3‑5 in |
| Wood chips | Small chunks | 2‑3 in |
Balance Moisture Levels
Adding a fresh layer of brown material right after you toss in greens instantly pulls excess moisture away, keeping the pile airy and preventing mold from thriving. You’ll notice the pile stays damp like a wrung‑out sponge, not soggy. The browns create structure, improve airflow, and stop compaction, so microbes get oxygen while excess water drains. If the surface feels glossy or slimy, add more browns to restore balance and keep odors in check. For indoor composting setups, using certified compostable bin liners can help contain moisture while maintaining proper aeration in smaller spaces.
- Toss greens, then cover with a 2‑inch brown layer; repeat each time you add scraps.
- Aim for a 3:1 brown‑to‑green volume ratio, checking the squeeze test for moisture.
- Finish each addition with a thicker brown cap to seal in air and lock out excess water. (Add a coarse base layer of twigs or straw at the bottom to improve drainage.)
Prevent Mold Growth
Why let mold thrive when a simple brown layer can block it? Every time you toss kitchen scraps, sprinkle a thin coat of dry leaves, shredded cardboard, or torn paper over the greens. The carbon‑rich cover reduces the exposed food surface, cutting off the oxygen and moisture fungi need to grow. It also mutes odors and deters fruit flies. Aim for roughly equal volumes of browns and greens, or tilt toward more browns if you compost mostly wet peels and rinds. Shredded material works best because it spreads evenly and absorbs excess liquid. Keep a stash of shredded cardboard or dry leaves nearby so you can top‑dress instantly. Consistent layering prevents the dense, acidic, nitrogen‑heavy conditions that invite mold, keeping your bin clean and odor‑free. High temperature can exacerbate condensation and mold growth, so monitor heat levels and adjust browns accordingly. Using a charcoal filter in your indoor compost crock can further help manage excess moisture and odors that contribute to mold development.
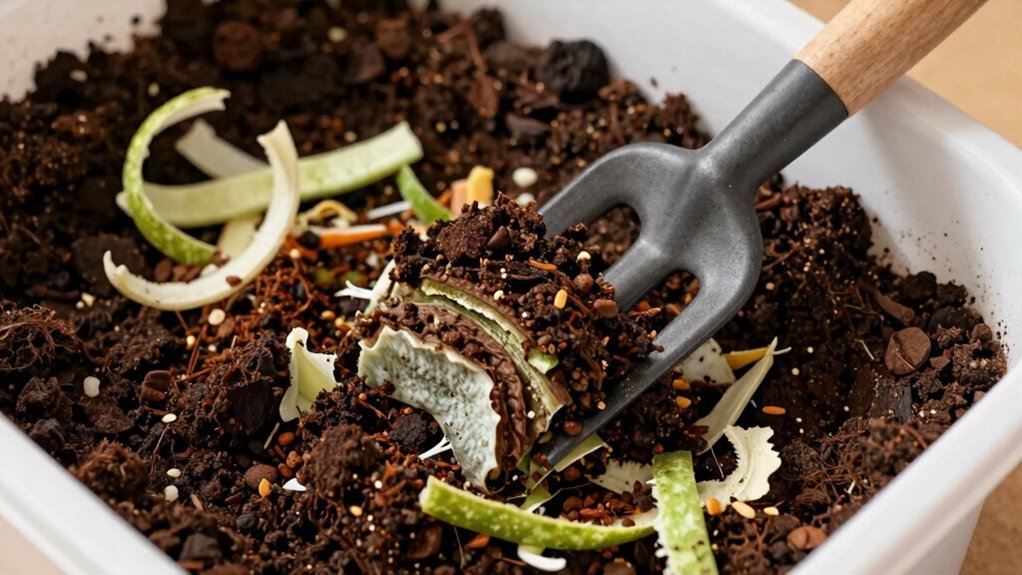
Stir Daily for Aeration and to Stop Stagnant Pockets
You’ll keep mold at bay by oxygenating the pile each day, mixing it every few hours if you can. Stirring breaks up compacted spots, letting air flow through and drying out excess moisture. The result is a faster, cleaner decomposition that leaves fewer mold‑friendly pockets behind. Aerobic bacteria thrive when oxygen is plentiful, speeding up the breakdown of organic material. If you notice mold developing despite aeration efforts, white mold is beneficial while colored molds like blue, green, or black require remedial action such as adding more bokashi bran or starting fresh.
Oxygenate the Pile
Ever wonder why a well‑aerated compost stays mold‑free? Oxygen fuels aerobic microbes that outcompete mold, heat the pile, and keep moisture from pooling. When you oxygenate the pile, you’re essentially starving the fungi that love soggy, compacted spots. Daily stirring injects fresh air, breaks up clumps, and prevents “dead zones” where mold thrives.
- Use a pitchfork or shovel to lift and fold the center, reaching the core where oxygen is scarce.
- Insert a compost aerator or probe to create channels without fully turning a dense bin. With regular aeration every one to two weeks, you’ll maintain optimal decomposition conditions that actively suppress mold growth.
- Add bulking agents—straw, shredded paper, dry leaves—to maintain a fluffy structure that lets air flow freely.
These steps keep decomposition active, reduce odors, and stop mold from establishing. Aeration also prevents compaction by breaking up wet, dense material.
Mix Every Few Hours
When you stir the bin every few hours, you keep oxygen flowing and prevent the soggy, compacted pockets where mold loves to grow. Frequent mixing breaks up clumps, redistributes wet material, and stops anaerobic zones from forming. By turning the pile as often as you add scraps, you keep microbes active, speed up breakdown, and avoid the foul odors that signal excess moisture or compaction. A well‑aerated bin reaches thermophilic temperatures faster, which suppresses weed seeds and accelerates decomposition. Tools like aerator tools with ergonomic handles and corkscrew designs make frequent mixing more manageable without excessive strain. Aim for a couple of stirs each day, especially after adding greens, to maintain an even brown‑to‑green balance and keep the pile from settling into stagnant layers. This simple rhythm keeps compost hot, dry, and mold‑free. Weekly turning supports quicker rate of soil development.
Clean the Bin With Vinegar‑Water After Each Emptying
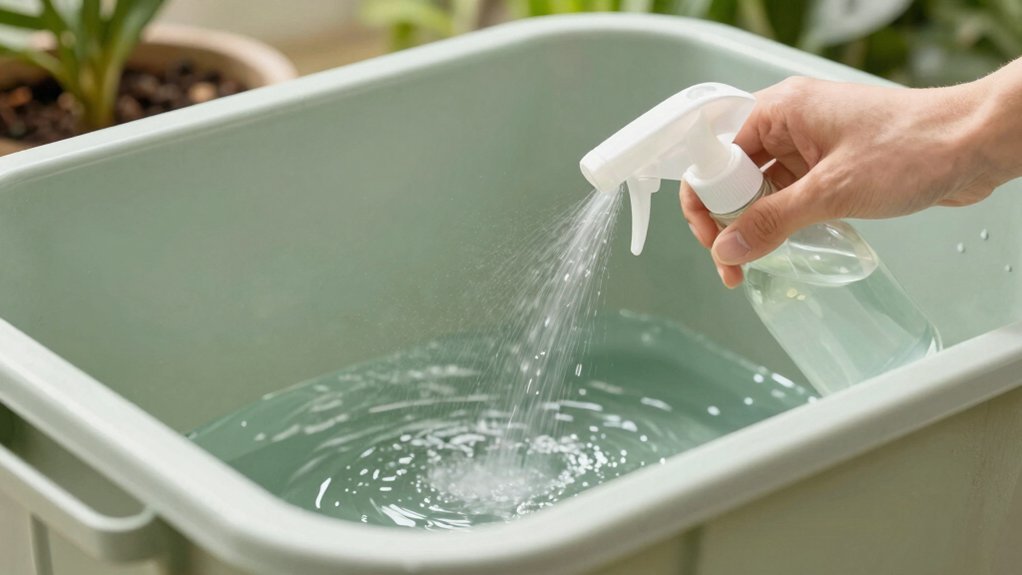
A quick spray of equal parts white vinegar and warm water right after you empty the bin does wonders for mold prevention. The acidity breaks down residue, lowers bacterial growth, and eliminates lingering odors. Start by rinsing the interior with warm water, then spray the vinegar‑water mixture everywhere—lid, corners, seams. Let it sit 5–15 minutes, scrub with a sponge or brush, rinse thoroughly, and let the bin air‑dry before refilling. This routine keeps sticky food particles from becoming a mold‑friendly feast and ensures the bin stays fresh between deeper cleanings. For best results, choose a bin with seamless transitions and minimal crevices to reduce debris buildup during cleaning.
Regular cleaning supports beneficial decomposer organisms and helps keep the bin’s microbial balance healthy.
- Rinse, then spray the 1:1 vinegar‑water solution on all interior surfaces.
- Allow a 5‑15 minute dwell time before scrubbing seams, corners, and crevices.
- Rinse again and air‑dry completely before adding new scraps.
Use Compostable Liners to Capture Excess Liquid
You can line your bin with a compostable liner to trap the extra liquid that food scraps release. By keeping the moisture contained, the bin stays cleaner and you’ll spend less time scrubbing. The result is a drier environment that discourages mold growth. For indoor composting, pairing your liner with a bin featuring activated charcoal filters will provide additional odor control and moisture management. The Biotuff Compostable 60L liner is tear, puncture, and heat resistant, ensuring it holds up well during use.
Absorb Excess Moisture
Ever noticed how a soggy compost bin turns into a mold haven? You can stop that by pulling excess liquid out before it spreads. First, line the bin with a sturdy BPI‑certified 3‑gallon compostable bag; it holds leachate better than non‑certified options and resists tearing. Next, place a moisture‑absorbing pad—like a Separett cloth that soaks up to 0.9 L—at the bottom of the liner to catch runoff early. Finally, add a layer of dry carbon material (shredded paper, sawdust, or cardboard) on top of the pad; it soaks remaining moisture, slows degradation, and keeps the environment aerobic. BPI‑certified liners retain 85% tensile strength after 48 hours submerged, ensuring they stay intact while absorbing moisture. 1. Use a certified 3‑gallon compostable liner.
2. Insert a high‑capacity absorbent pad.
3. Sprinkle dry carbon material over the pad.
Simplify Bin Cleanup
Moisture‑rich compost can leave drips and sticky residue on bin walls, so the next step is to capture that liquid before it spreads. Use a compostable liner that fits snugly; measure your bin’s circumference, halve it for width, and add three inches to the height for length. A proper fit stops slippage and keeps the liner hidden under the lid, so you won’t have to scrub the walls after each load.
Choose plant‑based bags certified for composting—most are made from starch, wood pulp, or PBAT blends and will break down in commercial or backyard systems. BPI® certified bags meet ASTM D6400 standards and decompose in under 180 days in a commercial facility.
When the bin fills, tie the liner’s top, lift it out, and dispose of it according to your local program’s rules, keeping the interior clean and mold‑free.
Trim Large Scraps and Freeze Meat Until Collection Day
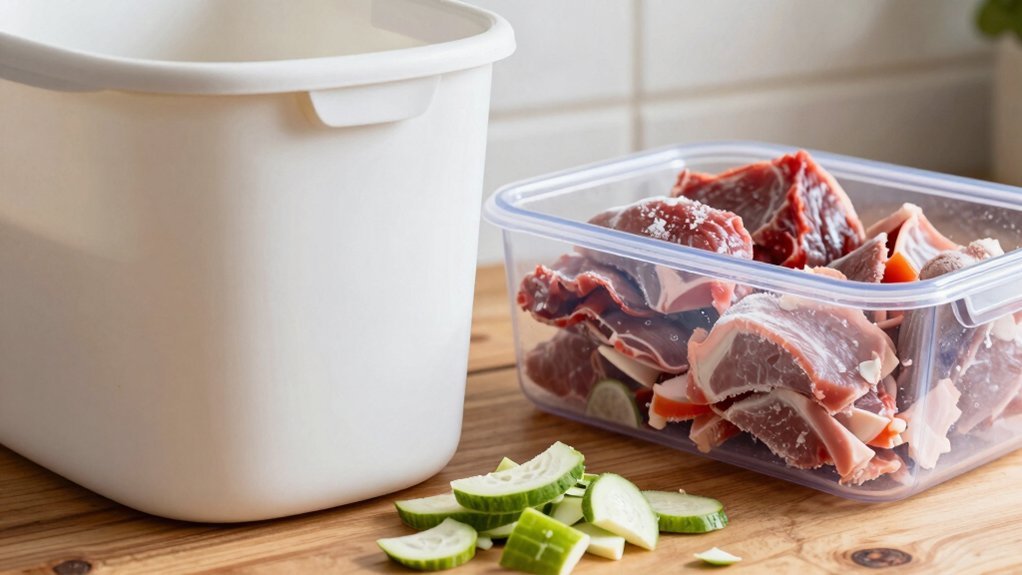
Why trim those hefty veggie cores and freeze any meat before the trash day? Cutting scraps into bite‑size pieces boosts surface area, letting microbes work faster and breaking down tough peels, shells, and cobby stalks. Smaller fragments also help you keep the right brown‑to‑green balance, preventing soggy, smelly piles that invite mold. When you have meat or greasy leftovers, toss them into a sealed container and pop it in the freezer; this stalls decomposition, curbs odor, and keeps fruit flies at bay until collection day.
- Chop veggies, fruit, and tough greens into 1‑2 inch pieces before dropping them in the bin.
- Store meat, dairy, and oily scraps in a tight‑fitting glass or metal container, then freeze it.
- Cover the bin with 4‑8 inches of dry leaves or shredded paper to create air pockets and absorb excess moisture.
Adding brown material such as shredded newspaper or straw further improves aeration and moisture control.
Place Your Bin in a Cool, Well‑Ventilated Spot
A cool, well‑ventilated spot is the simplest way to keep your compost bin mold‑free. Choose a shaded area that stays out of direct sun; this prevents overheating and excessive drying, both of which can boost odor and slow decomposition.
Aim for a location with moderate, stable temperatures—neither too hot nor too cold—so microbes stay active without stress.
Ensure strong airflow by placing the bin where breezes pass, using side vents or adding sticks and perforated pipes to keep oxygen circulating.
Put the bin on well‑drained ground or a slightly elevated platform so water can escape and anaerobic pockets don’t form.
Finally, locate it where you can reach it easily for regular turning, but far enough from the house to keep any smells away. Shade helps prevent drying and odor buildup.
Baking Soda: Simple Odor‑Neutralizer and Moisture Absorber
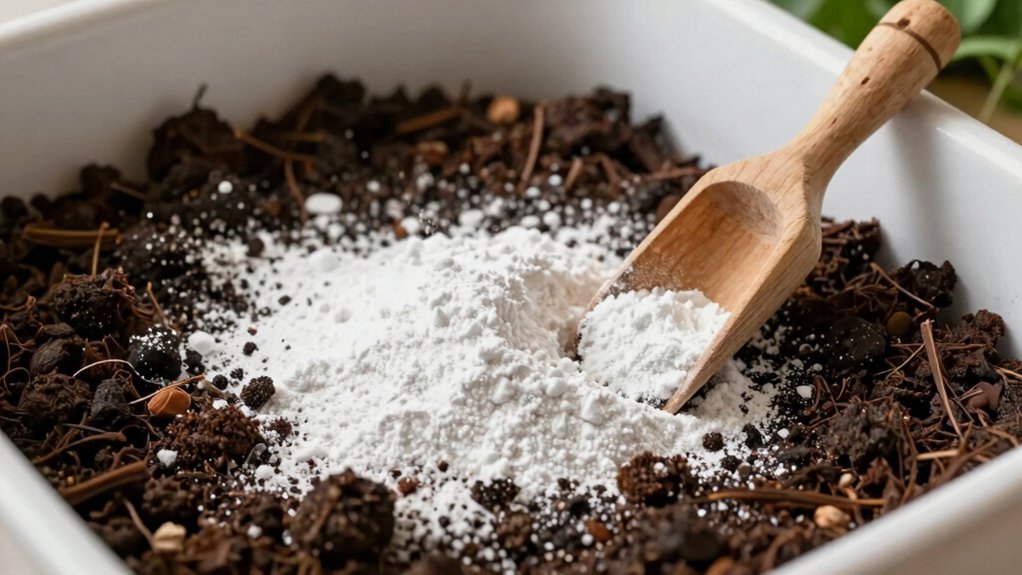
Baking soda can give you a quick, low‑key fix for both smells and excess moisture in your compost bin. A light dusting raises surface pH just enough to neutralize acidic odors without upsetting the microbial balance. It also soaks up a thin film of moisture on bin walls, making the environment less inviting to fluffy white mold. Use it sparingly—just a pinch on smelly spots or damp corners—then monitor the pile. If the odor lingers, add more brown material and improve aeration instead of piling on more soda. Remember, baking soda is a temporary aid, not a permanent solution.
- Sprinkle a thin layer (about a teaspoon) on the surface when you notice a sour smell.
- Target damp spots on the bin’s interior to absorb excess moisture.
- Reapply only once a month, and always pair with proper ventilation and brown‑to‑green ratios.
Baking soda also helps prevent mold growth by raising the pH of the bin’s surface, creating a less hospitable environment for fungal spores.
Spot and Remove Moldy Clumps Before They Spread
Ever notice those fuzzy white, green, or black patches forming in dense spots of your compost? Those clumps signal mold and can choke the pile. Scan high‑risk zones first—fresh kitchen scraps, fruit peels, wet bedding, and the pile’s center where heat and moisture pool. Look under compacted layers for slimy, sour‑smelling sections, and in tumblers for large, poorly aerated balls. When you spot a moldy clump, break it apart immediately to restore airflow. If the growth is extensive or black, pull the affected material out and isolate it. Add dry browns like leaves, straw, or shredded paper, then mix thoroughly. Keep the pile damp, not soggy, and turn it regularly so new clumps never form.
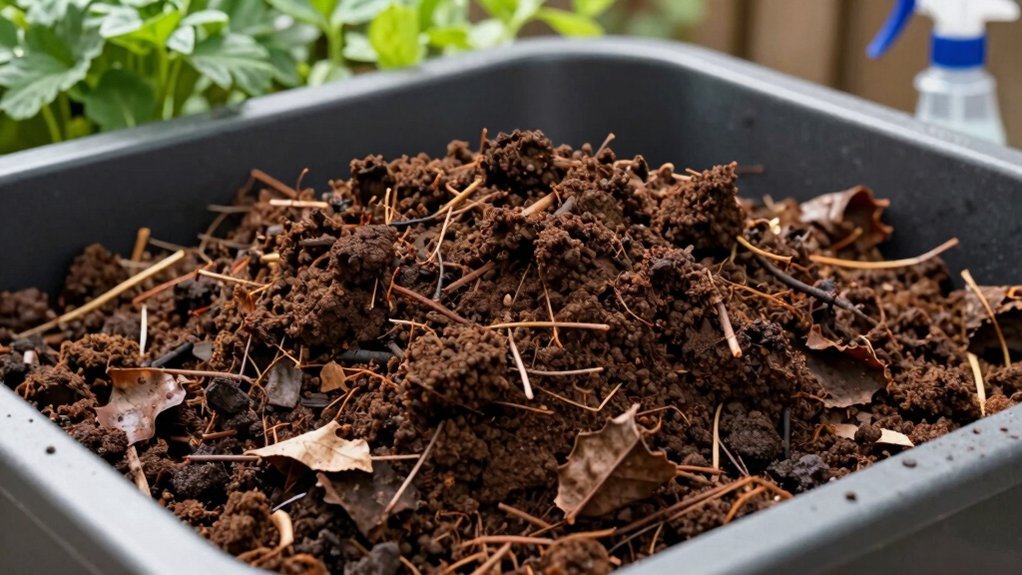
Refresh a Compacted Kitchen Compost Bin
When your kitchen compost bin feels dense and smelly, the first step is to break up the compaction and restore airflow. Start by loosening the mass with a fork or hand tool, stirring until you see pockets of air reappear. Then rebalance the mix: add dry carbon‑rich browns—shredded paper, cardboard, or dry leaves—to soak up excess moisture and create structure. Finally, check moisture: the pile should feel like a wrung‑out sponge, not soggy; if it’s wet, turn while sprinkling more browns.
- Stir and turn every 1‑2 weeks to keep oxygen flowing.
- Add a 1:2 nitrogen‑to‑carbon ratio, using fine browns for quick absorption.
- Adjust moisture gradually, layering dry material if the bin feels soggy.
Frequently Asked Questions
Can I Use a Dehumidifier Near My Compost Bin?
Yes, you can place a dehumidifier in the room with your compost bin. It’ll dry the air, cut condensation, and curb mold, but keep the bin’s moisture balanced and ventilate regularly.
Will Adding Coffee Grounds Affect Mold Growth?
Yes, coffee grounds can boost mold if they stay damp and dense, but if you mix them with dry carbon, spread thin, and turn regularly, they’ll stay balanced and mold won’t dominate.
Is It Safe to Compost Pet Waste With Kitchen Scraps?
No, you shouldn’t mix pet waste with kitchen scraps. Pet waste needs higher temperatures and stricter control, and combining it risks pathogens and mold, making the compost unsafe for edible plants.
How Often Should I Replace the Compostable Liner?
You should swap the liner every 2–8 weeks under normal use, but if the waste is soggy or you notice tears, leaks, or odor, replace it immediately—sometimes even every few days.
Do Different Bin Materials (Plastic vs. Metal) Impact Mold?
Yes, plastic retains moisture longer, so you’ll see more mold if it’s damp; metal dries faster, reducing mold risk—provided you keep airflow good and balance wet scraps with dry browns.
In Summary
By staying on top of moisture, adding browns, and aerating daily, you’ll keep mold at bay. Clean the bin with vinegar‑water after each emptying, use liners to trap excess liquid, and store it in a cool, well‑ventilated spot. Sprinkle baking soda to neutralize odors and absorb dampness, and promptly remove any moldy clumps. With these quick habits, your kitchen compost stays fresh, odor‑free, and ready to turn waste into garden gold.


Leave a Reply