
Your compost probably feels compact, soggy, or dry because the green‑to‑brown ratio, moisture, and airflow are off. Too many greens make it wet and smelly; too many browns dry it out and slow microbes. Large chunks block oxygen, and a tight pile traps air, creating anaerobic spots. Aim for a “wrung‑out sponge” moisture level, shred or chop material, and add bulky carbon like shredded cardboard for structure. Turn it every few days and balance the mix, and you’ll see it break down faster. Keep going to discover the exact steps for your setup.
Quick Guide: 5 Steps to Faster Small‑Space Composting
Ever wondered how to speed up compost in a tiny bin? Start by balancing greens and browns—aim for two‑to‑three parts brown to one part green by volume. Chop or shred leaves, stems, and kitchen scraps so microbes can reach more surface area; a lawn mower, shredder, or shears does the trick. Keep moisture like a wrung‑out sponge, not soggy or bone‑dry, and cover the bin to avoid rain‑induced waterlogging.
Maintain heat by building a pile at least three feet on a side or adding straw insulation; a hotter core (130‑160 °F) speeds breakdown. Finally, sprinkle finished compost or a commercial activator to seed the mix with eager microbes, and turn the pile regularly to distribute them. For optimal results, consider mixing in coconut coir to improve drainage and aeration while supporting healthier microbial populations. Follow these five steps, and your small‑space compost will decompose noticeably faster. Adding shredded cardboard helps tame excess dampness.
Is Your Compost Too Compact? How to Restore Airflow?
If your compost feels dense, start by breaking up the air pockets with a garden fork, then loosen the material to create channels for oxygen. Add bulky carbon sources like shredded leaves, cardboard, or straw to keep the structure airy. This simple routine restores airflow and gets the microbes working again. For larger outdoor bins, consider using compost aerator tools designed specifically to penetrate dense material and draw core compost to the surface for more thorough mixing. Smaller particles increase total surface area for microorganisms, so chopping the material finely can speed decomposition.
Break Down Air Pockets
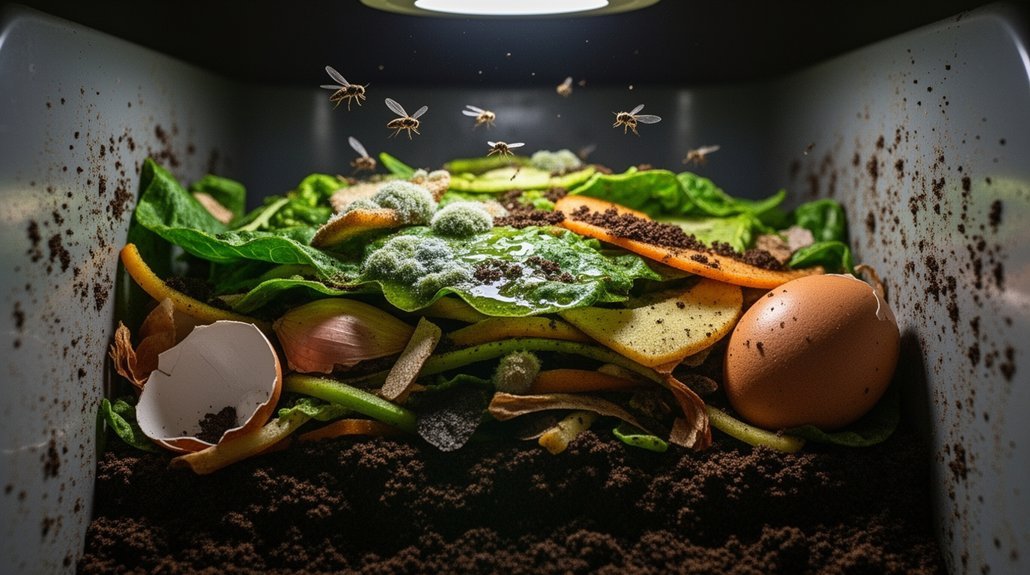
Why does your compost feel soggy and stop heating up? When the mass compacts, air pockets collapse and oxygen can’t reach the microbes that generate heat. The result is a wet, stagnant heap that smells sour and decomposes slowly. To break down those pockets, add bulking agents that create channels. Toss in coarse plant stalks, shredded cardboard, or egg‑carton pieces; they keep the interior porous. If you have a narrow bin, insert a perforated PVC pipe to let air flow through the center. Cover any wet food layer with dry browns to prevent water from filling the voids. Keep moisture at a damp, not soaking, level and mix greens with plenty of browns. For kitchen composting, consider using stainless steel compost pails to store your food scraps before transferring them to your outdoor heap, which can help you organize materials by type. Regularly adding airy material maintains space, restores oxygen, and revives the compost’s heat. Microbial activity thrives when oxygen is present.
Loosen With Garden Fork
A compacted compost pile suffocates its microbes, slowing breakdown and producing foul odors. If your heap looks dark, wet, and sludge‑like, smells swampy, or resists turning, it’s probably too dense. Grab a garden fork and gently lift sections from several angles, creating voids without fully turning the mass. These channels let oxygen rush through, reviving aerobic microbes and cutting odor. Work the fork back and forth, breaking up mats that trap water and block airflow. Repeat as the pile settles, especially after adding wet, fine‑textured scraps. Avoid stomping or compressing the heap again; instead, sprinkle coarse, structural material when you notice tight spots. Regular, light loosening keeps the compost airy, fast‑acting, and odor‑free. Soil compaction reduces pore space for air and water, hindering microbial activity. For small spaces where manual turning is challenging, consider bins with aeration and turning features to maintain consistent airflow throughout the decomposition process.
Add Bulky Carbon Sources
Add coarse, carbon‑rich materials like wood chips, shredded straw, or dry leaves to break up the dense mat and create oxygen‑rich channels. These bulking agents give the pile structure, forming pockets that let air in and moisture out. When you see a matted surface, slow heating, or foul smells, the compost is likely compacted; fine powders or sawdust won’t help because they fill pores rather than open them. Aim for pieces 5‑25 mm in size and blend them throughout, not in thick layers. Wood chips, shredded cardboard, dry leaves, and chopped straw are ideal because they decay slowly while keeping airflow high. Mix with nitrogen‑rich scraps to balance moisture and carbon, and you’ll restore the aerobic environment needed for rapid breakdown. Dry bulking agents also help absorb excess moisture, preventing waterlogging and maintaining optimal aeration. If indoor kitchen scraps are your primary compost source, consider storing them in a ceramic compost crock with a charcoal filter to manage odors while you accumulate enough material to add to your outdoor pile.
Are You Over‑ or Under‑Moisturizing? The Perfect “Sponge” Test?
Ever wonder if your compost is too soggy or bone‑dry? Grab a handful and squeeze it. If a few drops drip out, you’re in the sweet spot—about 50% moisture, like a wrung‑out sponge. Too many streams mean it’s over‑moisture, which cuts airflow, creates anaerobic conditions, and slows breakdown. If nothing comes out and the material crumbles, it’s too dry; microbes can’t work efficiently, and the pile will stall. To fix excess water, add dry carbon such as straw or sawdust and turn the bin more often. To raise moisture, sprinkle water gradually or mix in damp kitchen scraps or grass clippings. Cover the bin during rain to prevent waterlogging, and repeat the squeeze test after each adjustment. For countertop composters, using removable inner buckets makes it easier to manage moisture levels and turn materials regularly. Ideal moisture content is around 40‑60 % for optimal microbial activity.
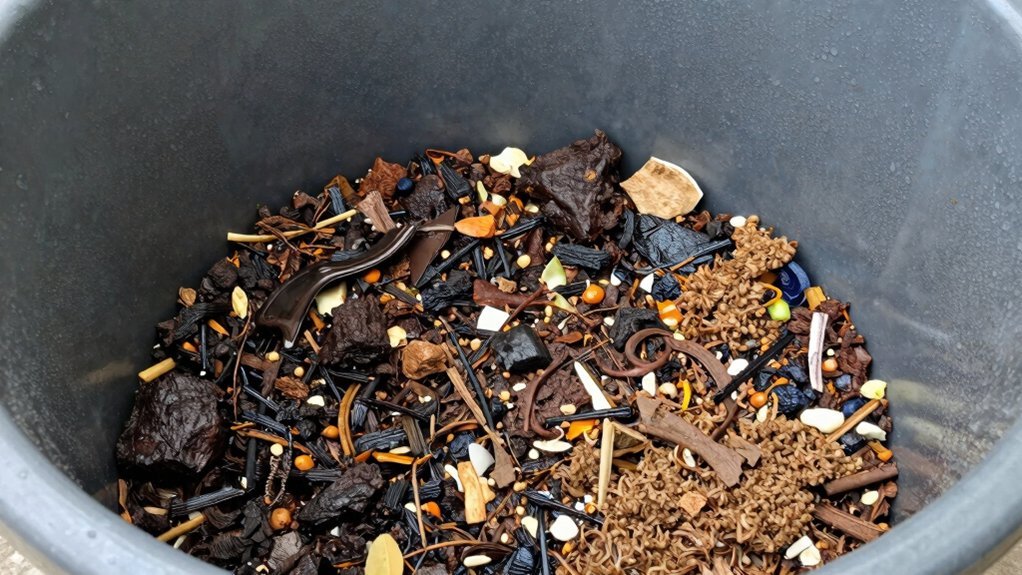
Why Large Pieces Stall Decomposition and How to Shred Them?
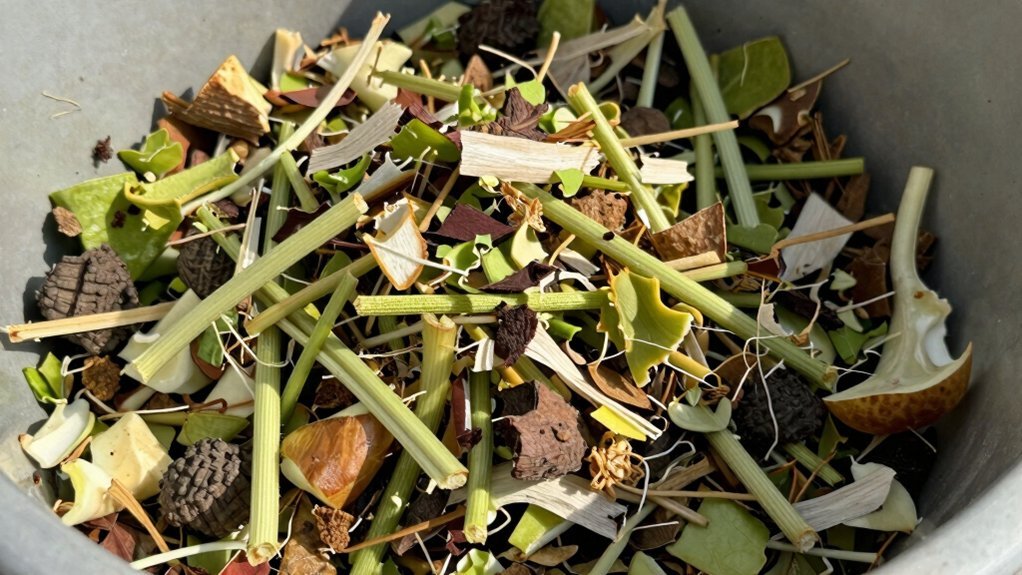
Why do big chunks linger while the rest of your compost disappears? Large pieces expose only a thin skin to microbes, oxygen, and water, so the interior stays protected and decomposition stalls. In a compact bin, airflow and turning are limited, making the bottleneck even worse.
Shred or chop woody stems, twigs, corn cobs, and thick peels into half‑ to one‑inch bits—two‑inch pieces work too, but smaller is faster. Use pruners, garden shears, or a mower for dry leaves; a small chipper handles brush and sticks. Tear cardboard and paper by hand or run them through a shredder. Uniform, tiny particles increase surface area, keep the pile aerated, and let microbes work efficiently, cutting compost time dramatically. Pairing shredded material with a compost starter accelerator boosts microbial activity and further accelerates breakdown in small spaces. Large‑scale composting diverts significant organic waste from landfills, reducing methane emissions.
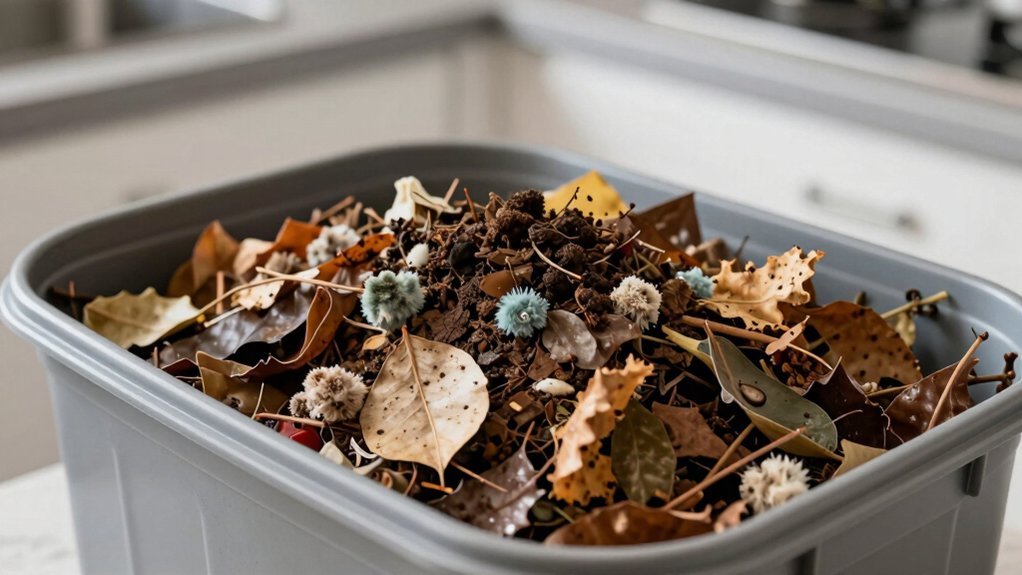
Balancing Greens and Browns – Fixing the C:N Ratio?
You can quickly gauge the balance by measuring how many greens you add compared to browns, then adjust until the mix feels damp but not soggy. A moisture‑balanced pile keeps microbes happy and prevents the foul smells that come from excess nitrogen. Keep an eye on the texture and tweak the ratio as needed to maintain steady decomposition. Aim for a 4:1 ratio of browns to greens to ensure optimal carbon‑nitrogen balance. Regular aeration every one to two weeks will accelerate the breakdown process and help maintain proper moisture balance throughout your pile.
Measure Green‑to‑Brown Ratio
How do you keep a small‑space compost from stalling? First, eyeball the volume of greens versus browns. Aim for roughly three parts browns to one part greens; this approximates the 30:1 C:N target without weighing. If you notice sour smells, slime, or a cold pile, you’re likely over‑loading greens. Conversely, a dry, slow‑breaking heap signals too many browns. Adjust by adding the opposite material until the pile feels moist but not soggy and smells earthy. For apartment dwellers using collapsible compost containers, ensure adequate airflow by positioning your bin where it receives indirect sunlight and remains accessible for regular turning.
Greens are rich in nitrogen or protein, which helps microorganisms grow and multiply.
- Measure by volume – use a kitchen cup or small bucket to keep the 3:1 ratio consistent.
- Watch material traits – fresh grass clippings act like greens; shredded leaves behave as browns.
- Observe the pile – a steady rise in temperature and occasional dry indicate a balanced mix.
Moisture‑Balanced Mix
A well‑balanced mix stays as moist as a wrung‑out sponge, giving microbes the water they need without drowning the pile. When you add too many greens, the pile becomes soggy, slimy, and smells like ammonia; too many browns leaves it dry, cool, and inert. Aim for a wrung‑out sponge‑feel: squeeze a handful and only a few drops should escape. Adjust by adding dry carbon sources to soak excess liquid or fresh kitchen scraps to re‑hydrate a crusty heap. This also keeps airflow open, preventing anaerobic zones and speeding up aerobic breakdown. Adding a layer of shredded newspaper can help improve aeration and balance moisture. Maintaining optimal moisture balance prevents the development of anaerobic conditions that slow decomposition and create odor problems.
| Component | Typical Moisture |
|---|---|
| Fresh greens | 60‑80 % |
| Dry leaves | 10‑20 % |
| Cardboard/shredded paper | 5‑10 % |
| Sawdust/wood chips | 5‑15 % |
Keeping the Pile Warm in a Small Bin – Insulation Tips?
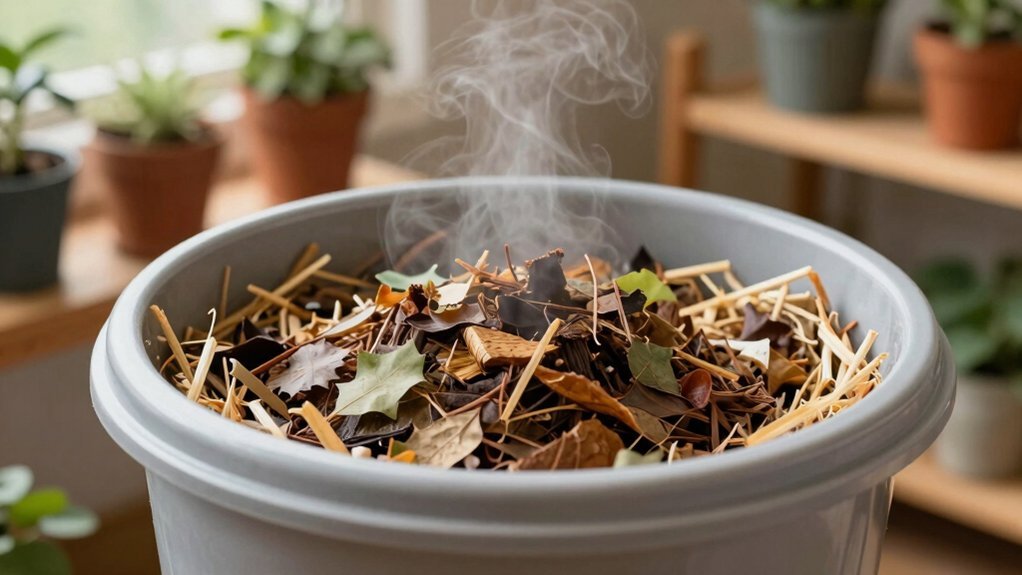
When the wind whistles past a tiny compost bin, heat drains away faster than the microbes can generate it, so insulating the sides, top, and even the bin itself becomes essential. Choose a sheltered spot near a wall, fence, or hedge to block wind chill, and face the bin south if you can catch winter sun. Keep it off low spots where cold air pools, and use a dark‑colored container to absorb heat. Add mass—aim for at least a 1 m³ (3 ft³) pile—so the core stays warm and microbes stay active. Finally, cover the top with straw, leaves, or a breathable tarp to trap warmth while keeping excess moisture out.
- Surround the bin with straw bales, dry leaves, or woodchips for a thick, breathable barrier.
- Line walls with cardboard, bubble wrap, or foam board to reduce heat loss.
- Use a tarp, carpet, or bagged leaves as a breathable top cover that shields from rain and wind.
Wind exposure can cool a compost pile quickly, even if insulated.
How Often Should You Turn a Small‑Space Compost?
Ever wonder how often you should turn a small‑space compost? If you want rapid breakdown, aim for a turn every two to three days, especially while the pile stays hot (around 100‑120 °F). For most hobby bins, a weekly turn works fine and still keeps aerobic microbes happy. Watch the temperature: when it drops below about 104 °F, give the pile a stir to re‑oxygenate and spark heating again. Early in the process, turn more often; as the material darkens and slows, you can stretch to every seven to ten days. Once the compost is mostly cured, occasional turns or even a couple of weeks between mixes are enough. Balance aeration with heat retention, and adjust as new brown material joins the batch. Frequent turning can increase nutrient loss. so adjust frequency based on desired compost quality.
Spotting Anaerobic Zones in Small‑Space Compost Before They Smell?
Curious how to catch low‑oxygen spots before they turn stinky? You can spot anaerobic zones early by watching texture, moisture, and structure. Dark, slimy patches or soggy clumps in the center signal trapped air. A dense, heavy feel instead of a fluffy pile shows compaction, while uneven breakdown—some scraps disappearing while others stay intact—flags hidden pockets. Keep an eye on cooling spots after active turnover and any visible slime on bin walls; these are odor‑free warnings. Anaerobic composting produces methane gas as a by‑product.
- Break up large scraps and weeds to prevent mats that block airflow.
- Balance greens with dry browns, maintaining a damp‑not‑dripping moisture level.
- Regularly fluff the core, turning or stirring to restore passive oxygen flow.
What Bin Shape & Size Gives the Best Airflow?
Which bin shape and size maximizes airflow for a small‑space compost? You’ll get the best oxygen flow with an open‑top, open‑sided design—think a GEOBIN‑style perforated cylinder. The walls act like a fence, letting air enter from all sides instead of a few drilled holes, so you avoid stale pockets. Aim for a medium‑height cylinder about 12‑18 inches wide and 24‑30 inches tall; this width lets you turn the pile easily while the height encourages vertical circulation. Add a few evenly spaced side vents near the top and bottom, or use a bin with a perforated lower edge, to pull fresh air through the mass. Keep the bin large enough to retain heat but not so big that material compacts and blocks airflow. This shape and size balance aeration with moisture control, keeping your compost active. The GEOBIN design offers “enormous capacity” while remaining easy to assemble.
When to Add Compost Boosters (Bulb, Bokashi, Inoculants)?
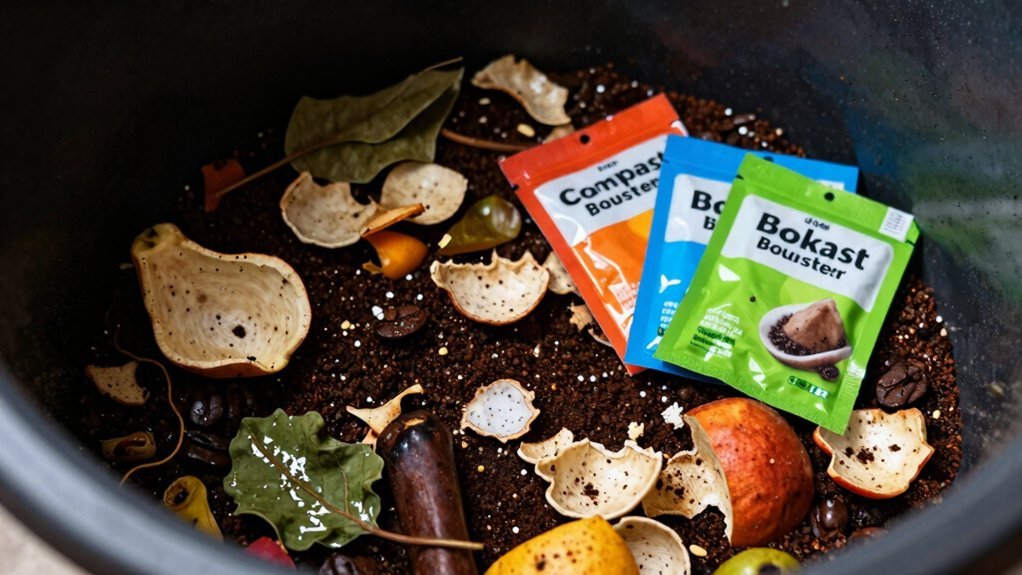
You should add boosters right after each batch of scraps lands in the bin, because the fresh material gives microbes the most to take off. Pick bokashi for airtight, wet kitchens, a bulbing mix when you need quick aeration, and inoculants if your space is tiny and airflow is limited. Timing and type together drive the fastest breakdown and keep odors down. Store bokashi bran out of direct sunlight to protect its microbes.
Boost Timing for Maximum Effect
When should you add compost boosters to a small‑space pile? Timing is everything; you want microbes to hit fresh material before it goes stale. Add boosters as you layer new greens, after each turn, and when the pile is about three‑quarters finished to jump‑start slow zones. Pairing the boost with moisture and oxygen maximizes activity and prevents odor build‑up.
- Layer‑by‑layer – Sprinkle inoculant or bokashi bran onto each new addition so microbes colonize immediately.
- Post‑turn – Apply a microbial starter right after you mix the pile; oxygen helps aerobic decomposers recover.
- Pre‑winter – In fall, boost fibrous or fresh material so decomposition continues through colder months, delivering a more mature batch by spring.
Choosing the Right Booster Type
Timing your boosters is only half the battle; picking the right kind for your small‑space system determines whether the pile stays fresh or turns into a smelly mess. If you use an airtight bin, bokashi bran works best—sprinkle a thin layer after every 5 cm of waste or each new addition, and start with a starter layer at the bottom. This keeps anaerobic fermentation steady and cuts odor. Collect bokashi liquid every few days, dilute about 100:1, and pour it onto roots or into a secondary compost pile; avoid spraying on fruit to prevent excess moisture.
For tiny containers, bulb‑type boosters give even coverage—lightly coat each layer and tamp to eliminate air pockets. When space limits aeration, inoculants speed decomposition by seeding microbes that thrive in compact, low‑oxygen environments. Choose the booster that matches your bin’s moisture, airflow, and curing time to keep the process swift and smell‑free.
Frequently Asked Questions
Do I Need to Add Soil or Worm Castings to Jump‑Start Microbes?
You don’t have to add soil or worm castings; just balance greens and browns, keep moisture like a wrung‑out sponge, shred materials, and turn regularly. Those steps jump‑start microbes fast.
Can I Compost Meat, Dairy, or Oily Foods in a Tiny Indoor Bin?
You can’t safely compost meat, dairy, or oily foods in a tiny indoor bin; they’ll rot, smell, attract pests, and create anaerobic zones that prevent proper breakdown and pathogen control.
How Often Should I Check the pH of My Small‑Space Compost?
Check pH every few weeks while the pile’s active, then only when you notice stalls, sour smells, or big material additions; once it stabilizes, testing once a month or less is fine.
Is a Compost Thermometer Necessary for Monitoring Heat in a Mini Bin?
You don’t need a thermometer if you keep moisture, aeration, and carbon‑nitrogen balanced, but it’s handy for spotting cooling stalls, especially in winter or when you want faster, reliable breakdown.
Can I Use a Kitchen Trash Can as a Compost Container Without Modifications?
You can use a kitchen trash can as a compost container, but it’ll struggle without modifications. Lack of ventilation, drainage, and turning access will slow breakdown, cause soggy conditions, and produce odors.
In Summary
By tweaking airflow, moisture, particle size, and C:N balance, you’ll keep your small‑space compost humming. Turn it regularly, shred bulky bits, and add boosters when needed. Spotting anaerobic zones early prevents foul smells, while the right bin shape maximizes oxygen. Follow these quick fixes, and watch your compost break down fast, turning waste into rich soil for your garden.


Leave a Reply