
You’re attracting fruit flies because damp, sweet scraps release strong odors and a soft, aerated pile gives them easy egg‑laying spots. Seal your kitchen waste in a tight‑lidded container, freeze it until you can add it to the bin, and always cover fresh greens with a 2‑4‑inch layer of dry browns like shredded paper, leaves, or straw. Turn the compost regularly to keep it hot and aerobic, and set up a fine‑mesh barrier with a snug lid. An apple‑cider‑vinegar trap will catch any adults that slip through, and if you follow these steps you’ll discover even more tricks to keep the flies out.
Why Fruit Flies Are Drawn to Your Compost (and What to Do About It)
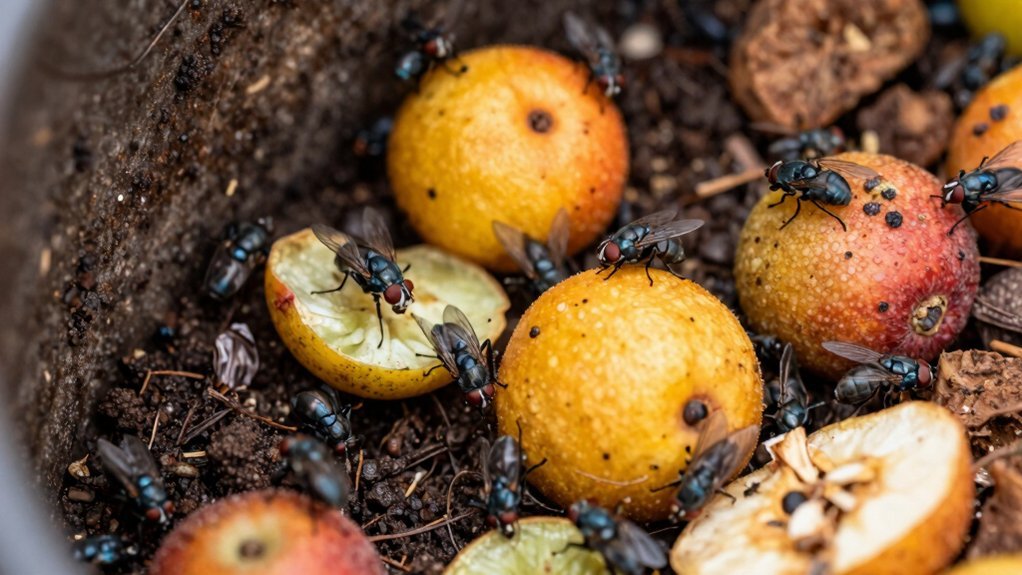
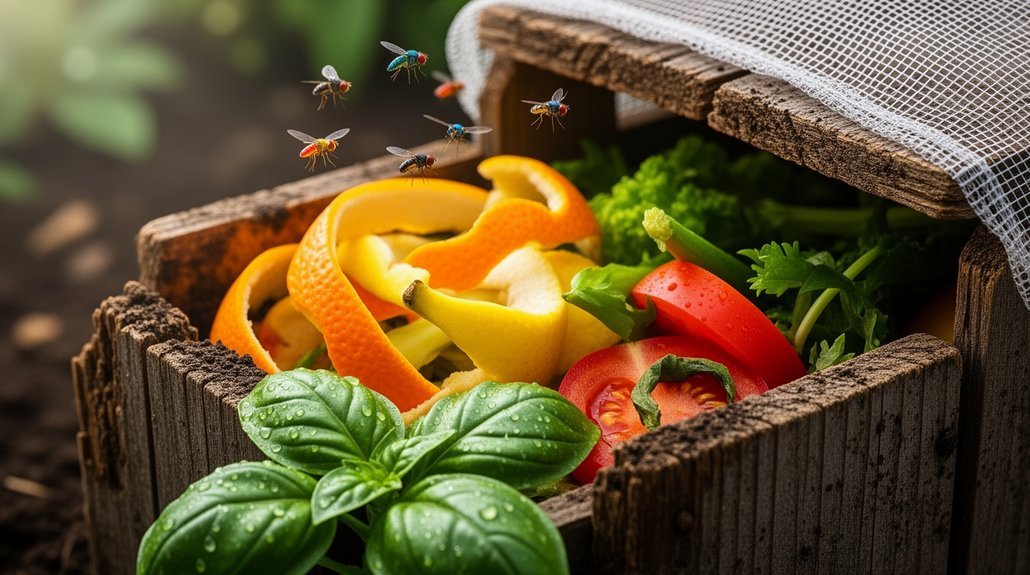
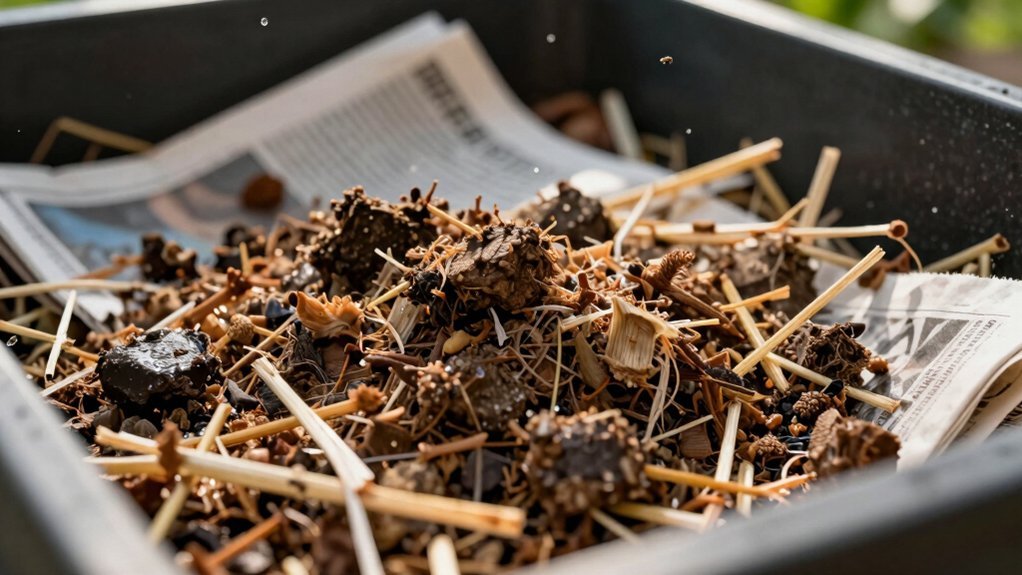
Why do fruit flies swarm your compost? You’re giving them the perfect buffet: rotting fruit, sweet peels, and damp, fermenting scraps that emit strong odors signaling a food source.
When you pile fresh kitchen waste without a dry “brown” cover, the moisture creates a damp habitat ideal for egg‑laying and rapid larval development. Warm, poorly aerated piles intensify smells and keep the material soft, making it easy for flies to detect and access. Investing in a bin with odor-control features like replaceable charcoal filters or airtight lids can significantly reduce the airborne scents that attract fruit flies in the first place.
Even a handful of exposed banana peels can attract adults, and if you don’t balance greens with carbon‑rich browns, the pile stays overly “green,” staying inviting. The result is a buzzing cloud of flies hovering near the opening, often accompanied by a sour, fermenting scent and visible larvae in the wet zones. Adding a proper lid helps keep flies out while still allowing ventilation.
How to Eliminate Fruit Flies From Your Compost – The Core Solution
Ever wondered how to shut down fruit‑fly infestations in your compost? Start by sealing the stream: use a tight‑lidded kitchen caddy, empty indoor bins often, and store scraps in a sealed container or freezer until you transfer them. Cover every fresh addition with dry browns—cardboard, shredded newspaper, dry leaves, or straw—to smother odors and create a dry barrier. Keep the pile aerobic by turning it regularly; hot, well‑aerated compost kills larvae and eliminates slimy pockets. Set up an apple‑cider‑vinegar trap with a few soap drops, covering it with perforated plastic wrap to catch adults. If flies persist, upgrade to a fully sealed or hot bin, or switch to a worm system. Most ceramic crocks feature charcoal filters that can help reduce odors attracting fruit flies when emptied regularly. Combine these steps and you’ll break the breeding cycle quickly. Layered brown waste adds an extra barrier that further deters flies.
Bury Kitchen Scraps to Keep Fruit Flies Out
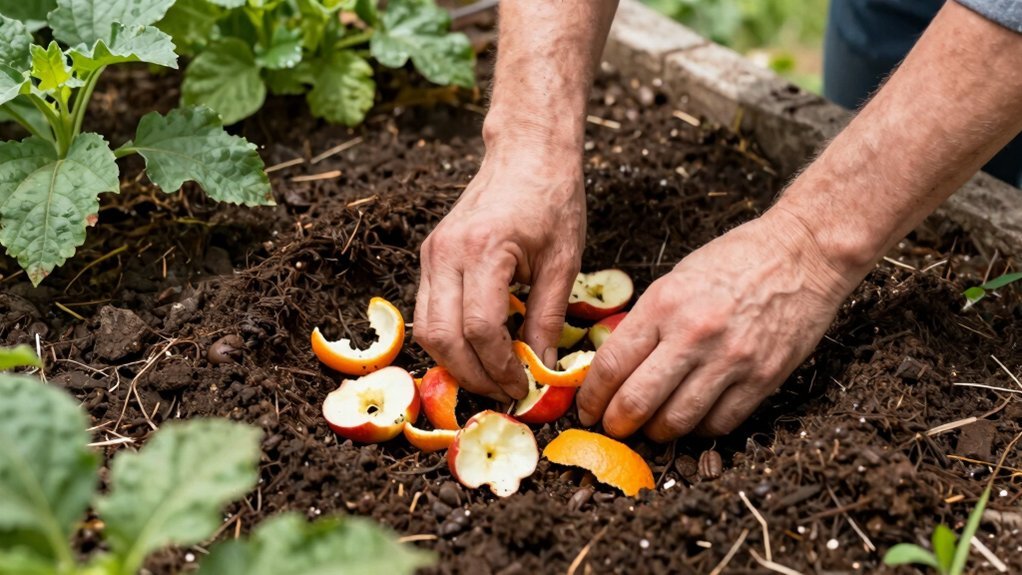
Where do fruit flies find a foothold in your compost? You stop them by burying kitchen scraps under at least an inch of bedding. Fresh waste releases yeast and odor that lure flies, but a soil or paper layer blocks access and masks scent. Use shredded paper, coconut coir, or peat moss to cover each addition, spreading the scraps evenly and tamping lightly. Keep the pile dry; drier bedding absorbs excess liquid and reduces the slimy environment flies love. Add small amounts daily—only one to two days’ worth—to avoid large, moist piles that stay exposed. Re‑cover every time you feed the bin, and seal the lid tightly for maximum protection. Vacuuming the flies before burying can also reduce the initial population. For persistent odor issues, consider using plant-based odor neutralization products to further discourage fruit flies from accessing your compost materials.
| Material | Depth Recommended | Why It Works |
|---|---|---|
| Shredded paper | ≥1 in | Absorbs moisture, hides odor |
| Coconut coir | ≥1 in | Aerates, retains shape |
| Peat moss | ≥1 in | Retains dryness, blocks scent |
| Compost soil | ≥1 in | Natural barrier, discourages egg laying |
| Cardboard pieces | ≥1 in | Adds bulk, deters flies |
Layer Browns First to Block Fruit Flies (Leaves, Straw, Cardboard)
Ever wonder how a simple layer of dry material can keep fruit flies out of your compost? You can block them by putting a thick brown barrier on top of every green addition. Aim for 2‑4 inches of leaves, straw, shredded cardboard, or paper, and push it up to 4‑6 inches when flies are a big problem. The dry cover hides food, absorbs moisture, and mutes the scent that draws flies. Keep a stash of browns nearby so you can cover each thin scrap layer right away, and re‑apply when you turn the pile. For enclosed composting systems like bokashi buckets, layering browns with greens creates an additional barrier against fruit fly infiltration.
- Use dried leaves for cheap, high‑carbon coverage.
- Spread straw for bulk and easy distribution.
- Add shredded cardboard or paper to soak up liquid.
- Toss wood chips or twigs for structure and extra dryness.
User activity shows that many commenters engage with practical tips like these.
Seal Scraps: Pick the Right Compost‑Ready Container
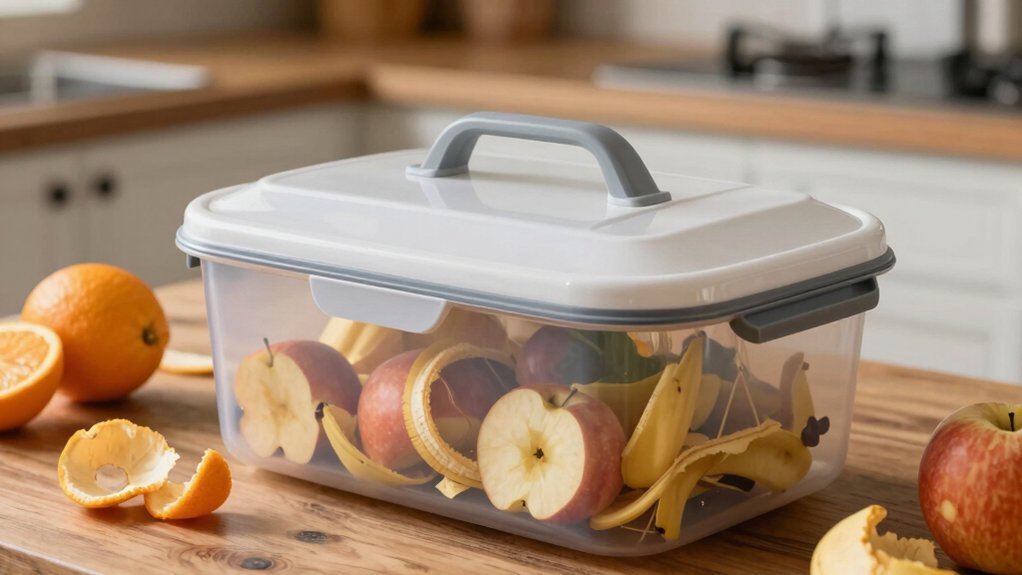
A thick brown barrier keeps fruit flies out of the pile, but once you bring scraps inside, the next line of defense is a sealed, compost‑ready container. Choose a tight‑lidded countertop bin with a lockable lid; it blocks odors and prevents flies from slipping in. Match the bin’s capacity to how often you empty it—small containers stay fresh longer and reduce odor buildup.
If you can’t compost outdoors right away, store scraps in a freezer‑safe, sealed container to halt decomposition and keep smells at bay. Keep the bin clean and dry by rinsing it after each use and adding a dry liner to soak up moisture. Consider using brown paper bags with strong durable construction inside your sealed container as an additional moisture-absorbing layer. A fully sealed, well‑maintained container stops fruit flies before they ever reach your kitchen. A secure lid is the most important tool to prevent fruit flies.
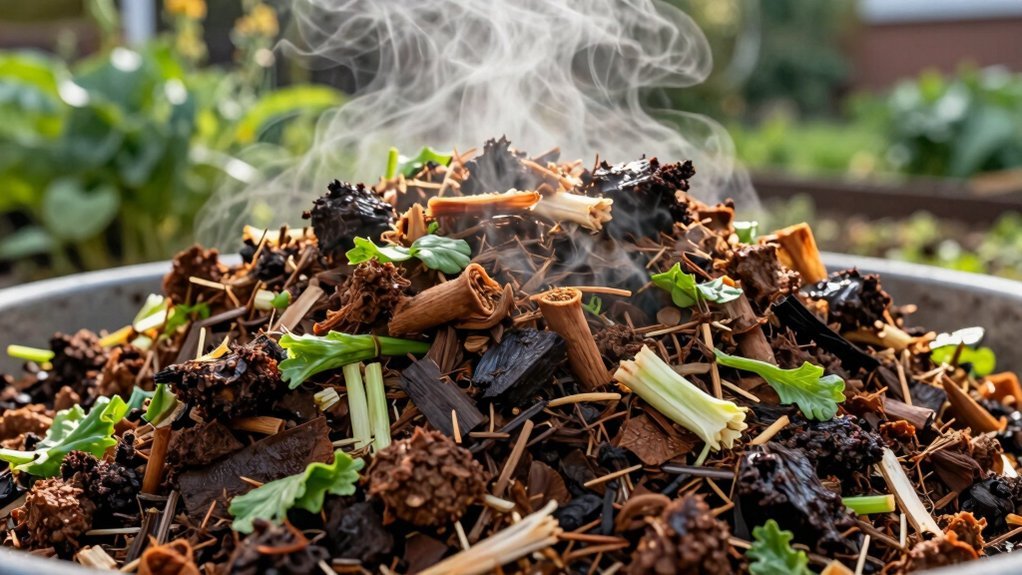
Master the Carbon‑to‑Nitrogen Balance for a Fruit‑Fly‑Free Pile
Start by adding a generous layer of carbon‑rich browns before you toss in any greens. Mixing the greens into that brown base keeps the nitrogen from creating soggy, fly‑friendly spots. The result is a drier, better‑aerated pile that discourages fruit flies right from the start. Moisture in active compost supports fruit fly survival and reproduction. Proper ventilation hole placement at multiple height levels throughout your bin ensures fresh air enters from the bottom while heat and gases escape from the top, creating an environment hostile to fruit flies.
Carbon‑Rich Browns First
A solid layer of dry carbon—leaves, shredded paper, cardboard, or wood chips—creates an immediate barrier that blocks fruit flies from laying eggs on fresh scraps. By topping each addition with a generous cap of browns, you cut off odors, limit moisture, and keep the pile too dry for flies to thrive. Use fine‑textured materials for quick absorption, and refresh the cover after every kitchen waste drop. This habit also helps you stay near the ideal 30:1 carbon‑to‑nitrogen ratio, preventing nitrogen spikes that attract pests. For households using compostable bag liners, ensure the bags themselves are certified for your composting method to avoid contamination.
- Shred cardboard or newspaper for a thin, even film.
- Scatter dry leaves or wood chips to absorb excess water.
- Add a handful of sawdust when fruit loads are heavy.
- Sprinkle a light dusting of wood ash for an extra barrier.
Maintain proper moisture in the compost prevents anaerobic conditions that can attract fruit flies.
Mix Greens With Browns
After you’ve sealed each layer with a dry carbon blanket, the next step is to blend the fresh greens into the mix so the pile stays balanced and fruit flies can’t find a breeding ground. Aim for roughly equal volumes of greens and browns, or a 3:1 carbon‑to‑nitrogen ratio by weight. Whenever you add moist fruit scraps, immediately toss in twice as much dry leaves, straw, or shredded newspaper. This absorbs excess moisture, keeps the pile’s texture like a wrung‑out sponge, and blocks the sweet odors that lure flies. Rotate the pile weekly to introduce air, which speeds decomposition and further reduces breeding time. Adding a layer of shredded newspaper on top of the greens can prevent fly access and improve aeration. For kitchen composting systems where odor control is critical, consider using precisely-fitting lids to contain smells during the collection phase before adding materials to your main pile.
| Material | Role |
|---|---|
| Fruit scraps | Nitrogen source, adds moisture |
| Dry leaves | Carbon absorber, odor blocker |
| Shredded newspaper | Carbon blanket, aeration aid |
| Straw | Moisture regulator, fly deterrent |
Dry Up Moisture: Absorbent Materials That Deter Fruit Flies
Start by sprinkling a generous layer of dry browns—like shredded paper or cardboard—over your pile to soak up excess moisture. Then, spread a thin sheet of shredded paper to create air pockets and keep the surface dry. Finally, scatter wood chips on top; they add structure, absorb water, and make the compost less inviting to fruit flies. Adding a top layer of burlap helps retain moisture while deterring pests. For worm-based composting systems, incorporate worm food supplements like oats and alfalfa blends to maintain a balanced carbon-to-nitrogen ratio that discourages fruit fly breeding while supporting your composting worm population.
Dry Browns First
Ever wondered why your compost smells like a fruit‑fly buffet? The secret is moisture. When you dump juicy scraps, the pile gets soggy, oxygen disappears, and flies flock. Fix it by adding dry browns first, before you even stir the greens. A dry top layer pulls excess liquid away, keeps the surface sponge‑like, and blocks egg‑laying spots. You’ll see fewer flies and a faster, aerobic breakdown. Using airtight compost containers with proper sealing can further prevent fruit flies from accessing your compost.
- Sprinkle shredded cardboard or newspaper over fresh fruit waste.
- Toss a handful of dry leaves or straw to soak up liquid.
- Mix in small twigs or sawdust for structure and extra carbon.
- Top the bin with another dry layer before closing the lid.
Keep compost outside to reduce indoor pest issues.
Layer With Shredded Paper
Why not let shredded paper do the heavy lifting in your compost? Spread a loose, dry layer of plain newspaper or office paper over fresh scraps after each addition. The shreds absorb excess moisture, pulling it away from the wet surface that fruit flies love for egg‑laying. By covering the food, you cut down exposed area, trap odors, and create a dry barrier that interrupts their access. Mix some shreds into the upper zone for even absorbency, and combine them with other dry carbon materials to keep the pile balanced. Reapply whenever the top looks damp or compacted, and avoid glossy or heavily coated paper. With good aeration, this simple step keeps moisture at a wrung‑out‑sponge level and makes your compost far less attractive to flies.
Add Wood Chips
After shredding paper to soak up moisture, toss a generous handful of dry wood chips over the fresh scraps. The chips act as a carbon‑rich, absorbent blanket that dries the surface, blocks odor, and creates air pockets for oxygen. They keep fruit‑fly eggs from finding a damp breeding zone and reduce fermenting smells that lure adults. Use a thick layer or mix them in, but never rely on chips alone—still bury the waste. Replenish after turning the pile or rain, and keep the lid secure while allowing airflow.
- Cover new scraps with a 2‑inch chip layer.
- Mix chips into wet sections during each turn.
- Balance greens and browns to stay moist, not soggy.
- Replace chips regularly to maintain dryness.
Adding a layer of wood chips also helps to reduce moisture in the compost surface, which discourages fruit‑fly breeding.
Raise Compost Temperature: Hot‑Composting Methods That Destroy Fly Larvae
How can you keep fruit‑fly larvae from surviving your compost? Aim for a core temperature of 40‑60 °C, ideally above 48 °C, and keep it steady for several days.
Use a sealed hot‑compost bin or a hot‑bin system that traps heat and blocks flies. Add plenty of dry browns and layer food scraps deep inside the pile; this creates a hot, drier core while the outer edges stay cooler.
Seal the bin, add dry browns, and layer scraps deep for a hot, fly‑free core.
Monitor temperature with a probe—if readings stay in the low 20s to 30 °C, the pile isn’t hot enough and will still breed flies.
Turn the pile only after it has reached the target heat, then let biological activity maintain the temperature for 30‑90 days.
This sustained heat kills eggs, larvae, and pupae, eliminating fruit‑fly emergence.
Mix It Right: Regular Turning to Evenly Distribute Heat
When you turn your compost regularly, you spread the hot core’s heat outward, keeping the whole pile warm. This prevents cold spots that slow down decomposition and fuels microbial activity everywhere. The result is a faster, more uniform breakdown that leaves fewer fruit‑fly habitats. Insulating the pile with straw or blankets helps retain that heat.
Even Heat Distribution
Ever noticed that a compost pile can feel like a cold slab in the middle while the edges stay hot? That unevenness means microbes aren’t getting the steady heat they need, and fruit flies can sneak in. By turning the pile regularly, you push the hot outer layers inward and shuffle cooler material outward, spreading temperature and oxygen evenly. Keep an eye on the thermometer: when it dips below 104 °F, give the pile a good mix. Too frequent turns can bleed heat, so aim for every 3‑4 days or follow a temperature‑triggered schedule. A balanced carbon‑to‑nitrogen ratio and uniform particle size also help maintain consistent warmth. Turn when temperature drops below 130°F.
- Turn when temperature drops below 104 °F.
- Aim for a 3‑4‑day turning cycle.
- Use a 1:1 carbon‑nitrogen ratio by weight.
- Keep particles small and evenly sized.
Prevent Cold Spots
Ever noticed a chilly patch in the middle of your compost while the outer layers stay warm? That’s a cold spot, and you can banish it by turning the pile regularly. Use a garden fork or aerator every 2–3 weeks in winter, moving only sections rather than overturning the whole mound. This pushes warm outer material into the cooler core and breaks up compaction that traps cold air. Tuck fresh kitchen scraps into the middle, then cover them with existing compost to avoid layered chill zones. Keep the pile at least three feet high and wide, and add insulation around the sides and top. Check temperature with a long‑stem thermometer weekly; aim for 90–140 °F. If you spot a drop, mix, fluff, or adjust moisture to restore even heat. Remember to maintain a browns‑to‑greens ratio of roughly 2:1 to 3:1 to keep microbial activity steady.
Boost Microbial Activity
Turn your compost pile regularly to keep microbes fed, oxygenated, and evenly heated. By mixing fresh scraps with the hotter core you give every microbe a balanced diet of nitrogen and carbon, while aeration revives aerobic populations. Consistent heat spreads from 110‑160 °F, letting thermophilic microbes work faster and preventing damp pockets that lure fruit flies. Pair turning with a modest dose of molasses or aged manure to jump‑start colonization, and you’ll see the pile decompose before flies ever get a chance.
- Flip the pile every 5‑7 days to redistribute moisture and heat.
- Push outer layers into the center to expose partially decomposed material.
- Add a tablespoon of unsulfured molasses after each turn for a quick microbial boost.
- Sprinkle a thin layer of finished‑compost starter to diversify the microbial community.
(Adding microbial foods such as molasses enhances the growth of beneficial bacteria and fungi during each turn.)
Install a Physical Barrier: Fly‑Proof Mesh and Sealed Lids
A sturdy, fine‑mesh barrier paired with a snug, sealed lid turns your compost bin into a pest‑proof fortress. Choose hardware cloth or vermin mesh with openings 5 mm or smaller; cut it a few inches larger than the bin footprint, fold it over the bottom rim, and staple it to the sidewalls. Overlap corners and press the mesh firmly so it stays in place but can be lifted for harvesting. Replace chicken wire with this tighter mesh, because it lets rodents slip through. Fit a tight‑fitting lid that still lets you add scraps through a small flap. An off‑ground bin on legs further blocks burrowing pests. Combine the enclosure with balanced green‑to‑brown material, regular turning, and moisture control to keep fruit flies and rodents at bay.
Winter‑Proof Your Compost: Freezing Scraps to Stop Fruit Flies
Why not freeze your kitchen scraps before they hit the bin? Freezing halts biological activity, kills fly eggs, and cuts odors, giving you a clean, fly‑free compost stash. Gather scraps in a freezer‑safe bag or container, then freeze at least 24 hours. Keep the container frozen an extra day after the last batch for full kill‑through. When you’re ready, thaw the scraps—they’ll be softer for worm bins and easier to blend. This method works best for indoor compost systems, especially when you have space in a deep freezer.
- Use a dedicated freezer bag or bucket for scraps.
- Freeze for a minimum of 24 hours, extending if you add more.
- Thaw before adding to worm bins or compost piles.
- Pair with carbon‑rich browns to absorb moisture and further deter flies.
Apple Cider Vinegar Traps for Fruit Flies in Compost
Ever wondered how a simple kitchen staple can turn your compost bin into a fruit‑fly‑free zone? Apple cider vinegar (ACV) emits acetic‑acid fumes that lure adult fruit flies, and a few drops of dish soap break the surface tension so they sink.
Mix 1/4 cup ACV with 1–2 drops of liquid detergent, or combine equal parts water and ACV with three drops of soap; optional sugar or balsamic vinegar can boost attraction.
Place the mixture in a small uncovered bowl, jar, or cup near the compost pile.
For better capture, insert a paper cone or stretch plastic wrap with tiny holes over the container, ensuring the tip doesn’t touch the liquid.
Refresh the bait every few days, and pair the trap with proper carbon layering and deeper burial of scraps to keep breeding sites under control.
Sticky & Bottle Traps: Quick Capture Methods for Adult Fruit Flies
Looking to curb adult fruit flies fast? You can trap them instantly with bright yellow sticky pads and simple bottle funnels. Sticky traps cling to any fly that lands, so place them near compost, fruit bowls, or plant pots for nonstop capture. Bottle traps use a narrow funnel and a sweet bait—apple cider vinegar plus a drop of dish soap—so flies dive in and can’t escape. Check and empty both trap types regularly to keep them effective.
- Cut a paper funnel, tape it to a jar, and pour vinegar‑soap bait.
- Hang yellow sticky cards at eye level around the compost bin.
- Replace sticky pads when they’re covered with insects.
- Rotate bottle traps every few days to maintain lure strength.
Frequently Asked Questions
Can I Compost Meat or Dairy Without Attracting Fruit Flies?
You can compost meat or dairy without drawing fruit flies if you freeze the scraps, bury them deep under plenty of browns, keep the pile covered, and maintain a dry, balanced carbon‑to‑nitrogen ratio.
How Often Should I Replace the Carbon Layer to Keep Flies Away?
You should refresh the carbon layer every time you add fresh kitchen scraps, especially wet ones, and whenever the surface looks soggy, thin, or you see flies. Keep it thick—about 5‑7 cm.
Do Indoor Compost Bins Need Different Fly‑Prevention Methods Than Outdoor Piles?
Yes, indoor bins require tighter containment—use sealed lids, frequent topping with dry carbon, and keep moisture sponge‑like. Outdoor piles can rely on airflow, larger volume, and occasional turning instead.
Is It Safe to Use Chemical Insecticides Inside a Compost System?
You shouldn’t use chemical insecticides in compost; residues can linger, harm beneficial microbes, and contaminate finished material, especially for edible crops. Stick to non‑chemical controls and proper pile management.
What Temperature Range Defines “Hot Composting” for Effective Fly Control?
You’ll define hot composting for fly control as temperatures between roughly 104 °F and 140 °F (40 °C–60 °C), keeping the pile above 40 °C long enough to kill eggs and larvae.
In Summary
By burying scraps, layering browns, sealing containers, and adding mesh or lid barriers, you’ll keep fruit flies out of your compost. Freeze excess waste in winter and use cider‑vinegar or sticky traps for any stragglers. Stick to these steps, and your pile will stay healthy, odor‑free, and fly‑free—letting nature do the work while you enjoy a clean garden.


Leave a Reply