

You should thaw frozen food scraps before composting because the cold shock can stun worms and slow microbial activity, leading to a sluggish bin. Thawing lets the material reach a damp, pliable state without soaking the bin, keeping moisture balanced and preventing soggy spots. A light, room‑temperature thaw also spreads the scraps thinly, boosting aeration and digestion. If you keep going, you’ll discover the best quick‑thaw tricks for tiny apartments and how to avoid common mistakes.
How to Thaw Frozen Food Scraps for Worm Bins
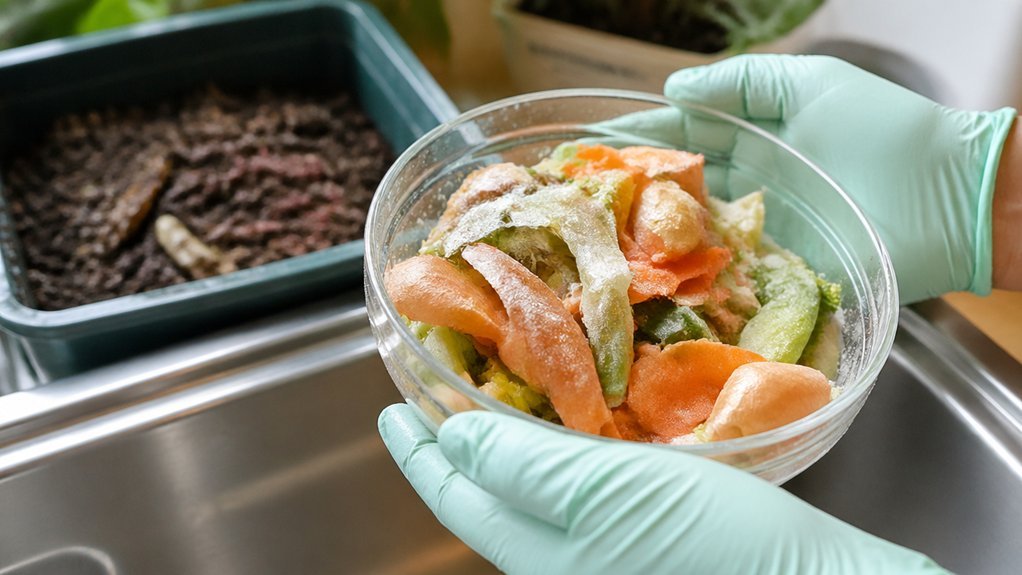
Ever wondered how to thaw frozen food scraps without shocking your worm bin? Start by placing the frozen pieces in a shallow container at room temperature. Let them sit until they reach a damp, not soaking, consistency—this usually takes 30‑45 minutes for small bits.
If you’re short on time, give them a quick rinse with lukewarm water and pat them dry, stopping when they become pliable enough to crumble. Capture any melt water in the bowl; pour it into a separate jar to keep the bin floor dry.
Once the scraps feel mushy, similar to pre‑cut material, spread them thinly on the bin surface. This controlled thawing boosts surface area, eases worm digestion, and maintains proper aeration without over‑wetting the compost.
To further support finished compost quality, ensure your storage and handling align with good aeration practices and moisture targets discussed in finished compost guidelines Ventilation and Drainage Design.
Why Thawing Prevents Chilling Shock in Vermicomposting?
When you add frozen scraps, the sudden chill can shock your worms and halt their activity. Thawing the material keeps the bin’s temperature steady, protecting the worms from stress and keeping microbes humming. The result is a smoother, faster breakdown of food waste. Temperature stability helps maintain consistent microbial action during vermicomposting.
Worm Shock Prevention
If you dump frozen scraps straight into the bin, the sudden temperature drop can shock the worms, slowing their feeding and metabolism. To practice worm shock prevention, let the scraps thaw first. As they warm gradually, their temperature aligns with the bin’s environment, sparing the worms a rapid chill. This steady heat keeps their metabolism stable, so they continue processing waste without a stressful pause. Thawed material also reabsorbs moisture evenly, eliminating cold pockets that could irritate the worms. By avoiding an abrupt temperature shift, you maintain consistent microbial activity and keep the composting cycle moving smoothly. The result is healthier worms, faster breakdown, and a more efficient vermicompost system. Thermal equilibrium helps ensure microbes can resume activity without disruption after thawing.
Microbial Activity Boost
Shocking the worms by dumping frozen scraps is only half the problem; the microbes that break down the waste suffer a similar chill. When you thaw frozen food before vermicomposting, you spare the microbial community from a sudden temperature drop that can halt their metabolism. As the ice melts, cell walls rupture and water floods the substrate, boosting moisture and exposing more surface area. This creates a warmer microenvironment where bacteria and fungi can re‑activate instantly, speeding up the first stages of decomposition. By avoiding a cold‑to‑warm shock, you keep microbial activity steady, which in turn sustains worm feeding and prevents a temporary lull. The result is faster colonization, richer nutrient release, and a healthier, more efficient compost pile. This approach aligns with maintaining consistent inputs to support OMRI-listed organic amendments and steady gardening results microbial activity.
Managing Moisture: Controlled Thawing vs. Sudden Water Release
You’ll notice that a slow thaw lets moisture seep out gradually, keeping the bin from becoming waterlogged. The gradual process also supports steady aerobic activity by avoiding sudden temperature swings that can stress beneficial microbes and worms, which helps maintain a healthy carbon-to-nitrogen balance during composting. pest prevention tools
Gradual Moisture Release
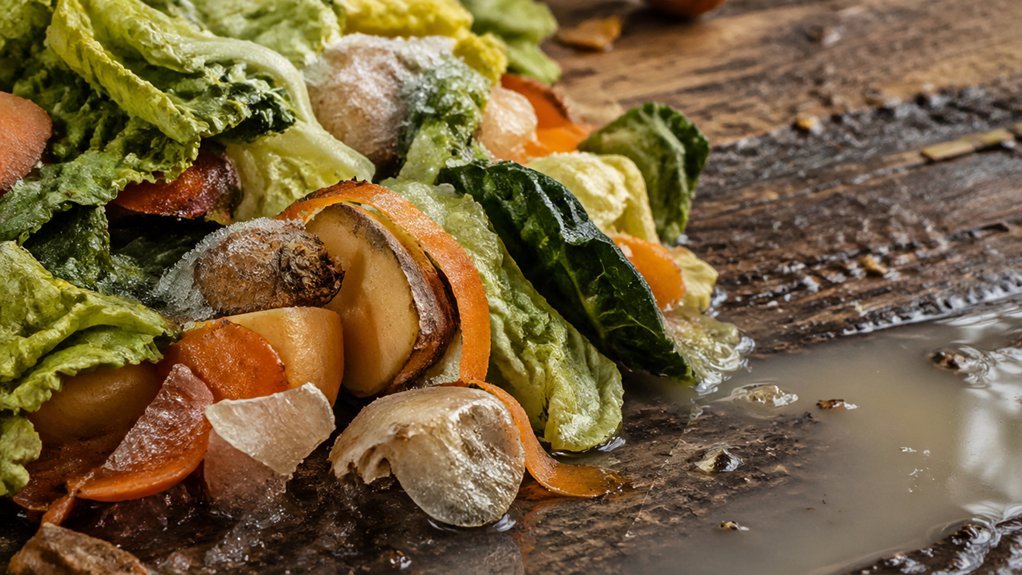
Ever wondered why a slow thaw beats a sudden splash when you compost frozen food scraps? When you let scraps thaw gradually, moisture release spreads out, keeping your bin’s balance intact. The ice melts slowly, letting water seep through the substrate instead of flooding it. This steady drip prevents anaerobic pockets, preserves oxygen flow, and keeps microbes happy. By staging the thaw, you align moisture release with your feeding schedule, avoiding spikes that could drown worms. Cell walls rupture at a measured pace, delivering plant fluids as a gentle stream rather than a torrent. The result is a consistently damp environment that supports healthy decomposition without overwhelming the system.
Avoid Sudden Water Saturation
Gradual thaw keeps moisture release steady, while a sudden melt dumps a flood of water into the pile. When you let ice melt all at once, the excess liquid overwhelms the compost’s moisture control, creating soggy spots that choke aerobic microbes. A compact compost bin design can help manage moisture more effectively by promoting proper drainage and airflow drainage efficiency.
Instead, spread the thaw over several hours or a day, letting water seep into the surrounding material. This gradual infusion prevents rapid dilution of dry “browns,” preserving the carbon‑to‑nitrogen balance essential for fast decomposition. It also avoids anaerobic pockets where excess water can stagnate and leach nutrients away. By planning a steady thaw, you can add dry browns as needed, keep the pile aerated, and maintain optimal moisture control for a healthy, fast composting process.
Maintain Worm Bin Balance
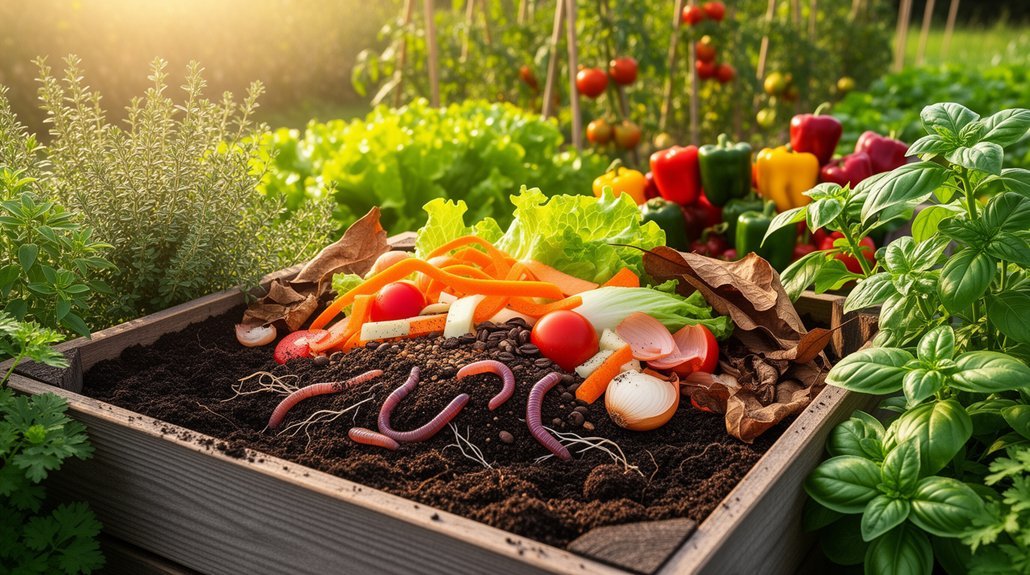
A steady thaw lets you control the moisture that enters your worm bin, keeping the bedding from becoming soggy and preserving oxygen flow. By timing thawing before you add scraps, you can drain excess liquid and practice moisture management that avoids sudden spikes. This gradual release lets the bedding absorb water without becoming saturated, so oxygen diffusion stays strong and microbes stay balanced. When you thaw in advance, you know exactly how much water you’re adding, helping maintain the C:N ratio and keeping worm activity high. If you let frozen scraps melt all at once, the sudden water dump can drown the bedding, choke airflow, and stress the worms. Controlled thawing keeps your bin stable, productive, and healthy.
Boosting Microbial Activity With Proper Thawing
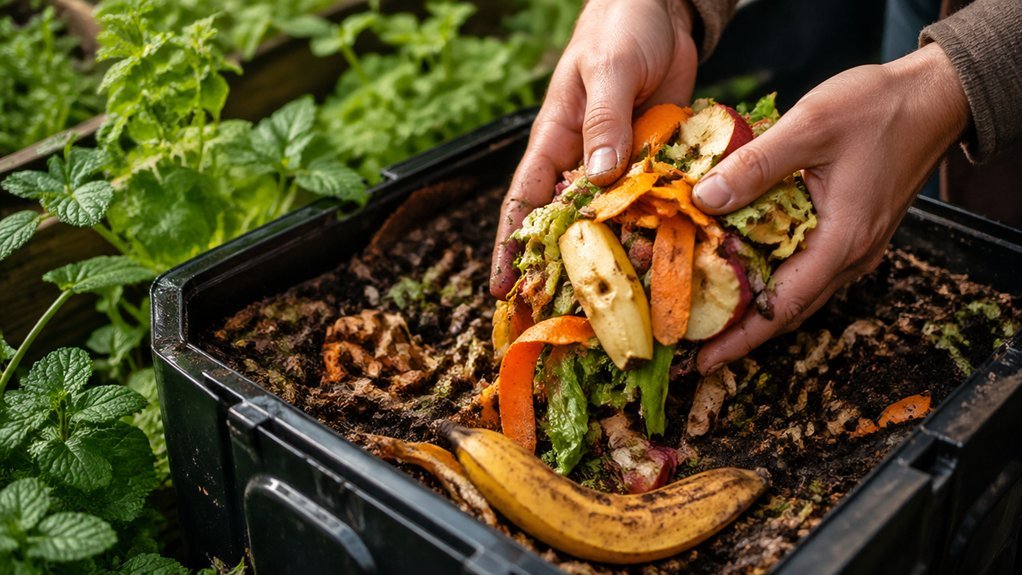
How does proper thawing boost microbial activity? When you thaw frozen scraps, you restore moisture, letting microbes wake up faster. The freeze‑thaw cycle ruptures cell walls, exposing more surface area and nutrients, so microbes can feast immediately. Thawed material also offers a uniform substrate, keeping fermentation steady as pile temperatures rise.
- Moisture return – Re‑hydrated scraps supply the water microbes need for rapid metabolism.
- Cell‑wall rupture – Freeze‑induced damage creates extra exposed tissue, accelerating nutrient uptake.
- Uniform substrate – Consistent texture prevents hot spots and promotes even microbial growth.
1 The presence of certifications like OK Compost HOME and BPI ensures that plant-based materials used in compost bags align with standards for home or industrial composting, supporting effective, responsible waste management.
Practical Thawing Methods for Small Apartments and Limited Space
Ever wondered how to thaw frozen scraps without flooding your tiny kitchen? You can keep things tidy by placing the frozen bits in a sealed container inside the fridge. The low temperature slows odor spread and prevents leaks, while the container catches any drip. Aim for a light thaw—just enough to soften the texture without fully warming—so the scraps stay firm enough to chop or break into smaller pieces for faster decomposition. If you need a quicker method, set the container on a countertop for 30‑45 minutes, then transfer it back to the fridge to finish thawing. Use the resulting water sparingly; it’s nutrient‑rich but can tip the moisture balance of your compost mix. This approach works well when you’re dealing with the challenges of freezing your food in a cramped apartment.
When Direct Freezing Works: Situations to Skip Thawing
If your kitchen scraps are already tiny, you can skip thawing and dump them straight into the compost or worm bin. Small pieces melt quickly, so worms can start munching while the material is still partially frozen. You also avoid adding extra moisture when the scraps are already dry, which keeps the bin from getting soggy. When you’re short on time between freezing and feeding, a partially frozen load buys you a few extra hours before the scraps fully thaw, matching your feeding schedule. Worm bins that tolerate cooler inputs let you bypass thawing altogether, speeding up handling and letting the worms work as the material warms.
Skip thawing tiny scraps; worms start munching while still partially frozen, keeping bins dry and handling fast.
- Tiny, dry scraps that won’t release much water.
- Large batches you’ll feed soon after freezing.
- Time‑tight situations where you need to add material quickly.
Common Mistakes to Avoid When Thawing Compostable Scraps
Why risk ruining your worm bin by mishandling thawed scraps? You can keep moisture balanced and odors low by avoiding common thawing errors. First, never seal scraps in a container; let gases and excess water escape. Second, don’t dump partially frozen chunks—uneven moisture creates hotspots and slows worms. Third, don’t let thawed material linger at room temperature; it fuels unwanted microbes. Finally, shred or break scraps into bite‑size pieces to prevent clogging and compaction.
| Mistake | Why It Hurts |
|---|---|
| Sealed container | Traps moisture, causes anaerobic odor |
| Partially frozen chunks | Uneven release, creates hotspots |
| Extended room‑temp exposure | Promotes microbial growth |
| Large pieces | Blocks feeders, compacts bin |
Frequently Asked Questions
Should You Freeze Food Scraps Before Composting?
Yes, you should freeze food scraps before composting if you need to store them, but thaw them first to release moisture and break cells, letting microbes work faster and preventing odor buildup.
What Three Items Should Not Be Placed in a Compost Pile?
You shouldn’t put meat, dairy, or oily foods into your compost pile. Also avoid adding diseased plants, contaminated scraps, and any non‑compostable items like plastics, glass, or metals.
What Is the Lazy Compost Method?
You follow the Lazy Compost Method by tossing coarse scraps and browns into a bin, layering them without precise ratios, and stirring only occasionally, letting microbes work slowly while you stay hands‑off.
What Foods Should You Never Refreeze?
You should never refreeze dairy, meat, fish, cooked eggs, or any high‑moisture produce that’s already thawed, because they spoil quickly, become mushy, and can create wet, odorous conditions in your compost.
In Summary
By thawing frozen scraps before they hit your worm bin, you keep the temperature steady, avoid shocking the vermicomposters, and give microbes a chance to jump‑start. Controlled thawing balances moisture, preventing soggy overloads that drown the worms. Whether you use a fridge tray, a sealed bag in warm water, or a brief room‑temperature sit, the goal’s the same: a smooth, steady transition that fuels healthy, fast composting. Skip thawing only when the material’s already small, dry, and won’t stress the bin.


Leave a Reply