
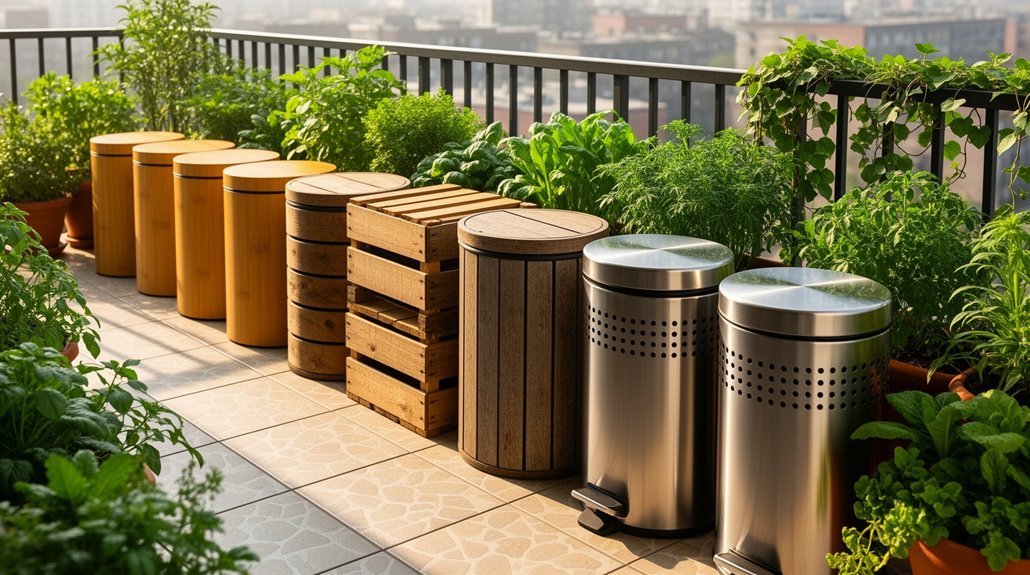
You don’t need expensive equipment to compost on a tiny balcony. Start with affordable plastic totes or buckets—two 18-gallon containers work perfectly for beginners. Worm bins, bokashi fermenters, and small tumblers all fit compact spaces while handling your kitchen scraps effectively. Each method offers distinct advantages: worms produce finished compost in 3–6 months, bokashi ferments scraps in two weeks, and tumblers work slowly but space-efficiently. The key is matching your system to your waste output and balcony footprint. Discover how to build and optimize these setups for your specific needs.
Why Tiny Balconies Demand Different Compost Systems

Why can’t you just shrink a standard compost bin and call it done? Because balcony composting involves constraints that ground-level systems don’t face. You’re working with strict weight limits—typically 50 to 120 lbs per square foot—so wet compost becomes problematic fast. Your floor space is minimal, meaning you can’t expand horizontally and must think vertically. Drainage matters intensely; leakage stains surfaces and damages apartments below, making open-bottom bins unsuitable. Odor and pests are closer to your living space, demanding enclosed, ventilated designs with activated carbon filters that actively adsorb odor-causing molecules at the source. Finally, hot composting requires roughly one cubic meter of material for thermal mass, which most balconies can’t support. Methods like bokashi fermentation, vermicomposting, and tumblers are specifically designed to handle the constraints of small-space environments while still producing nutrient-rich compost effectively. You need slower methods like worm composting or tumblers that work efficiently at smaller scales.
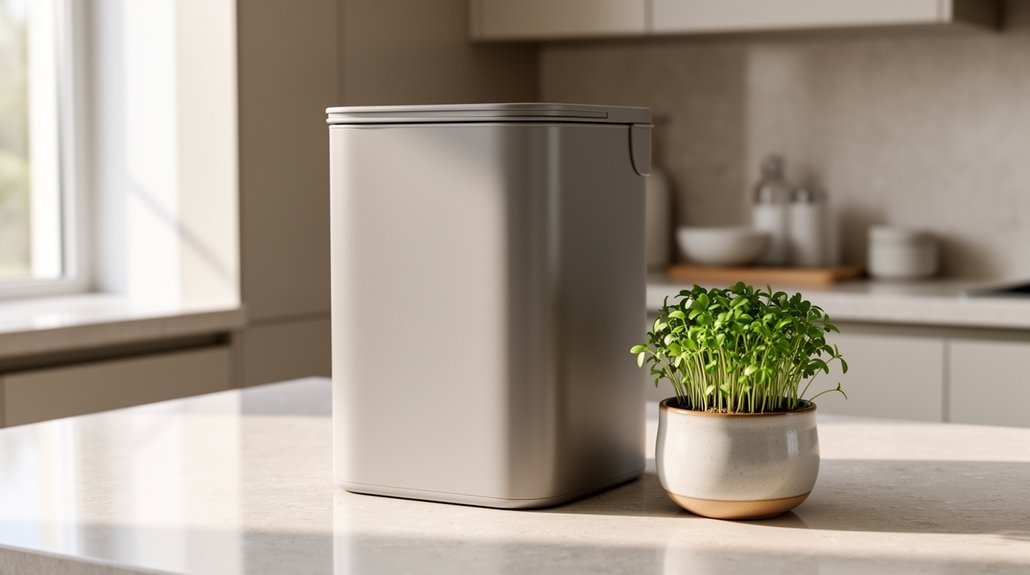
Plastic Totes and Buckets: Start Here if You’re New
How do you start composting on a balcony without breaking the bank or your lease? Plastic totes and buckets offer affordable, space-saving solutions that won’t upset your landlord.
| System | Setup Time | Output Timeline | Best For |
|---|---|---|---|
| Plastic Tote Bins | 15 minutes | 3 months | Beginners |
| Bucket Composters | Under 10 minutes | 2 weeks | Ultra-compact spaces |
| Drainage Setup | 20 minutes | N/A | Moisture control |
| Layered Method | 10 minutes | 2-3 weeks | Faster breakdown |
You’ll need two 18-gallon containers minimum. Drill 4 drainage holes in the bottom and 8 airflow holes in the lid. Layer kitchen scraps with shredded newspaper in a 50/50 ratio. Stack one bin atop the other—the lower catches runoff. This sealed approach eliminates odors and pest problems while producing usable compost quickly. To maintain optimal performance, replace your bokashi bran every 2-4 months depending on your waste processing volume. For maximum sustainability, look for containers made from recycled content to reduce your environmental footprint even before composting begins. You’re ready to transform balcony waste into garden gold.
Should You Use Worms, Bokashi, or Standard Composting?

Now that you’ve got your plastic bins set up, the next decision shapes everything: which composting method fits your balcony and lifestyle.
Worm composting delivers finished compost in 3–6 months using *Eisenia fetida* worms. You’ll manage moisture and bedding regularly, but you’ll get genuine castings for your plants. It works best with fruit and vegetable scraps only. The worms produce lombrithé, a natural liquid fertilizer you can harvest separately. Jute blankets help maintain the dark, moist conditions that keep worms active and comfortable in their bins.
Bokashi ferments almost all kitchen waste—including meat and dairy—in just 2 weeks using a sealed bucket and microbial bran. However, you’ll need ongoing bran supplies, and the result requires a second stage before it’s truly usable.
Standard composting needs more space than tiny balconies typically offer and takes 6–12 months.
Choose worms if you want self-contained finished compost. Pick bokashi if you generate diverse food scraps and have minimal space. Consider combining both methods for maximum flexibility.
Building a Worm Bin in Under an Hour
Ready to start composting? You’ll assemble a functioning worm bin in 30–60 minutes using a simple opaque plastic container and basic tools.
| Step | Action | Time |
|---|---|---|
| Drill holes | Create 8–15 ventilation openings (1/4 inch diameter) near the top and lid | 10 min |
| Prepare bedding | Shred newspaper or cardboard, then moisten to a wrung-out sponge consistency | 15 min |
| Layer and add worms | Spread bedding, place worms on top, cover lightly with paper | 10 min |
Use at least 1 cubic foot of container volume. Drill drainage holes to prevent soggy conditions. Add your first small feeding of vegetable scraps under the bedding. Worms burrow downward immediately and migrate upward when food appears. For the best results, source worms locally or obtain about a cup of worms to ensure quick establishment and faster compost production. Consider stackable design principles when positioning your bin to maximize balcony space efficiency. This straightforward approach delivers a compact, balcony-ready system requiring minimal space and maintenance.
Bokashi: Ferment First, Compost Later

You’ll need an airtight container as your foundation—it’s what keeps oxygen out and odors contained on your balcony. Layer your kitchen scraps with bokashi bran to inoculate the waste, then seal the lid tight for the 2-3 week fermentation period. Once fermentation’s complete, you’ll blend that pre-compost material with soil or add it to a larger compost system to finish the breakdown before you plant. Bokashi handles almost all food types, including cooked meals, citrus, and small bones that traditional composting cannot process. Airtight lids minimize gas exchange and odor escape, making them essential for balcony composting systems where space and neighbor proximity matter.
Airtight Container Essentials
Because bokashi fermentation thrives in oxygen-free conditions, an airtight seal isn’t optional—it’s fundamental to the process. You’ll want a bucket with a gasketed or locking lid that creates a snug fit, preventing air leaks that disrupt fermentation and invite mold or spoilage.
Look for a drainage spigot at the base—this lets you remove bokashi tea without compromising the anaerobic environment. The tap separates liquid buildup, which can interfere with fermentation if left unchecked. Some dual-bucket designs maintain airtight conditions while managing moisture effectively. The bokashi bran inside your bucket contains essential microbes that will ferment your food waste, so maintaining that airtight seal protects these living cultures from oxygen exposure.
Choose sturdy, durable plastic construction that withstands repeated cleaning and handling. Easy-to-remove parts and smooth interiors simplify maintenance. Portable handles suit balcony setups perfectly. Well-designed containers also benefit from moisture retention capabilities that prevent excess liquid accumulation while keeping fermentation conditions optimal. Together, a reliable seal, proper drainage, and solid construction keep your bokashi bucket odor-free, pest-resistant, and efficient—essential for small-space composting success.
Layering And Bran Application
Sprinkle bokashi bran with every addition of kitchen scraps—don’t save it for setup alone. You’ll distribute effective microorganisms evenly throughout your bin by using a handful of bran per 2–3 inches of food waste. This “little and often” approach creates better contact between bran and scraps across the entire mass. Over the course of about a month, you’ll continue layering scraps and bran until your bin reaches full capacity, at which point you’ll close the lid tightly to begin fermentation. Proper size and bucket compatibility ensures your liner fits securely during this extended fermentation period.
| Step | Action | Benefit |
|---|---|---|
| Prep | Chop scraps into smaller pieces | Increases surface area for fermentation |
| Layer | Alternate scraps and bran | Creates uniform fermentation environment |
| Compact | Press down each layer firmly | Maintains anaerobic conditions |
| Finish | Top with final bran layer | Reduces exposed surface material |
You’ll compress each layer using a plate or tamper to remove trapped air and improve microbial contact. Dense packing eliminates pockets that interrupt fermentation, accelerating your bokashi pickle’s readiness for stage-two soil integration.
Fermentation To Finished Compost
Once your layers are packed tight and sealed, the real magic happens inside the bucket. Over the next 2–3 weeks, lactic acid bacteria ferment your scraps into a pickled, pre-compost state rather than finished compost. You’ll notice:
- A slight yeasty or sour smell (normal) versus foul odor (problem)
- Thin white mold on the surface (expected) versus blue, green, or black mold (warning sign)
- Acidic conditions that suppress rot-causing microbes
Don’t expect finished compost yet. Your fermented material needs a second stage: bury it in soil or mix it into a compost pile where soil microbes complete decomposition. The resulting leachate from your bokashi bin is acidic and can be diluted to feed your plants while you wait for full decomposition. For balcony gardeners with limited space, consider that red wigglers or European nightcrawlers can process your finished compost in a stackable worm farm once bokashi fermentation is complete. This two-step system transforms your balcony scraps into garden-ready compost efficiently, even in tight spaces.
Drilling Ventilation and Drainage Holes (The Right Way)

Why do you need holes in your compost bin at all? Ventilation holes deliver oxygen that prevents foul-smelling anaerobic conditions, while drainage holes eliminate excess moisture that causes waterlogging. For compact balcony bins, you’ll want a mix of side and bottom holes for optimal airflow.
Drill 5/8-inch holes spaced 6 to 8 inches apart around all sides. Place the lowest side holes 3 to 4 inches from the bottom. This even spacing creates uniform aeration throughout your bin. Uniform distribution ensures that airflow reaches all areas of the compost equally. Consider selecting bins with removable inner buckets for easier maintenance and emptying between aerations.
Avoid holes that are too small—they’ll clog easily. Too-large holes let material escape. If you notice strong odors or slow decomposition, you probably need more ventilation. Consider manually aerating every 2 to 4 weeks with a stick to supplement your drainage system.
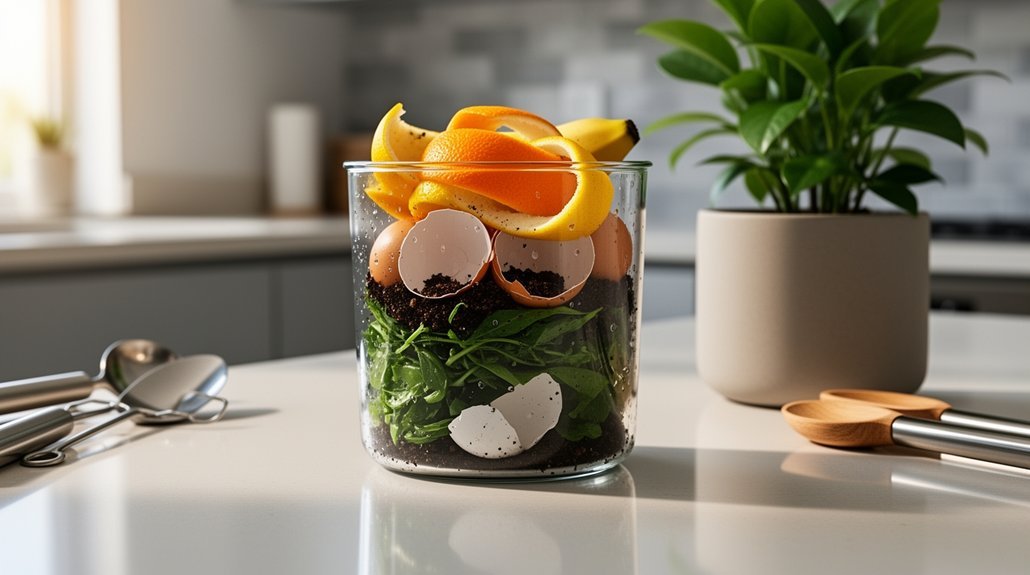
Layering Scraps and Browns to Kill Odor
Your ventilation holes won’t solve everything—you’ll also need to manage what goes into your bin. The key to killing odor is layering: alternate thin green layers (food scraps) with thicker brown layers (dry leaves, cardboard, sawdust).
Ventilation alone won’t cut it—master odor by layering thin greens with thick browns to absorb moisture and bury food scraps.
Aim for a 1:3 ratio of greens to browns by volume. Here’s your layering strategy:
- Start with 3–4 inches of browns as your base
- Add thin green layers, then immediately cover with 2–3 inches of browns
- Top with a final 4–6 inch brown cap to suppress smells and block pests
This approach absorbs excess moisture, prevents anaerobic conditions that cause rotten smells, and keeps food scraps buried so insects can’t reach them. A coarse, bulky base layer of twigs or straw beneath your browns will allow air to flow into the pile and prevent waterlogging. Like enzyme-based systems that neutralize odor-causing bacteria, proper layering suppresses smell at the source by maintaining aerobic decomposition. You’ll notice odor problems disappear fast when you prioritize brown coverage.
Moisture Control: The Squeeze Test and Beyond

Moisture control is where many balcony composters stumble—too dry and decomposition stalls, too wet and you’ll get the rotten-egg smell that gives composting a bad reputation. You’re aiming for 50–60% moisture, similar to a wrung-out sponge.
Use the squeeze test to check: grab a handful and squeeze firmly. If water drips out, you’ve got excess moisture creating anaerobic pockets. If it crumbles dusty, it’s too dry. The sweet spot? Material holds together lightly after squeezing, then breaks apart with a poke.
Balcony bins dry faster than ground piles, so monitor regularly. Cover your bin to reduce evaporation and shield against rain. When moisture drifts out of range, add dry bulking materials like shredded leaves or cardboard, or mist lightly with water. Pre-wetting your feedstocks before adding them to the bin can increase contact time for water absorption and help maintain consistent moisture levels throughout the composting process.
Processing Fermented Material Into Garden Soil
So what happens after your bokashi bucket fills up and fermentation wraps? You’ll transform that “pickled” material into garden gold by incorporating it into soil where decomposition continues.
Here’s your approach:
Bury fermented bokashi waste 8-10 inches deep in garden beds, layering soil and scraps, then water to support ongoing microbial decomposition.
- Bury it deep: Dig a trench 8 to 10 inches down in garden beds or containers, layering soil, fermented waste, then soil again
- Keep moisture balanced: Water the mix so it stays moist but not waterlogged, supporting microbial activity
- Wait several weeks: The original scraps gradually break down and become less visible as they integrate into the soil
For container gardening, mix fermented scraps into topsoil at about 1 inch depth. For established beds, apply a thin layer and water lightly. Decomposition continues as oxygen, temperature, and microbes do their work, enriching your soil with retained nutrients. Note that all garden soil contains microbes even in poor conditions, so your existing soil foundation already supports the decomposition process.
Picking the Right Sized Bin for Your Balcony Space
You’ll want to start by measuring your balcony’s actual footprint—accounting for door swing, foot traffic, and watering access—before you settle on any bin size.
Next, assess your household’s weekly food scrap volume, since a couple producing minimal waste needs a different capacity than a family of four, and your collection schedule matters just as much as the space itself.
Match these two factors together, and you’ll find the sweet spot where your bin fits comfortably without crowding your balcony or filling too quickly to manage. A 3-pound container works well for balcony gardeners who want to practice composting without the intimidation of large, traditional bins.
Measuring Your Available Space
How much room do you actually have? Before you buy or build anything, grab a tape measure and record your balcony’s usable floor length and width. You’ll need to account for obstacles that eat into your space:
- Railings, door swings, and existing furniture
- Planters and decorative items
- Walking space for safe movement
Next, consider access requirements. Your bin needs clearance around it for opening lids, adding scraps, and removing finished compost. Placement too close to walls or railings restricts ventilation and makes maintenance frustrating. A 100L garbage-bin-style composter fits most compact balconies, but verify it leaves room to work comfortably. Don’t maximize every inch—prioritize functionality over capacity for a manageable system. Ground-level placement or bottom-open drainage ensures proper airflow and allows beneficial microbes to interact with your compost pile.
Matching Capacity to Waste Output
The right bin size starts with an honest assessment of your household’s organic waste stream. A 1–2 person household typically generates 5–10 liters of organic waste weekly, while a 3–4 person household produces 10–20 liters. Multiply your weekly output by 12–26 to determine how many months of waste your bin should hold.
For balconies with limited space, a two-bin system works well for steady waste streams. One bin receives fresh materials while the other matures, allowing continuous composting without overwhelming your footprint. Size each bin to stay properly filled—neither too empty nor overflowing—since undersized bins lose heat and slow decomposition, while oversized bins risk poor aeration and odors. For optimal results, consider that bedding type affects total compost volume, meaning your bin capacity should account for both food scraps and any carbon materials you’re incorporating.
Frequently Asked Questions
How Often Should I Empty or Harvest Compost From My Tiny Balcony Bin?
You’ll empty small bins every 1–3 months, medium ones every 3–6 months, and large bins every 6–12 months. Watch for dark, crumbly texture and earthy smell—that’s your real signal to harvest, not the calendar.
Can I Compost Meat, Dairy, or Oily Foods in a Small Balcony System?
You shouldn’t compost meat, dairy, or oily foods in standard balcony bins—they’ll attract pests, create odors, and slow decomposition. You’ll need specialized systems like bokashi or biodigesters instead.
What Temperature Range Is Ideal for Balcony Composting, and Does Weather Affect It?
You’ll want to maintain 90–140°F for active balcony composting. Cold weather slows decomposition since small bins lose heat quickly. Insulation helps, but you’ll notice your bin’s temperature tracks outdoor conditions more closely than ground-level piles do.
How Do I Prevent My Compost Bin From Attracting Rats or Insects on a Shared Balcony?
You’ll prevent rats and insects by sealing your bin tightly, positioning it away from walls and food sources, burying scraps under brown materials, maintaining balanced moisture, and disturbing the compost regularly to discourage nesting.
Will My Neighbors Complain About Smell, and How Quickly Does Odor Develop?
Your neighbors will complain if you don’t manage moisture and browns properly. Odor develops within hours to days when you add fresh scraps without dry material or adequate airflow in your compact bin.
In Summary
You’re now ready to start composting on your tiny balcony. Whether you choose worms, bokashi, or standard methods, you’ll reduce waste while creating nutrient-rich soil for your plants. Pick a bin that fits your space, manage moisture carefully, and you’ll succeed. Your small balcony doesn’t limit you—it just requires you to be smart about your composting approach. Start today and watch your gardening transform.
Leave a Reply