

Keep the compost’s moisture around a wrung‑out sponge—about 50%—by draining leachate quickly and using a dry base or drainage layer. After each wet scoop, toss a handful of shredded cardboard, newspaper, dry leaves, coffee filters, or paper towels to absorb excess water and keep a 2:1‑4:1 brown‑to‑green ratio. Turn the pile every few days with a hand trowel to boost aeration and prevent mold‑friendly pockets. Choose a mold‑resistant bin with a tight‑snapping lid, stainless steel interior, and a built‑in charcoal filter that drains liquid. Clean the container with a vinegar‑water solution after emptying, dry it thoroughly, and avoid overfeeding wet scraps; the more you follow these steps, the easier it’ll be to keep mold at bay.
Control Moisture to Stop Indoor Compost Mold

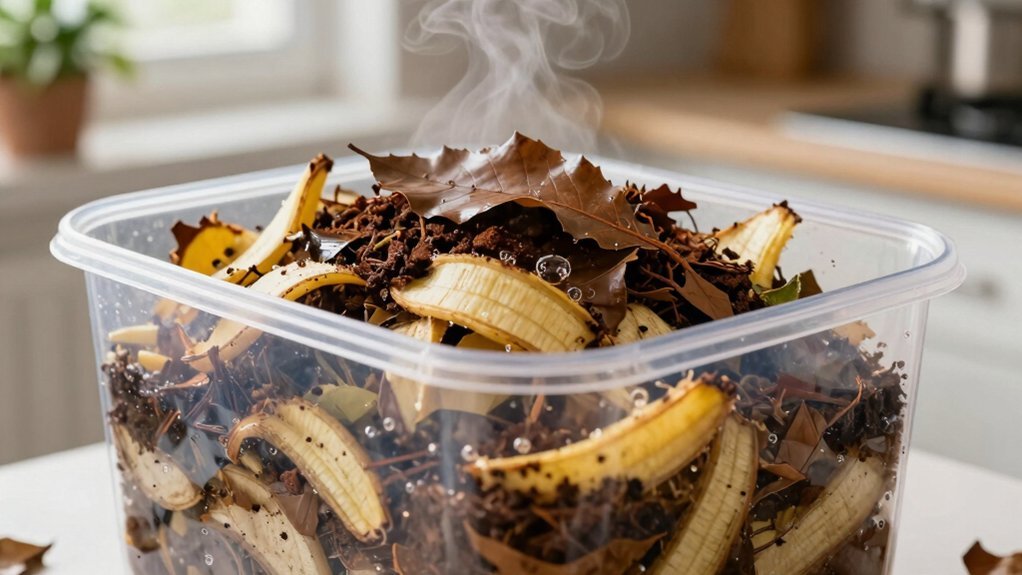
Ever wondered why your indoor compost turns moldy? You’re probably over‑watering it. Aim for a moisture level like a wrung‑out sponge—about 50 %—so microbes stay active without drowning out oxygen. Drain any leachate promptly; a dry base or drainage layer stops liquid from pooling and avoids anaerobic smells. Keep the bin’s humidity in check by not covering it too tightly and by adding scraps in moderation.
Stir or turn the pile regularly to break up wet pockets and create air channels; coarse material helps maintain those pockets. Mixing coir with shredded paper, cardboard, or peat moss is acceptable and can improve drainage and aeration significantly.
Finally, watch wet inputs closely—if a batch feels soggy or smells sour, adjust immediately. Quick fixes keep mold at bay and speed up decomposition. Proper airflow ensures aerobic conditions that prevent mold growth.
Add Dry Carbon Browns After Each Wet Scoop
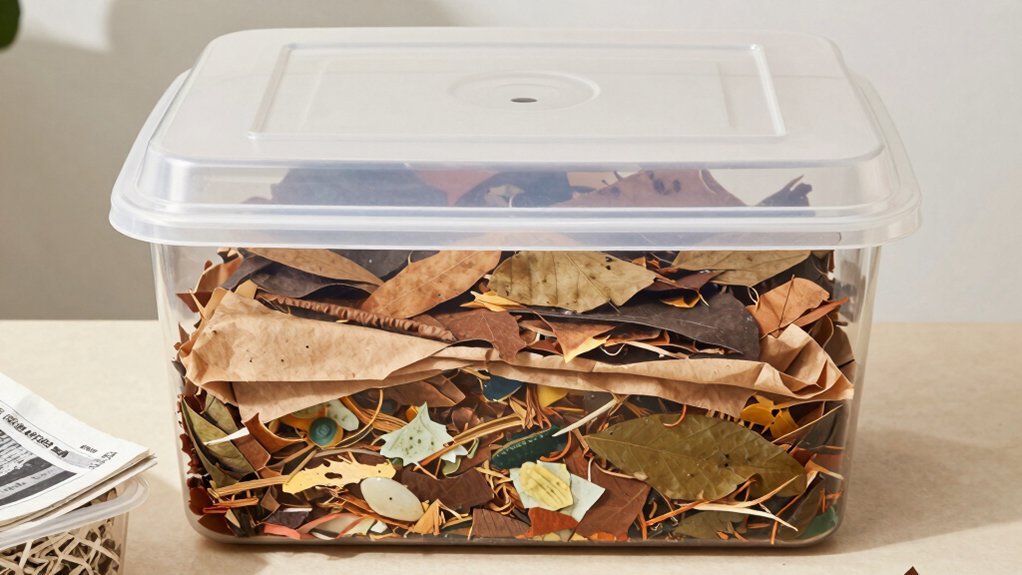
Add a handful of dry carbon browns right after each wet scoop of kitchen scraps. The moisture‑rich greens you drop in will otherwise make the bin soggy and invite mold. Choose shredded cardboard, newspaper, dry leaves, coffee filters, or paper‑towel tubes—clean, dry, and porous. Toss enough to create a thin, dry cap that absorbs excess water and gives the pile structural strength, preventing compaction. Shred or tear the material first to increase surface area, then spread it evenly over the scraps. This barrier limits air exposure, discourages visible mold, and keeps odors at bay. By maintaining a 2:1‑4:1 brown‑to‑green ratio, you balance carbon and moisture, keeping the indoor compost dry enough to stay mold‑free. Consider storing your finished compost materials in airtight containers with silicone gaskets to maintain proper moisture levels before use. Adding perlite can further improve aeration and absorb surplus moisture.
Turn Indoor Compost Regularly – How Often and Why
Why turn your indoor compost regularly? You boost airflow, keep microbes aerobic, and stop mold‑friendly pockets from forming. Turning every 3–4 days speeds breakdown in hot‑compost phases, while weekly turns balance aeration and heat. Low‑maintenance piles can go 1–2 weeks between mixes, but expect slower progress.
| Goal | Turn Frequency | Why |
|---|---|---|
| Fast decomposition | Every 3–4 days | Keeps thermophilic heat, outcompetes mold |
| Balanced indoor use | Weekly | Maintains oxygen without over‑cooling |
| Low‑maintenance | 1–2 weeks | Slower but still functional |
Use a hand trowel or compost fork, reach the bin’s center, and turn after each major addition or on schedule. This routine redistributes moisture, breaks clumps, and lets fresh microbes attack material before mold can spread. If white mold appears during fermentation, it is beneficial mold, but blue, green, or black mold requires action and additional bokashi bran. Proper bulking materials increase free air space to further reduce the need for frequent turning.
Select a Mold‑Resistant Indoor Compost Bin
Turning your compost regularly keeps airflow high and mold at bay, but the bin you choose determines how well you can maintain those conditions. Pick a bin with an airtight or tightly snapping lid; this limits oxygen spikes that fuel odor and mold while still letting you open it quickly for scrap drops. Stainless steel is ideal—its non‑porous surface wipes clean, resists discoloration, and won’t harbor bacteria. Look for models that embed an activated‑charcoal filter in the lid; the filter traps smells, making the bin kitchen‑friendly. Choose a design that drains liquid, such as one with a removable tray or sloped interior, so excess moisture doesn’t linger. If space allows, a stacked system separates finished compost from fresh, wetter material, further curbing mold growth. Models like the EAST OAK Dual Chamber Compost Tumbler feature aeration holes and deep fins that accelerate decomposition while reducing moisture buildup. The Bokashi‑based fermentation process also helps suppress mold by creating an anaerobic environment.
Clean the Bin and Limit Wet‑Scrap Overfeeding
How can you keep mold at bay while your indoor compost bin works? First, clean the bin after each emptying. Wash it with a vinegar‑and‑water solution, scrub corners, seams, and lid edges, then rinse thoroughly. Dry it completely—air‑dry, leave the lid open, and keep it in a ventilated spot—before adding new scraps.
Next, avoid overfeeding wet waste. Add scraps in small batches, drain juicy foods, and empty the bin more often if moisture builds up. Balance wet scraps with dry browns like newspaper or shredded cardboard to absorb excess liquid. Most ceramic crocks and indoor compost bins use charcoal filters to control odors, which work best when the bin stays dry and properly maintained.
- Scrub all interior surfaces after each use.
- Rinse and air‑dry the bin fully before refilling.
- Add wet scraps in limited amounts, draining juices first.
- Sprinkle dry browns to soak moisture each batch.
- Keep the bin in a well‑ventilated area to speed evaporation.
Use a five‑gallon bucket as the container, as it provides enough space for layering and airflow, which helps prevent mold growth.
Frequently Asked Questions
Can I Use a Dehumidifier Near My Indoor Compost Bin?
Yes, you can place a dehumidifier near your indoor compost bin, but keep it at least a foot away for proper airflow, empty the tank regularly, and still balance browns and ventilation.
Do Essential Need to Add a Starter Culture to Prevent Mold?
No, you don’t need a starter culture to stop mold. Focus on balancing dry browns, keeping moisture sponge‑like, and turning the bin for airflow; those steps control mold far better than any inoculant.
Will a Sealed Glass Jar Compost System Develop Mold?
Yes, it will. Your sealed jar traps moisture, warmth, and oxygen, creating a perfect environment for spores to germinate. Add dry browns, keep scraps small, and vent occasionally to curb mold growth.
How Often Should I Replace the Bin’s Liner Material?
You should swap the liner every two to three days, or sooner if it’s wet, torn, or overloaded. Frequent changes keep moisture down, prevent odors, and stop mold from taking hold.
Can Essential Mold Be Transferred to Nearby Houseplants?
Yes, essential mold can jump to nearby houseplants; spores drift through the air, settle on damp soil, leaves, or pots, and then colonize if humidity stays high and airflow is poor.
In Summary
By managing moisture, adding dry carbon, turning the pile often, choosing a mold‑resistant bin, and cleaning up excess wet scraps, you’ll keep indoor compost fresh and mold‑free. Stick to these steps, and your kitchen waste will turn into rich soil without the pesky fungus.


Leave a Reply