
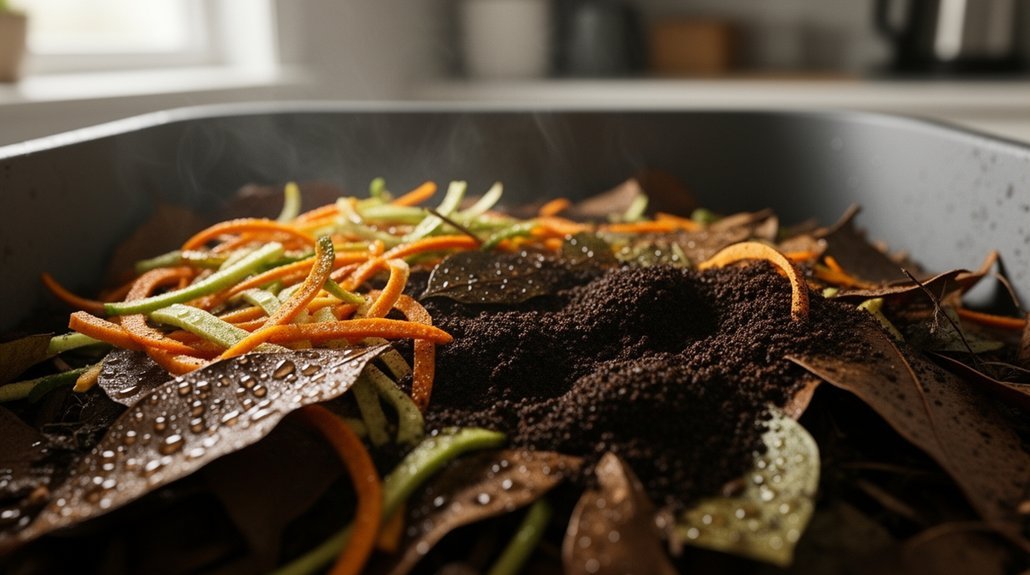
Aim for about 40‑60 % moisture by weight—roughly a damp, wrung‑out sponge that holds together briefly when you squeeze it. This range gives microbes enough water to stay active while keeping air pockets for aerobic digestion, so you avoid sour smells and soggy clumps. If it feels dry, mist it lightly and mix; if it’s soggy, add dry shredded paper or straw. Check with the squeeze test each turn, and you’ll keep your bin healthy and odor‑free. Keep going to discover more tips.
Why 40‑60% Moisture Is Ideal for Indoor Compost
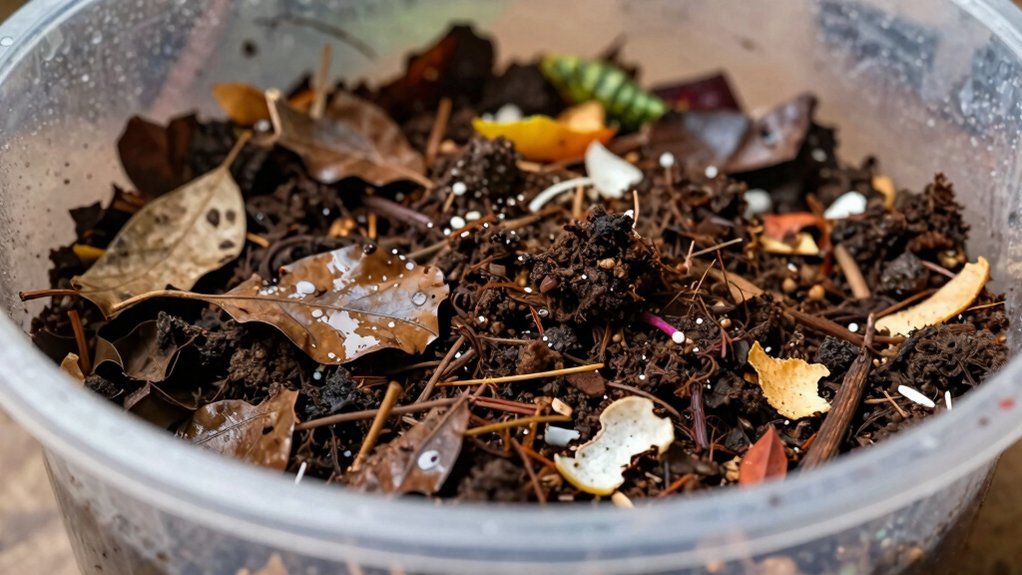
Why does 40‑60 % moisture work so well for indoor compost? Because it gives microbes enough water to metabolize and move while still leaving air pockets for aerobic respiration.
At this level the material feels damp, not soggy, so oxygen can circulate and foul‑smelling anaerobic zones stay at bay.
In a confined bin, excess water quickly displaces air, leading to sour odors and a slimy texture; too little water stalls activity, produces little heat, and leaves scraps recognizable. Quality odor control methods like charcoal filters help manage the smell when moisture levels occasionally drift outside the ideal range.
By keeping moisture in the 40‑60 % window you balance microbial vigor with breathable pore space, which speeds decomposition, curbs odor, and prevents leachate buildup.
Adjust with wet scraps and dry browns to stay in that sweet spot. Adding a dry material such as straw or sawdust can help absorb excess water when the squeeze test shows dripping.
How to Test Indoor Compost Moisture Quickly With the Squeeze Method
Ever wondered how to gauge your indoor compost’s moisture without a meter? Grab a handful of material from the active core, wear gloves, and squeeze it in your fist. If it forms a loose ball that holds shape briefly and only a few drops trickle out, you’re in the sweet spot—damp but not soggy. A wet sheen on your hand signals moisture near the upper limit. If the sample crumbles, feels dusty, and releases no water, it’s too dry; microbial activity will lag. Conversely, if water drips freely and the mass feels muddy or slimy, it’s overly wet and may turn anaerobic. Test after each turn, sample several spots, and repeat to ensure consistency across the bin. For precise measurements, consider using digital moisture meters to verify your readings alongside the squeeze method. The optimum moisture is between 50% and 60%, which supports active bacterial and fungal growth.
How to Add or Remove Water to Balance Indoor Compost Moisture
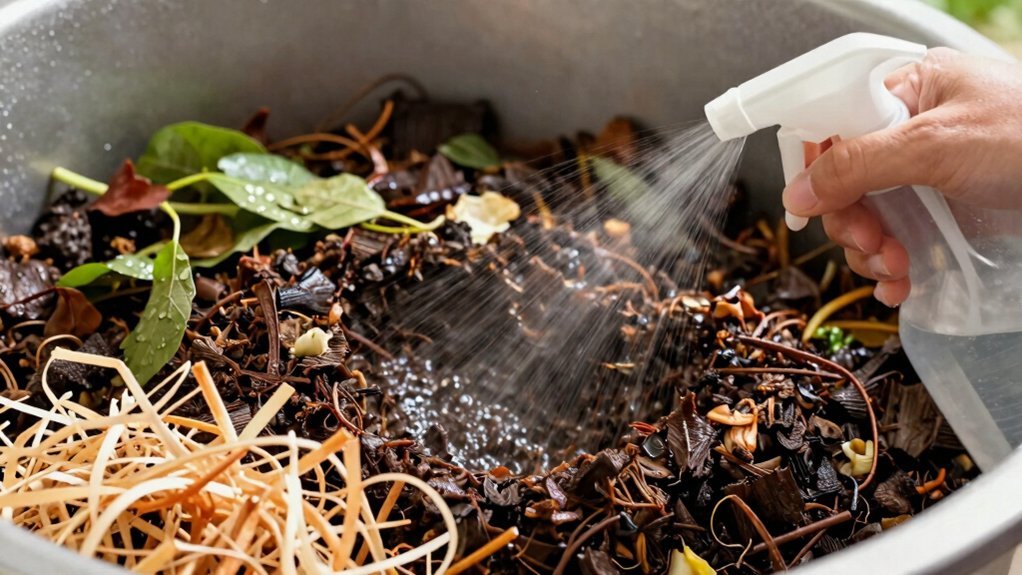
Adding or removing water in an indoor compost is a matter of small, controlled adjustments—sprinkle a little liquid at a time or fold in dry carbon material until the pile feels like a wrung‑out sponge. Aim for 40‑60 % moisture by weight; if it feels soggy, sprinkle dry shredded paper, leaves, or straw, then turn the pile to spread the absorbent.
Adjust indoor compost moisture with tiny sprays or dry carbon, aiming for a wrung‑out sponge consistency.
If it’s dry, mist the surface lightly, then mix or turn to push moisture into the interior, avoiding pools that block airflow.
Turn the compost regularly; each mix distributes water, restores oxygen, and prevents anaerobic spots that cause odor. Consider using compost bin filters to help manage odors during the decomposition process.
Monitor the “squeeze test” after each tweak, and adjust gradually—small increments keep the ecosystem balanced without shocking the microbes. Apply a biocover layer of 6–12 inches of fiber‑rich material to help retain moisture.
Adjusting Indoor Compost Moisture for Standard vs. Worm Bins
After you’ve fine‑tuned the water level with the squeeze test, the next step is to recognize that standard indoor compost bins and worm bins each demand a different moisture sweet spot. Standard bins thrive at a damp, wrung‑out sponge feel with minimal free liquid; you’ll notice clumps when you squeeze, but no drips. Worm bins need a similar sponge texture but a higher overall humidity so the worms can breathe through their skin. Too much water in either system creates odor, mold, or anaerobic conditions, while too little slows decomposition and worm activity. Adjust the balance by tweaking browns, bedding, and airflow according to each bin’s needs. Models with airtight lids and secure latching mechanisms help maintain consistent moisture levels while preventing pest access.
- Add shredded newspaper to absorb excess moisture.
- Use dry leaves in standard bins for extra carbon.
- Incorporate coconut coir or cardboard in worm bins for consistent humidity.
- Monitor odors and texture daily to catch imbalances early.
Using an airtight lid helps contain odors and keeps the bin environment stable.
Daily Habits to Keep Indoor Compost Moisture Right
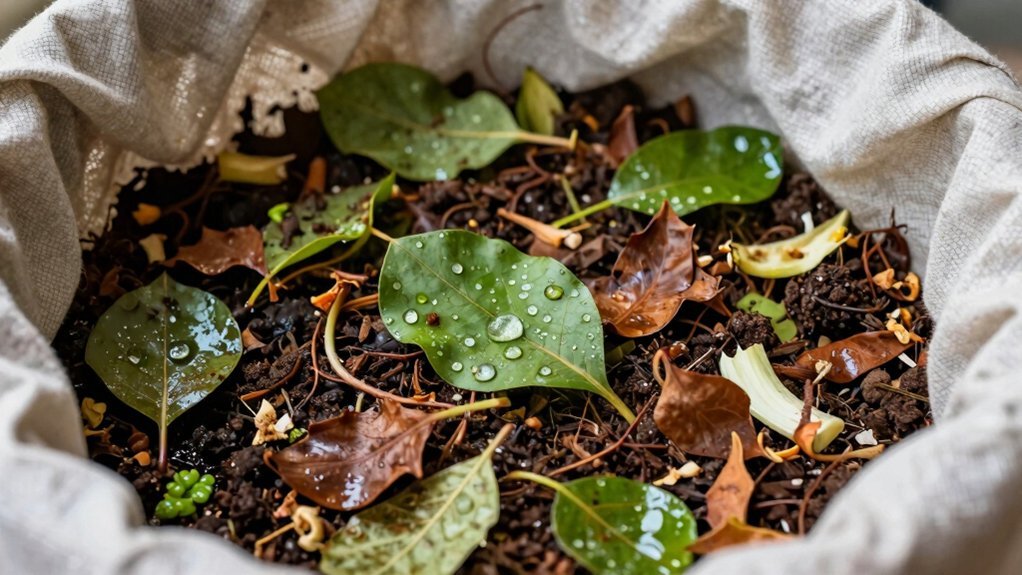
When you check your indoor compost each morning, aim for a damp, wrung‑out‑sponge feel—moist but not dripping. Spot dry, dusty edges or cardboard‑like bedding as early warnings of low moisture, and look for pooling liquid, slimy texture, or compaction for excess. Use a spray bottle to mist water in fine droplets, adding only a little at a time while you stir the bin. After each mist, recheck the feel before adding more. Balance wet scraps with dry bedding—shredded paper, cardboard, or leaves—especially after adding juicy produce, coffee grounds. Keep a reserve of dry material handy for quick corrections. Gently turn the compost daily to redistribute moisture, break up compacted spots, and maintain airflow. Consider using retention rings or liners to help manage moisture accumulation and prevent excess liquid pooling. Empty any collected liquid promptly, wipe condensation, and place the bin where temperature stays stable and ventilation is adequate. Maintaining optimal moisture is essential for microbial activity and efficient decomposition.
Frequently Asked Questions
How Does Ambient Humidity Affect Indoor Compost Moisture?
Ambient humidity shifts your compost’s moisture: high humidity slows evaporation, keeping it damp, while low humidity speeds drying, requiring you to add water or more greens to stay within the 40‑60% range.
Can I Use a Hygrometer to Monitor Compost Moisture?
You can’t rely on a hygrometer alone; it measures air humidity, not compost moisture. Use the squeeze test or weigh samples, then check the hygrometer only to spot ventilation issues.
What Temperature Range Supports Optimal Moisture Retention?
Keep your indoor compost between 65‑75 °F (18‑24 °C). Cooler temps hold water longer, so you’ll water less often and stay within the 40‑60% moisture range without battling rapid evaporation.
Does the Type of Kitchen Waste Change Required Moisture Levels?
Yes, wet scraps like fruit rinds push you toward the upper end of the 40‑60% range, so add dry browns; dry waste like coffee grounds pulls you down, meaning you’ll need extra water or damp greens.
How Often Should I Replace the Bin Liner to Prevent Excess Moisture?
You should replace the bin liner whenever you notice condensation, sour odors, or soggy bedding—typically after a leak or when moisture stays above 60% for a couple of cycles. Act promptly to keep airflow and odor in check.
In Summary
Keeping your indoor compost at 40‑60% moisture is the sweet spot for fast, odor‑free breakdown. Use the squeeze test to check, add water with a spray bottle or a dry layer of brown material, and adjust for worm bins versus regular bins. By monitoring daily and tweaking as needed, you’ll maintain the perfect balance and keep your kitchen waste turning into rich, usable compost.



