
You’ll start micro batch composting by selecting a compact, well-draining container like a perforated bin or bokashi-style bucket. Next, layer your greens and browns at a 1:3 ratio, covering green materials immediately with three to four times as much brown matter. Finally, you’ll keep your batch active by maintaining sponge-like moisture, turning every two to four days, and monitoring for dark, crumbly compost within weeks. There’s considerably more to master about optimizing your setup.
Pick a Compact Container With Good Drainage
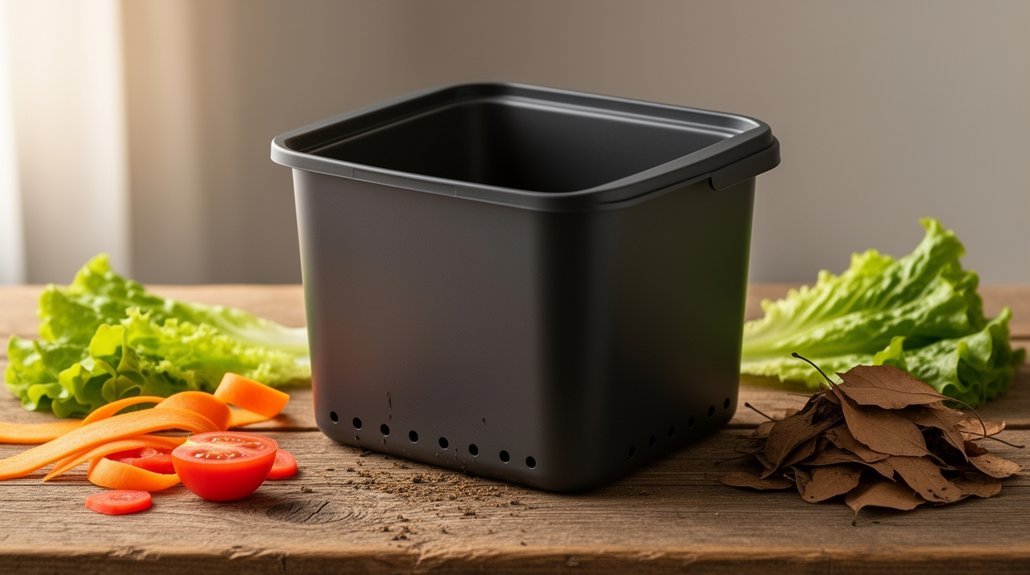
Why does container choice matter so much for micro-batch composting? You’ll need a vessel sized for your actual input volume—oversized bins waste space and compromise aeration. Consider units like the BioLet Mini’s four-gallon bins, which demonstrate that small capacity works effectively.
Right-sized vessels prevent wasted space and aeration problems—micro-batch composting demands containers matched to your actual input volume.
Drainage is non-negotiable. Trapped moisture creates anaerobic conditions and odors, so you’ll want a container with holes in the bottom and sides. A perforated metal trash can works well, or choose a bokashi-style bin with a tap for liquid removal. The BioLet Mini’s interchangeable solid waste bins can be swapped out and emptied as needed, making them ideal for small-batch systems.
Ventilation equally matters. Perforations and breathable designs support oxygen flow, which accelerates decomposition and reduces odors. Poor ventilation leads to compaction, waterlogging, and slow processing. Line your container with compostable liners to simplify emptying and maintain cleanliness between batches.
Pick a lightweight, accessible container you can easily check, turn, and empty. Your maintenance routine depends on it.
Layer Browns and Greens at the Right Ratio
Once you’ve got your container sorted, you’re ready to fill it—and here’s where the real magic happens.
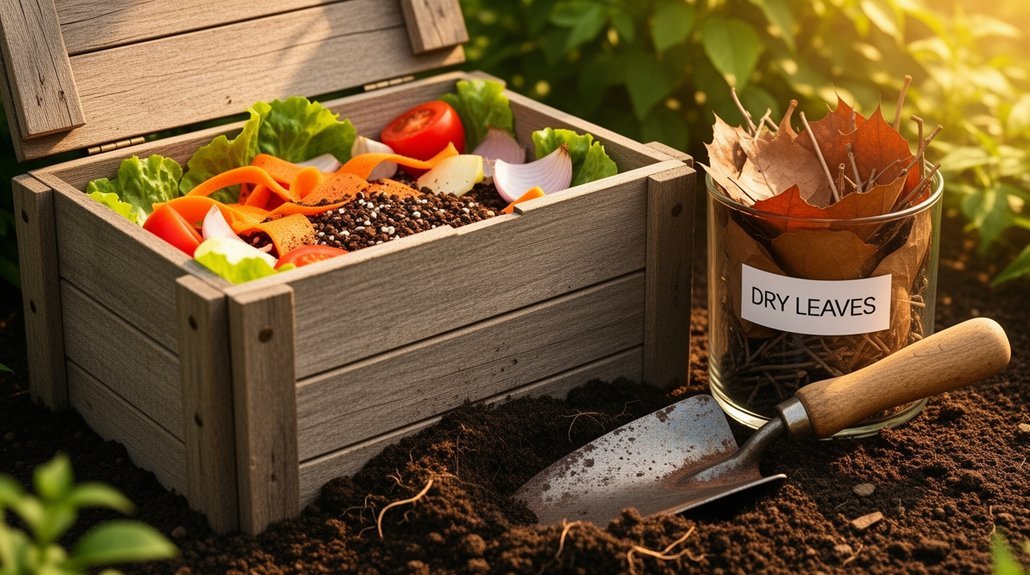
The key is layering browns and greens at roughly a 3:1 ratio by volume.
Start with a small portion of greens—kitchen scraps or grass clippings—then immediately cover them with three to four times as much browns like dry leaves, shredded paper, or cardboard.
Make sure your brown layer fully conceals the visible greens.
Repeat this alternating pattern as you add more materials.
This approach prevents odors, reduces fly attraction, and maintains the right carbon-to-nitrogen balance for efficient decomposition.
Layering reduces the amount of shoveling and turning required, making micro batch composting even more manageable for beginners.
Stick to this simple layering method, and your micro batch will break down steadily without becoming a stinky mess.
Keep Your Batch Active and Know When It’s Ready
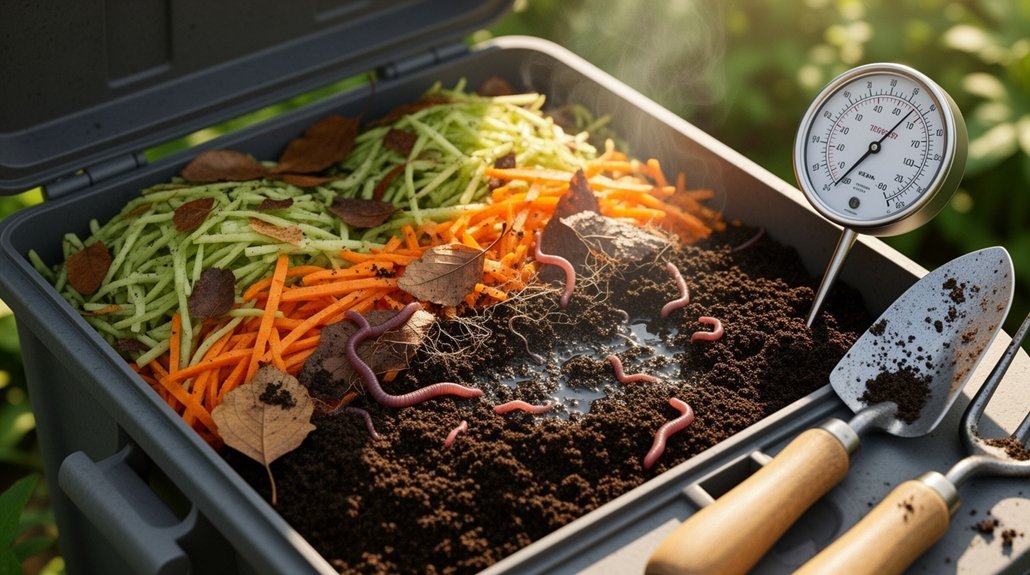
Now that you’ve built your layered foundation, keeping your micro batch active requires attention to three key factors: moisture, oxygen, and temperature.
Maintain your pile at a wrung-out sponge consistency—moist but not soggy. Turn it every 2 to 4 days to introduce oxygen, which aerobic microbes need to break down material efficiently. Regular aeration prevents foul odors like ammonia and methane. For faster results, consider using a commercial starter like EB Stone Organics Compost Maker to jump-start microbial activity and heat generation. Charcoal filters and odor control features can also help manage any remaining smells during the active decomposition phase.
Monitor your pile’s temperature, aiming for 90°F to 150°F. Active decomposition generates this heat as microorganisms work. You’ll know your batch is finished when it becomes dark, crumbly, and soil-like, with no recognizable food scraps remaining. The pile stops reheating after turning. Under ideal conditions, you’ll have usable compost in 18 days to several months, depending on your management intensity.
Frequently Asked Questions
Can I Use Meat, Dairy, or Oils in My Micro Batch Compost?
You shouldn’t add meat, dairy, or oils to your micro batch compost. They’ll attract pests, create odors, and slow decomposition. These materials work better in large, hot commercial systems than small residential bins.
How Often Should I Turn or Aerate My Small Composting Container?
You’ll get fastest results by turning your small container every 3 to 4 days, though weekly turning works well too. If you’re using a thermometer, turn when temperature drops below 104°F.
What’s the Ideal Moisture Level for a Micro Batch Compost Bin?
You’ll want to maintain 45-60% moisture in your micro batch bin, ideally around 50%. Squeeze a handful—it should feel moist and hold together without dripping water. This moisture level keeps microbes active while preserving oxygen availability.
How Long Does Micro Batch Composting Typically Take to Produce Finished Compost?
You’ll typically produce finished compost in 4–8 weeks using tumblers or active batches. With daily turning and optimized conditions, you can achieve results in 3–4 weeks. Cold composting extends your timeline to 6–12 months.
Can I Start a New Batch Before My First Batch Finishes Decomposing?
You can start a new batch before your first finishes, but you’ll need separate spaces. Adding fresh materials to a nearly finished batch delays its readiness. Keeping batches separate lets you maintain better control over moisture, heat, and aeration.
In Summary
You’ve now got everything you need to start your micro batch composting journey. By selecting the right container, balancing your materials properly, and staying on top of maintenance, you’ll transform your kitchen scraps into nutrient-rich compost in weeks. You’ll reduce waste while creating gardening gold for your plants. Start today and you’ll quickly become a composting pro.


Leave a Reply