

You can transform scraps into nutrient-rich castings in 8–12 weeks using shallow bins that fit under your sink or in a basement corner. Vermicomposting works in tight spaces because you’re stacking bins vertically, drilling strategic air holes for odor control, and maintaining a 3:1 bedding-to-food ratio that keeps everything aerobic and compact. The real magic happens when you understand how worm populations, moisture balance, and feeding frequency work together in these confined systems.
Our Recommended Product on Amazon

As an Amazon Associate we earn from qualifying purchases.
Why Vermicomposting Beats Other Indoor Composting Methods
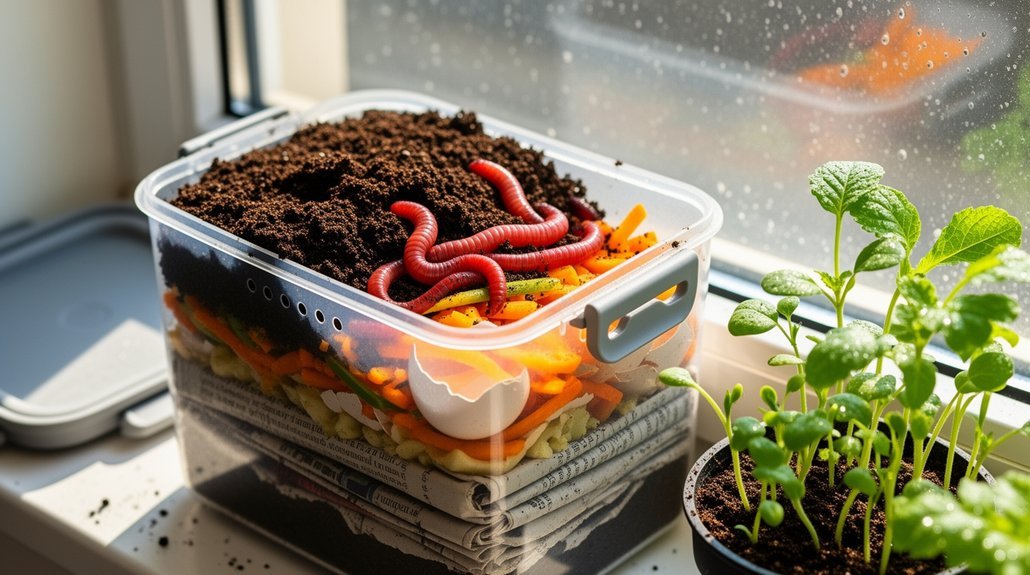
When you’re working with limited space, vermicomposting delivers results that other indoor methods can’t match. You’ll get finished compost in 8–12 weeks instead of waiting 6–9 months for traditional hot composting to mature.
Unlike bokashi systems, which only pre-compost your scraps, worm bins produce immediately usable castings rich in nutrients and beneficial microorganisms. You’ll also enjoy odorless operation when you maintain your bin properly—a major advantage in apartments and shared housing. The spigot for worm tea drainage allows you to extract nutrient-rich liquid fertilizer while managing moisture levels in your compact bin.
While hot composting kills more pathogens through high heat, it demands larger piles and space you don’t have. Vermicomposting works in your kitchen or basement without the smell or infrastructure requirements. The tradeoff is that you can’t process massive waste volumes, but for steady, small-batch food scrap processing, worms outperform every other compact method. Redworms are surface feeders that thrive in confined spaces, making them perfectly suited for indoor bins where other composting organisms would struggle.
Start Small: Container Options for Apartments and Tight Spaces
Now that you’ve decided vermicomposting suits your space, the right container makes all the difference. Shallow rectangular or square bins maximize surface area, improving airflow and giving you more room for food scraps. Plastic storage bins are your most practical choice—they’re affordable, easy to manage, and their thick walls contain moisture effectively.
For apartments, two 8- to 10-gallon plastic containers work well as a starting point. Drill 1/8 to 1/4 inch holes in the bottom and sides for drainage and ventilation. Stack your bins vertically to save floor space, or use a two-bin system with a catchment tray below for excess liquid. Dark-colored containers help reduce light exposure that worms naturally avoid, making your setup even more efficient. For added odor control and waste processing efficiency, consider layering food scraps with bokashi bran to accelerate decomposition and handle materials like meat and dairy that traditional vermicomposting cannot process. Use 1 square foot of bin surface area per 0.5 kg of weekly waste to ensure your containers can handle your household’s organic garbage volume.
Choosing a Worm Bin Size for Your Space
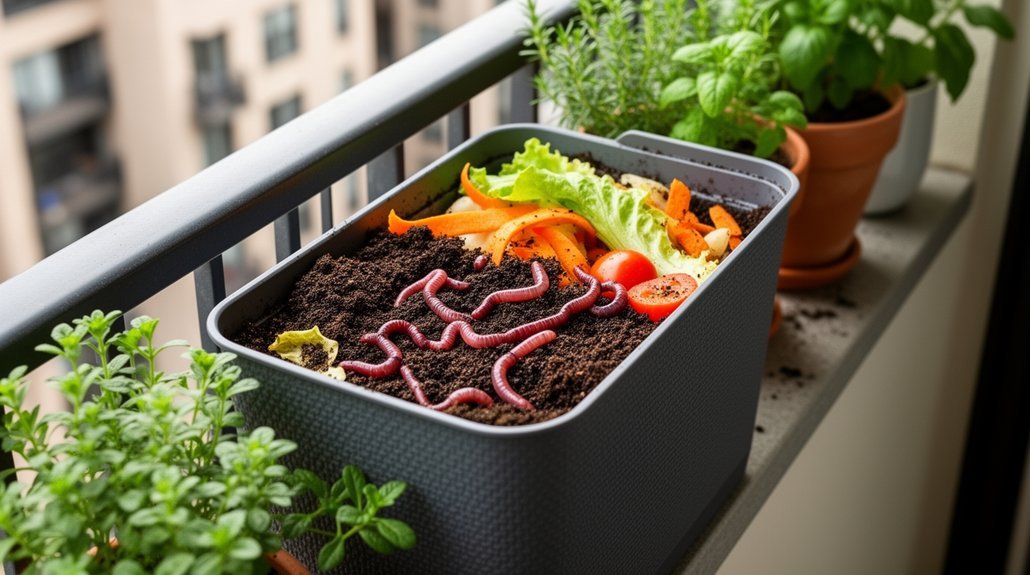
How do you know what size bin you actually need? Match your container to your household’s waste output and available space—not just what sounds convenient. A practical rule: roughly 2 pounds of worms can recycle about 1 pound of food waste daily. For a couple producing modest scraps, an 8–10 gallon bin works fine. Families generating 8–10 pounds weekly need an 18-gallon tote. Prioritize surface area over depth since worms inhabit the top few inches. Consider these factors:
- Weekly kitchen waste volume
- Available floor or counter space
- Household size and composition
- Moisture and airflow management ease
- Weight when filled with bedding and castings
Deeper bins trap moisture and reduce oxygen availability, making wider, shallower containers more efficient for indoor setups. Adequate ventilation ensures sufficient oxygen reaches the worms throughout the composting process. For optimal results, avoid composting meat, dairy, and oils in your worm bin, as these materials can create odor problems and slow decomposition rates.
Food Scraps and Bedding Ratios for Small Bins
Getting the bedding-to-food balance right is essential in small bins, where space constraints demand careful management. You’ll want to aim for a 3:1 bedding-to-food ratio as a safe starting point, though 10:1 is often practical once your system stabilizes. The key isn’t hitting a perfect number—it’s ensuring worms can access food without excessive bedding obstruction.
Extra bedding absorbs moisture from kitchen scraps, prevents anaerobic conditions, and provides habitat for tunneling and cocoon-laying. Start conservatively with modest food amounts, adding no more than 25–40% by volume initially. Chop scraps into smaller pieces so worms consume them faster. Bury food under bedding to reduce odors and pest attraction. Using compostable waste bags can help organize and separate food scraps before adding them to your bin, streamlining the feeding process. Many variables such as moisture content, worm population density, and the type of food waste you’re introducing will influence how quickly your system reaches equilibrium. As your bin stabilizes, gradually increase food input to match what worms can process within days.
How Often to Feed Your Worms (and When to Stop)
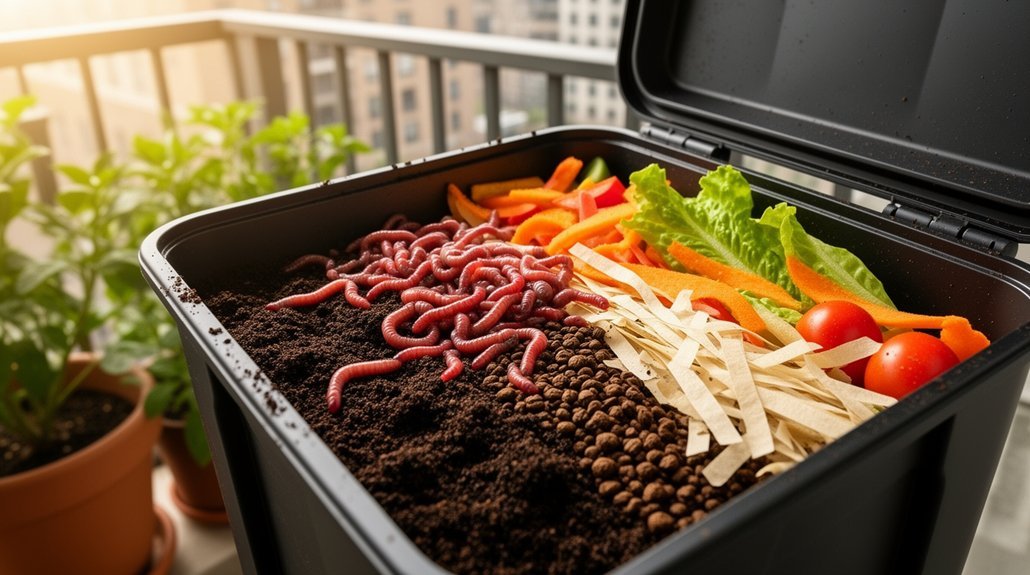
Most new worm bins thrive on conservative feeding schedules rather than full-capacity meals right away. You’ll want to start with about 1/4 to 1/2 pound of food scraps per pound of worms weekly, allowing your microbial population to build before increasing amounts.
Feed your bin based on what you observe, not a fixed calendar:
- Feed every 5 to 7 days initially, then stretch intervals as your bin matures
- Stop adding food when previous scraps remain uneaten
- Delay or reduce the next feeding if leftovers linger several days
- Increase portions only after repeated evidence that earlier feedings were fully processed
- Match frequency to your bin size—larger systems tolerate more frequent additions than small ones
Your bin’s appetite determines the pace. Overfeeding can cause acidity and worm mortality, so moderation remains essential throughout your vermicomposting operation. Consider using mesh filtration systems to monitor decomposition rates and ensure optimal microbial activity within your bin environment.
Controlling Odor in Indoor Worm Bins
You’ll keep your indoor bin odor-free by maintaining aerobic conditions through proper aeration and airflow, which prevent the anaerobic breakdown that creates foul smells.
Your choice of bedding materials—shredded cardboard, newspaper, and egg cartons—absorbs excess moisture while creating air pockets that support aerobic decomposition. Biodegradable kraft paper shreds can also serve as effective bedding material for worm bins, expanding capacity while maintaining the moisture-absorption properties needed for odor control.
You’ll also protect freshness by selecting scraps wisely, avoiding acid-heavy foods, and feeding only what your worms can process in a few days. Regular monitoring of worm activity and appearance will alert you to environmental stress or overcrowding before odor problems develop.
Aerobic Conditions Prevent Odors
Why do some indoor worm bins smell while others don’t? The answer lies in oxygen. You’ll keep your bin fresh by maintaining aerobic conditions—decomposition that depends on continuous airflow rather than anaerobic bacteria, which produce foul odors.
You can support beneficial microbes and eliminate smells by:
- Installing vent holes, mesh screens, and slotted designs to maximize air exchange
- Gently fluffing bedding regularly to restore air pockets and prevent compaction
- Ensuring oxygen reaches all decomposing materials consistently
- Avoiding anaerobic zones where bacteria thrive and odors intensify
- Monitoring airflow to catch stagnant conditions before problems develop
You’re essentially creating an environment where good microbes outcompete odor-causing bacteria. Proper ventilation is your first defense against indoor smell complaints. Many successful compact bin designs use individual tray air holes to distribute oxygen evenly throughout the system. Materials like breathable 900D Oxford fabric actively promote aerobic conditions while supporting moisture management in compact spaces.
Bedding Materials Balance Moisture
Getting moisture right is critical—it’s the bridge between keeping your worms alive and preventing the odors that plague indoor bins. You’ll want bedding that holds water without becoming waterlogged. Shredded cardboard absorbs excess moisture while adding structure, while coco coir retains water through its fibrous nature. The real magic happens when you blend materials: try combining 40% shredded cardboard, 40% coco coir, and 20% hemp tow. This mix balances moisture retention, prevents compaction, and maintains airflow. Use the squeeze test to verify your bedding’s moisture level—it should clump together but not drip. Avoid glossy cardboard and rinse coco coir before use to eliminate salt. Unlike electric composters that rely on activated carbon filters for odor management, vermicomposting relies on proper bedding balance to naturally control odors. As bedding materials are consumed by worms during decomposition, they break down into nutrient-rich castings that improve soil structure and plant health. This approach keeps your indoor bin fresh and your worms thriving.
Scraps Selection Ensures Freshness
What transforms an indoor worm bin from a source of foul odors into a fresh, productive system? Your scraps selection and feeding practices do.
You’ll keep your bin odor-free by following these guidelines:
- Feed only fast-decomposing kitchen scraps like fruit, vegetables, coffee grounds, and tea leaves
- Avoid meat, dairy, oils, excess citrus, onions, and garlic—these create rancid smells
- Chop all scraps into small pieces to speed decomposition and limit odor formation
- Bury scraps immediately under bedding to prevent fruit flies and contain odors
- Add food only when earlier scraps are mostly consumed, following the 0.5 lb per 1 lb of worms per week guideline
Overfeeding causes spoilage. Match your feeding rate to your worm population, monitor leftover food regularly, and you’ll maintain a fresh bin year-round. For indoor systems in limited spaces, consider pairing your worm bin with charcoal filter technology to manage any residual odors that may develop. When excess food rots, it attracts bad bacteria that intensifies unpleasant smells throughout your indoor space.
How Worms Speed Up Vermicomposting in Small Bins
How quickly can you transform food scraps into dark, crumbly castings in a small bin? Your worm population is the engine driving that transformation.
Red wigglers consume roughly half their body weight daily under ideal conditions, so a larger colony processes waste significantly faster. You’ll see your worm population double in about three months with proper care, multiplying your processing capacity without expanding your bin. To support this population growth, coffee grounds can encourage reproduction while maintaining balanced nutrition for your colony.
To maximize efficiency in tight quarters, concentrate fresh food on one side of your bin. This strategy encourages worms to migrate upward toward the new scraps, leaving processed material below. You’re essentially creating a moving production line within your limited space, keeping worms active where decomposition happens fastest. Smaller stainless steel compost pails can serve as convenient collection vessels for food scraps before transferring them to your vermicompost bin.
Harvesting Vermicompost in a Tight Space
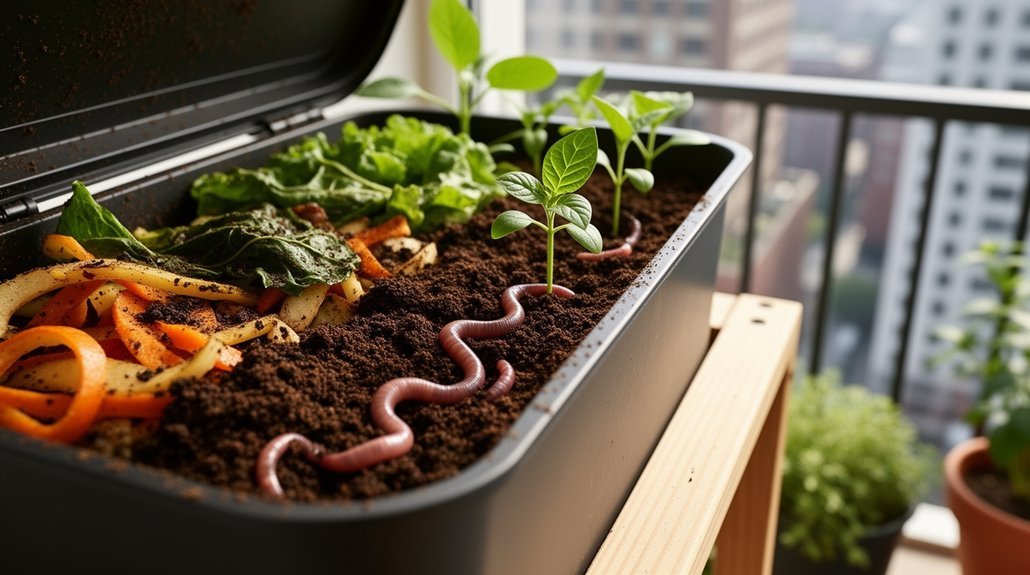
Once your bin’s bedding has transformed into dark, crumbly castings with only scattered undecomposed scraps remaining, you’re ready to harvest.
In tight spaces, you’ll want to match your harvesting method to your bin’s layout. Consider these practical approaches:
- Dump-and-sort: Place contents on a lit tarp; worms migrate downward into cone-shaped piles while you scrape away finished castings from the top
- Light separation: Brightness naturally repels worms, making them retreat as you gradually remove finished material
- Food relocation: Move fresh food to one side of your bin, drawing worms away from the harvest zone
- Pause feeding: Stop feeding 2-3 weeks before harvest to minimize undigested material in your castings
- Screen sifting: Use fine mesh to remove debris and improve your finished product’s consistency
The finished castings are nutrient- and microorganism-rich, making them an ideal soil amendment for any garden or potted plant.
Apply Vermicompost to Apartments and Balcony Plants
Now that you’ve harvested your vermicompost, you’re ready to put it to work on your apartment and balcony plants.
| Application Method | Best For | Amount | Timing |
|---|---|---|---|
| Mixed into potting soil | Container plants | Up to 1/4 by volume | At repotting |
| Top dressing | Established houseplants | Thin layer | Growing season |
| Planting holes | Seedlings & transplants | Modest amount | Initial planting |
| Potting mix amendment | All potted plants | Blended throughout | Seasonal refresh |
Mix castings into your potting soil at no more than 25% by volume to avoid salt buildup on sensitive plants. You can also top-dress established plants with a light layer during the growing season. For seedlings, blend castings into a larger mix rather than applying them directly. This approach prevents overapplication while delivering steady, low-odor nutrition to your small collection. The biologically-active soil amendment from vermicomposting ensures your apartment plants receive beneficial microorganisms and nutrients that support healthy growth in container settings.
Frequently Asked Questions
Can I Keep a Worm Bin in a Rental Apartment Without Damaging the Walls or Floors?
Yes, you can safely keep a worm bin in your rental apartment. You’ll protect your walls and floors by using a sealed, lidded container on a moisture-catching tray, maintaining proper moisture balance, and feeding small amounts regularly.
What Temperature Range Is Best for Worms in Indoor Environments Year-Round?
You’ll want to keep your indoor worm bin between 60–80°F year-round, with 72°F as your ideal target. Red wigglers thrive best at 65–77°F, while African nightcrawlers prefer warmer conditions around 75–86°F.
How Do I Prevent Fruit Flies and Other Pests in My Worm Bin?
You’ll prevent fruit flies by burying food scraps under bedding, maintaining proper moisture like a wrung-out sponge, using a closed bin with a lid, and avoiding meat, dairy, and oily foods that attract pests.
Can I Use Worms From My Garden, or Do I Need to Buy Specific Species?
You’ll get better results buying red wigglers instead of using garden worms. Garden earthworms aren’t adapted to confined bins and often die. Red wigglers thrive in loose, organic bedding and reproduce reliably indoors.
What Should I Do With My Worm Bin if I Travel for Extended Periods?
You should reduce feeding one to two weeks before leaving, add extra bedding to stabilize moisture, and arrange for a caretaker to check on your bin during extended absences. For trips lasting weeks, harvest compost first.
In Summary
You’ve discovered that vermicomposting transforms your apartment into a sustainable composting operation. By maintaining proper food-to-bedding ratios, controlling odors, and harvesting regularly, you’ll convert kitchen scraps into nutrient-rich compost. Your balcony plants and indoor greenery thrive on this black gold. You’re not just reducing waste—you’re creating a closed-loop system that works flawlessly in tight quarters. Start small, stay consistent, and you’ll see remarkable results.



