
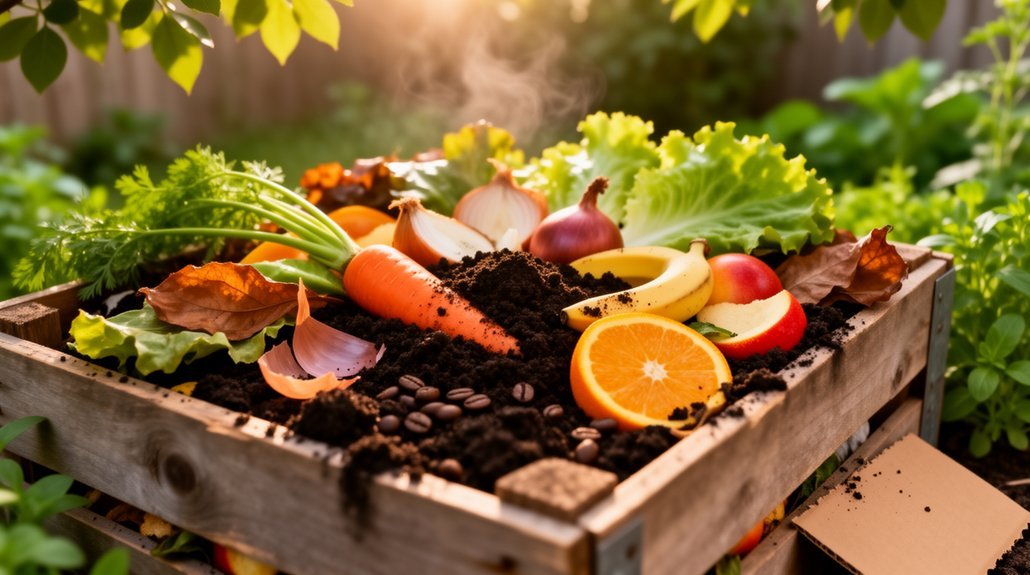
Stop adding anything new and let the bin settle. Add a generous layer of dry browns—shredded leaves, cardboard, straw—to hit a 3:1 brown‑to‑green ratio and soak up excess moisture. Turn the pile lightly to introduce oxygen and break up compact spots, then pull the dark, crumbly finished compost from the bottom and move it to a tarp or wheelbarrow. Transfer unfinished bits to a second curing bin, screen if needed, and keep the cover breathable but rain‑proof. Continue these steps and you’ll discover more ways to keep your compost healthy.
Pause New Additions Until the Bin Settles (Stop Smelly Compost)
Ever wonder why your compost smells like a landfill? You’ve probably overfilled it, so the first step is to stop adding fresh scraps until the pile settles.
When the bin is at capacity, new material compresses lower layers, choking airflow and creating anaerobic spots that emit foul odors.
Give the compost a 6‑to‑8‑week resting period; during this time, the oldest, partially decomposed matter can mature and stabilize. Using mesh filtration considerations can help you understand how proper airflow and particle size management improve decomposition efficiency.
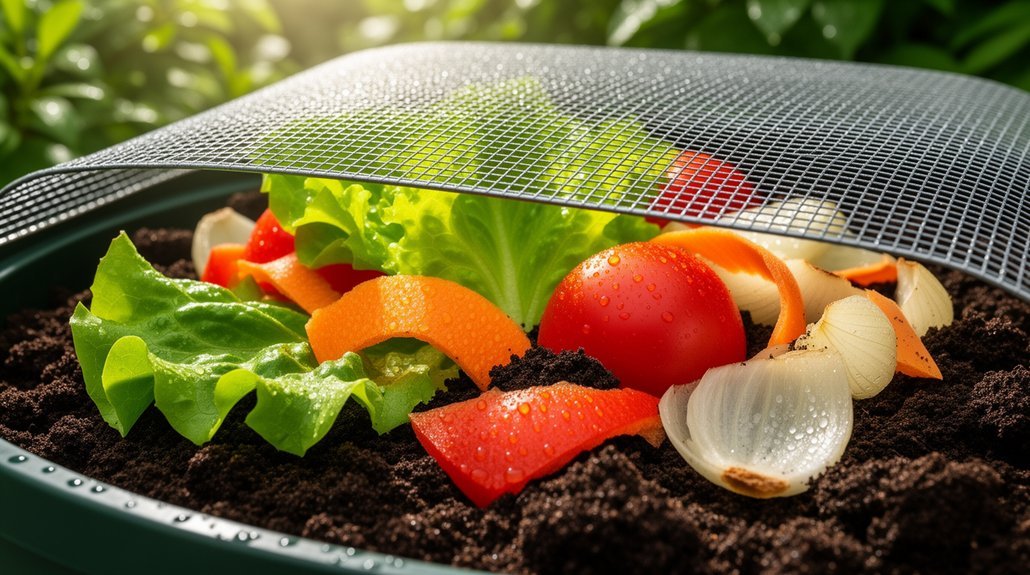
Keep a lid, plywood cover, or tarp on the top to block rain and excess moisture while still allowing evaporation.
Proper drainage helps prevent water retention and promotes better composting conditions.
Harvest or move the finished compost from the bottom to free up space, or shift the load to a second bin if you have one.
This pause lets microbes finish their work, reduces slime, and prevents the smell from getting worse.
Improve Drainage to Stop Pooling and Smell
Because excess water squeezes air out of the pile, drainage is the key to keeping your compost aerobic and odor‑free. You’ll notice that standing water at the base creates anaerobic conditions, which produce the rotten‑egg smell you want to avoid. To keep oxygen flowing and odor down, treat the bin’s location, base, and excess liquid as a system you can tweak.
Drainage keeps compost aerobic, preventing anaerobic, rotten‑egg smells by removing excess water from the pile.
- Elevate the bin on pallets or a sloped platform so water runs away instead of pooling beneath.
- Add drainage holes or a raised base to let leachate escape, preventing a slimy, oxygen‑starved bottom layer.
- Place the bin on soil or a permeable surface rather than concrete, allowing moisture to disperse naturally.
- Use a breathable cover that blocks rain but still lets air move, especially during humid weather.
- Monitor the C:N ratio to ensure a proper balance of carbon and nitrogen, which helps prevent excess moisture buildup.
- Select bins with airtight lids to minimize odor while maintaining proper ventilation through design features like oxygen flow holes.
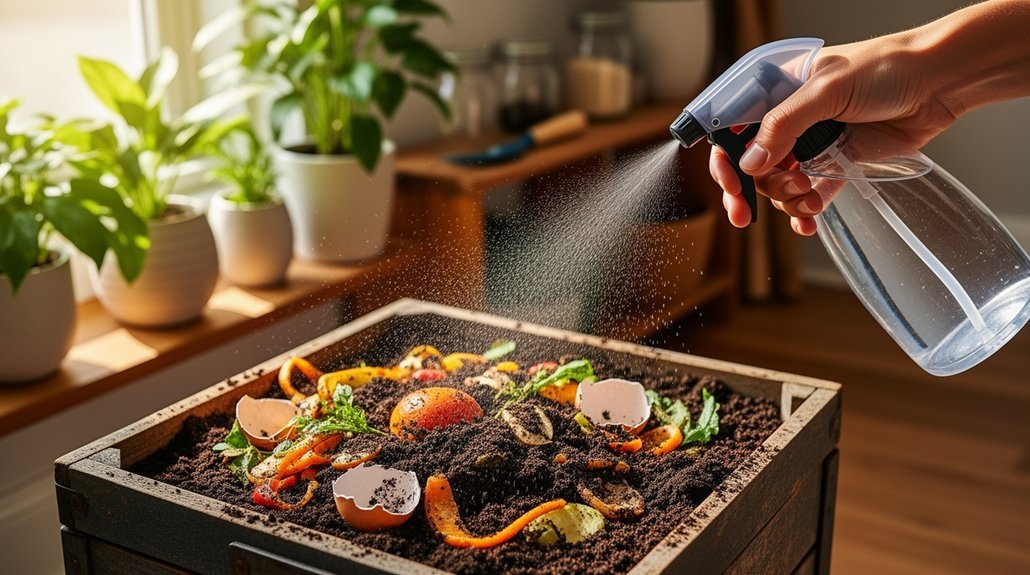
Balance Moisture With Dry Browns Inside Your Bin
How can you keep your compost from turning into a soggy mess? Aim for a damp‑like‑a‑wrung‑out‑sponge texture—about 50 % moisture. If it feels waterlogged, add dry browns to soak up excess liquid and create air pockets. Toss in shredded newspaper, dry leaves, straw, or wood chips, layering them over fresh scraps and mixing them through the soggy zone. Keep a stash of these carbon‑rich materials handy for quick corrections after heavy kitchen additions.
Microorganisms need adequate moisture to stay active, so maintaining the 45‑60 % range helps prevent anaerobic conditions. For compost bins handling diverse waste streams like meat and dairy, consider using bokashi bran to accelerate decomposition while managing moisture balance.
Watch for slimy texture, puddling, or a putrid smell; those signs mean you need more dry browns. By balancing wet greens with dry, absorbent browns, you maintain aeration, prevent compaction, and keep microbial activity humming.
Turn the Pile to Boost Aeration and Reduce Odor
You should turn your compost on a regular schedule, loosening any compacted sections and mixing greens with browns each time. This simple routine injects oxygen, speeds up decomposition, and keeps unpleasant smells at bay. Adding a supply of bulking material such as sawdust further improves airflow. Maintaining proper multi-level airflow design through consistent turning helps prevent stagnation and ensures uniform decomposition across different sections of your pile.
Regular Turning Schedule
Even if you’re new to composting, turning the pile regularly is the quickest way to keep oxygen flowing and odors at bay. Aim for a schedule that matches activity: during the hot, active phase turn every 2–4 days, then stretch to weekly as the pile cools. Watch the temperature; when it drops below 104 °F (or 100–120 °F in slower piles) give it a spin. Consistent turning feeds aerobic microbes, speeds breakdown, and prevents sour smells, while also helping you weed‑seed and pathogen control. Using a spiral mixing paddle or aerator tool designed for your bin type ensures thorough aeration and faster decomposition.
- Turn every 2–4 days for rapid composting.
- Adjust to weekly once temperature stabilizes.
- Use a thermometer to trigger turns at temperature drops.
- Keep turns light; over‑mixing isn’t needed for quality.
- Frequent turning can lead to nitrogen loss, so consider nutrient preservation when planning your schedule.
Loosen Compact Sections
Why let dense, matted clumps choke your compost? Break up compact sections with a pitchfork or shovel, pulling apart large clumps before you reload the bin. Turning the pile from the outside inward opens airflow channels, while a tarp or tumbling bin makes the process easier. Add dry, fine bulking materials—shredded leaves, pine needles, peat moss—to fluff up matted zones and absorb excess moisture. Insert sticks or PVC pipes with holes to create permanent air paths, and speare dense spots with a stick for a quick oxygen boost. Keep the structure loose, balance wet loads with coarse material, and prevent future over‑compression for faster, odor‑free decomposition. Just as charcoal filters in compost crocks reduce odors in kitchen bins, proper aeration prevents the anaerobic conditions that generate unpleasant smells in larger outdoor piles.
| Tool | Purpose | Tip |
|---|---|---|
| Pitchfork | Break clumps | Work from edges inward |
| Tarp | Dump & remix | Spread thinly for easy turning |
| PVC pipe | Passive aeration | Drill holes every 6 inches |
| Dry bulking material | Fluff & absorb | Mix thoroughly to avoid new mats |
Compacted bags can reduce root growth if not loosened before use.
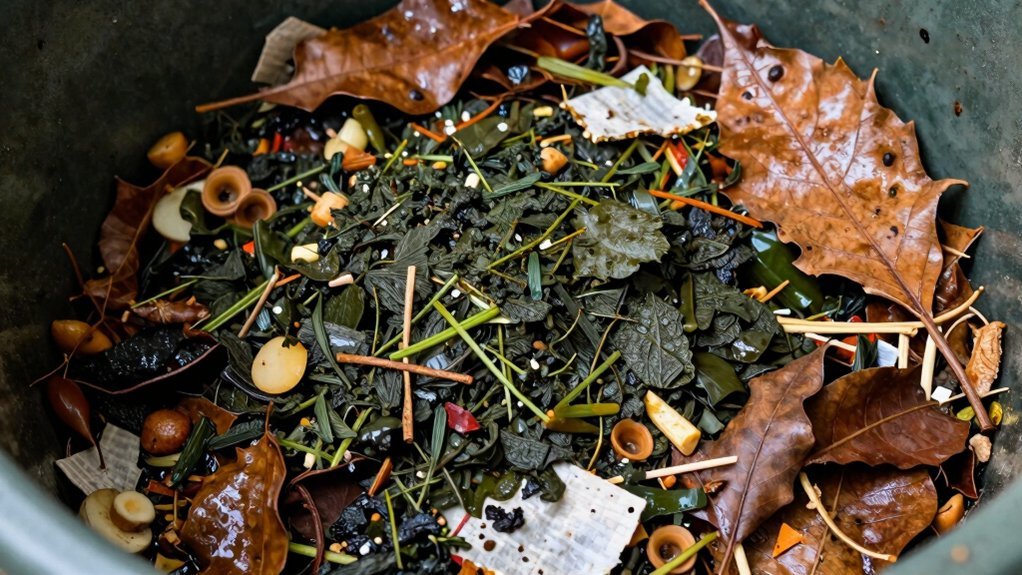
Mix Greens With Browns
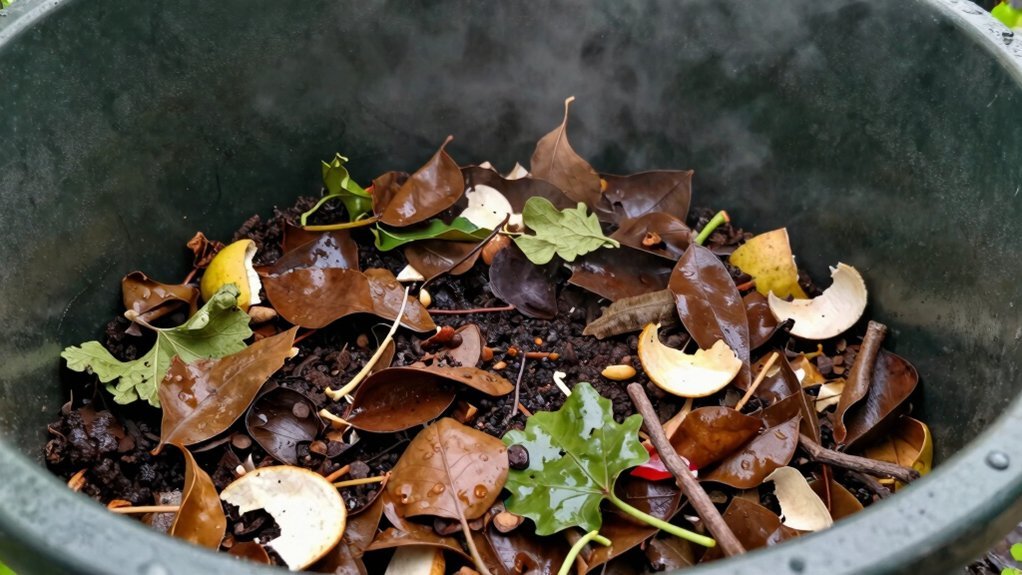
Breaking up compact sections opens the way for proper mixing, and the next step is to balance nitrogen‑rich greens with carbon‑heavy browns. You’ll notice that too many greens make the pile soggy and smelly, while excess browns slow decomposition. Aim for a 2:1 or 3:1 brown‑to‑green ratio, then turn the pile weekly to inject oxygen, spread moisture, and keep microbes happy. Adding dry leaves, shredded paper, straw, or cardboard right after you add fresh kitchen scraps restores balance quickly and prevents foul odors. For smaller compost volumes, certified compostable bin liners can contain food scraps before adding them to your pile.
- Dry leaves absorb excess moisture and add carbon.
- Shredded paper boosts structure and traps air.
- Straw creates pockets for airflow and prevents compaction.
- Cardboard bulk up the mix and moderates nitrogen spikes.
Balancing moisture is essential to avoid a soggy, smelly pile.
Re‑Balance the Mix With Browns, Finished Compost, and Small Pieces
How can you rescue an overflowing compost bin? First, add dry, bulky browns—leaves, straw, shredded cardboard—to hit a 3:1 brown‑to‑green ratio. Then sprinkle a layer of finished compost; it buffers moisture, boosts microbes, and eases the wet‑dry swing. Finally, chop large scraps into small pieces so they fit tighter and decompose faster. Mix everything thoroughly instead of stacking layers, ensuring each green touches absorbent browns. This restores airflow, curbs odor, and prevents a soggy, compacted mess. For best results, source your browns from vacuum-sealed dried leaves or similar preserved options that maintain consistent quality and texture throughout the composting process.
Adding a layer of dry leaves helps maintain the ideal carbon‑rich balance when greens overwhelm the pile.
| Action | Why it works |
|---|---|
| Add dry browns | Absorbs excess moisture, improves airflow |
| Use finished compost | Stabilizes moisture, adds microbes |
| Shred large pieces | Increases surface area, saves space |
| Mix thoroughly | Ensures contact, reduces odor |
| Aim 3:1 ratio | Balances carbon and nitrogen |
Harvest, Transfer, and Set Up a Curing Bin for Overflow

When the bin overflows, start by harvesting the finished compost that’s settled at the bottom, then quickly move that material to a temporary holding area—using a tarp, wheelbarrow, or buckets—while you separate out any unfinished scraps. Pull the dark, crumbly, earthy-smelling layer out, leaving larger undecomposed pieces behind. Transfer finished material to a clean tarp or wheelbarrow, and bucket the unfinished bits for later return. Set up a curing bin nearby; place the partially finished compost there so it can finish breaking down without contaminating seedlings. Keep the two‑bin system running to relieve pressure and maintain microbial activity. Remove the hatch before you begin removal to avoid re‑tightening straps later.
- Use a tarp or wheelbarrow for rapid transfer.
- Screen during move to separate usable compost.
- Return unfinished pieces to the active bin or curing bin.
- Re‑introduce small amounts of finished compost to the curing bin to boost microbes.
Frequently Asked Questions
Can I Add Kitchen Scraps if They Are Pre‑Dried?
Yes, you can add pre‑dried kitchen scraps, but first rehydrate them and mix with plenty of brown material. Keep the pile moist, aerated, and add small amounts to avoid overflow and odor.
Do I Need a Worm Bin for Excess Liquid?
You don’t need a worm bin just for liquid; you can collect leachate, dilute it, and use it as weak fertilizer, or discard it if you’re unsure about safety.
How Often Should I Turn a Bin That’s Already Full?
You should turn a full bin every three to four days if it’s hot, otherwise aim for a weekly turn; if the temperature’s still climbing, wait until it starts to cool before turning.
Is It Safe to Compost Pet Waste With Regular Material?
No, you shouldn’t mix pet waste with regular compost. It carries pathogens and needs high‑heat, dedicated processing. Use a separate system, keep it away from edible plants, and apply only to non‑food landscaping.
Can I Use a Tarp to Cover the Bin During Rain?
Yes, you can use a tarp, but keep it loose and only over the top. Leave space for airflow, remove it after rain, and add dry brown material to absorb excess moisture.
In Summary
By pausing new additions, improving drainage, balancing moisture, turning the pile, and re‑balancing the mix, you’ll keep your compost from overflowing and smelling. Harvest the excess, move it to a curing bin, and let it finish breaking down. With these steps, your compost stays healthy, odor‑free, and ready to enrich your garden.
Leave a Reply