

Put your worm bin in a cool, dark spot that stays between 50 °F and 80 °F—think a pantry shelf, basement corner, or shaded outdoor area under a porch or canopy. Keep it away from direct sunlight, drafts, and concrete floors, and make sure you can reach it easily for feeding, watering, and harvesting. Use a tray with moist shredded paper and a lid to control odor and moisture, and protect outdoor bins with a cover or wind shield. Follow these tips and you’ll discover even more tricks for thriving worms.
Choose a Worm Bin Location That Keeps Worms Happy (50‑80 °F)
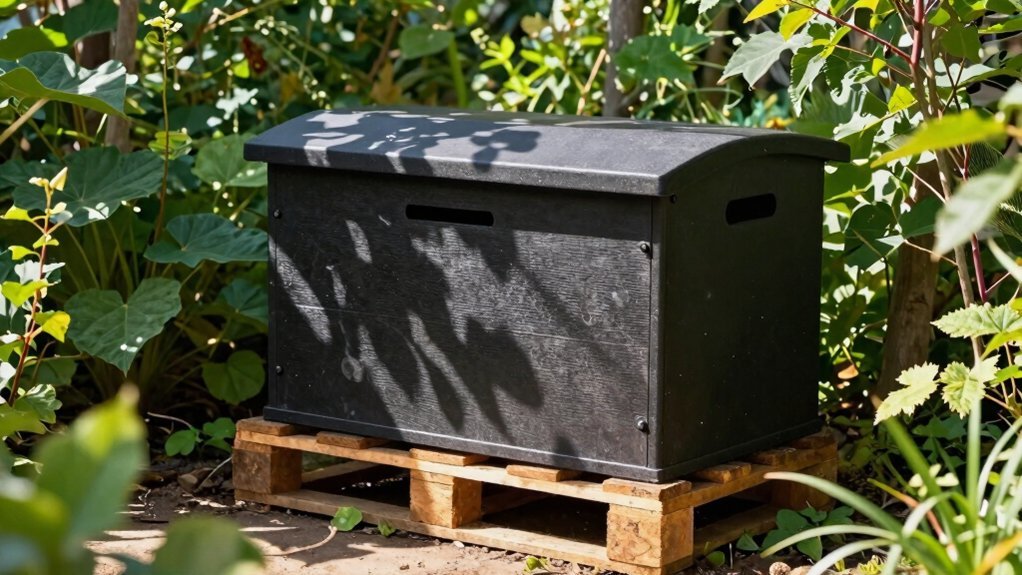
Where should you place your worm bin to keep the critters thriving? You need a spot that holds temperature between 50 °F and 80 °F and stays moist without drowning. Check your house for a cool, dark corner—under a table, in a basement nook, or a garage shelf—where sunlight barely reaches. Those areas naturally buffer temperature swings and keep moisture from evaporating too fast.
If you go outdoors, choose a shaded patio or patio under a canopy, then add a lid to protect against rain and wind. Make sure you can reach the bin for feeding and watering, and monitor moisture daily. Proper placement ensures stable temperature, consistent moisture, and happy, active worms. Consider using a moisture-resistant storage solution to protect your bin in damp environments and maintain optimal conditions.
Pick a Cool, Dark Corner for Low‑Odor Indoor Worm Bin
After securing a temperature‑stable spot, focus on a cool, dark corner that keeps odor low and worms hidden. Choose an indoor worm bin location that stays out of direct sunlight—think pantry shelves, a basement nook, or a semi‑heated garage corner. These spots stay between 50°F and 80°F, preserving the worms’ activity while preventing the bin from heating up and emitting smells. Keep the area easily reachable so you can feed, water, and turn the bin without hassle. A cool dark location also discourages pests and keeps the bin out of sight, reinforcing the low odor advantage. By positioning the bin where it’s both concealed and climate‑stable, you’ll enjoy a tidy, odor‑free compost system. For enhanced odor control, consider using compost bin filters with activated charcoal to absorb excess smells naturally.
Use a Closet or Under‑Cabinet Shelf for a Small Worm Bin
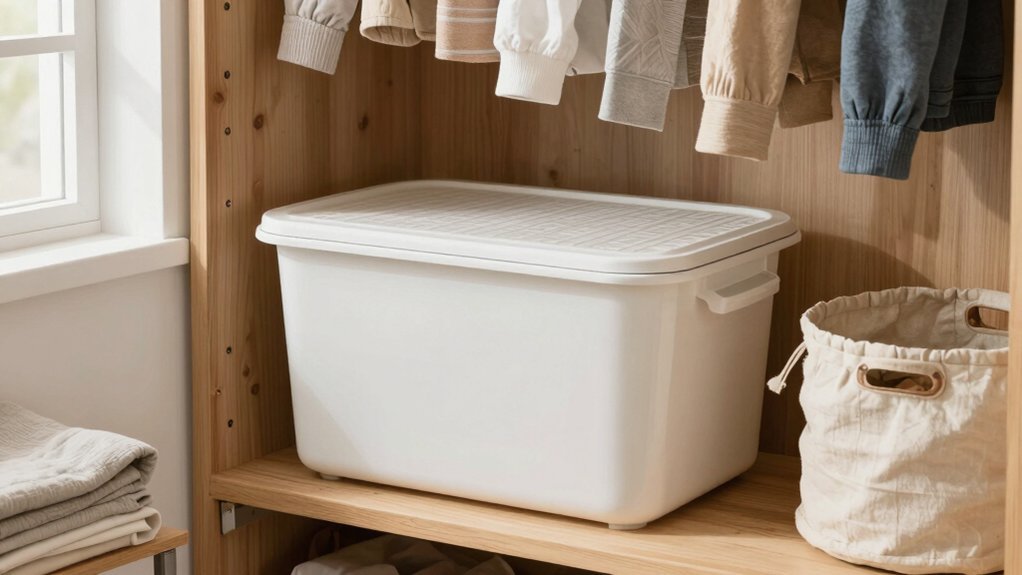
Looking for a discreet spot that stays cool and dark? A closet or under‑cabinet shelf makes an ideal indoor placement for a small bin. You’ll keep it out of sight while maintaining the 50–80°F range worms worms thrive.
Choose a shelf that’s stable and easy to reach, then set a pan or tray underneath to catch moisture and prevent spills. Keep the bin away from direct sunlight and extreme temperature swings; a closet door that stays closed or a cabinet with limited exposure works best.
Store a nearby container for worm tea or leachate, and make feeding simple by sliding the bin out just enough to add scraps. This setup minimizes odor and keeps your composting routine tidy and efficient.
For optimal odor control and moisture management in small spaces, ensure the bin has an airtight lid or consider using charcoal compost filters.
Set Up a Basement or Garage Shelf for a Larger Worm Bin
Thinking about expanding your worm composting? A basement or garage shelf gives you the cool, semi‑heated spot larger larger bins need. Install a sturdy shelf a from the floor to keep the bin off spills and to make feeding a breeze. Position the shelf away from drafts and radiators, then use a compost thermometer to watch the temperature—aim for around 76°F for vigorous breeding. The enclosed basement or garage helps contain odors and hides the bin from view, while the shelf lets you stack multiple trays for easy harvesting and tray reuse. By keeping the environment stable and the bin accessible, you maximize space and keep your worms happy. Consider using a ceramic compost crock indoors for effective odor control and easy maintenance.
Avoid Direct Sunlight, Drafts, and Concrete Floors for Your Worm Bin
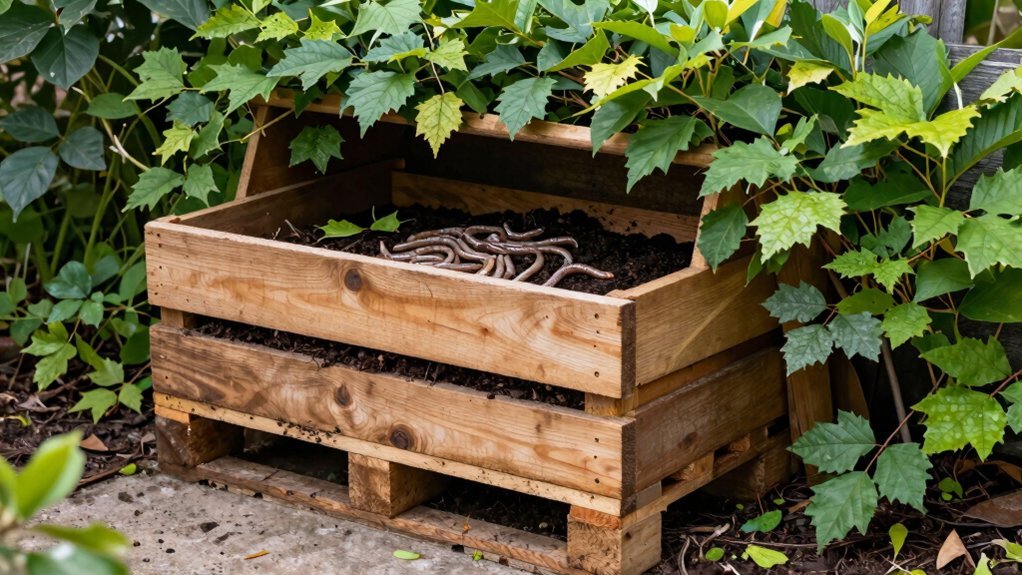
You’ll want to keep your worm bin out of direct sunlight so the temperature stays comfortable and the worms don’t stress out.
Make sure it’s away from drafts that could cause sudden temperature swings and disturb the moisture balance.
If you place it on a concrete floor, add insulation or a mat to prevent the cold surface from chilling the worms.
Also, consider the placement versatility to ensure the bin fits well in your available space and maintains optimal conditions.
Shade Away From Sunlight
Wondering why your worm bin keeps dying? You’re probably exposing it to harsh sun, which spikes temperature and dries out moisture. Place the bin where shade is natural—under a tree, a porch roof, or a tarp—so the environment stays cool and the bedding stays damp. Consistent shade buffers the bin from midday heat, preventing the worms from overheating and slowing their activity. Avoid spots that heat up quickly, like concrete surfaces, because they conduct temperature changes and sap moisture. A shaded, well‑ventilated area maintains a steady temperature range, keeping the compost moist and the worms healthy. For monitoring conditions like temperature and moisture effectively, consider using smart compost monitors that provide real-time observation and help maintain optimal composting environments.
Prevent Drafts and Concrete
Ever wondered why your worm bin feels chilly or dries out too quick? Cold or damp concrete saps heat and moisture, so you need concrete avoidance. Place the bin on a wooden pallet, a brick tray, or a raised rack to keep the bottom insulated and allow airflow. Drafts prevention is just as crucial—position the bin away from doors, windows, or HVAC vents that push cold air across it. A sheltered location protects your worms from both temperature swings and direct sunlight, which can overheat the bin. Indoors, choose a closet or pantry corner with stable climate; outdoors, pick a shaded, wind‑blocked spot under a patio cover or lean‑to. By controlling temperature and moisture, you’ll keep your worms active and happy. Regular maintenance and proper cleaning help maintain the right environment for worm health and bin longevity.
Create a Worm Bin Moisture‑Control System With a Tray and Lid
How can you keep your worm bin consistently moist without drowning the bedding? Use a moisture‑control system with a tray and lid. First, line the bin’s bottom with a shallow tray filled with shredded paper bedding. Wet the paper until it feels like a wrung‑out sponge—about 80 % humidity—so it holds shape but only drips a light drop when squeezed. Place a lid over the tray; it curtails evaporation, blocks fruit flies, and keeps the surface covered after feeding. Drill a few small holes in the tray’s base for drainage, allowing excess liquid to flow into the outer bin while maintaining aeration. Check moisture daily by squeezing a handful; add water sparingly if it feels dry, and adjust as needed to keep the environment optimal for your worms.
Select a Shady, Protected Outdoor Area for a Seasonal Worm Bin
Pick a spot that stays cool and shady, like under a porch roof or beside a dense tree, so the sun won’t overheat your worms. Make sure it’s shielded from strong winds while still allowing airflow, and keep a clear, easy‑access path for you to tend the bin. Use a lid or cover to protect against rain and move the bin indoors if temperatures swing too far.
Shade‑Rich Spot
If you set your worm bin under a porch, an overhang, or a tree, you’ll keep it out of direct sun and avoid overheating. That shade protects the outdoor worm bin from temperature spikes that can stress the castings and disrupt moisture management. Choose a spot that stays dry during rain but still gets a light breeze—this prevents the bedding from drying out while keeping excess water from pooling. Secure a lid with bungee cords to block pests and stop rain from drowning the worms.
Check the temperature regularly; if it climbs above 80 °F (27 °C) or drops below 50 °F (10 °C), move the bin indoors temporarily. Consistent, moderate conditions keep your worm population thriving and your compost processing efficiently.
Wind‑Shielded Location
While a shady spot keeps the bin out of direct sun, adding wind protection takes the stability a step further. Choose an outdoor shelter that blocks breezes but still lets air circulate through your bin’s ventilation holes. A sturdy fence, a low wall, or a garden trellis can serve as a windbreak, reducing moisture loss and temperature swings that stress worms.
Position the bin near a porch overhang or under a tree branch that offers shade and a natural shield. This placement keeps rain from flooding the bin while preventing debris from blowing in and disturbing the lid.
Consistent wind protection also makes feeding easier, because you won’t have to chase stray leaves or adjust a rattling cover.
Easy‑Access Pathway
Where should you position your seasonal worm bin for easy access and protection? Choose a shaded, protected outdoor location—under an overhang, on a porch, or beneath a large tree—so the worm bin stays cool, dry, and out of direct sun. Make sure a gentle breeze can flow through, keeping temperature steady while you tend to feeding and moisture. Keep the bin away from wooden house walls to prevent insects and to allow a lid to cover it during rain. Use a movable setup so you can shift the worm bin indoors when extremes hit, and create an easy‑access pathway that lets you check it regularly without tripping over garden tools.
- Shade from trees or structures
- Gentle breezes for temperature control
- Clear, level walkway for quick checks
- Removable bin for seasonal relocation
Cover Outdoor Worm Bins to Guard Against Rain and Heat
Ever wondered how to keep your outdoor worm bin thriving despite rain and scorching sun? Use a sturdy cover that blocks direct sunlight while letting air flow, and position the bin where natural shade falls—under an overhang, on a porch, or beneath a leafy tree. The cover helps retain moisture, preventing the bedding from drying out, and stops debris and fruit flies from getting in. Secure the lid with bungee cords or straps if wind is a problem, so the bin stays intact and the moisture balance stays stable.
When storms or heatwaves hit, move the bin to a sheltered indoor spot or a well‑ventilated shaded area to protect the worms from extreme conditions. This simple setup keeps the environment consistent, promoting healthy worm activity year‑round.
Make Your Worm Bin Easy to Access for Weekly Feeding and Harvesting?
After securing a protective cover, the next step is to position the bin where you can reach it easily for weekly feeding and harvesting. Choose a cool, dark spot like a pantry shelf, under a cabinet, or a basement corner that stays out of sight yet remains within arm’s reach. Keep the area away from heat sources and direct sunlight, because a bin in direct sunlight dries out worm bedding and slows down decomposition. Make sure you can pull the bin out without hassle to add scraps, check moisture, and sift out worm castings. A central location in multi‑bin setups reduces steps and keeps the workflow smooth.
- Place the bin near your kitchen prep area for quick scrap drops.
- Use a low‑profile container that slides on a cart or shelf.
- Keep a small tray of extra worm bedding nearby for topping up.
- Position a light source or reflective surface to avoid full sunshine.
Frequently Asked Questions
What Are the 5 Mistakes That People Commonly Make When Composting With Worms?
You often overheat or expose worms to sun, neglect moisture, overfeed or feed irregularly, add citrus/meat/dairy, and forget proper aeration or drainage, leading to pests, odors, and sluggish composting.
Where to Place a Worm Bin?
Place your worm bin where it stays cool, dark, and moist—under a kitchen cabinet, in a basement corner, or a shaded patio. Ensure ventilation, easy access for feeding, and protection from extreme weather.
What Do Worms Hate the Most?
You’ll find worms hate direct sunlight most, because it overheats and dries their habitat. Keep the bin in shade or a dark, covered spot, maintain proper moisture, and provide ventilation to keep them comfortable.
How Many Earthworms Can Live in a 5 Gallon Bucket?
You can comfortably house about 300‑500 red wigglers in a 5‑gallon bucket, assuming you keep moisture around 80% and temperature near 76°F, and you harvest compost regularly to prevent overcrowding.
In Summary
Pick a spot that stays cool (50‑80 °F), dark, and stable—like a closet shelf, under‑cabinet nook, or a basement/garage rack. Keep it away from direct sun, drafts, and concrete floors, and add a tray with a lid for moisture control. If you go outdoor, choose a shady, protected area and cover the bin to shield it from rain and heat. Make sure you can reach it easily for weekly feeding and harvesting.



