
You’ll transform your apartment bin by prioritizing airflow over size. Stack vents vertically to leverage hot air rising, and use perforated sides with bottom holes for cross-ventilation. Choose breathable synthetic fabrics instead of sealed lids. Layer bulky browns like wood chips at the base to create air pockets, then add food scraps on top. Turn your pile weekly to redistribute oxygen and prevent compaction. These fundamentals work together—discover how they stack up when you explore deeper.
Prioritize Airflow Over Bin Size in Apartments
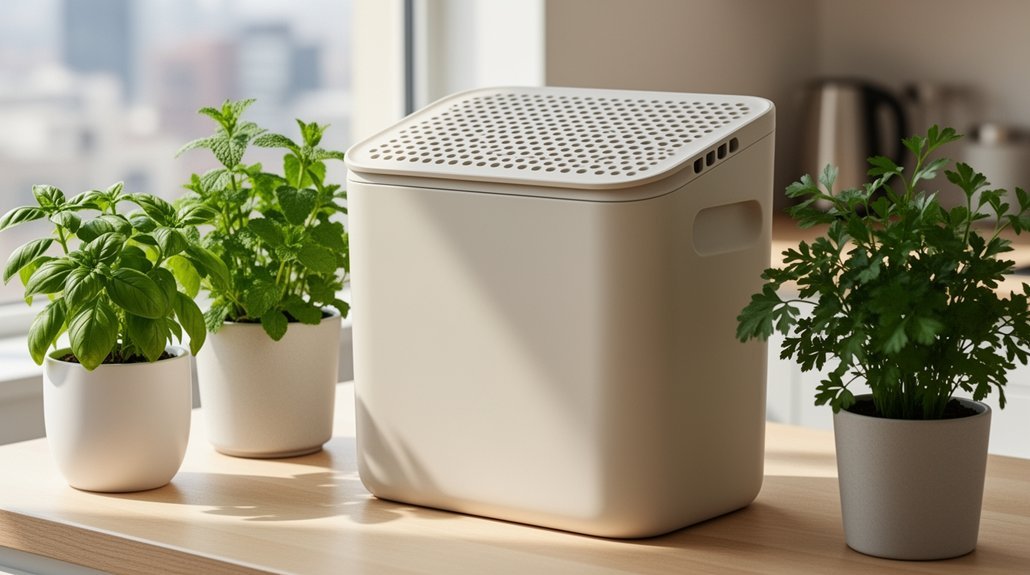
Why do compact apartment compost bins often outperform larger sealed containers? Airflow matters far more than volume. A smaller bin with proper ventilation will decompose materials faster than a spacious sealed unit that starves microbes of oxygen.
You’ll find that perforated sides, drilled holes, and vented lids create the gas exchange your compost needs to thrive. Tumbling composters demonstrate this principle perfectly—their rotation and airflow beat raw capacity every time. Regular maintenance including weekly stirring ensures consistent aeration throughout the decomposition process. Aerating every one to two weeks accelerates the breakdown of materials and prevents the odor problems that plague poorly ventilated bins.
When you’re limited on space, focus on ventilation design rather than container size. Bottom holes combined with rim openings establish cross-ventilation that keeps aerobic conditions active. A well-designed lid balances moisture control while preserving oxygen flow. This strategic approach lets you compost successfully in tight quarters without sacrificing decomposition speed or odor control.
Place Vents Strategically for Oxygen Flow
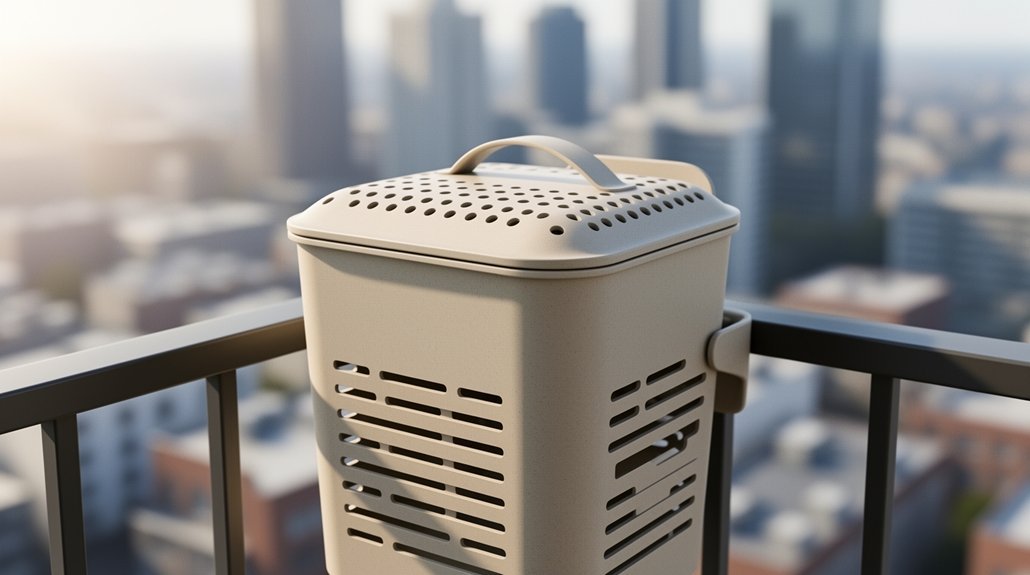
How you position vents inside your apartment compost bin determines whether oxygen reaches all your decomposing material or gets trapped in dead zones.
Strategic vent placement creates the airflow your decomposing microorganisms need:
- Stack vents vertically — Place openings near the bottom and top to establish natural draft as hot air rises through your pile
- Distribute small openings — Multiple small vents spread oxygen evenly rather than relying on one or two large gaps that clog easily
- Match vent height to material level — Keep vents above the damp, compacted zones where they’ll remain accessible as your bin fills
- Avoid wall blockage — Ensure vents aren’t covered by dense material pressing against bin sides
- Plan for maintenance — Check vents regularly since buildup closes airflow paths over time. Models like the FCMP HOTFROG feature aeration holes plus deep fins that help prevent this common clogging issue. Many users find that keeping the vent open most of the time prevents moisture buildup and supports consistent decomposition.
This approach prevents anaerobic zones that cause odors while maintaining the moisture balance your apartment setup needs.
Choose Breathable Materials for Indoor Bins
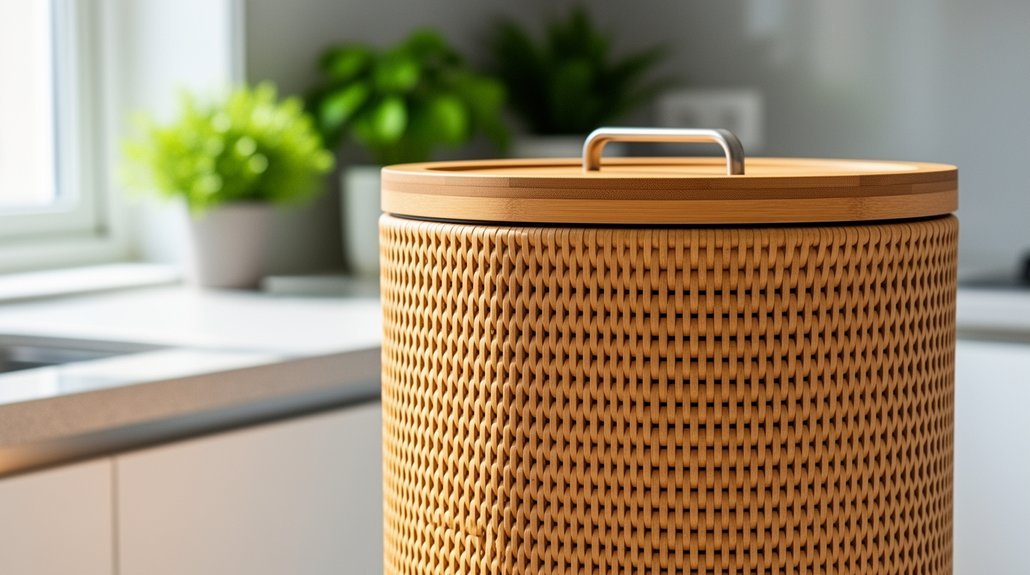
The material you choose for your apartment compost bin matters as much as where you place the vents. Porous synthetic fabrics like melt-blown material or polyester allow oxygen exchange while blocking larger particles and pests. These breathable liners contain waste effectively without trapping moisture and odors that create anaerobic conditions.
You’ll want to avoid natural-fiber covers, which break down over time. Instead, opt for UV-resistant synthetic options if your bin sits near windows. Select fabric thickness based on your waste load—heavier materials handle wetter kitchen scraps better. For additional cushioning and moisture management, consider adding biodegradable kraft shredding to help regulate moisture levels and improve airflow. Server-side rendering ensures that your bin’s breathability performance can be optimized through proper configuration and monitoring.
Breathable materials paired with regular collection significantly reduce odor and fly problems. They’re also easier to move and replace than rigid containers, making them ideal for apartment living where flexibility matters.
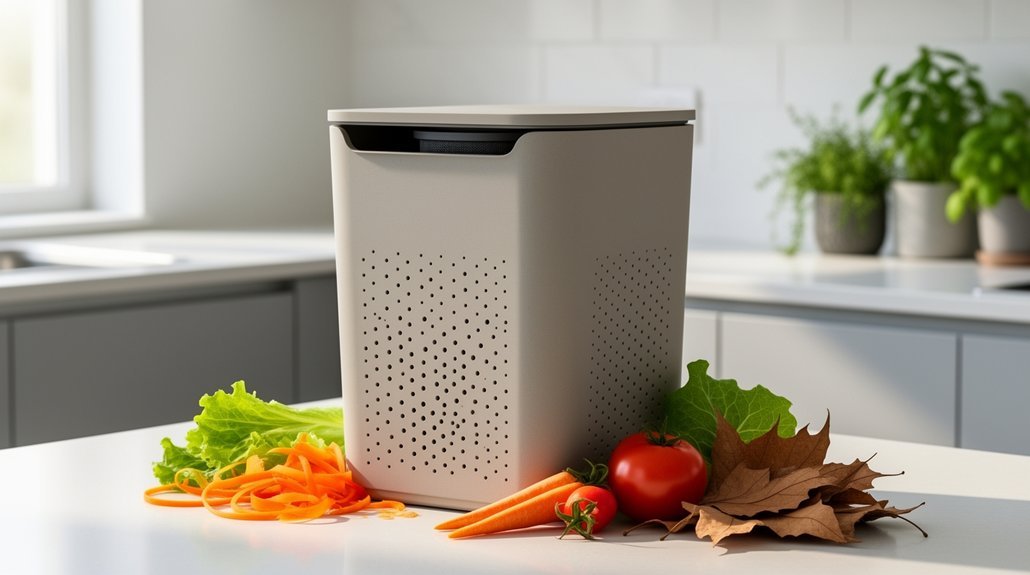
Balance Your Apartment Compost Mix
You’ll want to dial in your carbon-to-nitrogen ratio around 25–30:1 because this balance fuels decomposition without creating ammonia odors or sluggish breakdown. Brown materials like shredded paper and cardboard don’t just add carbon—they create the air pockets your bin needs to stay breathable and prevent compaction. Varying your particle sizes across both greens and browns helps you build a structure that maintains steady airflow throughout your mix. Consider organizing your compost materials with the same attention to structure as airtight food storage containers, which rely on proper arrangement to maintain optimal conditions. Maintaining moisture like a wrung-out sponge ensures that your compost stays active without becoming waterlogged or anaerobic.
Carbon-to-Nitrogen Ratio Matters
Why does your apartment compost pile smell or decompose slowly? You’re likely battling a carbon-to-nitrogen imbalance. Here’s what you need to know:
- Aim for 25:1 to 30:1 ratio — this sweet spot accelerates decomposition and heat production
- Too little carbon — excess nitrogen releases ammonia gas, creating foul odors and wasting nutrients
- Too little nitrogen — microbes lack fuel for growth, slowing decomposition significantly
- Your materials matter — vegetable scraps run 15–20:1, while autumn leaves sit at 30–80:1
- Use the bucket rule — mix 2 to 4 buckets of browns per 1 bucket of greens
This practical approach sidesteps complex chemistry while maintaining the balanced microbial activity your bin needs to function efficiently. As decomposition progresses, two-thirds of carbon is released as carbon dioxide, while the remaining carbon becomes incorporated into microbial cells alongside nitrogen. To further support this microbial ecosystem in compact spaces, consider using compost starter accelerators designed specifically for apartment dwellers seeking odor-controlled decomposition.
Browns Create Air Pockets
How do you keep your apartment compost from turning into a dense, airless brick? You’ll need bulky browns like twigs and wood chips that actually create air spaces in your bin. These coarse materials form natural pores between your materials, allowing oxygen to circulate where it matters most—in the lower layers beneath your wet kitchen scraps.
Start with a 4–6 inch base layer of bulky browns. This foundation acts as spacing material, preventing compaction and supporting aerobic decomposition. When you layer food scraps on top, the browns beneath maintain those critical air pockets that keep your compost breathing. Mixing occasionally ensures even aeration throughout the bin and prevents settling. A charcoal filter can help manage odors that arise from anaerobic pockets if they do form despite your layering efforts.
Better airflow means steadier breakdown and fewer odor problems. In small apartment systems where turning space is limited, structural browns do the heavy lifting, keeping your bin loose and well-ventilated.
Particle Size Affects Airflow
Particle size creates a fundamental tension in apartment composting: smaller pieces speed decomposition by exposing more surface area to microbes, but they also pack together and choke off the airflow your bin desperately needs.
You’ll find the sweet spot lies in balanced sizing. Consider these key factors:
- Fine particles risk compaction, requiring frequent turning to restore oxygen flow
- Coarse materials preserve pore spaces and support natural convection
- Medium particles strike the optimal balance between surface area and aeration
- Mixed textures distribute moisture more evenly than uniform sizes
- Dense, powdery mixes suffocate aerobic microbes faster than layered chunks
Research on corn-cob composting confirms that 10-mesh material—roughly medium-sized—performs best. Micronized amendments like trace mineral powder can be integrated into compost mixes to enhance nutrient content while maintaining proper particle distribution. You’ll achieve faster, more efficient decomposition when you avoid extremes and embrace variety in your feedstock. For apartment bins with limited space, maintaining a minimum cubic yard of total material helps your compost retain enough heat and airflow to process materials effectively despite size constraints.
Turn Your Indoor Pile Weekly
When’s the last time you stirred your compost bin? Weekly turning keeps your indoor pile breathing properly. By mixing material regularly, you move cooler outer scraps toward the warm, active center where microbes work fastest. This redistributes decomposition evenly so nothing lags behind.
Turning also interrupts compacted zones where anaerobic activity creates sour, ammonia-heavy odors. Fresh airflow prevents those matted, wet pockets from trapping smells. You’ll notice your pile smelling earthy instead of rotten—a sign aerobic microbes are thriving. If your pile goes anaerobic or starts producing ammonia, turning should occur immediately. For optimal results, consider using a 360-degree rotation system with deep fins to maximize oxygen mixing throughout your pile.
A weekly schedule is simple to remember and prevents neglected dead zones from forming. Use a compost aerator or sturdy stick to gently break up clumps and create air pockets. For small apartment systems, this light, consistent maintenance is often all you need.
Troubleshoot Common Apartment Composting Problems
When your bin starts smelling foul, you’re likely dealing with anaerobic conditions caused by poor airflow and excess moisture trapping oxygen. You can reverse this by adding dry brown materials like shredded paper or cardboard to absorb surplus liquid and create pore space for gas exchange.
Proper drainage and moisture management—keeping your compost damp like a wrung-out sponge rather than soggy—will keep decomposition active and odors at bay. Tools like aerator tools for outdoor compost bins can help break up compacted layers and improve gas circulation even in smaller apartment setups. In apartment settings where space is limited, maintaining aeration balance becomes even more critical since confined areas amplify any odor problems that might develop from neglected bins.
Odor And Anaerobic Conditions
If your apartment compost bin smells like rotten eggs or sour swamps, you’re likely dealing with anaerobic decomposition—a sign that oxygen levels have dropped too low. Anaerobic microbes produce sulfur compounds and foul gases when starved of air.
Address odor problems by targeting these key areas:
- Improve airflow through turning or loosening compacted material
- Add coarse browns like wood chips and cardboard to create pore space
- Reduce moisture by limiting wet food scraps and high-moisture items
- Avoid problematic foods such as meat, dairy, and oils that decompose odorously
- Empty weekly and rinse your bin to prevent bacterial buildup
- Store your bin in a cool location away from heat sources like stoves and radiators, since heat accelerates decomposition and increases smells
- Replace ventilation filters every 3-6 months to maintain effective odor control and airflow
Tight-fitting lids with activated-carbon filters contain smells effectively indoors. Consistent maintenance keeps your bin aerobic and fresh-smelling.
Moisture Buildup And Drainage
Why does your apartment compost bin feel like a swamp? Excess moisture from food scraps and poor drainage creates waterlogged conditions that suffocate your pile. Without proper drainage holes, liquid pools at the bottom, compacting layers and driving out oxygen.
Combat this by adding brown materials like shredded paper, cardboard, and dry leaves—they absorb moisture and improve airflow. Ensure your bin has functional drainage; add pebbles over holes if needed to enhance liquid flow.
Keep your bin in a dry, well-ventilated spot to reduce surrounding humidity. Avoid overfilling, which traps moisture and prevents mixing. Turn your compost regularly to help water evaporate and maintain that ideal “wrung-out sponge” moisture level your pile needs to breathe. Moisture meters can help you verify you’ve reached the optimal 40-60% range for successful decomposition.
Frequently Asked Questions
Can I Use a Solid Plastic Bin for Apartment Composting, or Does It Restrict Airflow?
You can use a solid plastic bin, but you’ll need to drill holes around the top and bottom for airflow. Without ventilation modifications, you’ll restrict oxygen flow and risk odors and slow decomposition.
What’s the Ideal Carbon-To-Nitrogen Ratio for Faster Apartment Compost Decomposition?
You’ll want to aim for a 25:1 to 35:1 carbon-to-nitrogen ratio for faster decomposition in your apartment bin. This balanced ratio supports rapid microbial activity while avoiding excess nitrogen odors or slow decomposition from too much carbon.
How Do I Prevent My Apartment Compost Bin From Becoming Waterlogged and Smelly?
You’ll prevent waterlogging by adding shredded paper or cardboard, emptying scraps every 2-4 days, and ensuring your bin has ventilation holes. Keep your compost damp like a squeezed sponge, not soggy, and stir regularly.
What Absorbent Materials Work Best for Covering Food Scraps in Indoor Bins?
You’ll find shredded newspaper, torn paper bags, wood shavings, and small cardboard pieces work best. Shred materials into smaller pieces—they’ll absorb moisture faster and improve airflow throughout your bin.
How Small Can a Compost Bin Be While Still Maintaining Aerobic Decomposition?
You can maintain aerobic decomposition in bins as small as a soda bottle if you’re chopping material finely, mixing thoroughly, and ensuring adequate ventilation holes. You’ll need careful moisture and oxygen management, though.
In Summary
You’ve learned that airflow isn’t optional—it’s vital for your apartment compost bin’s success. By prioritizing vents, choosing breathable materials, and maintaining proper moisture balance, you’ll keep odors at bay and speed up decomposition. Don’t skip your weekly turns; they’re essential for oxygen distribution. With these strategies in place, you’re creating an efficient composting system right in your home that actually works.


Leave a Reply