
You’ll succeed at indoor composting in small spaces by mastering the simple art of balancing greens and browns—the foundation that prevents odors, pests, and the sludgy mess that derails most beginners. Aim for a 2:1 to 3:1 browns-to-greens ratio by volume, using shredded paper, cardboard, and dry leaves to absorb moisture and block odors. Freeze your kitchen scraps beforehand, chop them into small pieces, and layer them with brown materials to keep your bin fresh and pest-free. There’s much more to discover about choosing the right system and materials for your unique situation.
Balancing Greens and Browns in Your Indoor Compost
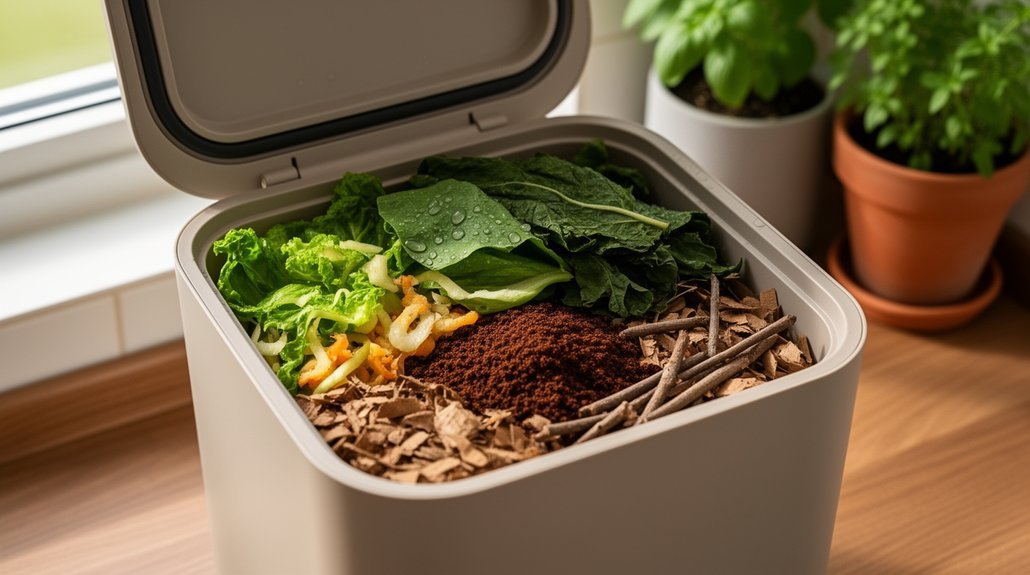
Getting the ratio right between greens and browns is essential for indoor composting success. You’ll want to aim for a 2:1 to 3:1 ratio of browns to greens by volume. Greens supply nitrogen that fuels microbial growth and heat, while browns provide carbon energy and bulk for decomposers.
Indoor bins benefit from extra browns because they absorb moisture from kitchen scraps and prevent soggy, ammonia-smelling compost. They also improve airflow in compact containers and reduce pest attraction. Too many greens create wet, slimy conditions; too many browns leave your pile dry and slow to break down. Browns act like a sponge for greens, soaking up excess moisture that would otherwise create anaerobic conditions. Consider using shredded newspaper or cardboard in your indoor bin to enhance moisture absorption while maintaining proper airflow.
Watch for odor cues—sour or ammonia smells mean you need more browns. Regular small adjustments work better than waiting for major imbalances to develop.
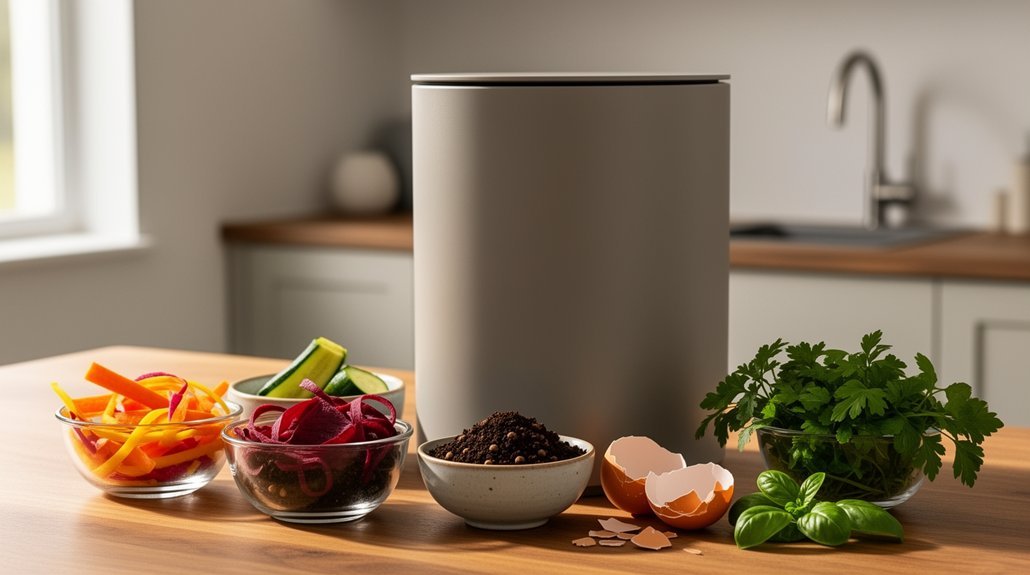
The Best Kitchen Scraps for Indoor Composting
What kitchen scraps work best for your indoor compost bin? You’ll find that fruit and vegetable peels, coffee grounds, and tea leaves are your most reliable options. Chop these materials into smaller pieces to accelerate decomposition and minimize odors—especially important in compact spaces.
Rinsed eggshells add valuable calcium, though you should crush them for faster breakdown. Plain cooked grains and oatmeal work well when free of oils or dressings. Avoid adding bulky, wet materials that attract pests or create smell problems. The ideal carbon-to-nitrogen ratio for your indoor bin is roughly 25:1 to 30:1, which you can achieve by layering about 2–3 parts brown materials to every 1 part green material by volume.
Store scraps in a small lidded container and freeze them if you can’t empty frequently. For indoor bins where odor control is critical, consider using compost accelerators with odor elimination to maintain a fresher environment while you build nutrient-rich compost efficiently. This approach keeps your indoor system manageable while building nutrient-rich compost efficiently.
What to Never Add to Your Compost Bin
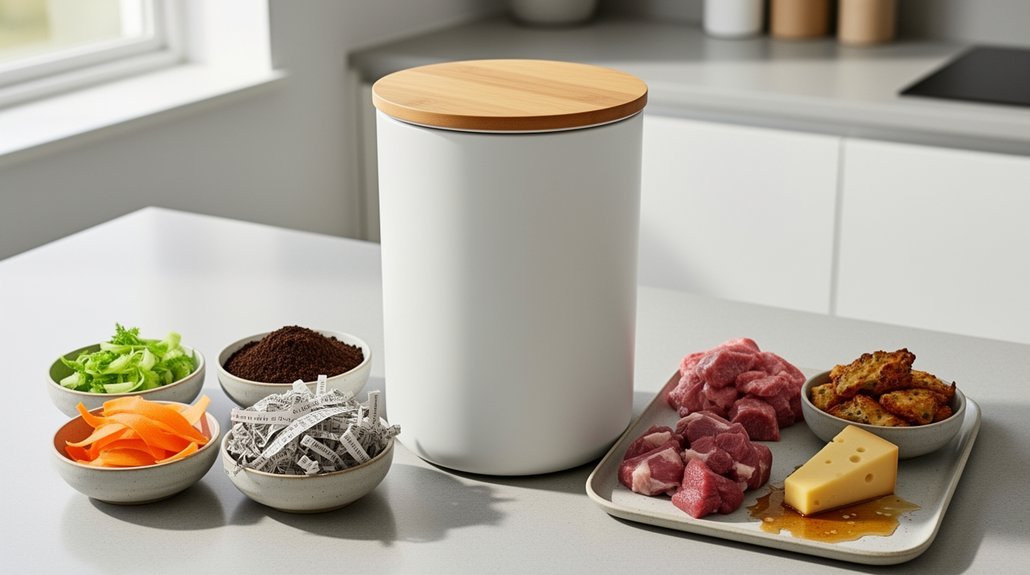
Just as important as knowing what scraps work well is understanding what’ll damage your indoor compost system. You’ll want to avoid several categories of materials that disrupt decomposition or pose health risks.
Never add these problematic items:
- Animal products and fats—meat, fish, dairy, oils, and cooked fatty foods decompose slowly, create odors, and attract pests that’ll infest your bin.
- Pet waste and hygiene materials—dog and cat feces contain harmful bacteria and parasites; diapers and feminine products won’t break down and contaminate your compost. Pet waste differs fundamentally from farm manure because it harbors dangerous pathogens like Toxoplasma gondii and E. coli O157:H7 that home systems cannot reliably destroy. Even compostable bags designed for food scraps should never be used for pet waste, as the pathogens may not break down properly in home composting conditions.
- Treated materials and diseased plants—pressure-treated wood, plastic, glossy paper, and diseased vegetation introduce chemicals or pathogens that compromise your finished compost quality.
Stick to plant-based kitchen scraps and plain cardboard for optimal results.
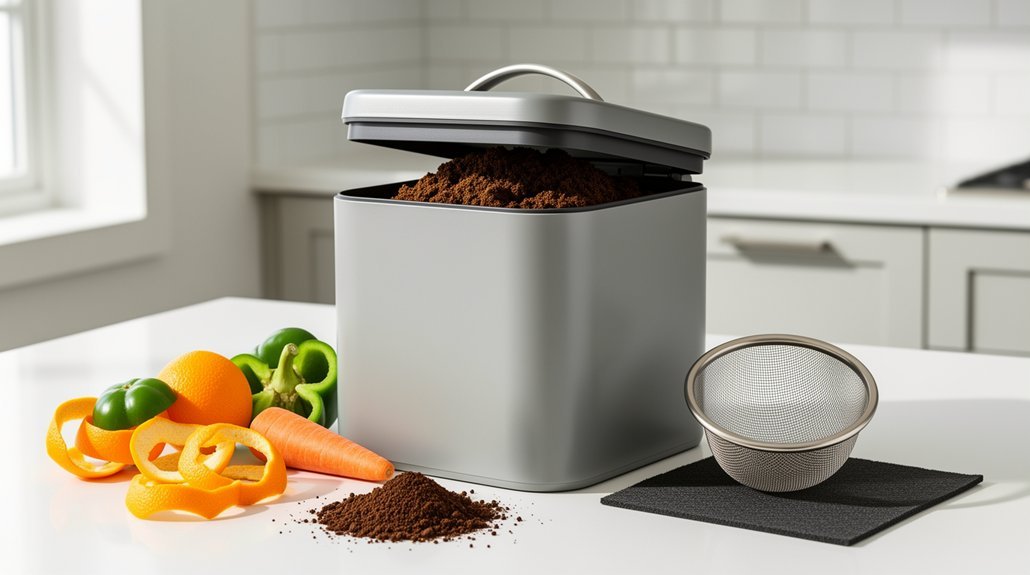
Picking the Best Indoor Composting System for Your Home
Now that you’ve identified what belongs in your compost bin, it’s time to find the right system for your space. Your choice depends on three key factors: available space, desired speed, and maintenance tolerance.
Electric composters work best if you want fast results and don’t mind higher costs. They’re odorless and process waste quickly, though they require electricity and regular filter maintenance. These countertop appliances can achieve processing in as little as 24 hours, making them ideal for urban residents seeking quick, low-hassle indoor composting.
Electric composters deliver fast results and odorless processing, though they demand higher costs, electricity, and regular filter maintenance.
Worm bins suit you if you prefer a hands-on, quieter approach. They produce excellent castings and work year-round indoors without odors. For kitchen convenience, you can pair worm bins with charcoal filter collection systems that capture odors while maintaining moisture balance.
Bokashi systems excel if you have a balcony or kitchen counter space. They handle meat and dairy while staying compact and sealed.
Consider pairing any system with countertop collection bins or freezer storage to streamline your routine.
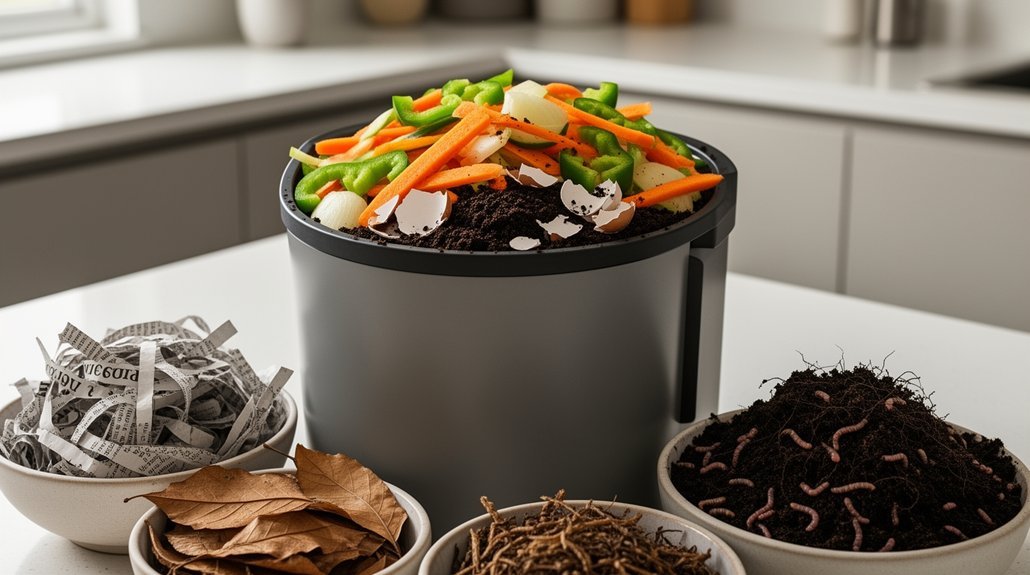
Brown Materials for Odor Control in Indoor Compost
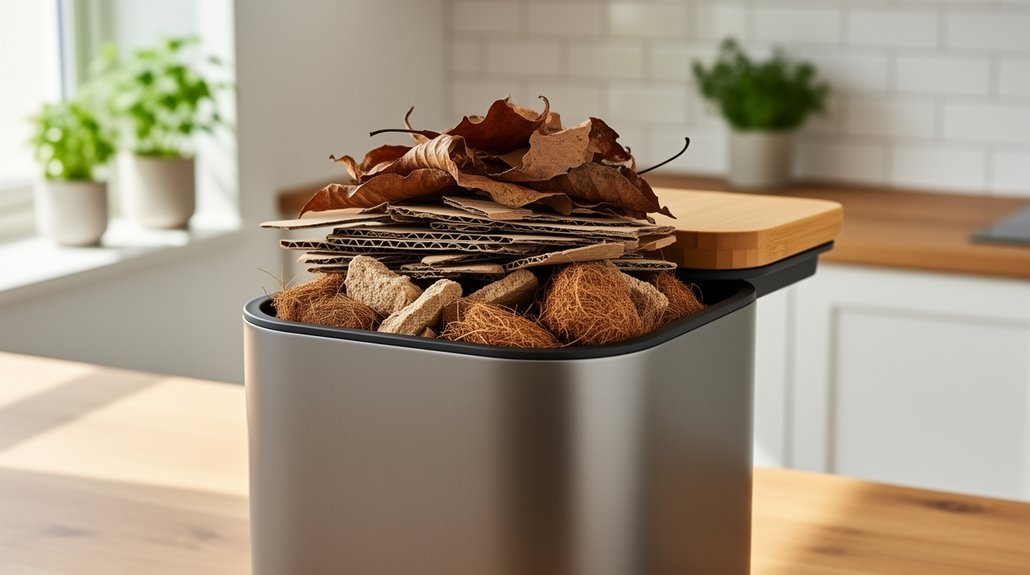
You’ll find that shredded paper works hard to absorb excess moisture from your food scraps, cutting down the damp conditions that fuel bad smells. Dry leaves rank among the top brown materials for tackling odors, while cardboard adds the structural support your pile needs to stay loose and well-aerated. Together, these materials create the balanced foundation that keeps your indoor compost fresh and manageable. When living in an apartment, shredded paper or cardboard is typically easy to source and apply as a thin layer on top of scraps to block odors effectively. Most ceramic compost crocks feature charcoal filters in lids that work alongside your brown materials to maintain optimal odor control for 4–6 months.
Shredded Paper Absorbs Moisture
How does excess moisture sabotage your indoor compost? Soggy conditions slow decomposition and create foul odors—problems that shredded paper directly solves. When you add shredded paper to your bin, it absorbs liquid from food scraps and prevents the wet, anaerobic environment that breeds smell.
Shredded paper works because it:
- Soaks up excess moisture that accumulates in small, enclosed spaces where drainage is limited
- Creates air gaps throughout your pile, supporting oxygen-dependent microbes that decompose material efficiently
- Balances nitrogen-heavy kitchen scraps with carbon-rich material, reducing odor-causing imbalances
The key is mixing shredded paper with your green materials rather than using it alone. Thin strips increase surface area, speeding decomposition compared to whole sheets. Aim for a 2:1 carbon-to-nitrogen ratio to prevent your indoor bin from becoming too dry or too wet. However, avoid overdoing it—too much paper overloads your bin with carbon and slows the process. For additional odor control in smaller spaces, consider pairing shredded paper with activated carbon filters to manage any remaining moisture-related smells.
Dry Leaves Reduce Odors
If shredded paper absorbs moisture, dry leaves do something equally essential—they prevent the anaerobic conditions that trigger foul smells in indoor compost. When your bin gets too wet and airless, anaerobic microbes take over, producing rotten-egg and ammonia-like odors.
Dry leaves reduce compaction by keeping scraps from clumping into sludge, which lets aerobic microbes thrive instead. They also improve your carbon-to-nitrogen balance; since kitchen scraps are nitrogen-rich, adding dry leaves supplies the carbon-rich “browns” you need. Aim for roughly 2–3 parts browns to 1 part greens. Models like the 5-tray expandable systems commonly include coconut coir and other brown materials to maintain this essential balance.
You’ll also notice fewer flies. A dry leaf layer covers exposed food waste, limiting pest access and reducing the odor that attracts them. Simply layer shredded leaves atop fresh additions for maximum effect. Maintaining adequate air circulation through regular turning or aeration keeps oxygen levels high and supports the aerobic bacteria that decompose waste efficiently without producing odors.
Cardboard Adds Structural Support
While dry leaves excel at preventing odors through moisture absorption and aeration, cardboard takes structural support a step further. You’ll benefit from cardboard’s corrugated design, which creates physical structure that resists compaction in confined bins.
Here’s how cardboard strengthens your indoor system:
- Internal air pockets promote aerobic decomposition by maintaining airflow throughout your pile, preventing odor-causing anaerobic pockets
- Increased surface area from shredded or torn pieces accelerates microbial breakdown and improves decomposition rates
- Fluffier pile maintenance keeps your compost less sludgy and more manageable in compact spaces
Pair cardboard with nitrogen-rich food scraps for optimal results. Shred or tear pieces into small sections—this maximizes surface exposure to microbes. Soaking cardboard pieces in water for 10–15 minutes before use enhances their water retention capacity and integration with greens. For indoor systems, ensure your container maintains airtight construction to control odors effectively. Avoid heavily coated or waxed cardboard; stick with clean, plain corrugated options for best performance.
Preparing Materials for Faster Indoor Compost Breakdown
You’ll speed up decomposition by chopping your kitchen scraps into small pieces and tearing browns like cardboard and newspaper into strips, which increases surface area for microbes to work on. Your indoor bin also needs the right moisture and airflow balance—too much moisture creates a soggy, slow-breaking pile, while too little stalls the process entirely. By layering your size-reduced materials and maintaining proper aeration through holes or regular turning, you’ll create the ideal conditions for fast, efficient breakdown. Adding trace minerals to your compost can further enhance microbial activity and re-mineralize the finished compost for better nutrient content. For systems like bokashi composting, adding inoculated bran to your layered scraps introduces specialized microorganisms that accelerate the fermentation process beyond standard composting methods.
Size Reduction Techniques
Preparing your compost materials through size reduction is one of the fastest ways to accelerate breakdown in small indoor systems. You’ll want to focus on three key techniques:
- Chop all kitchen scraps and leaves into small pieces to maximize surface area for microbial attack, which speeds decomposition considerably.
- Shred brown materials like paper, cardboard, and dry leaves before adding them to your bin, ensuring even mixing and consistent breakdown rates.
- Maintain uniform particle sizes throughout so microbes work through material at a steady pace rather than getting stuck on large, slow-rotting chunks.
These straightforward preparation steps work exceptionally well in compact containers like buckets and worm bins. By pre-processing your inputs, you’ll dramatically reduce composting time and prevent unfinished debris in your final product. For optimal results in indoor systems, consider lining your containers with compostable trash bags to simplify material management and cleanup. Keeping shredded paper or dry leaves on hand allows you to add carbon with each feeding and maintain optimal balance in your indoor system.
Moisture And Aeration Balance
How do you know when your indoor compost has struck the right balance between moisture and oxygen? Feel your pile—it should resemble a well-wrung sponge with 45% to 60% moisture content. Above 65%, you’ll trigger anaerobic conditions marked by ammonia and rotting odors. Below 40%, decomposition slows dramatically.
To maintain balance, layer food scraps with 4 to 8 inches of dry leaves, which absorb excess moisture while creating pore spaces for airflow. Straw and wood chips add structural support that resists compaction. Top your pile with a carbon-rich layer to limit flies and retain surface moisture. A thick biocover layer of fiber-rich materials like wood chips or leaves helps protect your indoor pile from moisture loss while maintaining the ideal decomposition environment.
When your mix becomes waterlogged and dense, adjust with dry browns. Occasional turning replenishes oxygen and breaks up low-air pockets, keeping decomposition efficient and odor-free.
Why Indoor Composting Works (Even in Tiny Apartments)
Can apartment dwellers really compost without a yard? Absolutely. You’re not limited by square footage—you can set up a system in your studio, condo, or tiny kitchen using methods designed specifically for small spaces.
Here’s why indoor composting works for you:
- Space efficiency – Container-based systems fit under sinks, on counters, or in closets, requiring minimal footprint in a 400 sq ft studio or smaller
- Flexibility – Vermicomposting, Bokashi, electric composters, and freezer storage adapt to your lifestyle and available space
- Practical output – You’ll transform kitchen scraps into nutrient-rich soil amendments for houseplants, herbs, or community gardens
You’re diverting organic waste from landfills while creating usable compost. No yard needed—just commitment and the right method for your home. Services like Compost Collection Service can even handle pickups directly from your apartment, eliminating the need to manage finished compost yourself.
Fixing Smell, Wetness, and Pests
When you’re composting indoors, three problems tend to surface: smell, excess moisture, and unwanted pests. You’ll solve most of these by balancing wet food scraps with brown materials like shredded paper and cardboard. A light brown layer on top absorbs liquid, blocks odors, and discourages fruit flies from landing on exposed food.
If your bin smells sour or looks slimy, you’ve got too much moisture—add more browns immediately. For persistent odors, activate charcoal filters work well, though you’ll need to replace them periodically. Keep your lid airtight and avoid meat, dairy, and oils, which attract insects and create foul smells. Freezing scraps before adding them eliminates odor and pest problems entirely. Consider using a sealed collection container like the Clear Drop Organics Collector as your first step before adding scraps to the bin, which prevents exposure to air and moisture that attract fruit flies.
Frequently Asked Questions
Can I Use Treated Wood Chips or Chemically-Treated Sawdust in My Indoor Compost Bin?
No, you shouldn’t use treated wood chips or chemically-treated sawdust in your indoor bin. You can’t identify treatment by appearance, and chemicals contaminate your compost, making it unsafe for edible plants and worms.
How Long Does It Typically Take for Indoor Compost to Fully Decompose and Be Ready?
You’ll typically wait 2 to 6 months for finished indoor compost, though vermicomposting speeds things up to 2 to 3 months. Hot composting methods can get you ready compost in 4 to 8 weeks with active management.
Should I Remove Tape, Stickers, and Labels From Cardboard Before Composting Indoors?
You should definitely remove tape, stickers, and labels from cardboard before composting indoors. These non-biodegradable materials don’t break down in small systems and’ll contaminate your finished compost with plastic fragments.
Can I Compost Glossy or Plastic-Coated Paper Materials in My Small Indoor System?
You shouldn’t add plastic-coated glossy paper to your indoor bin—it won’t break down and leaves microplastics. China clay-coated paper may work if you shred it finely, but you’ll have better results with plain newspaper or cardboard instead.
What’s the Best Way to Store Food Scraps Before Adding Them to Indoor Compost?
You’ll store food scraps best in a sealed stainless steel or glass container in your freezer or refrigerator. Empty it weekly, and add dry materials like shredded paper to control moisture and odors before transferring to your compost.
In Summary
You’ve got all the tools you need to start composting in your small space. By balancing your greens and browns, choosing the right system, and managing common issues, you’ll transform your kitchen scraps into nutrient-rich soil. Don’t let limited square footage hold you back—indoor composting works anywhere. You’ll reduce waste, save money, and grow healthier plants, all from your apartment or tiny home.


Leave a Reply