

You can build a collapsible sifter that folds flat for apartment storage, then unfolds to process finished compost in minutes. Using 2×4 lumber and 1/4-inch hardware cloth, you’ll create a space-saving frame that removes chunks and debris for finer texture. Position it over a catch container at 30 degrees for gravity-assisted separation. Your screened compost enhances water retention in container plants. The construction takes just hours, and you’ll discover how dual-sifter designs can revolutionize your composting workflow.
Why Apartment Composters Need a Collapsible Sifter
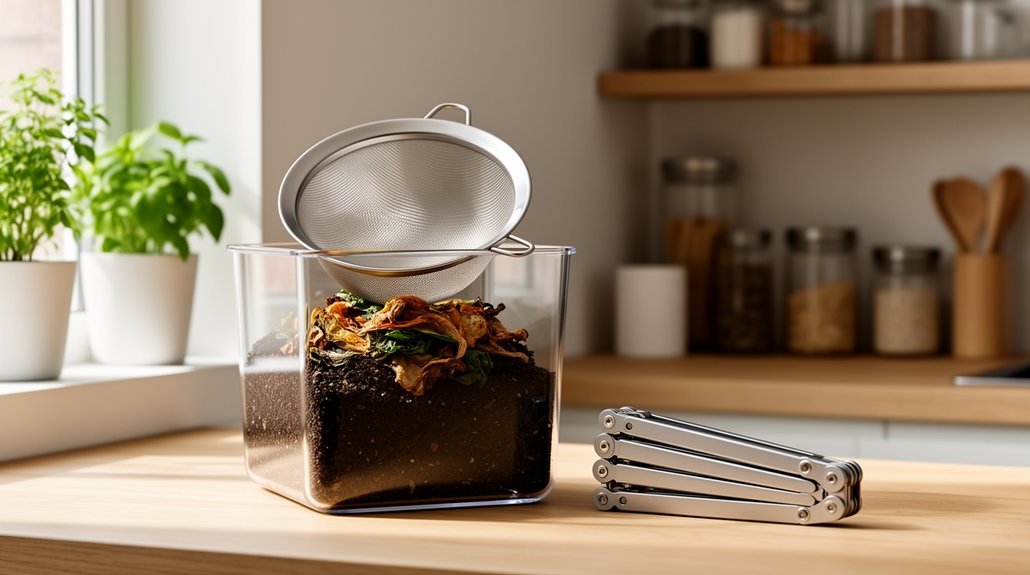
Why does space matter so much in apartment composting? You’re working with limited storage, so bulky screens and rigid wooden sifters won’t fit your reality. A collapsible sifter solves this constraint—it folds away in a closet, under your sink, or beside your bin when you’re not using it.
You’ll also benefit from screening finished compost. Sifting removes chunks, twigs, and uncomposted debris, giving you a finer, uniform material perfect for your potted plants and indoor seedlings. Unscreened compost often contains weed seeds and contaminants that compromise quality. Enhanced water retention from finer particles also means your container plants stay hydrated longer between waterings. Like stackable storage containers, a well-designed sifter maximizes your limited apartment space by nesting compactly when not in active use.
Beyond storage, a compact sifter supports your small-batch workflow. You can process compost incrementally, returning unfinished material to your pile. This regular screening keeps your composting routine manageable and your final product clean—exactly what you need for high-visibility container gardening.
Choose Your Collapsible Sifter Size
Now that you understand why a collapsible sifter matters for apartment composting, you’ll need to nail down the right dimensions for your space and workflow.
Start by measuring your storage area. A compact frame that collapses flat works best for apartments, but you’ll want it large enough for efficient sifting—typically around 2′ x 3′ when expanded. This size balances material throughput with manageable handling.
A 2′ x 3′ collapsible sifter frame balances efficient material throughput with practical apartment storage and handling.
Next, consider your mesh opening. For most apartment composters, 1/4-inch hardware cloth delivers fine, uniform texture without excessive effort. If you want faster processing with coarser results, try 5/16-inch mesh. Avoid anything smaller than 1/4-inch; it’ll dramatically slow your work. Stackable designs also save valuable apartment space by allowing you to nest multiple sifters vertically when not in use.
Finally, ensure your frame has side handles and braced corners to match the ergonomic standards found in quality composting tools. These features make shaking easier and improve durability through years of use.
Gather Your Materials
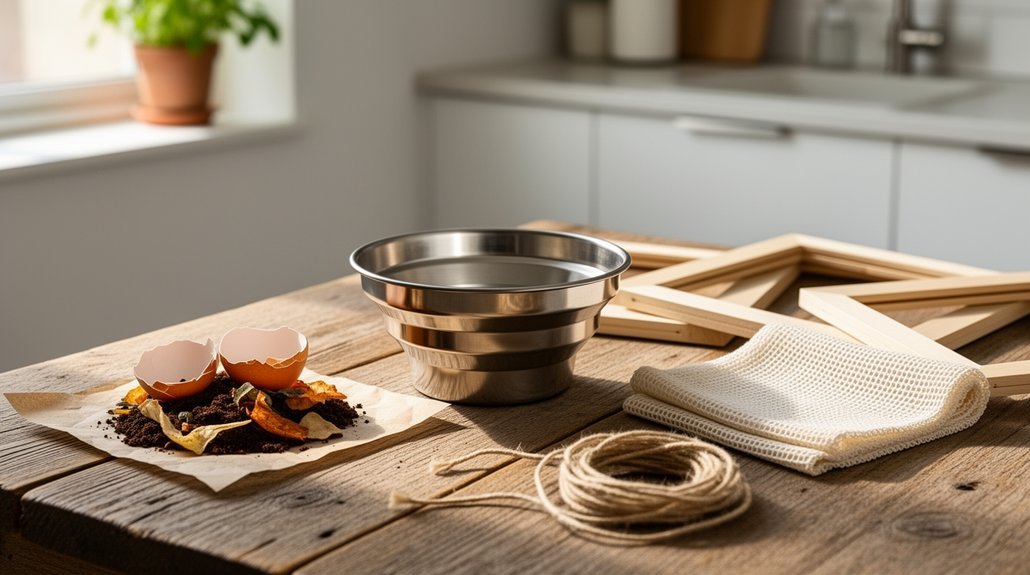
Before you start building, you’ll need to gather the right materials to create a sturdy, functional sifter that’ll withstand repeated use in your apartment. Start with 2×4 lumber cut to your chosen dimensions—typically 2′ x 3’—which provides the rigidity you need for repeated shaking and lifting. For screening material, select 1/2 inch hardware cloth as a balanced choice for general compost sifting and reasonable throughput.
Secure your frame with 2 1/2 to 3 inch deck screws, which create stronger joints than nails. Attach your mesh using fence staples or a staple gun, ensuring enough fasteners to hold tension across the material. You can also use plastic coated #14 household electrical wire to attach the hardware cloth through drilled holes for added durability. Consider selecting materials with chemical resistance properties to protect against the acidic nature of fermented compost components.
You’ll also need a saw, drill, measuring tape, and wire cutters. Consider adding handles and casters for easier apartment maneuvering and storage.
Build Your Frame in 5 Steps
The frame is your sifter’s backbone, and getting it right guarantees you’ll have a sturdy tool that won’t wobble or fail under repeated use. You’ll start by measuring your space and cutting lumber to equal dimensions—2×3 or 2×4 boards work best for durability. Next, you’ll assemble the rectangular base using deck screws with two per corner, predrilling to prevent splitting. Check each corner with a square for alignment before fully tightening.
| Step | Action | Material | Key Point |
|---|---|---|---|
| 1 | Measure space | Tape measure | Confirm container fit |
| 2 | Cut lumber | 2×3/2×4 boards | Equal lengths ensure true rectangle |
| 3 | Assemble corners | Deck screws | Two screws per corner |
| 4 | Add supports | Metal brackets | Enhances rigidity |
| 5 | Test fit | Completed frame | Verify level placement |
Finally, you’ll add collapsible support elements and verify everything sits flat without rocking before final use. For apartment composting, consider pairing your sifter with UV-resistant plastic materials to ensure durability during indoor and outdoor use. A properly constructed frame will aerate the soil and improve water drainage when you begin sifting your compost and garden materials.
Attach and Tension Your Screen
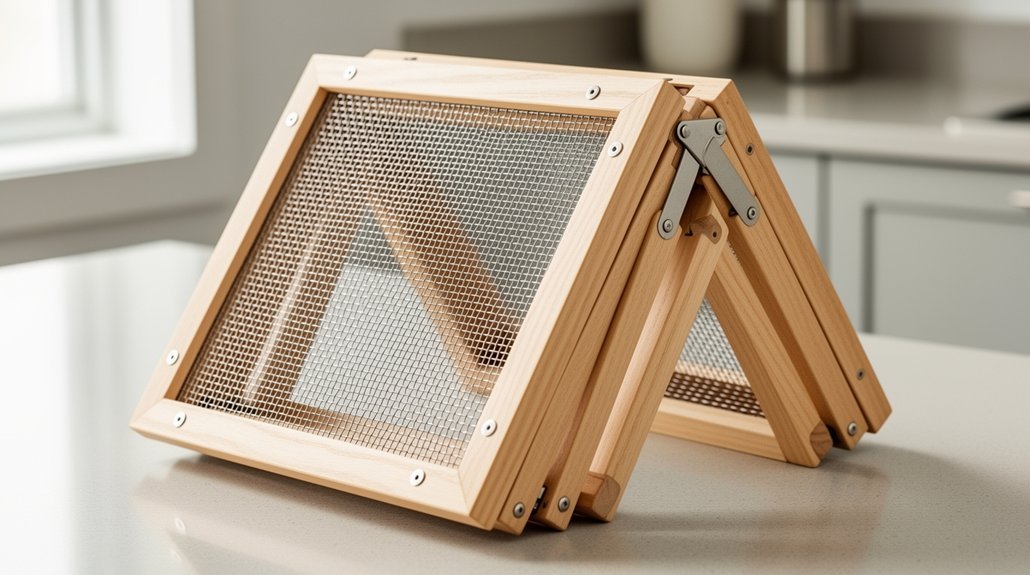
Your screen choice directly impacts your sifter’s efficiency and longevity. For a collapsible apartment sifter, zip ties work best—they’re quick to install and remove when you need to collapse the frame for storage.
Your screen choice directly impacts sifter efficiency and longevity—zip ties work best for quick installation and removal.
Start by laying your screen flat and centered on the frame before tightening anything.
Space your zip ties evenly around the perimeter to distribute tension uniformly and prevent sagging. Uniform tension ensures even support across the entire mesh surface.
Initially, keep ties loose enough to reposition the mesh if needed.
Tighten gradually across all sides rather than one section at a time.
After your first use, re-tension the screen as the mesh settles. For worm compost bedding and other fine materials, shredded paper or cardboard can clog screens if not properly tensioned, so check your mesh regularly.
Check regularly for tears or loose ties, replacing them promptly to maintain separation efficiency and prevent material contamination.
Fold It Flat: Hinges and Bolts for Storage
How’ll you keep your collapsible sifter from becoming a wobbly mess once you’ve tensioned the screen? Choose continuous piano hinges that distribute load along the full fold line, reducing stress compared with single small hinges. Select 80° spring-loaded hinges for controlled deployment and compact collapse. Use hex-head bolts with lock nuts to resist loosening during repeated opening and closing cycles. Stainless steel hardware resists corrosion in damp apartment storage. Ensure fastener length allows full nut capture without protruding ends that snag during folding. Add reinforcement braces or gussets near hinges to prevent mid-span bowing. Wider contact plates spread load and reduce tearing around fastener holes. Align frame members so compressive forces travel through solid sections, not just hinge leaves. For indoor apartment composting setups, pair your collapsible sifter with charcoal filters to control odors from finished compost. Many DIY builders repurpose existing gear like old camera tripods or walkers from thrift stores to create portable sifter stands that fold flat for storage.
Use Your Sifter Without the Mess
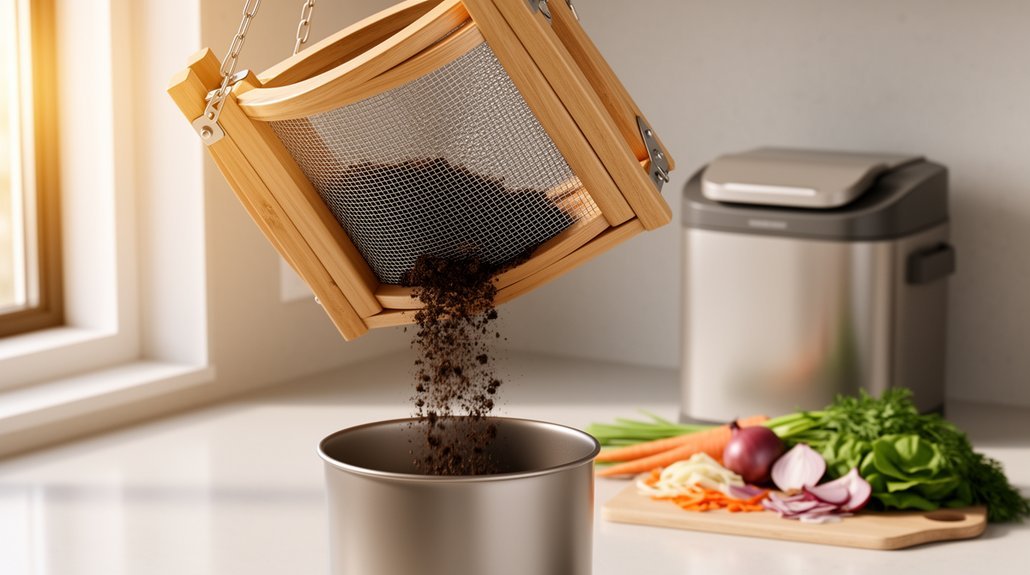
You’ll want to set up proper containment before you start sifting to catch stray particles and prevent mess in your apartment. Position your collapsible sifter directly over a stable catch container with a broad opening, and manage rejected material immediately by separating it into a dedicated pile. Clean up after each sifting batch by emptying residue from the screen and using a small brush to remove clinging particles, keeping your workspace tidy throughout the process. Consider using stainless steel bins to store your finished compost, as they resist odor absorption and maintain freshness longer than other materials. The large pieces you separate should be returned to your composter for further breakdown rather than discarded.
Set Up Proper Containment
Where does all that sifted compost go once it passes through the mesh? You’ll need a solid containment strategy to prevent mess and wasted material.
Position your sifter directly over a wheelbarrow, tote, or garden cart sized to fit snugly underneath. Add support cleats or corner blocks so the frame won’t slide during shaking. Choose a receiver deep enough to hold a full load without spillover.
Layer a tarp or drop cloth beneath your entire work area to catch stray particles. Fold the edges upward to prevent material from rolling away, then gently shake the tarp afterward to recover spilled fines. The fine soil collected from sifting can be used immediately for seed starting mixes or potting soil preparation.
For maximum dust control, use a pop-up hamper or portable barrier around your sifting zone. Keep everything within arm’s reach—brush, dustpan, and a lidded bucket for oversized debris.
Position For Efficient Processing
What’s the secret to processing compost without exhausting yourself or creating chaos? Positioning matters more than you’d think.
Start by angling your sifter at approximately 30 degrees. This gravity-assisted setup lets material slide naturally across the mesh while fine particles fall through—no excessive shaking required. Prop your collapsible sifter against a bench or support structure for hands-free operation.
Next, align your sifter directly over a wheelbarrow or bucket sized to fit snugly underneath. This direct-to-container placement eliminates repeated transfers and keeps screened compost contained. For larger volumes, consider suspending your sifter by rope or chains from an overhead frame to enable continuous processing without repositioning. Organic fertilizer products like alfalfa meal granules can be incorporated into your finished compost for enhanced nutrient content.
Adjust your working height to waist level, reducing unnecessary bending and back strain. A properly positioned sifter keeps your workflow compact and controlled, minimizing material scatter. Your apartment composting process becomes efficient, manageable, and remarkably cleaner.
Clean Up After Sifting
How do you keep your collapsible sifter in working order and prevent drain clogs? Start by emptying excess compost material into your bin before rinsing. Tap the sifter firmly to dislodge loose particles, then clean immediately—dried residue sticks stubbornly to fine mesh.
| Cleaning Method | Best For | Time Required |
|---|---|---|
| Compressed air blast | Dry particles | 1-2 minutes |
| Upside-down rinsing | General debris | 3-5 minutes |
| Hot soapy soak | Stubborn buildup | 10-15 minutes |
Flip your sifter upside down and spray from the underside to push particles outward. Use a soft toothbrush on mesh areas. For collapsible models, avoid prolonged soaking—wipe components with damp cloths instead. Proper ventilation and drainage design prevents moisture from accumulating inside the sifter mesh. Dry thoroughly before storage to prevent rust and odor buildup.
Apply Screened Compost to Houseplants and Containers
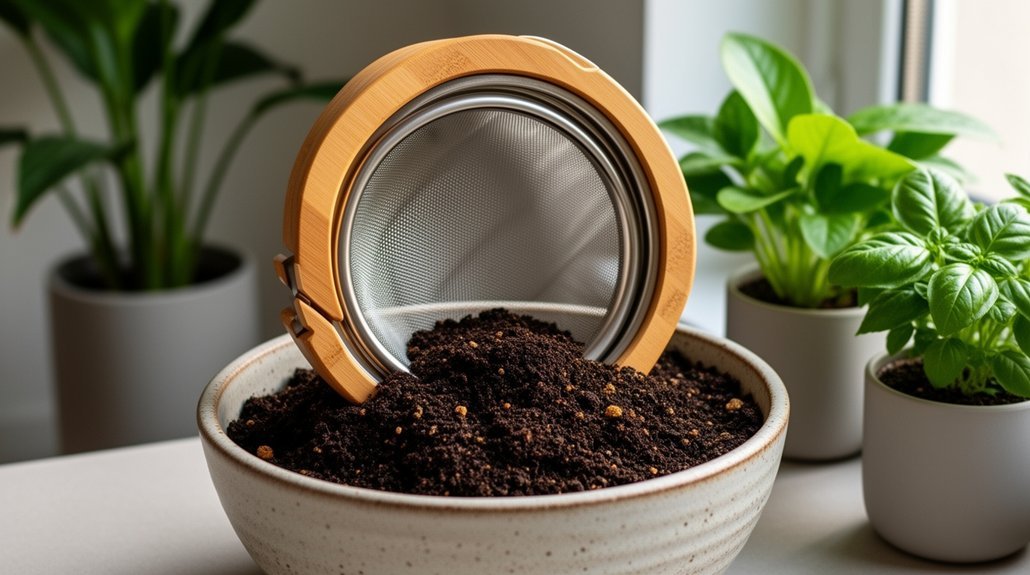
Once you’ve screened your finished compost, you’re ready to feed your houseplants and container gardens with a fine-textured medium that’ll support healthy root growth.
Start applying your screened compost strategically:
- Topdress containers with a thin layer of finished compost to refresh depleted surface media
- Scratch 1 inch into potting mix once or twice yearly for seasonal nutrient boosts
- Blend into repotting mixes at 10–20% compost ratio to avoid compaction and water retention issues
- Reapply seasonally during growing periods for consistent plant nutrition
Keep compost proportions moderate—higher ratios above 30–40% risk waterlogging sensitive houseplants. For faster nutrient availability, consider supplementing with enzyme-based additives that accelerate nutrient breakdown in container media.
Your screened compost’s fine texture ensures even water movement and prevents air gaps that choke roots. Using a 1/2 inch mesh screen removes twigs, leaves, and uncomposted materials that could impede root development.
This tailored approach delivers nutrient benefits while maintaining the drainage and aeration your container plants need.
Fix Clogs, Sagging, and Uneven Sifting
Your collapsible sifter’s performance depends on three critical factors: keeping the mesh clear and dry, maintaining proper screen tension, and preventing frame flex.
Dry your compost before sifting to prevent wet clumps from bridging mesh openings and clogging flow. Choose 1/4″ galvanized hardware cloth as the optimal balance between fineness and throughput—it resists rust and withstands regular use better than window screen or chicken wire. For apartment composting, wire mesh offers superior durability compared to plastic alternatives when properly maintained.
Keep screens tightly tensioned by stapling every three inches and applying mechanical stretch before fastening. Sagging mesh creates dead spots where material collects instead of passing through. Reinforce your frame with 2×3 or 2×4 lumber and diagonal bracing to minimize warping under load.
Brush debris regularly and inspect fasteners for separation. Replace torn mesh immediately to prevent oversized particles from passing through.
Build a Second Sifter for Batch Processing
You’ll dramatically speed up your batch processing workflow when you add a second sifter that handles coarse and fine screening in separate stages. By stacking your frames vertically or positioning them side-by-side, you’ll reduce handling time and keep each material grade in its own collection container without mixing.
This dual-sifter setup also collapses down for apartment storage, so you’re not sacrificing space efficiency for processing power. You can easily create multiple trays with different screen sizes to match your specific material separation needs, allowing you to switch between coarse and fine mesh without rebuilding your frame.
Dual-Sifter Workflow Benefits
Why does a single sifter create bottlenecks during peak composting days? You’re stuck waiting for one batch to finish before loading the next, wasting momentum when material piles up. A second sifter eliminates this stop-and-start cycle entirely.
Here’s what you’ll gain:
- Continuous processing – One unit handles finished compost while the other screens partially decomposed material, keeping your workflow moving.
- Two-stage separation – Start with coarse screening to remove debris, then move to fine mesh for seed-starting mix or potting blend.
- Better quality control – Sort ready material from unfinished pieces efficiently instead of rehandling batches repeatedly.
- Flexible storage – Nest or store units flat in limited apartment space, positioning them strategically near your compost container and planting area. With the modular 2-piece design, each sifter can be completely disassembled for compact storage when not in active use.
Stacking Frames For Storage
Building a second sifter doesn’t require permanent installation or extra floor space—collapsible pallet stacking frames offer the modular solution apartment composters need. These steel structures stack palletized loads vertically while collapsing flat for compact storage when idle. Corner-post frames give you open access to screened and unscreened compost batches, keeping multiple tiers organized without expanding your footprint. You’ll find frames in various sizes and load capacities suited to your batch volume. Heavy-duty racking systems can support 500kg per layer, accommodating substantial compost quantities even in compact apartments. When not in use, you can bundle empty frames densely in a closet or storage area. This stackable approach lets you separate materials efficiently, move batches as needed, and reclaim floor space—ideal for shared indoor composting workflows where versatility matters.
Frequently Asked Questions
What Mesh Size Works Best for Different Compost Types and Final Product Textures?
You’ll want 1/2 inch mesh for coarse garden compost, 1/4 inch for potting mixes, and 1/8 inch for fine seedling blends. Choose based on your intended use and desired particle size.
How Often Should I Replace or Repair the Screen Mesh After Regular Use?
You’ll replace your sifter mesh when you notice tears, holes, or blinding that reduces throughput. For regular apartment composting, inspect monthly and plan replacement every 6-12 months depending on usage frequency and material type.
Can I Use Alternative Materials Instead of Hardware Cloth for Screening?
You can use alternatives like aluminum screen or plastic mesh, but they’re weaker and won’t last as long. Hardware cloth remains your best choice for durability, though stainless steel offers superior corrosion resistance at higher cost.
What’s the Maximum Weight Capacity Before the Frame Becomes Unstable or Collapses?
You’ll avoid collapse by limiting loads to 1–2 inches deep and a few shovelfuls at a time. Watch for frame deflection or wobble—that’s your signal you’re near capacity. Wet compost reduces safe weight appreciably compared to dry material.
How Do I Prevent Compost From Sticking to the Mesh During Sifting?
You’ll prevent sticking by drying your compost thoroughly before sifting, breaking up clumps beforehand, using appropriately sized mesh, working in small batches, and shaking the sieve to dislodge clinging material.
In Summary
You’ve now got a collapsible sifter that’ll transform your apartment composting game. This simple DIY solution saves you precious space while you’re processing finished compost for your houseplants and containers. Once you’ve mastered the basic build, you can easily construct a second sifter for faster batch processing. You’re ready to sift, screen, and apply nutrient-rich compost without the mess or storage headaches.



