

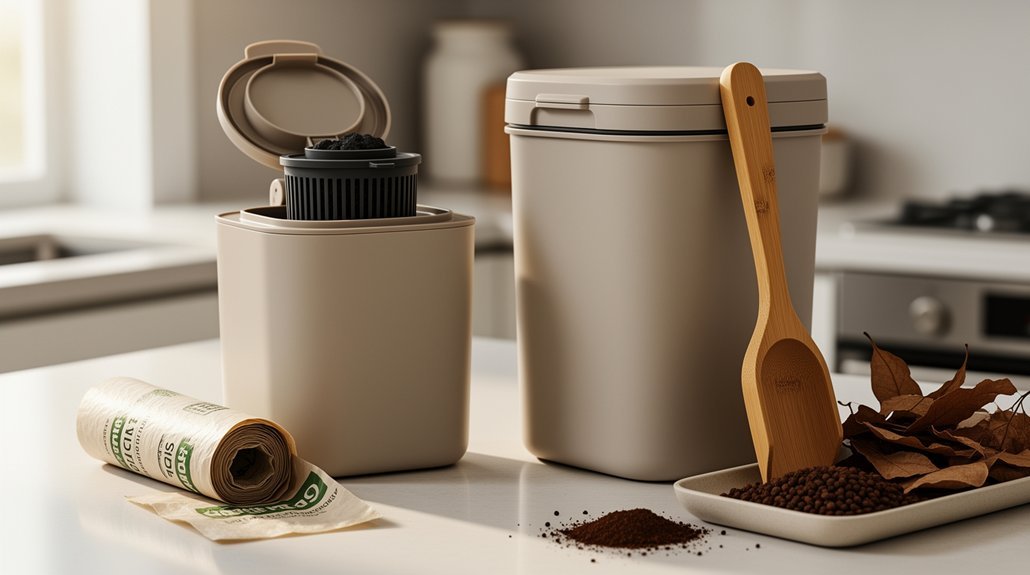
Your apartment starter kit needs a sealed 5-gallon bin with carbon filters, drainage holes, and tight-sealing lids to control odors and prevent fruit flies. You’ll want bokashi bran, shredded cardboard, and a stirring tool for layering. Choose between bokashi fermentation or vermicomposting based on your space—bokashi handles meat and dairy, while worms yield finished compost faster. Local garden centers and big-box retailers stock kits with same-day pickup. The real success hinges on understanding moisture balance and which materials actually work in confined spaces.
Why Your Apartment Needs Different Composting Gear
Why should apartment composting gear look so different from traditional outdoor setups? Your living space presents unique constraints that outdoor composters don’t face. You’re working with limited square footage, shared walls, and neighbors who’ll notice odors. You can’t rely on a sprawling pile in the backyard.
Your gear must fit under sinks, in closets, or beside existing bins. You need sealed containers with carbon filters to control smells and prevent fruit flies from spreading through your building. Indoor moisture management becomes critical—without proper drainage features, your scraps turn soggy and reek. Different composting methods like worm composting, bokashi, and electric composters each offer distinct advantages for confined spaces. Activated carbon filters with tear-resistant design effectively absorb odors from liquids and gases in compact compost systems.
The processing method you choose shapes everything. Electric composters need countertop power. Balcony tumblers require turning space. Traditional bins demand separate carbon storage. Your apartment’s layout and available power outlets fundamentally determine which starter kit works for you.
Bokashi or Worms: Which System Fits Your Space?
Once you’ve narrowed down apartment composting to biological systems, you’re facing a pivotal choice: bokashi or vermicomposting. Bokashi’s airtight buckets demand minimal space and maintenance—you’ll simply add waste, compact it, and seal the lid. It accepts meat, dairy, and cooked foods that worms can’t digest. However, you’ll need a secondary location to finish decomposition through soil burial. The white fungi that appear during bokashi fermentation indicate the microbial inoculation process is working effectively to break down your waste.
Worm bins require more room for bedding and airflow but produce ready-to-use castings within three to six months. They’re lower-maintenance once established and yield nutrient-rich fertilizer directly. Most ceramic compost crocks feature charcoal filters that require replacement every four to six months to maintain odor control. Choose bokashi if you generate mixed food waste and value convenience. Choose worms if you have consistent plant scraps and want finished compost without additional steps.
What’s Inside an Apartment Composting Starter Kit
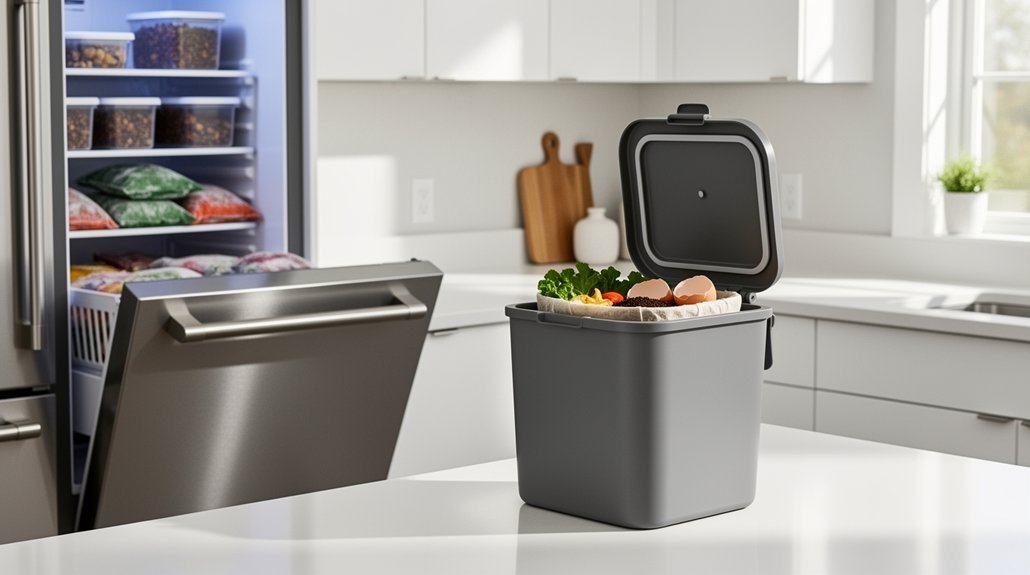
You’ll find that most apartment composting starter kits center on a compact, lidded bin—typically 5 gallons—designed to fit your countertop or small space.
The kit includes fermentation materials like bokashi bran and odor-control additives that you’ll layer with your food scraps to jumpstart the decomposition process. For maximum effectiveness, consider using compost starter accelerators with natural microbes that can treat up to 100 pounds of waste per month.
You’ll also receive essential accessories such as a stirring tool, instruction sheets, and sometimes pre-sized bags, all bundled together to make your setup and weekly maintenance straightforward. For outdoor spaces like balconies or terraces, aerobic stack composters such as the Khamba offer handcrafted terracotta alternatives that can process up to 1 kg of daily waste and produce ready compost in approximately 45 days.
Bin Selection and Design
What makes a composting bin work well in an apartment? You’ll need a container that controls odors, fits your space, and matches your lifestyle. Tight-sealing lids with charcoal filters are essential for keeping smells contained when your bin stays indoors. Stainless steel options resist bacteria buildup and clean easily, though plastic bins offer lighter, budget-friendly alternatives around $20–$60.
Consider these key design features:
- Hinged lids for convenient daily use while maintaining secure closure
- Smooth, nonporous surfaces that simplify washing and prevent residue accumulation
- Dishwasher-safe components to reduce maintenance effort in busy kitchens
Match capacity to your household’s weekly scrap volume. Smaller bins suit single-person homes, while 2.4-gallon pails work better for high-volume cooks. The Epica countertop bin demonstrates that attractive stainless steel design can look good left on your kitchen counter without requiring storage elsewhere. For apartment dwellers with limited space, under-cabinet mounting options eliminate the need for counter real estate entirely. Avoid oversizing—excess capacity creates storage problems in tight kitchens.
Fermentation Materials and Bran
The magic behind bokashi composting lies not in traditional compost starter but in a specialized microbial inoculant—typically sold as bran coated with beneficial fermentation microbes. You’ll sprinkle this bran over your kitchen scraps in sealed layers, using roughly 1/8 cup per 2 cups of waste. The dry, absorbent carrier material—often rice hulls, wheat hulls, or hemp fiber—distributes microbes evenly while supporting easy storage and application. Fermentation retains atmospheric nutrients and delivers them to soil without requiring synthetic fertilizer.
| Carrier Material | Absorbency | Distribution | Storage Life | Best For |
|---|---|---|---|---|
| Rice hulls | High | Even | Excellent | Standard use |
| Wheat hulls | High | Even | Excellent | Sensitive plants |
| Hemp fiber | Very high | Superior | Good | Precision layering |
| Kenaf fiber | Very high | Superior | Good | Dense scraps |
Your starter kit includes everything you need to begin fermenting immediately.
Essential Accessories and Tools
Beyond fermentation bran, successful apartment composting depends on a handful of practical tools that’ll make daily collection, odor management, and scrap transport seamless.
You’ll want to invest in accessories that streamline your routine and minimize mess:
- Countertop collection bin with tight-fitting lid – A 1-gallon stainless steel pail with carbon filters contains odors and keeps pests out while you gather scraps
- Compostable or reusable bags – Line your bins to reduce cleanup and simplify transport to community drop-offs or larger composters
- Kitchen scissors or shredder – Chop scraps finely to accelerate breakdown and reduce volume, maximizing bin efficiency
These tools transform composting from awkward to automatic. Scissors prep paper browns while bags handle transport logistics. Quality accessories eliminate barriers between you and consistent composting habits, making the system work around your apartment lifestyle rather than against it. For additional pest prevention, consider pairing your collection bin with dual-filter technology to maximize odor control across seasons. Aim for roughly 1:3 greens to browns to prevent odor and rot, which your collection bin makes simple to monitor as you layer materials daily.
The Two Features You Can’t Skip: Seals and Drainage
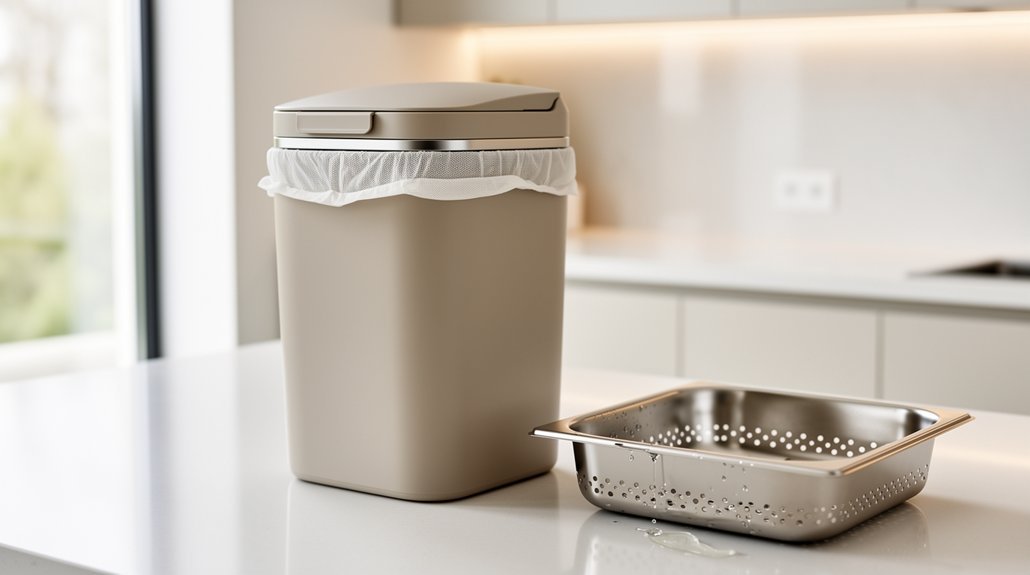
Why do two seemingly simple features—a seal and drainage—make or break apartment composting? You need them working together. A sealed lid controls odors and keeps pests out, essential when your compost bin sits near living areas. However, sealed bins trap moisture from food scraps, which can turn your compost anaerobic and waterlogged. That’s where drainage comes in. Holes in the bottom and lower edges prevent liquid buildup that attracts pests and slows decomposition.
The best apartment setups combine both: a sealed kitchen caddy for odor control during collection, paired with a draining main bin for long-term storage. A carbon seal works effectively by sealing the gap between your lid and bin ring to prevent flies and odors from escaping. For optimal airtightness, look for seals made from seamless nitrile rubber that eliminate weak points and maintain performance over time. Manage these two features properly, and you’ll maintain a low-maintenance, odor-free system in tight spaces.
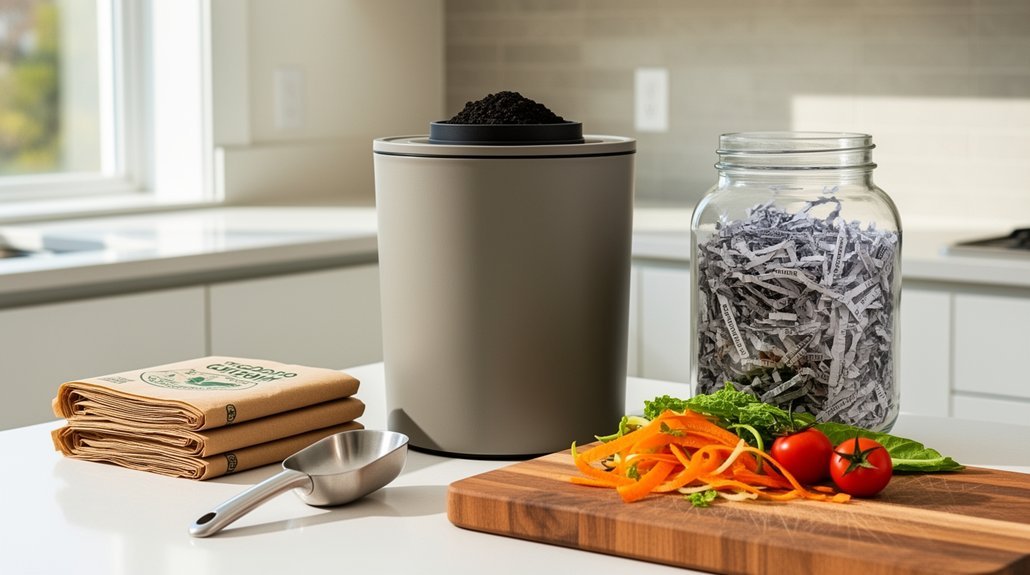
Choosing Your Browns: Bedding Materials That Actually Work
You’ll want to start with paper and cardboard basics—shredded brown cardboard and newspaper are your most accessible apartment-friendly options since they’re easy to source and cost-effective. Dry leaves and garden materials work well too, but you’ll need to shred them fine and avoid fresh or overly green materials that can compact your bin. Shredding all your bedding into small pieces dramatically speeds breakdown and lets your worms access food more easily while maintaining the airflow your system needs. For sifting finished compost and separating worm castings from bedding materials, consider using a compost sifter with interchangeable screens to achieve different levels of fineness. For best results, mix your carbon-rich bedding materials together rather than relying on any single type, since combining cardboard with peat moss or coconut coir creates superior aeration and moisture absorption compared to paper alone.
Paper And Cardboard Basics
When’s the last time you thought about what happens to that cereal box or newspaper going into your compost? Paper and cardboard are carbon-rich “browns” that balance nitrogen-heavy kitchen scraps while improving pile structure. They create air pockets that microbes need to thrive.
You’ll get the best results by:
- Tearing cardboard into small pieces or shredding paper to increase surface area and speed decomposition
- Avoiding waxed, glossy, or heavily coated products that break down slowly and may introduce contaminants
- Mixing thin layers throughout your pile rather than stacking sheets, which mat together and block airflow
Plain office paper, uncoated newspaper, and corrugated cardboard work best. Soaking cardboard before adding it helps integration. For apartment composting systems, consider pairing your browns with natural plant-based odor eliminators to manage potential smells while maintaining your pile’s structure. In compact apartment systems, moderate amounts prevent compaction and maintain proper moisture balance. For optimal results, maintain a balance of greens and browns to support the microbial activity necessary for efficient decomposition in small-space composting.
Dry Leaves And Garden Materials
Dry leaves are your apartment compost’s best friend for balancing nitrogen-heavy kitchen scraps. You’ll want to focus on maple, oak, birch, and fruit tree leaves—they’re widely recommended and readily available. Oak leaves deserve special attention since their slower breakdown and fibrous structure maintain airflow in tight spaces.
Avoid leaves from diseased trees or pesticide-treated areas. Collect leaves on dry days for easier handling and storage in paper bags. Shredding leaves increases the surface area available for microbes to break down organic matter more efficiently. Proper leaf selection and preparation directly contributes to odor control and accessibility in your composting system.
You can layer leaves with nitrogen-rich materials using a 6-inch leaf base followed by 2 inches of greens. If you’re short on nitrogen sources, add small amendments like blood meal or cottonseed meal. Store excess leaves in bags to top up your system whenever you add kitchen scraps.
Shredding Techniques For Faster Breakdown
Now that you’ve gathered your leaves and other brown materials, it’s time to prepare them for maximum composting efficiency. Shredding dramatically accelerates breakdown by increasing surface area for microbes to colonize. You’ll want to tear or cut your materials into smaller pieces rather than leaving them intact—this simple step transforms dense, slow-decomposing matter into active compost.
Consider these shredding approaches:
- Cardboard and paper: Tear into small pieces to boost liquid absorption and airflow
- Fibrous materials: Cut straw and hay before use to improve oxygen movement and reliability
- Layered structures: Arrange shredded bedding to create channels for oxygen flow
Fine to medium particle sizes perform best in apartment composting systems. This preparation work upfront pays dividends through faster, more efficient decomposition in your limited space. For apartment bins with removable inner containers, you can easily manage your shredded materials without taking up additional storage. Targeting a C:N ratio of 50:1 ensures your shredded materials work synergistically with your nitrogen sources for optimal microbial activity.
Which Food Scraps Go in Your Sealed Bin
What you put into your sealed bin makes all the difference in how quickly and efficiently your compost breaks down. Stick with fruit and vegetable peels, coffee grounds, and crushed eggshells—these are your composting workhorses.
You can add small amounts of bread, pasta, and cooked rice if you bury them deep within the pile to prevent pest problems. Cooked vegetables work fine as long as they’re oil-free and lightly seasoned.
Citrus peels are acceptable in moderation since large quantities can lower pH and slow microbial activity. Avoid meat, fish, dairy, and greasy foods entirely—they’ll attract pests and create foul odors. Never add diseased plants or heavily pesticide-treated material to your apartment system. Moldy fruit and vegetables are actually beneficial to include since mold initiation is a natural part of the decomposition process.
Bokashi Bran: The Secret to Apartment Fermentation
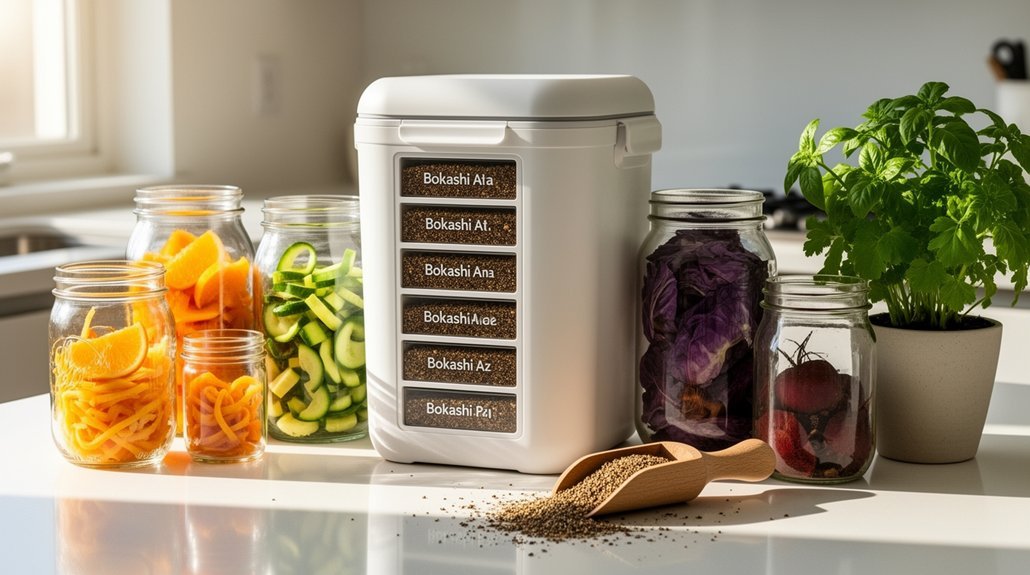
How does an apartment composting system work without oxygen? Bokashi bran makes it possible. You’re using inoculated carrier material packed with lactic acid bacteria, yeasts, and phototrophic bacteria to start anaerobic fermentation in your sealed bin.
Here’s what you need to know:
- Layer strategically: Dust fresh organic waste with bran to maintain microbial dominance and prevent rot
- Store properly: Keep bran in a warm, dry, airtight container to preserve its effectiveness
- Monitor timing: Expect fermentation within 10–14 days at room temperature around 20–30°C
Insufficient bran slows fermentation and invites foul odors or contamination. Quality matters too—old or musty bran performs poorly. Avoid adding moldy or severely spoiled food items to your bokashi bin, as these disrupt the delicate microbial balance necessary for successful fermentation. After fermentation completes, you’ll bury the material in soil or add it to conventional compost for final breakdown.
The Wrung-Out Sponge Rule: Balancing Moisture Without Pests
You’ll find that maintaining moisture around 40–60%—tested by squeezing a handful until it feels like a wrung-out sponge—is your best defense against both slow decomposition and pest problems.
Getting this balance right prevents anaerobic conditions that breed odors and fruit flies, while also keeping microbial activity strong enough to heat and break down your scraps efficiently.
In a small apartment bin, where humidity shifts quickly, this tactile test becomes your most reliable tool for catching moisture problems before they spiral. Proper carbon-to-nitrogen ratio management works alongside moisture control to maintain the decomposition process and prevent compost imbalances that can reintroduce odors and attract pests.
Moisture Testing And Adjustment
Why does moisture matter so much in apartment composting? You’ll find that proper moisture levels directly impact decomposition speed, odor control, and pest prevention in your compact system.
Start by using the wrung-out sponge test: squeeze a handful of compost and check that it feels damp but doesn’t drip excessively. This tactile method gives you immediate feedback without special equipment. The ideal moisture target for apartment composting is 40% to 60%, which you can achieve through consistent monitoring and adjustment.
When adjusting moisture:
- Too dry: Add water gradually from the top down, then turn the pile to distribute it evenly
- Too wet: Mix in dry carbon materials like shredded newspaper or cardboard to absorb excess moisture
- Balanced greens and bedding: Layer food scraps with dry materials to maintain the target range naturally
Regular testing prevents both waterlogging and decomposition slowdowns in your apartment setup.
Odor Prevention Through Balance
Getting moisture right does more than speed decomposition—it’s your front-line defense against odors and the pests they attract. You’ll want your compost to feel like a wrung-out sponge: damp but never dripping. Excess moisture triggers anaerobic conditions, slowing breakdown and releasing foul smells that invite flies and rodents.
Balance greens with browns at a 2:1 or 3:1 ratio. Shredded paper and cardboard absorb liquid from kitchen scraps while maintaining airflow. Layer dry browns over fresh food waste to hide it from pests and trap moisture below the surface.
When odors emerge, you’ve likely got too many greens, excess water, or insufficient airflow. Adjust your browns accordingly and stir regularly. Healthy compost smells earthy, never rotten.
Freezer Storage: Your Apartment Composting Smell Hack
How can you eliminate odors from apartment composting without specialized equipment? You’ll find that freezer storage is your most effective solution. Freezing halts decomposition and stops the bacteria-driven breakdown that creates kitchen odors. Your scraps stay fresh-smelling until you’re ready for drop-off or transfer to an outdoor bin.
You’ll benefit from this simple approach in several ways:
- Frozen scraps produce minimal gas and funk compared to room-temperature bins
- You’ll reduce trips to outdoor collection sites since scraps won’t decompose
- You’ll prevent bugs and flies while keeping your kitchen odor-free
For storage, use a basic plastic container, reusable freezer bags, or even old grocery bags. Focus on freezing highly odorous items like onion scraps, fish skins, and spoiled produce immediately rather than leaving them in a counter pail.
Week One: Layering, Ratios, and Timing in Small Spaces
Since you’re starting your apartment compost bin, the first week sets the foundation for faster decomposition and odor control. Begin with a brown layer, then alternate greens and browns in thin layers to maximize airflow. Aim for roughly 3 parts browns to 1 part greens by volume—this ratio prevents the wet, smelly conditions common in small spaces. Chop or shred materials before layering; smaller pieces break down faster and layer more effectively. Keep your pile loosely stacked rather than packed tight to avoid compaction and anaerobic conditions. When uncertain about ratios, add more browns—they’re safer than greens for odor management. This intentional week-one setup significantly shortens your overall composting timeline and ensures better results in limited apartment space.
Where to Buy Starter Kits and Replacements Locally?
Where can you find quality starter kits and replacement gear without waiting for shipping? Your local options span multiple retailers, each offering distinct advantages for apartment composting.
Big-box stores like Home Depot and Ace Hardware stock compost starters, bins, and liners with convenient pickup options. Specialty garden centers bundle complete kits tailored to apartment living, while composting service providers like Java’s Compost sell program-specific containers matched to local collection standards.
Big-box retailers, specialty garden centers, and local composting programs each offer convenient starter kits and replacement gear tailored to apartment dwellers.
Consider these key sources:
- Big-box retailers offer urgent replacements for liners, starters, and bins with same-day pickup
- Local garden centers provide seasonal compost products and separate replacement components
- Composting programs sell standardized kits designed for their collection methods
Match your purchase to apartment size, collection method, and odor-control needs. Online listings help verify local availability when nearby stores lack specific items.
Frequently Asked Questions
How Long Does It Typically Take to Produce Usable Compost in an Apartment System?
You’ll typically produce usable compost in three to six months with active management, though passive systems can take six to twelve months or longer depending on your setup and maintenance effort.
Can I Use My Apartment Compost in Indoor Houseplants or Container Gardens?
Yes, you can use your apartment compost in houseplants and container gardens. Mix finished, dark compost at 10–20% with potting soil, or apply it as a thin topdressing. Avoid using pure compost alone since it’ll compact and retain too much moisture.
What Should I Do With Finished Compost if I Lack Outdoor Space?
You can mix your finished compost into houseplant soil, share it with community gardens or neighbors, store it temporarily indoors in sealed bags, or take it to municipal organic waste collection sites if you’ve got no planting space.
How Often Do I Need to Replace Bokashi Bran or Maintain Worm Bedding?
You’ll replace bokashi bran when it darkens or smells off—typically every 1–5 years if stored properly. You’ll maintain worm bedding by fluffing it every 2–3 weeks, adjusting moisture, and replacing it every 2–6 months depending on waste volume.
Will Apartment Composting Create Noticeable Odors That Affect My Neighbors or Lease?
You’ll avoid neighbor complaints if you keep your bin sealed, balance browns with food scraps, and empty it regularly. Bokashi and electric composters are your best odor-free options for shared housing.
In Summary
You’ve now got everything you need to start composting in your apartment successfully. By choosing the right system, maintaining proper moisture balance, and following the layering techniques we’ve covered, you’ll transform your kitchen scraps into nutrient-rich compost. You’ll reduce waste, eliminate odors, and contribute to a more sustainable lifestyle—all without leaving your home. Start small, stay consistent, and you’ll master apartment composting quickly.


Leave a Reply