

You’ll need seven essential tools to transform your apartment into a composting powerhouse. Start by selecting the right system—electric composters, worm bins, or Bokashi work best indoors. Get a compact 84-ounce container with charcoal filters and tight-sealing lids. Stock carbon materials like shredded cardboard and dry leaves. Grab a garden sieve, moisture meter, and aeration tool. Finally, add baking soda for odor control. Each tool plays a vital role in your success, and discovering how to use them together unlocks remarkable results.
Pick Your Apartment Composting System First
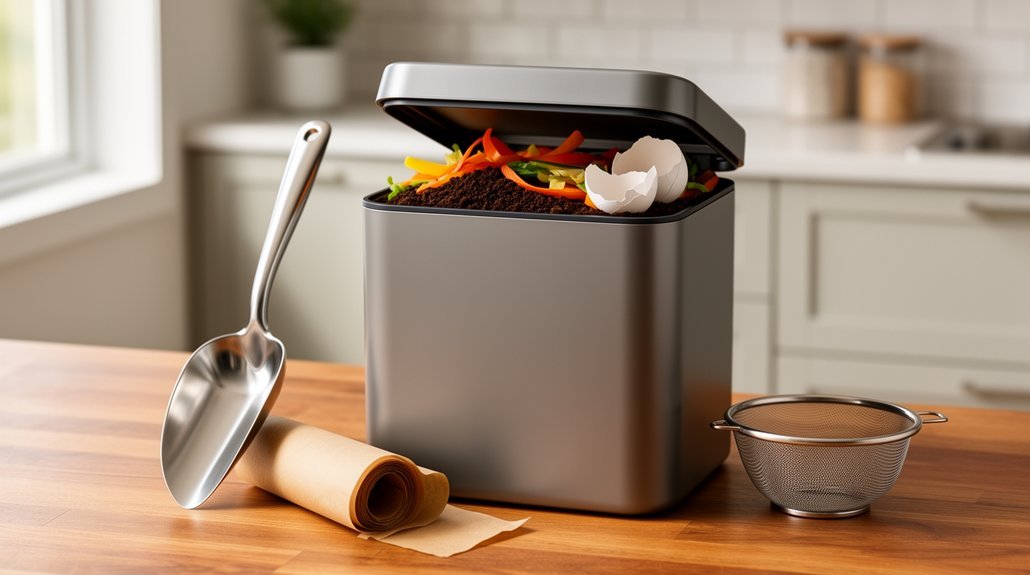
Before you invest in tools or supplies, you’ll need to choose a composting system that fits your space and lifestyle. Your living situation determines what’s practical. If you have no outdoor space, electric composters or worm bins work best. With a balcony, consider Bokashi or a small tumbler. A small yard opens up options like a compact tumbler paired with a countertop collection bin.
Next, match your system to what you want from composting. Prioritizing speed and convenience? Electric composters process waste in 24 hours to two weeks. Seeking high-quality finished compost? Worm bins produce excellent castings but require patience and ongoing maintenance. Bokashi systems excel at pre-treatment in tight spaces. Kitchen collection bins with charcoal filters effectively manage odors during daily scrap storage, making them ideal for apartment dwellers. For those looking to enhance their compost quality, consider adding organic alfalfa meal as a nitrogen-rich amendment to accelerate decomposition. Your commitment level and goals shape which system serves you best.
Choose the Right Container for Your Space
Your compost container is the foundation of apartment success—it’s where you’ll store scraps daily, so it needs to fit both your space and your lifestyle. Consider a compact bin around 84 ounces if you’re in a one- or two-person household. These space-saving designs fit countertops, under sinks, or inside cabinets without consuming valuable real estate.
Prioritize tight-sealing lids with charcoal filters to control odors in your enclosed living space. Stainless steel or BPA-free plastic construction keeps cleaning effortless—smooth interior walls rinse easily after emptying. Wall-mountable models with included hooks and adhesive strips offer additional placement flexibility for kitchens where every inch matters. Soft-grip handles rated for 6-10 pounds ensure you can safely transport full buckets from your kitchen to your composting area without strain.
Match your bin’s capacity to your weekly food-scrap volume rather than choosing maximum size. Modern designs blend seamlessly into visible kitchen areas, while mountable options work for kitchens with zero counter space available.
Collect Kitchen Scraps Without the Smell
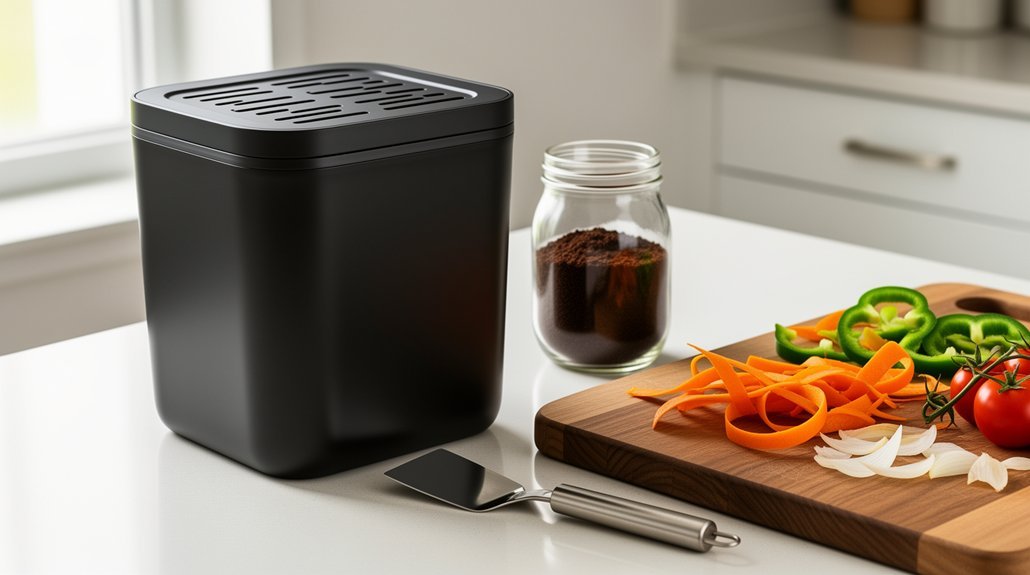
How do you keep kitchen scraps fresh without filling your apartment with odor? The key is managing moisture and bacteria growth. Store scraps in a closed-lid container—purpose-built compost bins with charcoal filters work best. You can also freeze scraps in bags or containers, which suppresses bacterial activity indefinitely. This approach works especially well for smelly items like fish skins and spoiled produce.
Line your bin with absorbent paper products like newspaper or cardboard egg cartons to reduce dampness. Empty your container every few days rather than waiting until it’s full. Rinsing the bin regularly removes residue that attracts flies and bacteria, so sprinkle baking soda in the bin to further absorb odor and slow bacteria growth. Models with airtight lid designs prevent unwanted odors from escaping and keep pests out while you store scraps indoors. Shorter indoor holding times combined with frequent transfers to your outdoor bin or curbside pickup dramatically reduce odor buildup.
Balance Your Compost With Carbon Materials
Why do you need carbon materials in your apartment compost? Your microbes require carbon for energy while they break down organic matter. You’ll want to maintain a 2:3 ratio of browns to greens—carbon materials to nitrogen-rich scraps—for faster decomposition and reduced odor.
| Carbon Source | Best For | Handling Tips |
|---|---|---|
| Shredded cardboard | Primary brown material | Remove tape and glossy coating |
| Dry leaves | Structure and aeration | Layer with greens |
| Paper products | Easy indoor sourcing | Avoid glossy or coated paper |
You can source cardboard from retailers and collect dry leaves from neighbors. Keep a reserve of shredded paper handy to maintain balance. For denser carbon materials like pine pellets, you’ll need to increase your cardboard or paper ratio to achieve the proper carbon-to-nitrogen balance. Avoid sawdust in large quantities and prevent compacting materials, which reduces airflow and slows decomposition. Using BPI-certified compost liners can help contain your carbon and nitrogen materials while maintaining proper moisture levels for microbial activity.
Keep Your Compost Moist (But Not Soggy)
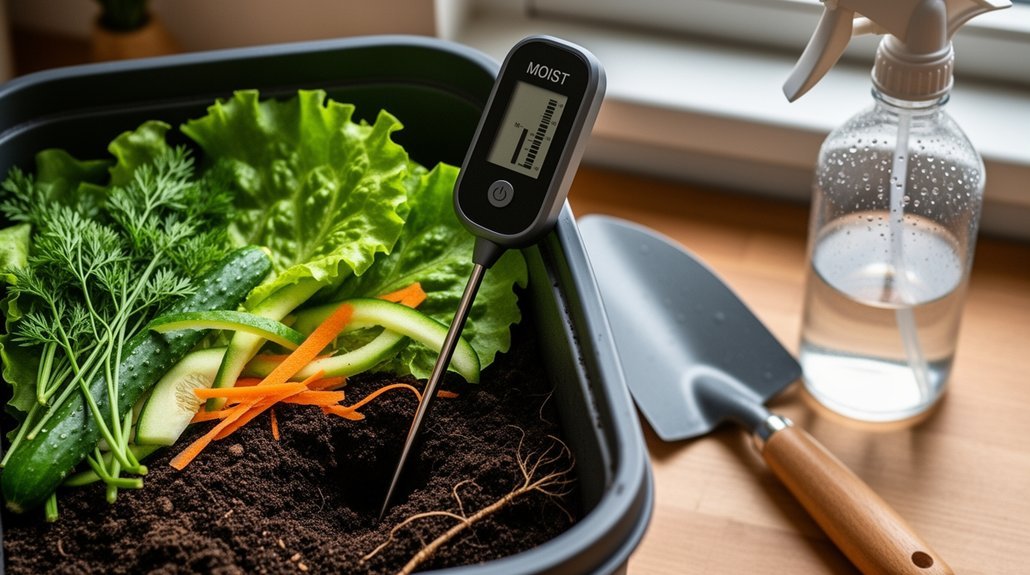
Getting your apartment compost’s moisture level just right is essential—too dry and microbial activity stalls, but too wet and you’ll create odor problems and anaerobic conditions.
Aim for roughly 50% moisture. When you squeeze a handful, it should hold together without dripping. If your pile looks dusty and brittle, it’s too dry. If it’s slimy and releases water, it’s oversaturated. Most moisture control products use activated carbon filters to help maintain optimal levels while managing odors.
Water gradually using a spray nozzle or drip method, distributing moisture evenly across sections. Apply water during cooler hours to minimize evaporation. Pre-wetting your feedstocks before adding them to the bin can increase water absorption and improve decomposition efficiency. Cover your bin with a tarp or lid to retain moisture while maintaining ventilation. Keep it out of direct sun when possible. During rainy periods, use a cover to prevent waterlogging and nutrient loss.
Aerate Your Bin for Faster Breakdown
While maintaining proper moisture sets the stage for microbial activity, you’ll also need to introduce oxygen into your bin to keep decomposition moving at a healthy pace. Aerobic microbes require oxygen to break down food scraps efficiently, and poor aeration slows decomposition while causing foul odors.
Turn your pile every one to two weeks using a garden fork or compost aerator. These tools loosen compacted material and mix oxygen throughout the bin. For apartment-friendly options, consider a compost tumbler that rotates easily, or use a strong stick to punch holes through dense layers. Regular aeration also reduces odors and pest problems that can make apartment composting challenging.
Incorporate bulky brown materials like shredded leaves and straw to create natural air channels. Layer coarse materials strategically to prevent settling. Keep bin vents unobstructed. Higher temperatures maintained by proper aeration accelerate microbial activity and speed up the decomposition process. Well-aerated compost develops a rich, earthy smell and breaks down faster.
Harvest Your Compost and Troubleshoot Common Issues
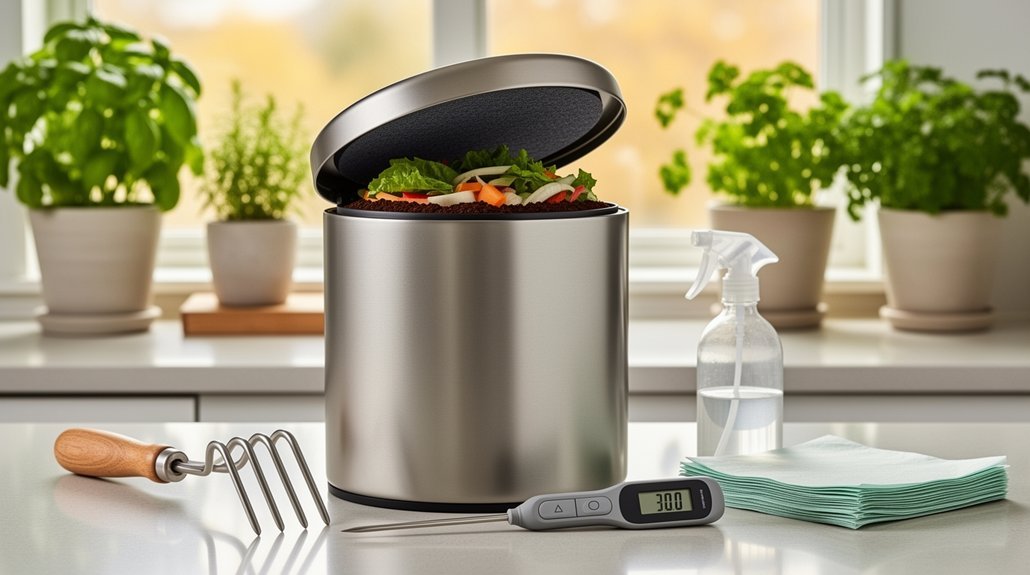
After weeks of turning your bin and maintaining proper moisture and aeration, you’re ready to harvest your finished compost. Dark brown or black crumbly material with an earthy smell signals readiness. Use your bin’s bottom access door or screen larger pieces through a garden sieve to separate fine compost from unfinished material.
Once harvested, allow your compost to cure for at least four weeks. This stabilization period lets remaining organic matter fully decompose. Store it in a dry, covered container to prevent excess moisture. You can use finished compost for potted plants or contribute it to a local community garden to support healthier ecosystems. For enhanced plant results, consider mixing your finished compost with bokashi bran products to boost root development and plant resilience.
If you encounter issues, troubleshoot accordingly:
- Unfinished scraps indicate more time is needed
- Strong odors suggest imbalance or excess moisture—add dry brown materials
- Large clumps can be returned to your bin for further breakdown
Frequently Asked Questions
Can I Compost Meat, Dairy, and Oils in My Apartment Composting System?
You shouldn’t compost meat, dairy, or oils in your apartment system. They attract pests, create odors, and can harbor pathogens. Instead, you’ll want to use your city’s organics program or check if local collection services accept them.
How Often Should I Empty My Indoor Compost Container to Prevent Odors?
You should empty your indoor compost container every 2-4 days to prevent odors and fruit flies. If you’re producing high volumes of kitchen scraps, emptying daily or every other day works best. Empty immediately if you notice smells developing.
What Temperature Range Is Ideal for Apartment Composting Systems Indoors?
You’ll want to maintain 90°F to 140°F for active composting, with 131°F to 149°F being ideal for pathogen reduction. If you’re vermicomposting, you’ll need to keep temperatures between 59°F and 77°F instead.
How Long Does It Typically Take to Produce Finished Compost Indoors?
You’ll typically produce finished compost indoors in one to four months if you’re managing it well. Fast, hot composting methods can speed this up to two to eight weeks, while passive systems often take three to six months.
Can Apartment Composting Attract Pests Like Fruit Flies or Rodents?
Yes, you can attract fruit flies indoors if you don’t seal your bin or empty scraps quickly. You’ll rarely see rodents with sealed systems, but poorly managed bins invite cockroaches and ants.
In Summary
You’ve got everything you need to start composting in your apartment. By choosing the right system, managing your materials carefully, and staying consistent with moisture and aeration, you’ll transform your kitchen scraps into nutrient-rich compost. You’ll reduce waste, save money, and create healthier soil for your plants. Start small, troubleshoot as you go, and you’ll soon master apartment composting.



