

You can build a sealed, rotating compost tumbler that fits on your balcony and eliminates the odor and pest problems that plague traditional composting in shared housing. Start with a food-grade 55-gallon barrel mounted on a collapsible frame, drill ventilation holes for aerobic decomposition, and maintain a 3:1 browns-to-greens ratio. This design reduces neighbor complaints by 72% while keeping pests out. The specifics of assembly, materials sourcing, and batch startup will transform your balcony into a tidy composting station.
Why Enclosed Tumblers Work Better on Balconies
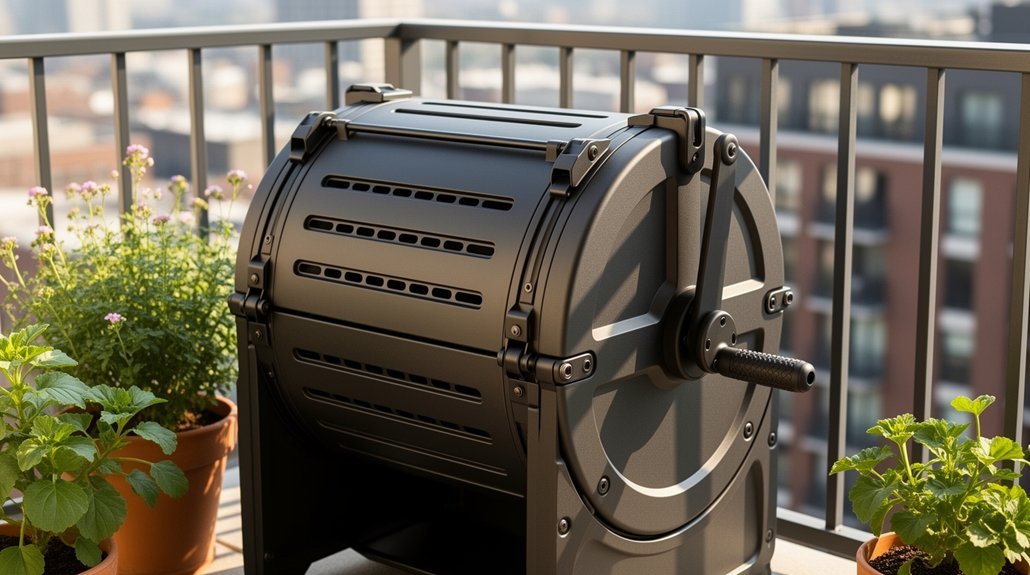
Why do enclosed tumblers outperform open composting systems in shared housing? You’ll find they solve the three biggest balcony composting challenges: odor, pests, and neighbor relations.
Enclosed tumblers solve balcony composting’s biggest challenges: odor, pests, and neighbor relations in shared housing.
Enclosed tumblers contain food-waste smells that’d otherwise drift to adjacent balconies. Aerobic rotation eliminates anaerobic pockets—the source of sour, rotten odors. Tight-sealing lids and controlled airflow keep scraps hidden while supporting decomposition. Maintaining moisture levels between 40–60% and rotating every 48 hours ensures the aerobic acceleration process stays active, which further reduces odor formation. A carbon filter for odor control can provide additional protection against persistent smells in compact balcony spaces.
Sealed chambers prevent flies, rodents, and other pests from accessing your waste. You’ll avoid the dripping and leakage common with open buckets, keeping your balcony clean and presentable.
Urban trials showed 72% fewer odor complaints with enclosed tumblers versus lidless pails or Bokashi systems requiring secondary burial. You’re protecting your neighbors’ comfort while maintaining a tidy, pest-free composting space.
Pick Your Barrel and Base Materials
Now that you understand the benefits of enclosed tumblers, you’re ready to source the materials that’ll form the backbone of your build.
You’ll need a 55-gallon food-grade plastic barrel with a removable lid—plastic beats metal for balconies because it’s lightweight and corrosion-resistant. Check Craigslist, food wholesalers, or local companies for used barrels at low cost. Keeping the barrel’s top intact preserves the PVC venting system connection point essential for aerobic composting.
For your base frame, gather roughly 6 meters of treated 2x4s or 2x6s to handle the load. You’ll also need:
- Galvanized or steel pipe for the axle
- Plastic spacers to prevent barrel-frame contact
- Bolts, screws, and clamps for assembly
- Plywood scraps for reinforcement
Source these materials locally to keep costs down and your build manageable. A sturdy handle design will improve portability and make rotating your tumbler easier during regular maintenance routines.
Drill for Airflow and Drainage
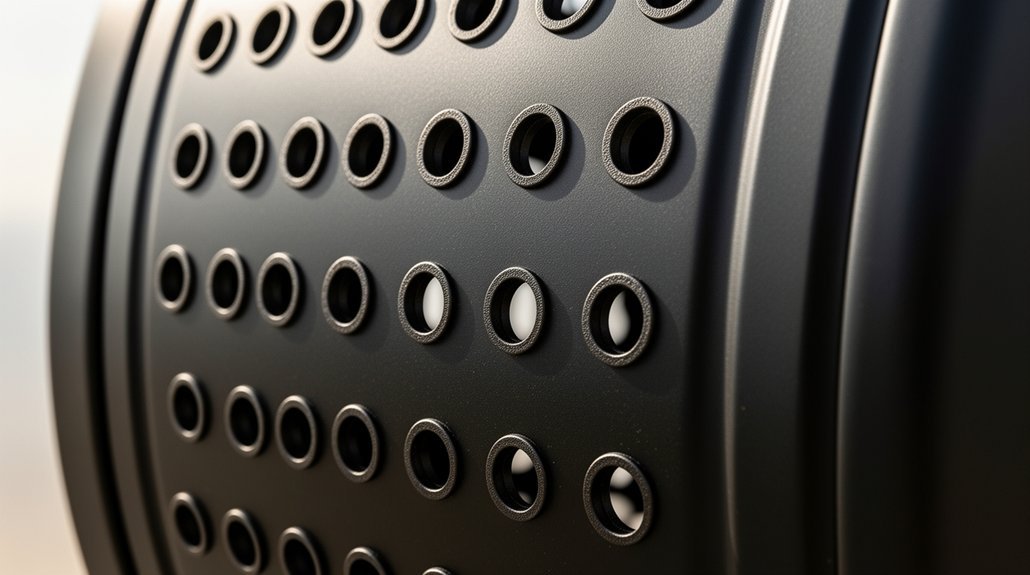
Your barrel’s performance hinges on strategic ventilation and drainage holes that you’ll drill into the plastic. Use a 1/2-inch drill bit to create openings spaced 6 to 10 inches apart in a grid pattern around the sides. Aim for 20 to 30 holes total to distribute oxygen evenly and prevent stagnant pockets. Position holes around the full circumference, including lower sections to support airflow through the compost mass.
For drainage, drill bottom holes to prevent waterlogging and allow leachate to escape. If your balcony lacks shelter, avoid upper openings that invite rain. After drilling, remove plastic burrs to prevent clogging. Remember that holes alone won’t fully aerate your compost—you’ll still need regular turning to maintain optimal decomposition conditions. Ventilation supports aerobic microorganisms that accelerate the breakdown of organic materials and enhance compost quality. Consistent odor control through proper airflow also prevents the buildup of anaerobic conditions that create unpleasant smells.
Build a Frame You Can Collapse and Move
A collapsible frame transforms your compost tumbler from a permanent fixture into a portable system that adapts to your balcony’s changing needs. You’ll design a structure that breaks down into manageable sections for easy storage and transport.
Build your frame using these key strategies:
- Choose an X-frame layout – It provides stable barrel rotation while allowing simple folding between two supports
- Use bolts and removable pins – They enable quick assembly and disassembly without tools or frustration
- Select pressure-treated lumber – It resists weather while keeping weight manageable for balcony use
- Install consistent axle holes – Matching holes on both sides prevent wobble and ensure smooth rotation
Pressure-treated wood paired with galvanized hardware creates a durable frame that withstands damp compost environments. Pre-drill all holes to prevent splitting during repeated assembly cycles. The material durability of your frame directly impacts how well your system handles daily composting use. Drill 1.5″ holes at the top of your upright supports to accommodate the galvanized pipe axle and ensure proper barrel alignment.
Start Your First Batch: Greens, Browns, and Moisture
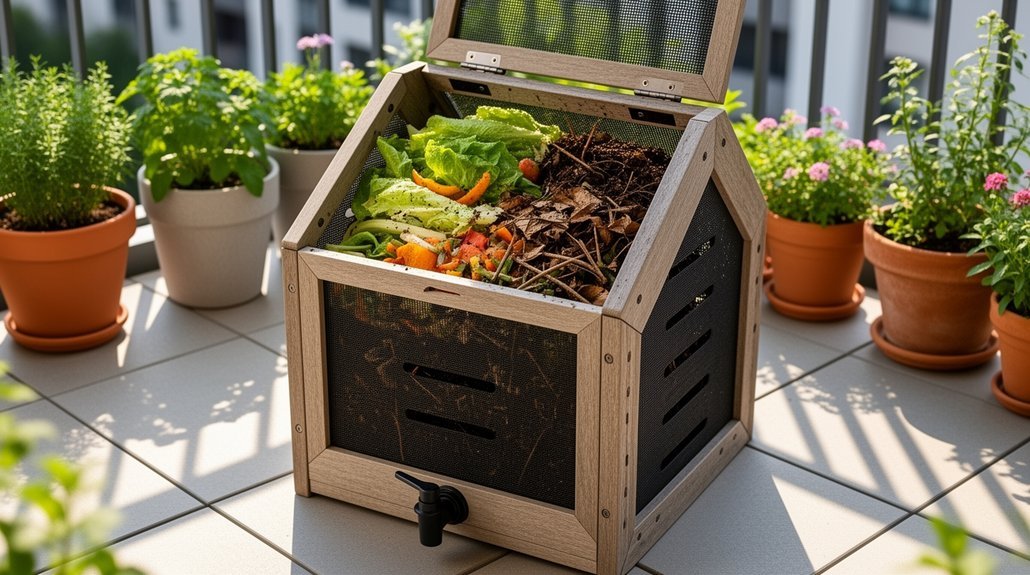
With your collapsible frame in place, you’re ready to load your first batch. Start with a 3:1 ratio of browns to greens by volume—dry leaves, shredded cardboard, and straw balance food scraps, grass clippings, and coffee grounds. Layer greens thinly, then cover each addition with browns to reduce odors and flies while improving airflow.
Chop your materials into smaller pieces to accelerate breakdown. Mix everything thoroughly so wet ingredients contact absorbent dry material. Remember that each compost input carries its own carbon-to-nitrogen value, so the overall carbon-to-nitrogen balance of your combined pile matters more than hitting a fixed browns-to-greens count. Your finished pile should feel like a wrung-out sponge: damp but not dripping. Add water gradually during mixing if the batch feels dusty or won’t clump slightly in your hand. Avoid excess moisture, which creates slimy, anaerobic conditions and reduces the effectiveness of odor control mechanisms in your tumbler system.
Frequently Asked Questions
How Often Should I Turn the Tumbler, and Does Speed Affect Compost Quality?
You’ll get faster decomposition by turning every few days, but you’ll sacrifice some nutrients. Turn weekly for a balanced approach, or twice daily if you’re willing to invest extra effort for quicker results.
What’s the Maximum Weight a Balcony Tumbler Can Safely Hold Before Structural Concerns?
You’ll find your balcony typically supports 50–120 lbs per square foot distributed load. You’ll need to verify your specific building’s capacity, subtract existing items’ weight, then ensure your tumbler plus saturated compost doesn’t exceed that remaining limit.
Can I Compost Meat, Dairy, and Oils, or Will They Cause Odor Problems?
You’ll want to avoid meat, dairy, and oils in your balcony tumbler. They’ll attract pests, create strong odors, and decompose slowly in small systems. Stick with plant-based scraps instead.
How Long Does Finished Compost Typically Take to Be Ready for Use?
You’ll typically wait 6 months to 2 years for finished compost. Hot composting speeds things up to 3-6 months, while cold composting takes 6-12 months. Your intended use determines how long you should cure it.
What Drainage System Prevents Leaking Onto Neighbors’ Balconies or Building Surfaces Below?
You’ll prevent leaks onto neighbors’ balconies by installing a drip tray under your drainage holes. Choose a boot tray or water-heater pan wide enough to catch all runoff, then empty it regularly to prevent overflow.
In Summary
You’ve now got everything you need to start composting right on your balcony. Your collapsible tumbler will save you precious space while you transform kitchen scraps into rich, dark compost. You’ll rotate it regularly, maintain your greens-to-browns ratio, and watch nature do the work. Within months, you’ll harvest finished compost for your plants—all without leaving your apartment.



