

First, check your lease and local ordinances for compost rules, get any HOA or landlord approval, and note odor and pest limits. Choose a compact, sealed indoor system—like a countertop bin or worm tower—that fits your kitchen spot and stays out of sight. Gather balanced greens and browns, keep the mix moist but not soggy, and turn it weekly to control smells. Use a leak‑proof bin and dispose of non‑compostables properly. Follow these steps, and you’ll discover even more practical tips.
Check Lease Rules and Local Ordinances
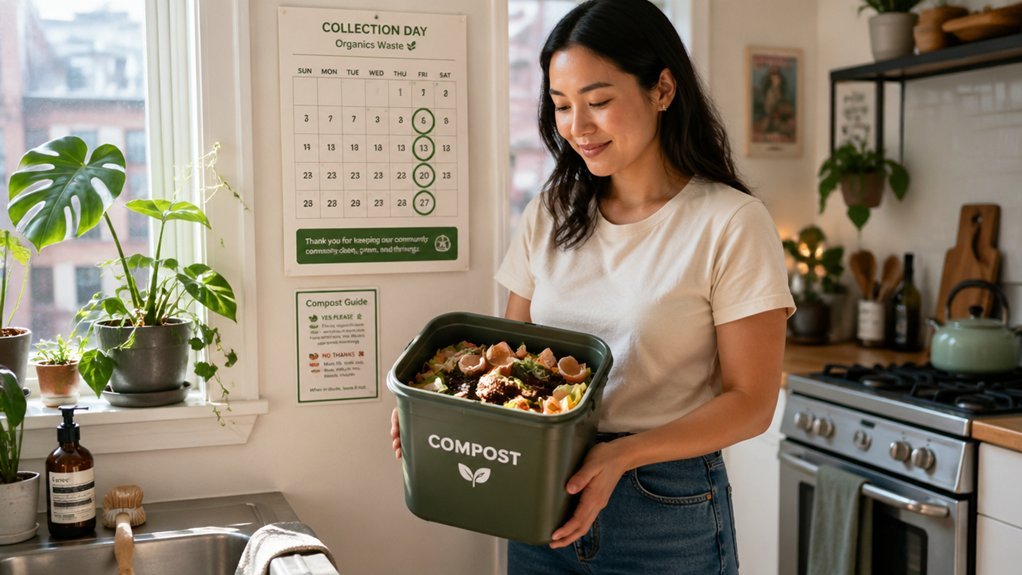
Ever wonder if your lease even allows composting? First, skim your lease for any rental restrictions on outdoor composting—look for clauses about placement, enclosures, or prohibited food waste in common areas.
Then, consult local ordinances to see which permitted methods—bins, tumblers, or vermicomposting—are allowed for waste management. Pay attention to odor control and pest control rules, because many codes tie composting to setback distances from doors, windows, and water sources.
If you belong to an HOA, secure HOA approval before you set up a bin, and verify whether the landlord requires written consent. By matching lease terms, local ordinances, and any HOA or landlord mandates, you’ll avoid violations and keep your composting legal and hassle‑free. Local regulations
Choose a Compact, Odor‑Free Indoor Compost System
A compact, odor‑free indoor compost system lets you turn kitchen scraps into nutrient‑rich soil without disturbing roommates or breaking lease rules. For a rental property, look for a countertop composter or worm bins that fit on a shelf or kitchen counter. Choose a compact system with a sealed lid, good ventilation, and moisture control to keep smells at bay. Balance greens to browns roughly 1:1 to speed decomposition and prevent odor. Worm bins excel at quiet, low‑maintenance vermicomposting, while a countertop composter offers quick aerobic breakdown. Both options stay out of sight, fit tight spaces, and meet lease restrictions, making indoor composting practical and discreet. Odor Control guidance from compact models helps maintain a pleasant kitchen environment.
Set Up a Kitchen Spot for Rental Composting
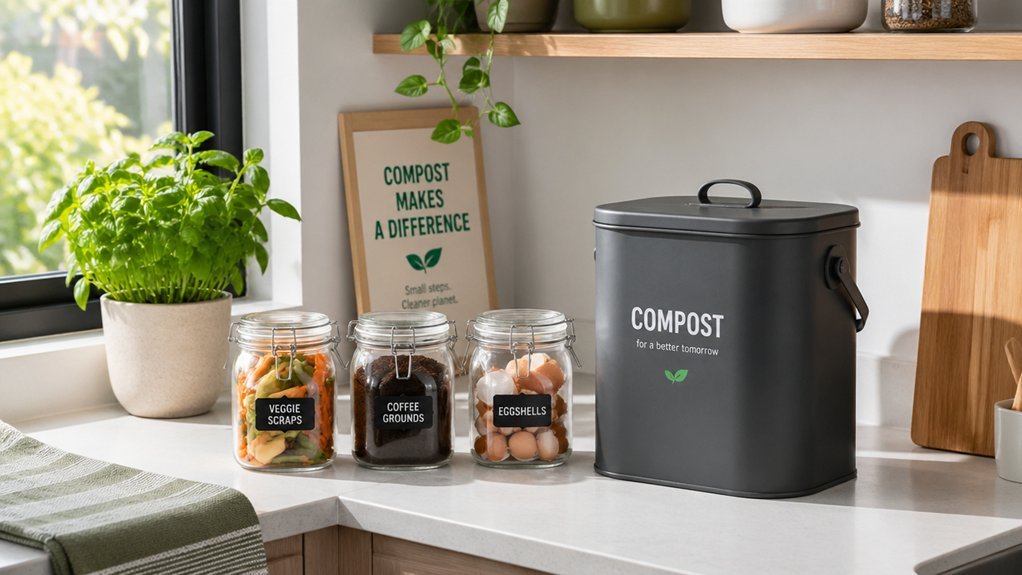
Pick a spot in the kitchen where you’ll reach the compost bin without hassle—under the sink, on a pantry shelf, or a a narrow utility counter works well. For indoor composting on a rental property, choose a compact system that fits the space and keeps odor control simple. An under‑sink placement or a countertop bin works well, as long as you leave a gap for ventilation and avoid direct heat sources. Regularly using a utensil or scoop can help with transfers and moisture checks, and select a bin with an airtight lid or charcoal filter for odor control odor control. Keep the bin on a stable surface, and check moisture levels daily; a damp, sponge‑like texture signals proper moisture management. Rotate the contents weekly to maintain aeration. Finally, remember the green and brown balance: equal parts fruit scraps and dry paper keep decomposition steady without unpleasant smells.
Gather Green and Brown Materials for Your Rental Compost
Usually you’ll start by separating your kitchen scraps (greens) from dry, carbon‑rich items (browns) before they hit the bin. In a rental, you can keep a small container for greens—fruit peels, veg trimmings, coffee grounds, eggshells—and another for browns such as shredded paper, cardboard, dry leaves, or yard waste. Aim for a balanced green-to-brown ratio; roughly one part greens to one part browns keeps moisture and aeration optimal for decomposition. Mix them gently, adding a splash of water if the pile feels dry, and fluff the top to invite oxygen. This simple routine boosts composting efficiency without cluttering your space.
- Fruit and vegetable peels (greens)
- Coffee grounds and eggshells (greens)
- Shredded newspaper or cardboard (browns)
- Dry leaves and yard waste (browns)
- Small piece of straw or wood chips (browns)
Maintain a 1:1 Greens‑to‑Browns Ratio in Rental Compost
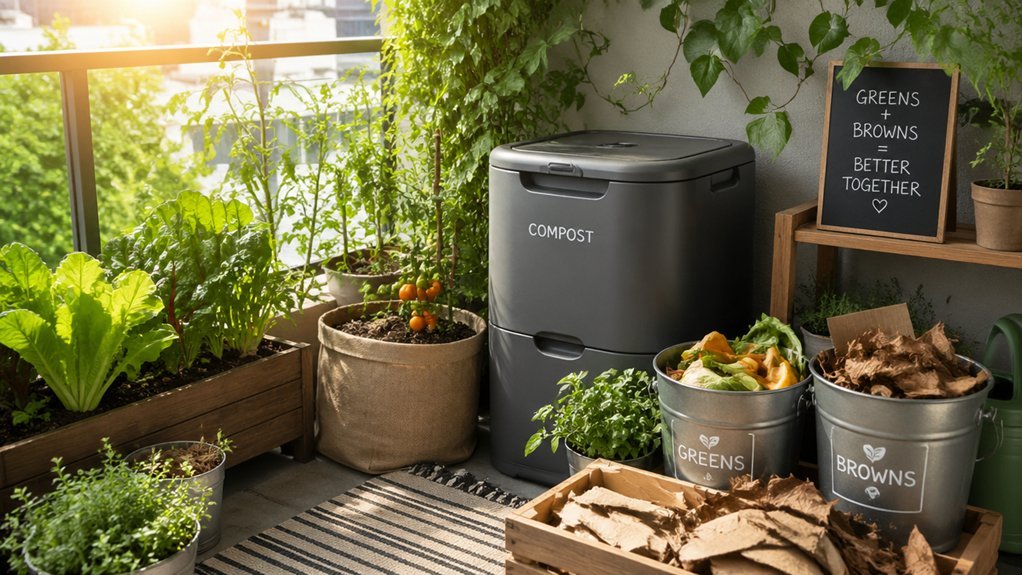
Keep your compost balanced by mixing equal parts greens and browns, then check the moisture each time you add new material. If the pile feels dry, sprinkle a little water; if it’s soggy, toss in more browns to soak up excess liquid. This simple routine lets you maintain a compact, odor-free compost that works perfectly in a rental space. Lid design helps control odors in small areas.
Balance Greens‑Browns Balance
Balancing greens and browns in your rental compost is key to fast, odor‑free decomposition. Aim for a 1:1 ratio, mixing nitrogen‑rich greens and carbon‑rich browns each time you add material. This balance controls moisture, boosts microbial balance, and improves aeration, keeping odor at bay. Follow simple guidelines: layer, stir, and check that the pile feels like a damp sponge. Consistent mixing prevents clumping and maintains the compost’s health throughout your rental stay.
- Add a handful of fruit scraps (greens) then a handful of shredded newspaper (browns).
- Toss in dry leaves or straw for extra aeration.
- Stir the pile gently to blend greens and browns evenly.
- Keep the mix moist but not soggy; adjust with more browns if it feels wet.
- Record each addition to track your 1:1 ratio and stay on balance.
Monitor Moisture Levels
Often, you’ll notice the compost feels like a damp sponge when the moisture is just right—neither dripping nor bone‑dry. For indoor composting, keep moisture monitoring simple: squeeze a handful of material; it should release a few drops, not a stream.
Aim for a 1:1 greens to browns ratio; the carbon in browns absorbs excess water while greens supply liquid.
During weekly turning, check for damp sponge moisture and adjust with water or browns layering as needed.
Proper moisture management fuels microbial activity and prevents odor control issues. If you use vermicomposting, stay extra vigilant, as worms thrive in balanced moisture but suffer in soggy zones.
Consistent checks and adjustments keep your rental compost healthy and odor‑free. Moisture Management
Turn or Stir Your Rental Compost Regularly
Regularly turning or stirring your rental compost keeps it oxygen‑rich and speeds decomposition. When you turn, you boost aeration, balance moisture, and curb odors—essential for indoor composting in a rental property. A pitchfork or small shovel works well; just mix the material every week or two. This simple routine fuels microbial activity, keeps the pile from getting soggy, and guarantees the decomposition process stays efficient without creating a stink. Odor-control methods from compact setups can further help maintain a calm kitchen environment in smaller spaces.
Select a Leak‑Proof Compost Bin for Apartments
After you’ve gotten the habit of turning your compost, the next step is picking a bin that won’t leak onto your balcony or kitchen floor. Choose a leak‑proof compost bin designed for apartments, preferably labeled airtight with a secure lid that seals tightly. Look for durable, UV‑resistant plastic or metal models that feature a drip‑free design and built‑in drainage to keep moisture under control. Regular maintenance with removable parts makes cleaning easier and helps prevent odors, especially in compact spaces. airtight design
Adjust Moisture Levels in Your Rental Compost
Wondering how to keep your compost just right? You’ll want compost moisture that feels like a damp sponge—neither bone‑dry nor soggy. When you notice a dry patch, sprinkle water slowly and stir the mix so humidity balance spreads evenly. If the pile becomes too wet, toss in browns—shredded paper, dry leaves, or cardboard—to boost browns absorption and prevent odor. Indoor composting demands vigilant water management; each time you turn the pile, reassess moisture because aeration can shift it. Maintaining a steady humidity balance keeps microbes happy and your rental smelling fresh.
Maintain compost moisture like a damp sponge—neither bone‑dry nor soggy—to keep microbes happy and odors away.
- Test moisture with your hand; aim for damp sponge feel.
- Add water drop by drop, then mix thoroughly.
- Sprinkle browns to soak excess moisture.
- Turn the pile weekly to promote aeration.
- Monitor odor; adjust water or browns as needed.
Dispose Non‑Compostable Waste From Rental Compost Properly
To keep your rental compost clean and compliant, separate any non‑compostable items—like meat, dairy, oily foods, pet waste, diseased plants, or seeded weeds—at the source and place them in the appropriate recycling or trash bin according to local guidelines. You’ll then follow waste disposal guidelines from building management or local waste services, ensuring each item lands in the right bin. This source separation stops odor and attracts pests, which is crucial for apartment composting and indoor composting setups.
Regularly inspect your compost bin maintenance schedule and remove any stray non‑compostable waste before it builds up. By staying consistent, you protect pest prevention, keep the rental space tidy, and remain compliant with all rules.
Communicate Composting Plans With Landlord and Neighbors
Keeping non‑compostable waste out of your bin eliminates odors and pests, but the next step is getting everyone on board. Draft a concise composting plan for your landlord that outlines whether you’ll use an outdoor bin, tumbler, vermicomposting unit, or countertop composter. Detail space needs, maintenance schedule, odor control measures, and how you’ll follow HOA rules and recycling guidelines. Show that you’ve considered waste disposal pathways and shared‑space coordination, and offer to place containers away from entrances with proper drainage. Emphasize that tenants can keep smells low and noise minimal by sticking to neighbor‑friendly hours.
- Summarize the method and space allocation
- Cite HOA rules and waste disposal policies
- Explain odor control tactics for vermicomposting
- Propose a shared‑space coordination schedule
- Attach a quick reference to recycling guidelines
Frequently Asked Questions
How to Compost at a Rental?
You can start a small worm bin or countertop composter in your kitchen, keep it sealed, add equal greens and browns, turn it regularly, and use a balcony or community garden bin for larger outdoor batches.
What States Are Legal for Human Composting?
You can legally compost humans in Washington and Oregon, where statutes permit natural organic reduction. Other states may be considering it, but only those two have enacted clear, statewide regulations so far.
Do Potato Peelings in Compost Attract Rats?
Yes, if you leave potato peels on the surface they can draw rats, but burying them in the pile’s core or using a sealed tumbler or worm bin keeps pests away.
How Do I Compost if I Live in an Apartment?
You can set up a compact worm bin or a sealed countertop composter, keep it on a shelf, add kitchen scraps, turn it weekly, control moisture, and empty castings for garden use.
In Summary
By staying mindful of your lease, picking a compact, odor‑free system, and keeping a balanced mix of greens and browns, you can compost responsibly in any rental. Use a leak‑proof bin, monitor moisture, and dispose of non‑compostables correctly. Keep your landlord and neighbors in the loop, and you’ll enjoy the benefits of a greener home without any hassle.



