

Pick a sealed, odor‑proof composter that your landlord can approve, like a countertop tumbler with lockable lids and carbon filters. Place it in a well‑ventilated spot—near a kitchen vent or a shaded outdoor area—to keep smells down. Balance greens and browns 1:1, keep the pile damp like a wrung‑out sponge, and turn it weekly for aeration. Use a temporary refrigerator or freezer storage if you’re away, and arrange off‑site drop‑off services that meet lease rules. Continue and and you’ll discover more details.
Pick a Compost System That Satisfies Your Landlord
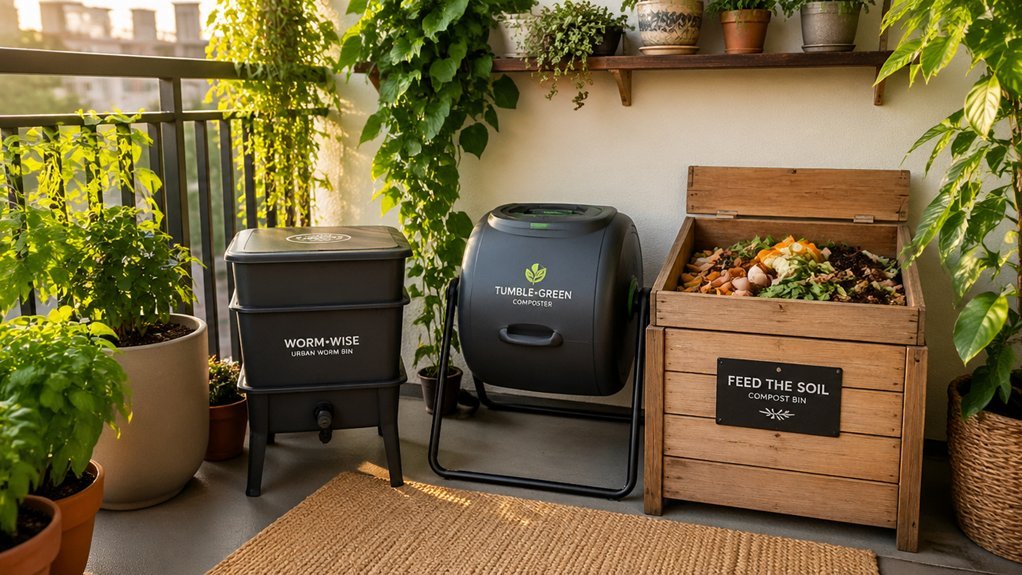
Ever wonder how to keep your landlord happy while composting at home? Choose a compliant indoor composting setup that doubles as a landlord‑approved system. A countertop composter or sealed compost tumbler offers odor‑free composting and rental‑friendly features like removable liners and lockable lids. Opt for a pest‑resistant bin if you need a larger container; its tight‑fitting lid keeps rodents out. Pair the unit with a low‑odor maintenance plan: monitor moisture control, follow a regular aeration and turning plan, and turn the material weekly. Document these steps in a simple schedule to show you’ll manage odor and pests responsibly. This transparent approach satisfies landlord expectations while letting you recycle kitchen scraps efficiently. odor control
Select a Sealed, Odor‑Proof, Landlord‑Friendly Container
Looking for a container that keeps odors locked away and satisfies your landlord’s rules? Choose a sealed container with a lockable, sealable lid that’s rated for indoor composting. An odor‑proof design, often with a carbon filter or vented system, prevents smells from drifting through a rental property. Look for rodent‑resistant construction and gasketed seals to aid pest prevention. A built‑in drainage tray or removable drip pan stops water pooling, protecting floors and walls. Make sure the lid clicks shut and the vent holes are small enough to block insects but large enough for airflow. This landlord‑friendly setup gives you a tidy, low‑maintenance composting solution that meets lease requirements and keeps neighbors happy a sealed, odor‑proof container.
Put the Bin Where It’s Well‑Ventilated and Out of the Way
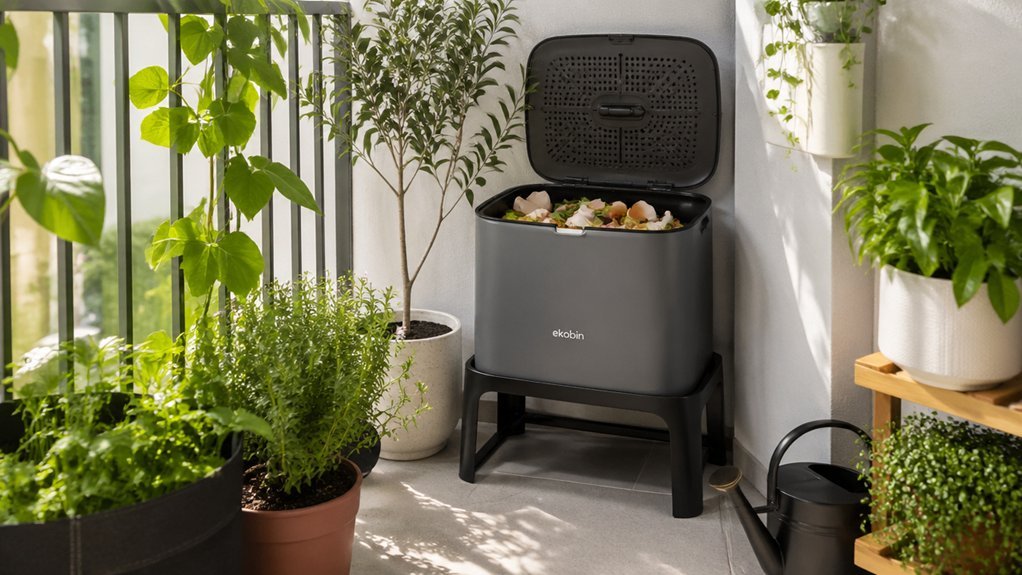
Where should you put your compost bin for ideal airflow and minimal disruption? Choose a ventilated area that lets fresh air sweep through the compost, keeping odor control in check and supporting faster breakdown. For added efficiency, consider placing the bin near a garden work area to simplify turning and maintenance without frequent trips. For indoor composting, locate the bin near a kitchen vent or utility closet where airflow is strong but the sight line stays out of living spaces.
In an outdoor bin location, pick a shaded spot with natural breezes, away from entryways and the house, and ensure the ground offers good drainage so water doesn’t pool. This placement aids pest prevention and meets rental property standards, easing landlord permission concerns. Placing the bin in a well-ventilated area also supports odor management and faster decomposition. ventilated area
Balance Greens and Browns to Keep Odors Down
You should aim for roughly a 1:1 mix of greens and browns, layering them to keep odors in check. Keep the pile as damp as a wrung‑out sponge, adding water or greens when it feels dry and extra browns when it smells. This balance lets microbes work efficiently while preventing foul smells. compostable gloves
Greens‑to‑Browns Ratio
How can you keep your compost pile smelling fresh? Aim for a 1:1 greens to browns ratio, mixing nitrogen-rich greens like veggie scraps with carbon-rich browns such as dry leaves, newspaper, or shredded cardboard. This balance drives composting, supports odor control, and aids moisture management—key for indoor composting and waste management under landlord permission. If the pile turns sour, add more browns and stir to restore the balanced decomposition. Keep the mix loose; compact material traps moisture and creates ammonia‑like smells. Regularly check the texture: it should feel damp, not soggy. By adjusting the ratio and maintaining airflow, you’ll keep odors down and stay within your lease’s composting guidelines. Maintain airflow to further reduce odor and support faster decomposition.
Layering for Odor Control
Ever wondered why some compost piles stay fresh while others stink? You can master odor control by mastering layering. Alternate greens and browns in thin, even layers, aiming for roughly a 1:1 ratio. Each green layer fuels microbes, while each brown layer absorbs excess moisture and traps smell. Turn the stack weekly to boost aeration, which keeps anaerobic conditions at bay. If you compost indoors, choose a sealed bin with a scent‑blocking lid and place it near a vent or open window for ventilation. Position the unit where it catches partial sunlight and has good drainage, and you’ll cut down waste reduction and keep the air fresh for your landlord.
- Balance greens and browns 1:1
- Turn weekly for aeration
- Use indoor containment with ventilation
- Place in partial sunlight with proper drainage
Moisture Management Tips
Keeping the pile’s moisture in check is the next step after mastering layering. For compost moisture management, aim for a greens to browns ratio of roughly 1:1. Use the damp sponge test: the interior should feel like a wrung‑out sponge—moist but not soggy. If it’s dry, add water; if it’s wet, add browns to absorb moisture. Turn the pile every one to two weeks to boost aeration and even out the moisture level, which is essential for odor control. In indoor composting, monitor moisture closely and sprinkle shredded paper or cardboard modestly. Good drainage/ventilation prevents wet spots and keeps the system healthy. Carbon/nitrogen balance is a related concept used in managing compost recipes and ensuring efficient breakdown.
Set a Weekly Turning and Moisture Routine (Even When You’re Away)
You should turn your compost once a week (or every two weeks) with a pitchfork to keep air flowing and speed decomposition. After each turn, check the moisture by feeling for a damp‑sponge texture; add water if it’s dry or more browns if it’s soggy. Regular carbon-filtered odor control helps keep the bin discreet and odor-free during frequent turning airflow management.
Weekly Turn Schedule
Usually you’ll turn your compost pile once a week, keeping it aerated and speeding up decomposition. In rental properties, a reliable weekly turning schedule shows landlords you’re managing odors and moisture responsibly. Use a pitchfork or shovel to mix kitchen scraps, dry browns, and fresh greens, maintaining the greens‑to‑browns balance while checking for a damp‑sponge feel. If you’re away, set a reminder or ask a neighbor to turn the pile on the same day, then update your log with date, moisture feel, and turning action. This documentation reassures property managers that your composting stays tidy, odor‑free, and compliant with lease terms.
- Set a fixed day each week for turning.
- Use a pitchfork to blend greens and browns evenly.
- Record date, moisture feel, and actions in a log.
- Delegate or automate turns when you’re absent.
Moisture Check Routine
After you’ve set a fixed day for turning, the next step is to keep the pile’s moisture in check. For both indoor composting and outdoor composting, schedule a moisture check each time you follow the turning schedule. Press a handful of material; it should feel like a damp sponge. If it’s dry, add a splash of water and mix in more browns and greens for balance. If it’s soggy, toss extra browns to soak up excess liquid. Watch moisture cues such as a slightly cool surface and no standing water. Record each moisture check and water‑management action in a simple log. This routine ensures steady compost moisture, supports aeration, and keeps the system healthy even when you’re away.
Away‑Day Maintenance Plan
How can you keep compost thriving while you’re away? Set a weekly turning and moisture routine that works even during an away‑day maintenance period. Before you leave, turn the pile with a pitchfork to boost aeration, then check that the texture feels like a damp sponge. Adjust by sprinkling water if it’s dry or adding browns if it’s soggy. Top up a balanced mix of browns and greens to prevent compaction, and seal the container for odor control and pest prevention. If the unattended period extends beyond a few days, arrange a temporary storage plan—drop off at a community bin or use a neighbor’s alternate container—so the rental property stays clean and you retain landlord permission.
- Turn and aerate every 7 days
- Maintain sponge‑like moisture, adding water or browns as needed
- Seal the bin for odor control and pest prevention
- Use a temporary storage or drop‑off plan for extended away periods
Use a Refrigerator/Freezer for Temporary, Landlord‑Approved Storage
A refrigerator or freezer can serve as a temporary, landlord‑approved spot for your food scraps, keeping them sealed in odor‑proof containers until you’re ready to drop them off or transfer them to a community program. Use refrigeration storage to slow decomposition, which boosts odor control and pest prevention. Label each sealed container with a date and contents, then place it in a discreet storage location that you’ve cleared with the property manager. Before installing any appliance, get clearance with the property manager and confirm disposal arrangements so the unit won’t violate lease terms. This approach integrates smoothly into your composting methods while keeping the kitchen tidy and the landlord satisfied.
| Feature | Benefit | Action |
|---|---|---|
| Refrigeration storage | Slows decay, reduces smell | Use sealed containers |
| Temporary storage | Meets landlord approval | Check clearance |
| Pest prevention | Keeps rodents away | Label and monitor freshness |
Arrange Off‑Site Drop‑Off or Pickup Services for Final Disposal
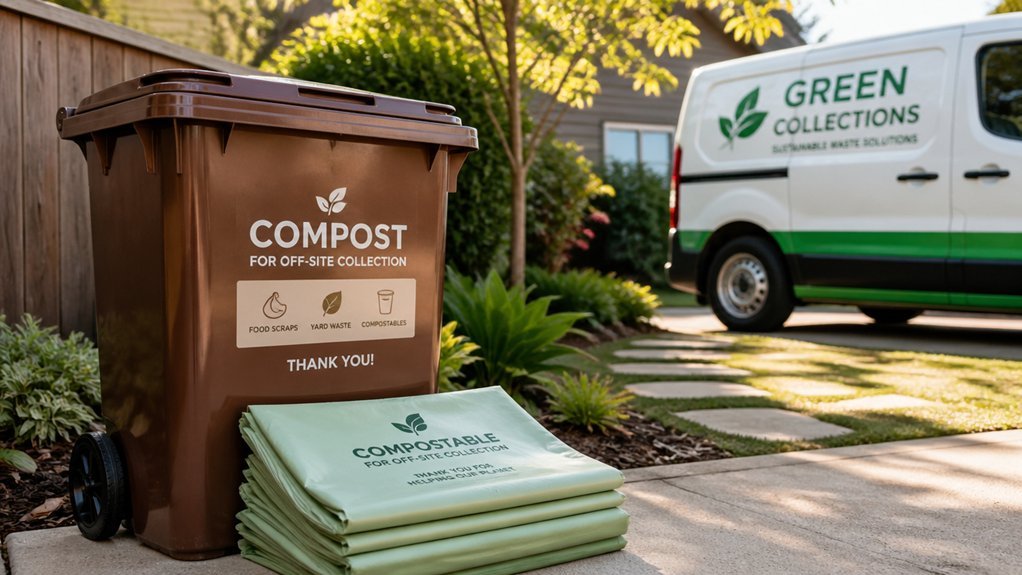
Ever wondered how to keep your composting routine compliant with lease rules while still getting rid of food scraps efficiently? You can sidestep on‑site restrictions by tapping into off‑site composting options that satisfy landlord permission and boost waste reduction. Choose a service that offers a clear composting service schedule, uses rodent‑proof containers, and guarantees odor control. Local drop‑off sites like Moms Organic Market or Liberty Lands Park let you drop off approved compostables whenever you’re ready, while pickup services such as Bennett Compost handle weekly curbside collection without a personal bucket on the property.
Off‑site composting sidesteps lease limits, offering odor‑free, rodent‑proof solutions with flexible drop‑off or curbside pickup.
- Verify fees, schedule, and accepted waste mix before signing up.
- Ensure containers are sealed and pest‑resistant.
- Confirm the service’s odor‑control measures meet building policies.
- Keep a simple log of drop‑off dates for landlord reference.
Frequently Asked Questions
What Is the Lazy Compost Method?
You’ll mix greens and browns 1:1, keep moisture like a damp sponge, turn the pile every week or two, and use a bin, tumbler, or worm bin, avoiding meat, dairy, and oily foods.
Do Potato Peelings in Compost Attract Rats?
You won’t attract rats if you bury potato peels under browns, keep the bin sealed, and maintain proper moisture and aeration; otherwise exposed scraps can draw rodents.
Which Method Is Best for Composting in Small Apartments?
You should choose vermicomposting; it fits tiny spaces, stays odor‑free with proper ventilation, and handles daily kitchen waste efficiently, making it the most practical composting method for small apartments.
How to Compost at a Rental?
You can compost at a rental by using a compact worm bin or countertop unit, sealing food scraps in airtight bags, storing them in a fridge or freezer, and arranging weekly pickups or drop‑offs at nearby community sites.
In Summary
By choosing a sealed, odor‑proof container, positioning it in a ventilated spot, and balancing greens and browns, you’ll keep smells at bay. Stick to a weekly turn‑and‑moisture routine, even when you’re away, and use a fridge or freezer for short‑term storage if needed. Finally, arrange off‑site drop‑off or pickup for the finished compost. Follow these steps, and you’ll have a landlord‑friendly system that works smoothly and sustainably.



