

You’ll want a mix that’s cheap, airy, and moisture‑balanced: shredded cardboard or corrugated boxes for drainage, coconut coir for water retention, and black‑ink newspaper for carbon. Aim for about 70 % carbon‑rich material and 30 % nitrogen‑rich scraps, then pre‑moisten until the blend feels like a wrung‑out sponge; add dry cardboard if it’s soggy or mist if it’s too dry. This combo keeps a small‑space bin healthy, odor‑free, and ready for the next feeding, and the next steps will show you exactly how to prep and maintain it.
Choosing the Right Bedding for Your Small‑Space Worm Bin
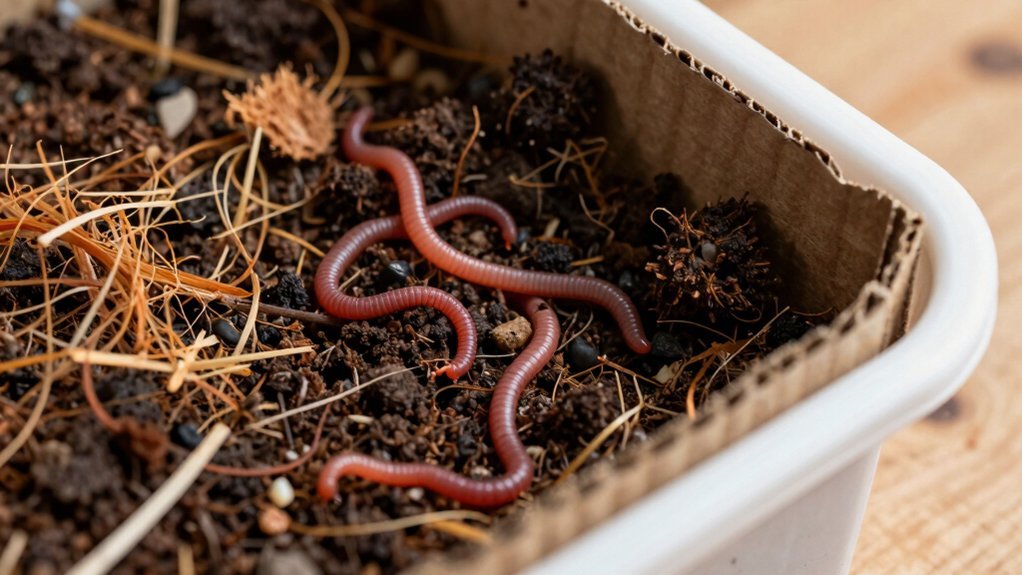
How do you pick the best bedding for a tiny worm bin? You start with shredded cardboard or shredded newspaper because they’re cheap, easy to source, and excel at moisture regulation while staying airy.
Mix in coco coir for extra water retention and a uniform texture, but rinse it first to strip salts.
Aim for a blend that balances carbon and nitrogen: about 70 % safe habitat material (like aged leaves) and 30 % carbon‑rich bedding.
This mix promotes air flow, prevents matting, and keeps the bin breathable.
Avoid over‑loading any single material; too much paper can clump, and excess coir can hold too much water.
Proper ventilation and odor control are crucial for small-space compost bins, making features like odor-sealing lids especially beneficial.
How to Prepare Coconut Coir for Apartment Vermicomposting
A coconut‑coir brick is perfect for apartment vermicomposting because it expands into a fluffy, breathable substrate that fits snugly in tight spaces.
First, break the brick in a bucket, then soak it in lukewarm water for 10 minutes.
After soaking, rinse the coir thoroughly to flush out salts that could stress your worms.
Squeeze gently until the material feels moist but not soggy—this balance ensures excellent moisture retention while preserving airflow.
Finally, spread the coir in a thin layer, about two inches deep, and let it settle before adding food scraps.
This simple bedding preparation creates a stable, airy environment for thriving apartment vermicomposting.
For added nutrient benefits, consider mixing in a small amount of micronized trace minerals like Azomite to support worm health and improve compost quality.
- Break and soak the brick
- Rinse repeatedly to remove salts
- Squeeze to achieve damp, airy consistency
Shredded Newspaper: Budget‑Friendly Worm Bin Bedding
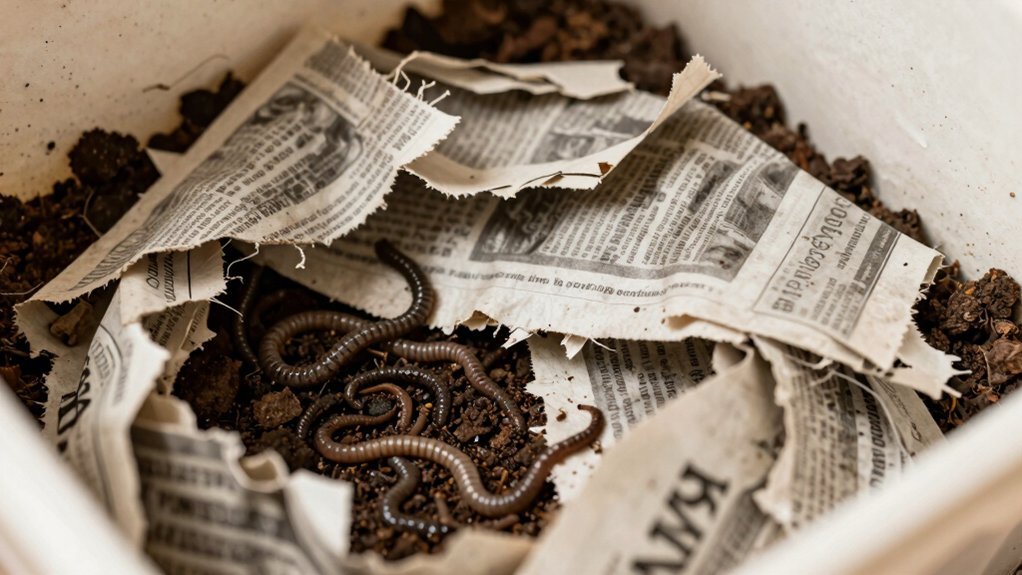
You’ll want to use black‑ink newsprint and keep colored ink to a minimum so the worms stay safe.
Mix the shredded strips—about a quarter to an inch wide—with water, garden soil, and crushed eggshells, then moisten the blend until it feels like a wrung‑out sponge, not a puddle.
Finally, fluff the bedding loosely to preserve airflow and give Eisenia fetida a breathable, moisture‑balanced home.
For maintaining a healthy worm bin, use charcoal filters to control odors effectively during composting.
Ink Safety
Why worry about ink when you choose shredded newspaper for worm bedding? You can keep your bin healthy by focusing on newspaper ink safety. Stick to black‑ink paper, because it contains the fewest additives. Practice colored ink avoidance and skip glossy pages caution to prevent chemical leach. Proper paper shredding moisture helps wash away residual ink, reducing the risk of ink contamination that could harm your worms.
- Use only black‑ink newspaper and discard colored sections.
- Avoid glossy pages; they may contain inks and coatings.
- Rinse shredded strips until water runs clear to minimize ink residues.
- For effective composting, maintaining proper aeration and moisture balance is essential for worm bedding health.
Moisture Management
Ever wondered how to keep your worm bin’s moisture just right with shredded newspaper? You’ll soak the paper first, squeezing it until it feels like a wrung‑out sponge. That step spreads moisture evenly, stops matting, and gives worms a soft, non‑cutting bedding. Mix the damp newspaper with carbon‑rich scraps—like shredded cardboard or dry leaves—to boost porosity and keep airflow steady. Avoid glossy or colored inks; they can poison the habitat and choke ventilation. By balancing wet and dry layers, you maintain a stable moisture level that fuels healthy compost and happy worms. Regular moisture monitoring and adjustments are essential to prevent drought or oversaturation in worm bedding materials.
| Benefit | Feel |
|---|---|
| Even moisture | Confidence |
| Soft surface | Comfort |
| Good airflow | Relief |
| Low cost | Satisfaction |
Cardboard & Corrugated Boxes for Worm Bin Moisture Control
You’ll find that cardboard soaks up excess moisture while still letting air flow, keeping the bin from getting soggy. Shred the boxes fine and strip off any waxy or glossy coating so the pieces stay loose and don’t mat together. Using bamboo drawer dividers can help keep your compost tools organized and easily accessible in small spaces.
Cardboard Moisture Absorption
How well can cardboard keep your worm bin from getting soggy? You’ll find that cardboard and corrugated boxes excel at moisture absorption, stabilizing humidity without drowning your worms. Place dry shredded cardboard at the bottom to boost aeration and give bedding a sturdy framework.
In the main worm zone, damp cardboard balances moisture, fostering microbial activity while preventing waterlogging. Just be sure the cardboard is free of waxy coatings, glossy finishes, and heavy‑metal inks, as those can harm your colony.
- Use shredded cardboard for quick, even absorption.
- Layer corrugated boxes to create air pockets and improve aeration.
- Keep cardboard color‑free to avoid chemical contamination.
For best results, maintain a moisture level that is as crumbly as a wrung-out sponge to ensure optimal worm composting conditions.
Shredded Box Preparation
Cardboard’s moisture‑absorbing power shines when you prepare it correctly; start by shredding the material into thin strips, then soak the pieces in water until they’re uniformly damp but not dripping. You’ll notice that shredded cardboard creates a fluffy, breathable layer that boosts airflow and encourages moisture regulation throughout the bin. Choose plain corrugated cardboard, because its ridges add structure and help worms move without compacting the bedding.
Avoid glossy cardboard, as its inks and coatings may contain heavy metals that could harm your cast. By using this pre‑moist bedding, you balance excess liquid, keep the habitat airy, and provide a nutrient‑rich surface for microbes to colonize, setting the stage for a thriving worm community.
Preventing Matting Issues
Ever wonder why mats form in a worm bin when cardboard isn’t shredded fine enough? When pieces stay large, they clump, block airflow, and trap excess moisture, turning your bedding mix into a soggy slab. To keep the bin healthy, shred cardboard to a fine, fibrous texture, then blend it with other dry materials. Aim for a wrung‑out sponge consistency: moist enough for worms, dry enough to let air circulate. This balance prevents matting, encourages aerobic microbes, and maintains moisture control.
- Use a mix of dry shredded cardboard at the bottom and damp shredded cardboard in the worm zone.
- Combine shredded cardboard with shredded paper or coco coir for texture.
- Check moisture daily; add dry bedding if the mix feels too wet.
Mix Leaves, Yard Waste & Wood Chips to Create a Natural Habitat
Curious about creating a thriving worm habitat? You can blend bedding materials—shredded leaves, yard waste, and wood chips—to mimic a forest floor. First, shred the leaves and yard waste; this prevents matting and boosts moisture retention. Then, toss in a handful of wood chips for structure and aeration, which improves drainage in larger outdoor bins. Mix thoroughly so the chips interlock with the softer matter, creating pockets of air while keeping the overall moisture balanced. Remember to pre‑compost green yard waste to adjust the C:N ratio and eliminate pests. In smaller systems, limit wood chips to a component rather than the sole bedding, ensuring the mix stays breathable and moist enough for healthy worm activity.
Balancing pH With Peat Moss or Straw
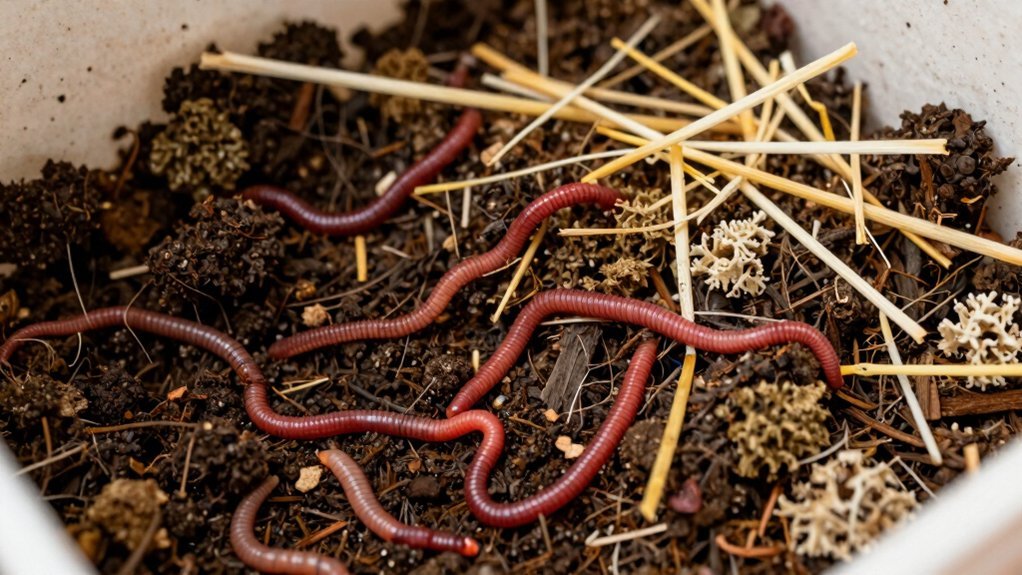
You can raise the bin’s pH by mixing a bit of peat moss with straw, letting the straw buffer the moss’s natural acidity. Keep the ratio balanced—too much peat will drop the pH, while enough straw will keep it near neutral. Regularly check both pH and moisture to maintain a healthy, compact worm habitat.
Peat Moss pH Adjustment
How do you keep peat moss from turning your worm bin into an acid bath? Peat moss is a great, high‑carbon bedding, but its sub‑5 pH can stress worms if you don’t buffer it. First, rinse the moss to wash away excess acidity, then blend it with a small amount of garden lime or crushed eggshells. Aim for a pH around 6.5–7.0, checking with a simple test strip every few weeks. Mixing peat with straw, cardboard, or coco coir improves aeration and moisture retention, preventing the soggy, overly acidic environment that slows decomposition.
- Rinse moss, then add 1 % lime by volume.
- Combine with straw for better aeration and moisture balance.
- Test pH weekly; adjust with eggshells if needed.
Straw pH Buffering
Straw isn’t a strong acid or base, but when you mix it with peat moss it helps stabilize the bin’s pH by diluting the moss’s low‑pH effect and providing a neutral carbon source.
In a small‑space worm bin, you’ll want just a thin layer of straw bedding—enough to add structure without choking airflow. The straw’s moisture‑holding capacity balances the drier peat, keeping the environment humid enough for worms while avoiding soggy pockets.
Its porous texture promotes airflow, preventing matting that can trap excess moisture and lower pH. By using straw sparingly, you create a natural buffering system: the carbon slowly releases nutrients, and the overall pH stays near neutral, supporting healthy worm activity and efficient composting.
Step‑by‑Step Moisture Testing and Adjustment for Compact Bins
Ever wondered how to keep a tiny worm bin just moist enough for thriving microbes without drowning the critters?
Start by feeling a handful of bedding materials; it should feel like a wrung‑out sponge—damp but not dripping.
If it’s soggy, add dry shredded cardboard; if it’s dry, mist a little water and mix.
Keep the middle zone breathable; good airflow prevents anaerobic pockets.
Test before each feeding to ensure consistency.
- Squeeze a scoop: a few drops should escape, then stop.
- Adjust with dry paper or a mist of water, mixing thoroughly.
- Re‑check after 10 minutes; repeat until the sponge‑like feel returns.
This routine maintains optimal moisture in compact bins.
How Frequently Should You Test Moisture in a Small Worm Bin?
Wondering how often to check moisture in your tiny worm bin? You should do moisture testing at least once a week. Feel the bedding; it should be like a wrung‑out sponge—damp but not dripping.
If it feels dry after a day or two, add a spray of water and a handful of moist, carbon‑rich material. Keep an eye on the moisture level; consistent 55–78 °F helps maintain it, though temperature is separate.
Watch for signs of over‑dryness: worms clustering on the surface, slow breakdown, or a cracked, crumbly texture. When you notice these, gently mist the bin and stir in fresh damp bedding. Aeration during mixing prevents compaction and balances moisture, keeping your worm bin thriving.
How to Refresh and Re‑use Your Bedding After Harvest
How do you revive the bedding after a harvest so your worm bin stays productive?
First, gently remove the spent castings and any large debris.
Then, break up clumped material and sprinkle a thin layer of fresh, shredded cardboard or newspaper to restore structure.
Finally, mist the mix until it feels like a wrung‑out sponge, checking moisture balance and pH.
- Add fresh bedding: mix in coco coir or a small amount of shredded paper to boost aeration.
- Re‑wet lightly: spray water, stir, and test moisture; aim for sponge‑like dampness.
- Blend and settle: combine the old and new layers, allowing the worm bin refresh to stabilize before feeding again.
Quick Checklist for Year‑Round Healthy Worm Bin Bedding
Need you keep a worm bin thriving year‑round, start with a simple, three‑step bedding checklist: combine two to three carbon‑rich materials (like shredded cardboard, coco coir, and shredded paper) for balanced moisture and airflow; pre‑moisten the mix a week or two before adding worms to achieve a wrung‑out sponge consistency and neutral pH; and regularly monitor temperature (55–78 °F) and moisture, adjusting with a light mist or dry additions as needed.
Next, verify your bedding materials are free of glossy inks and chemicals; they should feel damp but not soggy, letting air circulate. Check that the pre‑moistening stage has settled, giving a uniform, slightly squishy texture. Keep the carbon‑rich blend layered, adding a thin dry top if moisture spikes. Finally, test pH weekly; a neutral pH ensures worms stay healthy and the bin remains balanced throughout every season.
Frequently Asked Questions
What Is the Best Bedding for Earthworms?
You’ll get the best bedding by mixing shredded cardboard, coco coir, and a bit of straw or hay—about 70‑80% carbon‑rich material, rinsed, loosely packed, and kept moist but breathable.
What Are the 5 Mistakes That People Commonly Make When Composting With Worms?
You overfeed, use greasy or acidic foods, keep bedding too wet or dry, add glossy/colored paper, and neglect proper ventilation—each mistake stalls worm activity, creates odor, and harms the bin’s ecosystem.
What Not to Put in a Worm Bed?
Don’t put meat, dairy, oily foods, citrus peels, or pet waste in your worm bed; they attract pests, create foul odors, and can kill the worms. Also avoid large woody pieces, as they compact and hinder aeration.
Are Coffee Grounds Good for Worm Bedding?
Yes, coffee grounds work well as a supplemental bedding ingredient if you mix them with plenty of carbon‑rich material, keep them moist, and avoid overloading the bin, which prevents odor and compaction.
In Summary
You’ve got the basics—pick a breathable, moisture‑balanced mix, prep it right, and keep checking. With coconut coir, shredded paper, cardboard, and a touch of leaf litter, you’ll give your worms a comfy home even in tight spaces. Test moisture regularly, refresh the bedding after each harvest, and your compact bin will stay healthy year‑round. Happy vermicomposting!



