
You’ll keep your indoor composter odor‑free and efficient by checking it regularly. Maintaining aerobic conditions prevents sour, soggy piles, while clean filters and proper airflow stop smells from building up. Daily moisture checks and weekly cleaning of the bin, grinding chamber, and non‑removable surfaces keep residue at bay. Replacing clogged charcoal filters every few months and lubricating moving parts as needed extends motor life. Continue for and you’ll discover more tips for optimal performance.
How Regular Maintenance Prevents Odor in Indoor Composters
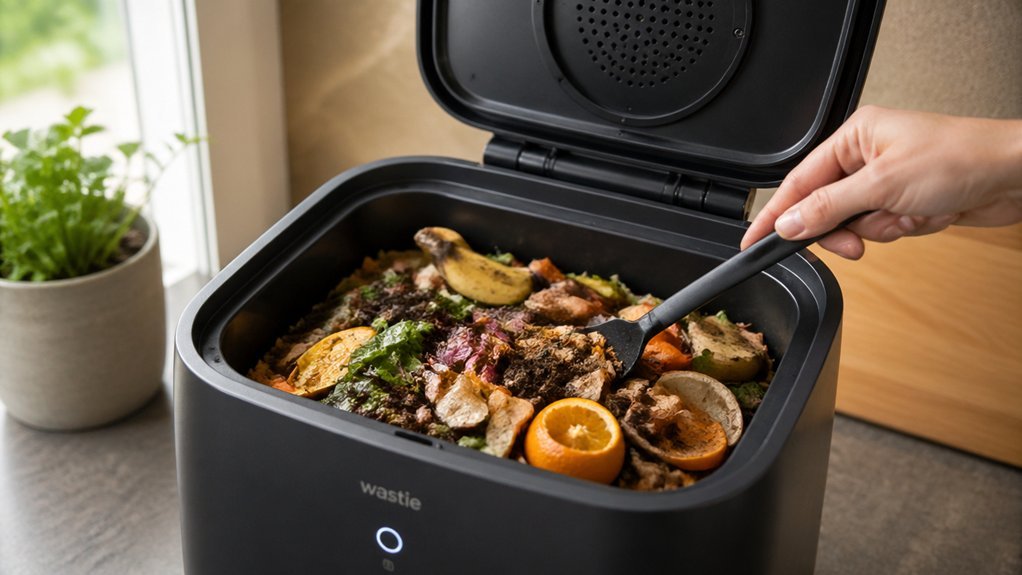
Why does odor keep creeping into your indoor composter? You can stop it by keeping composting under aerobic conditions. Regular maintenance lets you monitor moisture control, so the pile never gets soggy and sour. Regular filter checks help maintain consistent airflow and odor containment, especially when using models with built-in charcoal filters odor control filtration systems.
How to Clean Your Indoor Composter Weekly (and When to Clean More Often)
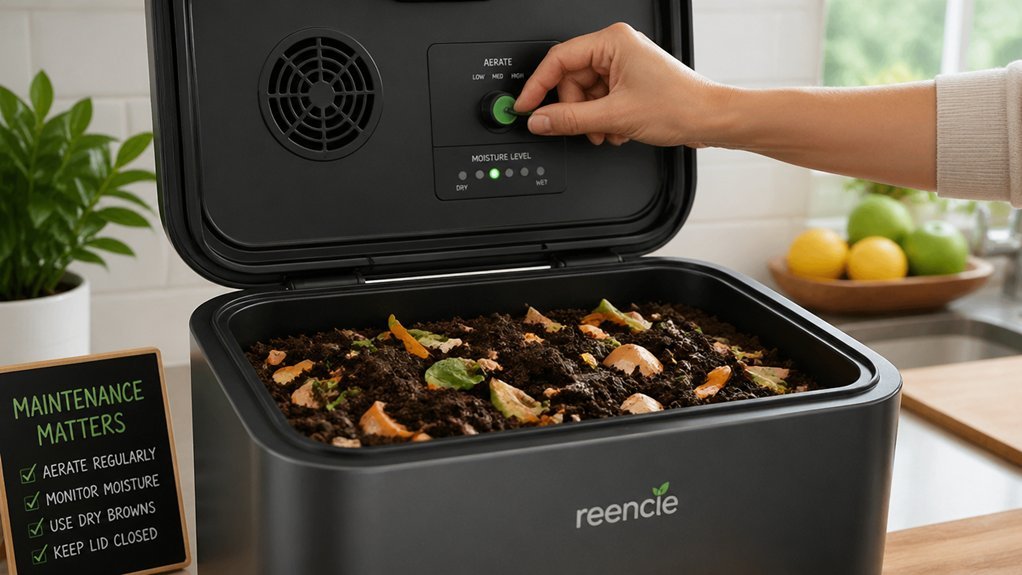
Keeping the bin odor‑free means staying on top of weekly cleaning, and the same routine that controls moisture and ventilation also handles residue buildup. First, unplug your indoor composter for safety. Remove the bin and grinding chamber, then scrub them in warm, soapy water with a soft brush, targeting any compost debris. Rinse thoroughly and let dry completely before reassembling. Wipe non‑removable surfaces with a damp cloth to clear stray particles. If you add large or frequent loads, repeat the process more often—daily checks keep moisture balanced and aerobic bacteria thriving, preventing odor spikes. Regular maintenance not only boosts odor control but also protects the unit’s components, ensuring a clean, efficient composting cycle. Odor control is enhanced by using starters that minimize odors at the source and support steady microbial activity across indoor setups.
How to Check and Replace Filters in an Indoor Composter
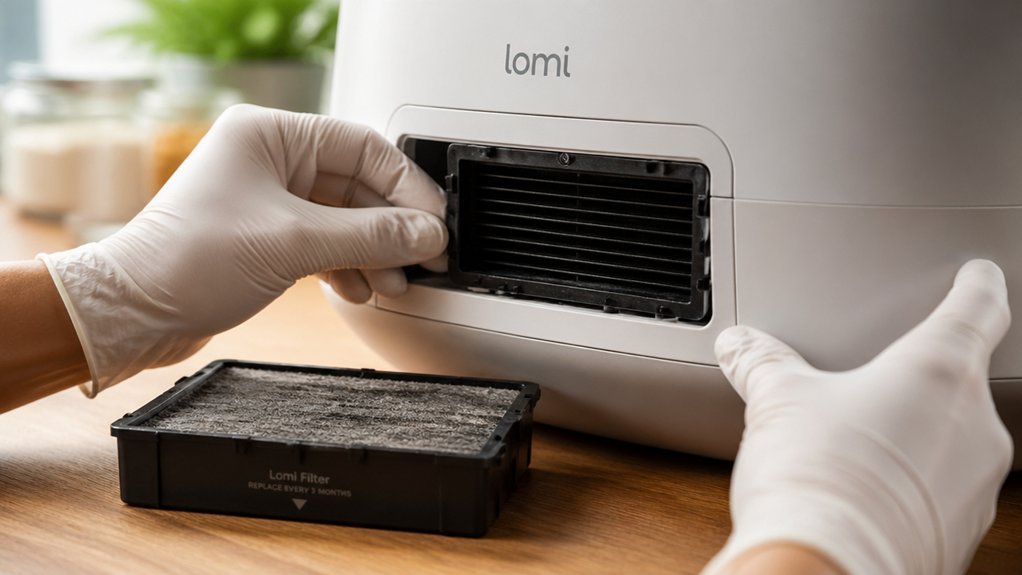
Wondering how to keep your indoor composter breathing freely? First, shut off power and open the housing. Pull out the filter and glance for debris, discoloration, or tears—signs that airflow is blocked and odor control may be failing. If the filter looks clogged, replace it; the replacement interval is usually every three to six months, with monthly inspections as part of regular maintenance. Verify that the new filter matches the manufacturer’s model, then reseal the housing tightly, checking all seals for gaps. Run a short test cycle to confirm proper ventilation and that no weird smells linger. This quick check keeps your composter efficient and your kitchen fresh. Activated carbon filters help maintain odor-free operation and can be trimmed to fit different lid sizes.
How to Lubricate Moving Parts in Your Indoor Composter for Longer Motor Life
Ever wondered how a few drops of food‑grade lubricant can extend your indoor composter’s motor life? Start by unplugging the unit, then wipe shafts, gears, and hinges clean. Apply a manufacturer‑recommended lubricant sparingly to each moving part; a drop per bearing is enough. Over‑greasing invites waste and debris, so resist the urge to coat heavily. Schedule this lubrication as part of regular maintenance—every few months or after heavy composting cycles. Record the date, parts treated, and lubricant type in a log to track performance trends. Proper lubrication reduces friction, protects seals, and ultimately preserves engine life, keeping your indoor composter running efficiently for years.
Simple Troubleshooting Steps for Common Indoor Composter Issues

Odors linger in your indoor composter? You’re probably dealing with anaerobic conditions caused by poor aeration. Start troubleshooting with a quick visual check: open the lid, look for soggy spots, and stir the material to re‑introduce oxygen. If the grinder jams, unplug the unit and use tongs to pull out blockages such as bone, hard plastic, or metal. Listen for odd noises or vibrations—these signal misalignment, damaged flails, or wrap‑around issues that need immediate attention. Daily regular of fluid levels, belts, flails, and teeth catches mechanical wear before it stalls the machine. When basic checks don’t fix the problem, call a professional for motor or wiring repair. Odor control and airtight storage principles from adjacent pantry organization concepts emphasize maintaining proper seals and ventilation to prevent moisture buildup and odor circulation in closed systems measuring cups.
Frequently Asked Questions
What Three Items Should Not Be Placed in a Compost Pile?
You should keep plastics, metal objects, and glass fragments out of the pile; they won’t break down, can damage equipment, and pose safety hazards, contaminating your compost.
How Often Do You Empty an Indoor Compost Bin?
You should empty your indoor compost bin every one to two weeks, adjusting to weekly feels; if it smells, or compacted, increase frequency, and harvest usable compost every two to six months for optimal airflow.
Is 1 Year Old Compost Still Good?
Yes, your one‑year‑old compost can still be good if you keep checking its texture, smell, and moisture. Turn it regularly, adjust water, and watch for dark, crumbly, earthy material.
Is Composting High Maintenance?
Yes, composting’s high maintenance if you skip regular checks; you’ll face odor, mold, and slow breakdown. Keep turning every few days, monitor moisture, and lubricate parts monthly to stay efficient.
In Summary
By staying on top of maintenance, you keep your indoor composter odor‑free, efficient, and long‑lasting. Weekly cleaning, timely filter swaps, and proper lubrication prevent nasty smells and motor wear. If problems arise, quick troubleshooting gets you back on track. Consistent checks protect both your compost and your home, ensuring a healthy, hassle‑free recycling loop.
Leave a Reply