

You control compost moisture in tight living areas by doing a quick hand‑squeeze test, keeping a 2:1 brown‑to‑green ratio, and adding dry carbon like shredded newspaper, cardboard, or leaves to soak excess liquid. Build a small bin with evenly spaced air holes and a raised drainage layer, and log the moisture rating each day. If the pile gets soggy, sprinkle quick carbon boosters and turn gently. Follow these steps and you’ll discover even more practical tips.
How to Test Small‑Space Compost Moisture With the Hand‑Squeeze Method
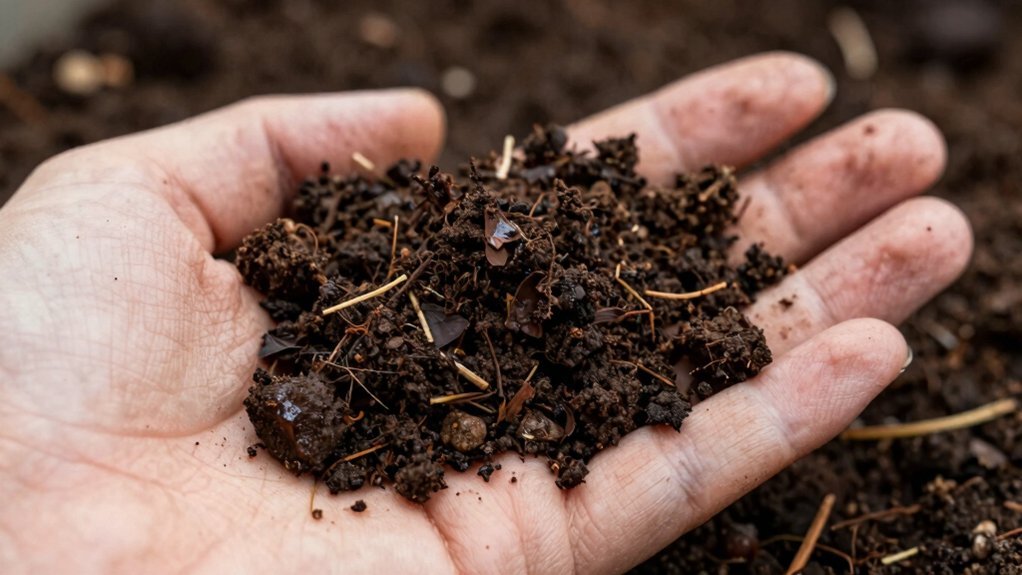
You can quickly gauge your tight‑space compost’s moisture with the hand‑squeeze test, a simple feel‑based check that works for bins, buckets, or tote composters.
Grab a handful from the compost’s core, not just the surface, and squeeze it firmly for a few seconds.
If the material clumps together and releases a few drops, it’s near the ideal 50‑60 % range.
Dry compost falls apart, feels dusty, and shows no liquid; overly wet compost drips, streams, or leaves a wet sheen on your fingers.
After each squeeze, note the texture—sticky and tacky usually means moderate moisture. For households using countertop compost bins, ensure the container’s airtight lid is opened only during the squeeze test to maintain consistent moisture readings.
Adjust by adding a splash of water if it’s dry, or mixing in dry bedding if it’s wet, then retest to keep the balance steady.
Hand‑squeeze provides a quick, practical estimate of moisture before any lab‑grade testing.
Why a 2:1 Brown‑to‑Green Ratio Controls Small‑Space Compost Moisture
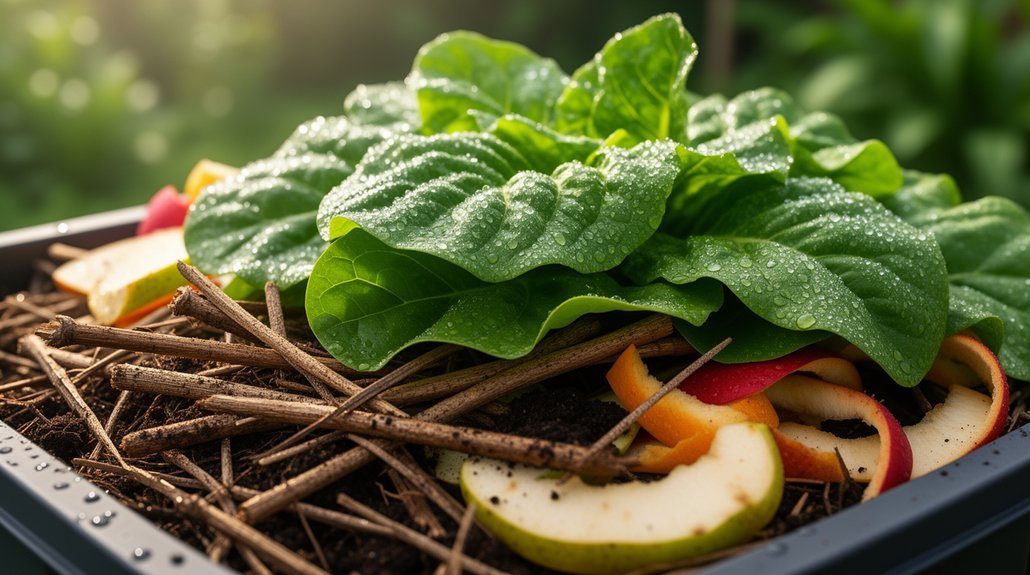
After you’ve checked the moisture with the hand‑squeeze test, the next step is to keep it steady by balancing browns and greens. In a tiny bin, twice as many carbon‑rich browns as nitrogen‑rich greens act like a sponge that’s only damp, not drenched. Browns such as shredded newspaper, cardboard, or dry leaves soak up excess liquid from kitchen scraps, creating air pockets that let moisture evaporate instead of pooling. This 2:1 ratio prevents the soggy, slimy texture that triggers rotten‑egg odors and leachate runoff. It also limits compaction, so airflow stays healthy and aerobic microbes keep working. By sticking to this proportion, you maintain a damp‑but‑dry environment that speeds decomposition without the smell or stall typical of green‑heavy piles. For countertop bins with airtight lids, the 2:1 balance becomes especially important since reduced air exchange means you cannot rely on passive ventilation to manage excess moisture. Cold composting requires less frequent turning, making the 2:1 balance even more crucial in tight spaces.
Layer Dry Browns (Newspaper, Cardboard, Leaves) to Soak Up Leachate Instantly

You can shred newspaper and cardboard so they grab leachate the moment it forms, giving you instant moisture control.
Adding a cardboard layer creates a sturdy framework that keeps the pile from collapsing while still soaking up excess liquid.
Topping it off with dry leaves provides long‑term balance, letting air flow and preventing soggy pockets. For compact spaces, tight-sealing lids help contain moisture while odor-absorbing materials like coconut coir work alongside your brown layers.
Particle size influences how quickly the shredded materials absorb moisture.
Shred for Immediate Absorption
Ever wonder how a few shredded sheets of newspaper or torn cardboard can instantly tame a soggy compost bin? You’ll notice that cutting dry browns into bite‑size pieces creates a huge surface area, letting each fragment cling to excess leachate. When you shred newspaper, cardboard, or dried leaves, the tiny fibers weave through wet kitchen scraps, pulling moisture away from clumps and preventing slimy pockets. The fine particles also mix more evenly, so the dry cover stays porous and keeps odors at bay. In tight bins, where airflow is limited, this rapid absorption is crucial—otherwise water pools, creates anaerobic spots, and attracts flies. Keep a stash of shredded browns handy; just sprinkle a layer over new wet inputs and you’ll see the moisture balance shift instantly. Adding more browns helps restore the carbon‑to‑nitrogen ratio, preventing the pile from becoming anaerobic. For kitchen composters with charcoal filter lids, maintaining proper moisture levels through layering also ensures the odor-control system works effectively and extends the filter lifespan.
Cardboard Layers for Structure
Why not use cardboard as a structural backbone that instantly soaks up leachate? You can lay overlapping sheets at the base of a tight compost bin, then wet them so the fibers open up and cling to the pile. The soaked cardboard acts like a sponge, pulling excess rainwater into its layers while keeping the sides stable. It also traps heat, encouraging microbes to work faster. Just remember to keep it in contact with damp material and avoid stacking it so thick that airflow stalls. For apartment dwellers with limited space, carbon filters can further enhance odor control when combined with proper moisture management techniques.
- Soak the cardboard before placement.
- Overlap large sheets to eliminate gaps.
- Position it beneath mulch or soil.
- Monitor moisture and add browns if it dries out. Cardboard can limit water and air flow if the layer is too thick.
Leaves for Long‑Term Balance
How can you keep a tiny compost bin from turning into a soggy mess? By treating dry leaves as your go‑to carbon “brown,” you instantly soak up leachate and preserve airflow. Layer shredded leaves right after adding wet scraps; they absorb excess liquid, prevent compaction, and keep odors at bay. Store a handful in a paper bag for quick fixes, and aim for a 3:1 browns‑to‑greens ratio—roughly 50‑70% leaf volume. Staged leaf additions work better than dumping all at once, ensuring uniform moisture control and faster decomposition. Similar to how cardboard and newspaper provide moisture management in decorative applications, these dry materials create critical airflow channels in compost systems.
| Action | Benefit |
|---|---|
| Add shredded leaves after each batch | Immediate leachate absorption |
| Store dry leaves in paper bags | Ready‑to‑use moisture control |
| Maintain 3:1 browns‑to‑greens ratio | Balanced airflow & odor reduction |
| Use 50‑70% leaf volume | Stable moisture over time |
| Layer gradually, not all at once | Prevents matting, sustains porosity |
Build a Small Bin With Air Holes & Drainage for Better Moisture Management

You’ll want to space air holes evenly around the sides and bottom so fresh oxygen circulates while excess water can slip out.
Adding a coarse drainage layer—like twigs or wood chips—underneath the compost helps collect leachate and keeps the bin from turning soggy.
If the pile’s moisture rises above 65 %, it can become anaerobic and emit ammonia odors.
Air Hole Placement
Ever wondered how a few well‑placed holes can keep a tiny compost bin from turning into a smelly, soggy mess? You’ll notice that oxygen exchange stops odor and compaction, so spread holes across all sides, not just the top. Low sidewall openings push air through the pile, while keeping every spot within 18 inches of a channel ensures effective aeration. Use half‑inch drilled openings for DIY bins; they’re small enough to retain heat yet big enough to move air. Avoid large, unventilated zones that trap moisture and create anaerobic pockets. For kitchen-oriented composting in tight spaces, consider pairing your bin design with patented airflow systems to further minimize odors during the decomposition process.
- Drill holes on each wall, evenly spaced.
- Position low sidewall holes near the base.
- Keep holes within 18 inches of any pipe or vent.
- Use half‑inch holes for balanced airflow and heat retention. Adding bulking material such as sawdust further improves air channels and prevents moisture buildup.
Drainage Layer Design
Wondering what keeps a tiny compost bin from turning into a soggy mess? Start with drainage holes at the bottom. They let liquid escape, keeping moisture under 60 % and preventing leachate and anaerobic smells. Elevate the bin on a slatted tray or a raised platform so water can flow away instead of pooling on the floor. Add a coarse drainage layer—sticks, straw, shredded cardboard, or wood chips—about two inches deep. This bulk material stays loose, creates channels for excess liquid, and absorbs some moisture while preserving pore space. Keep the layer thick enough to avoid sealing the bottom, but not so fine that it collapses. Pair these holes with side vents for evaporation, and you’ll maintain a dry, aerobic environment even in tight living spaces. Proper airflow is essential for optimal decomposition and prevents hot spots. For additional moisture management, consider layering brown materials like shredded paper when conditions become too wet to help absorb excess liquid effectively.
Balancing Airflow and Moisture
How can you keep a tiny compost bin from turning into a soggy mess while still feeding the microbes they need? You’ll need to let air and water move freely, so the pile stays aerobic and dry enough. Drill side holes every 4‑6 inches and add a perforated base to let excess liquid drain. Keep the openings clear, and sprinkle dry carbon like shredded cardboard when it feels wet. By balancing airflow and drainage, you avoid foul smells and compacted pockets. You can also use bokashi bran to absorb excess liquid and minimize odors in your small bin.
- Drill 4‑6 inch‑spaced holes on all sides.
- Cut a slatted or mesh bottom for drainage.
- Add wood chips or cardboard to absorb moisture.
- Check the pile daily; it should feel like a wrung‑out sponge.
- Regularly check that the aeration plate and mesh are not restricting airflow.
Choose the Best Dry Browns for Compact Bins: Newspaper, Cardboard, Leaves

Looking for the most effective dry brown to keep a compact compost bin from getting soggy? Shred newspaper and layer it loosely among your greens; its high carbon and quick breakdown absorb excess moisture while keeping airflow open. Use torn, shredded cardboard when you need a bulkier, longer‑lasting buffer—its fibrous structure soaks up liquid and creates air pockets, preventing matting. Shredded dry leaves are your all‑purpose champion: they pack carbon, add insulating bulk, and decompose evenly, especially in autumn when leaf supply is abundant. Mix these browns throughout the bin rather than compressing them, aiming for a 2:1–3:1 brown‑to‑green ratio. Rotate newspaper for rapid fixes, cardboard for structure, and leaves for overall balance. During summer months, add dry brown materials to counteract excess moisture and odors in warmer conditions. Proper aeration prevents odor and speeds decomposition.
Daily vs. Weekly Turning: Which Frequency Works in Tight Living Spaces?
When you’ve chosen the right dry browns, the next step is deciding how often to turn your compact bin. Daily turning pumps oxygen, dries hot spots, and quells odors, but it can over‑dry the top layer and bleed heat too fast.
Daily turning boosts oxygen and odor control, yet may over‑dry the top layer and release heat too quickly.
Weekly turning gives microbes a chance to settle, preserves moisture, and fits a busy indoor routine. Your bin’s size, ventilation, and smell will dictate the sweet spot.
- Daily – rapid aeration, quick odor control, risk of over‑drying.
- Weekly – balanced moisture, steadier temperature, less labor.
- Hybrid – start daily when wet, switch to weekly as it stabilizes.
- Observe – sour smell or soggy clumps mean turn more often; crumbly texture means turn less.
Frequent turning can lead to nitrogen and carbon loss.
Use Vermicomposting Trays to Regulate Moisture and Reduce Odor

Ever wondered why a compact vermicomposting tray stays fresh while a deep bin smells? You can keep moisture in check by using stackable trays that separate fresh feed from finished castings. The upper tray lets you add wet scraps and then quickly dry them with shredded cardboard or newspaper, while the lower tray collects any leachate before it pools. By layering dry bedding on top of damp material, you buffer spikes and maintain the 60‑80 % moisture range worms love.
Bottom ventilation and open‑air designs pull excess humidity away, preventing anaerobic pockets that cause odor. Regularly check surface dampness, replace soggy bedding, and you’ll enjoy aerobic decomposition without the foul smells that plague tight living spaces. Adding a layer of dry bedding after feeding high‑water content waste helps avoid excess moisture buildup.
Spot and Fix Soggy Spots Before They Produce Methane
A few simple checks can spot soggy zones before they turn anaerobic and start producing methane. Look for glossy, compacted patches, especially in corners, at the bin’s bottom, or under fresh scraps. When you see a sludge‑like texture, act fast—otherwise methane‑producing microbes will thrive and odors will spike.
- Sprinkle dry, absorbent browns (cardboard, paper towels, shredded leaves) directly onto the wet spot and work them in.
- Fluff or turn the pile to introduce oxygen and let excess water evaporate.
- Remove any saturated clump and re‑blend it with dry material for a balanced mix.
- Adjust future food‑scrap additions, pairing wet items with extra dry bedding to keep moisture even.
These steps halt anaerobic conditions, keep decomposition smooth, and protect your apartment from foul smells.
Balancing the carbon-to-nitrogen ratio helps prevent excess moisture buildup.
Track Moisture Daily With a One‑Page Log for Apartment Compost Bins
Spotting soggy spots is only half the battle; keeping moisture steady day‑to‑day is what prevents those spots from re‑appearing. In a cramped apartment, a one‑page log lets you spot trends before they turn sour. Write the date, then give a quick moisture rating—hand‑squeeze a handful, note if it drips (excess), holds shape but crumbles (ideal), or feels dry (low). Add an odor score (poor, fair, good) and jot the temperature if you track heat. Use the notes column to link changes to recent food scraps, new bedding, or a ventilation tweak. Over weeks, the log reveals whether you stay in the 40‑60 % sweet spot, helps you catch early anaerobic warnings, and guides tiny adjustments without guesswork. Low moisture can limit microbial activity, so watch for a dry appearance and add a splash of water if needed.
Apply Quick Carbon Boosters When Compost Becomes Over‑Wet
When your bin gets soggy, grab shredded newspaper and sprinkle it in to soak up excess liquid.
Add a handful of cardboard shavings for structure, then toss in dry leaves to rebalance the carbon‑to‑nitrogen ratio.
This quick boost restores airflow, cuts odor, and keeps the compost moving in tight living spaces.
Shredded Newspaper Quick Absorb
Ever notice how a soggy compost pile can turn smelly and sluggish? When moisture spikes, grab a handful of shredded newspaper and toss it in. The fine fibers act like a sponge, soaking up excess liquid and restoring a crumbly texture. Mix quickly, then turn the pile to spread the dry brown evenly. You’ll feel the pile lighten, smell improve, and microbes revive.
- Shred paper thinly for faster absorption.
- Sprinkle a cup per quart of wet material.
- Turn gently to avoid matting.
- Repeat as needed until the pile feels dry but still moist.
Stick to plain, soy‑ink newsprint and avoid glossy or coated sheets. This quick carbon boost balances nitrogen, boosts aeration, and keeps your indoor compost thriving.
Cardboard Shavings for Structure
How can you rescue a soggy, compacted compost pile in a tiny balcony kitchen? Toss shredded cardboard shavings into the mix. The dry brown fibers create air pockets, breaking up dense, wet mats and letting oxygen flow. As the shavings absorb excess liquid, the pile returns to that wrung‑out‑sponge feel. Tear the cardboard into strips, sprinkle them throughout, and stir well; this separates sticky green layers and restores structure quickly. Use plain corrugated stock—no glossy or heavily printed sheets—to keep gas movement unhindered. Cover the cardboard layer with a thin compost blanket to prevent drying out and keep pests away. Monitor texture and smell, adding more shavings whenever rain or kitchen scraps push moisture too high.
Dry Leaves for Balance
Is your balcony compost turning into a soggy, compacted mess? Dry leaves are your quick‑carbon rescue. They soak up excess moisture, keep the pile airy, and restore the “damp‑sponge” balance you need in tight spaces. Toss them in layers or mix them through wet spots, then turn the heap to spread airflow. Keep checking until the interior feels only slightly damp, not soaked.
- Sprinkle a thin leaf layer over the soggy area.
- Mix the leaves with existing greens for even distribution.
- Turn the pile to boost aeration and spread moisture.
- Repeat until the texture feels crumbly, not squishy.
Frequently Asked Questions
How Does Indoor Temperature Affect Compost Moisture?
You’ll see warmer rooms speed evaporation, dropping moisture quickly, while cooler spaces slow drying, keeping the pile wetter. Heat sources near the bin amplify this effect, so temperature directly governs how moist your compost stays.
Can I Use Kitchen Towels as a Moisture‑Absorbing Brown?
You can use plain, grease‑free kitchen towels as a moisture‑absorbing brown, but shred them and mix them well, keep them supplemental with other dry browns, and avoid any chemically‑treated or oily towels.
What Is the Best Way to Prevent Mold in a Sealed Compost Bin?
You prevent mold by keeping the mix damp, not soggy; add dry brown layers after each wet drop, turn regularly, ensure proper drainage, and clean the bin with vinegar before it dries.
Do Scented Candles or Essential Oils Influence Compost Odor?
You won’t control compost odor with scented candles or essential oils; they only mask smells. Focus on proper drainage, aeration, and balanced browns‑to‑greens to keep moisture right and odors minimal.
How Often Should I Replace the Dry Brown Material in a Compact Bin?
Replace the dry brown material whenever you notice the bin getting soggy, smelly, or clumpy—usually after each food‑scrap layer or turn. Keep adding fresh browns to absorb excess moisture promptly.
In Summary
By mastering the hand‑squeeze test, keeping a 2:1 brown‑to‑green mix, and using dry layers like newspaper or cardboard, you’ll keep moisture in check even in tiny apartments. Add air holes, drainage, and a vermiculture tray to prevent soggy spots and odor. Log daily moisture, and if it gets too wet, toss in a quick carbon boost. Follow these steps, and your compact compost will stay healthy, odor‑free, and ready to turn waste into nutrient‑rich soil.

Leave a Reply