

You’ll transform your apartment into a functioning composting system with sealed containers that trap odor-causing gases, prevent pest invasions, and fit into cramped spaces. Airtight lids combined with bokashi fermentation let you compost all food scraps—even meat and cheese—without typical smells. You can store buckets under sinks, in closets, or on pantry shelves for weekly collection. When fermentation finishes, you’ll move the material outside to complete breakdown in soil. The specifics of maximizing this setup, though, reveal why sealed systems beat traditional composting for apartment living.
How Sealed Containers Solve the Apartment Composting Space Problem
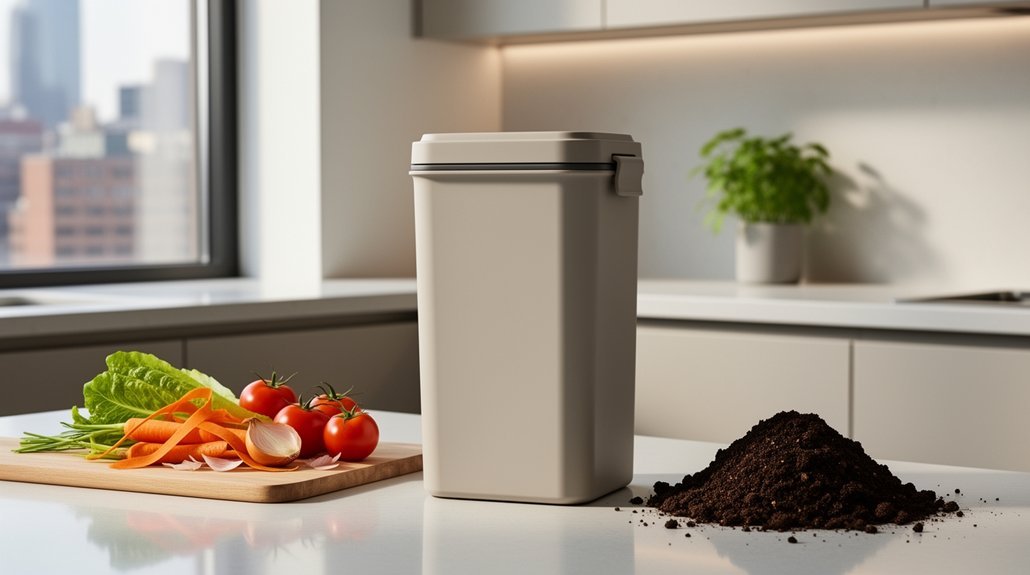
How do you fit a composting system into a studio apartment or compact kitchen? Sealed containers offer the perfect solution. Unlike traditional open compost piles that demand sprawling space, sealed bins consolidate food scraps into one compact vessel that fits under your sink, inside cabinets, or beside appliances. You’re not spreading materials across countertops or sacrificing precious living space.
Stackable or lidded containers preserve your limited square footage while keeping scraps contained and out of sight. Since apartment composting typically relies on weekly or bi-weekly collection rather than on-site processing, sealed storage handles temporary accumulation efficiently. Freezing scraps in sealed containers eliminates odors and slows decomposition, making the storage period more pleasant for apartment dwellers. Bokashi systems with airtight lids represent an advanced sealed-container approach that enables fermentation of all food waste, including meat and dairy, without the typical composting odors. This approach lets you participate in composting without compromising your living environment or requiring specialized decomposition infrastructure indoors.
Why Airtight Lids Keep Odors Contained in Small Living Spaces
You’ll find that airtight lids trap odor-causing gases from decomposing food scraps before they spread through your apartment, making sealed containers especially valuable in compact spaces where smells concentrate quickly.
To maximize odor control during storage, you can layer absorbent materials like newspaper or cardboard inside your sealed bin to soak up excess moisture that intensifies decomposition smells. Many apartment composters also choose compostable bin liners to line their sealed containers, which adds an extra layer of odor containment while keeping cleanup simple.
When you’re ready to transfer your scraps, you’ll appreciate how sealed storage prevents sudden odor release—a problem that occurs when gases accumulate and escape all at once. For apartment dwellers using streaming render systems, the containment process becomes seamless when modules load efficiently to maintain consistent performance during extended composting periods.
Smell Management During Storage
Why does odor become such a persistent problem in apartments? Your limited ventilation traps decomposition gases, allowing smells to concentrate and drift into hallways and neighboring units. Sealed containers combat this by containing odors at the source.
| Storage Method | Odor Control | Best For |
|---|---|---|
| Airtight lid with charcoal filter | Absorbs odor molecules | Long kitchen storage |
| Rubber gaskets and clips | Reduces edge leakage | Daily use caddies |
| 3–6 liter sealed bin | Limits decomposition time | Frequent emptying |
| Dry brown layers inside | Absorbs excess moisture | Moisture reduction |
| Freezer storage | Stops decomposition entirely | Extended intervals |
You’ll find that regular emptying, combined with absorbent materials like shredded paper, prevents moisture buildup that amplifies smells. Cooler storage areas also slow bacterial activity, reducing odor formation between transfers to your larger compost system. Store your sealed containers in a cool, dry location away from direct sunlight to maximize odor control effectiveness. Replace charcoal filters every three to six months according to manufacturer guidelines to maintain optimal odor absorption in your sealed container.
Odor Release Prevention Methods
When you seal a compost container in your apartment, you’re essentially creating a barrier that traps decomposition gases before they can escape into your living space. Rubber or silicone gaskets form an airtight seal that prevents volatile compounds—the actual odor carriers—from diffusing into your rooms. By limiting airflow between uses, you reduce the chance that smell spreads through your apartment.
Charcoal filters add another layer of protection, absorbing odors at the lid level before they escape. Smooth interior walls prevent residue buildup that’d continue releasing smells over time. Keeping your bin closed between uses maximizes containment effectiveness. For apartment composting, using coconut coir bedding material helps absorb moisture and reduce odor-causing bacterial activity. Regular cleaning with white vinegar kills the bacteria responsible for volatile organic compound breakdown, further reducing odor development. This sealed environment isn’t just convenient—it’s essential for maintaining fresh-smelling apartments while composting indoors successfully.
The Science Behind Anaerobic Fermentation in Sealed Buckets
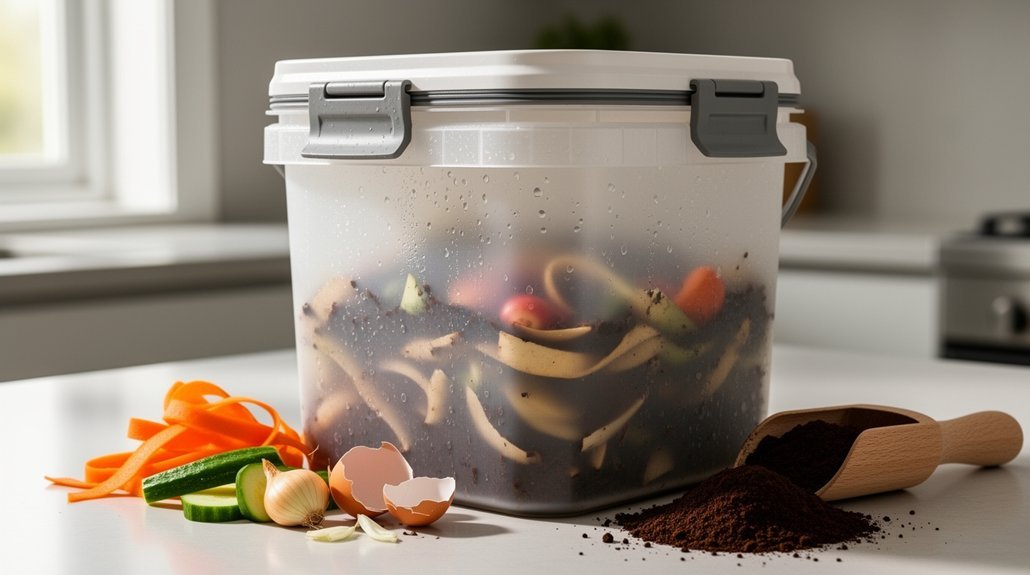
Sealed composting buckets transform organic waste through a fundamentally different biochemical process than traditional aerobic compost piles. When you seal your bucket, you create an oxygen-free environment that shifts microbial metabolism toward anaerobic fermentation. Your organic matter breaks down as microbes use the substrate itself as both electron donor and acceptor, producing organic acids, alcohols, and carbon dioxide instead of relying on external oxygen.
This process generates less energy than aerobic decomposition, but it works efficiently in confined spaces. The acids produced—lactic, acetic, and butyric—lower the pH dramatically, creating conditions hostile to rot-causing organisms. Meanwhile, CO₂ production signals active metabolism. Sealing mechanisms affect gas exchange and contamination control, ensuring that your fermentation environment remains stable and protected from external pathogens. Activated charcoal filters placed within or near sealed buckets can absorb odors from liquids and gases, further reducing the smell that typically accompanies fermentation. You’re essentially harnessing fermentation to stabilize and preserve your kitchen scraps while minimizing odors and space requirements, making sealed buckets ideal for apartment living.
Bokashi Systems: The Sealed-Container Method Built for Apartments
Now that you understand how anaerobic fermentation creates an efficient waste-breakdown environment, you can put that science into practice with a bokashi system—a sealed-container method specifically engineered for apartment living.
| Feature | Benefit | Why It Matters |
|---|---|---|
| Compact two-bin rotation | Minimal footprint | Fits kitchens and balconies |
| Airtight sealed lids | Odor and pest control | Keeps neighbors happy |
| Wide food-waste acceptance | Less sorting required | Diverts more from landfills |
You’ll drain liquid every few days through the spigot, then transfer fermented material to soil within 4–6 weeks. The bokashi bucket isn’t a complete composting solution—it’s a pre-compost step. You’ll finish the material in garden soil, outdoor compost, or planter beds. This hybrid approach lets you compost year-round indoors while maintaining a neighbor-friendly, sealed system. For year-round operation in cold climates, consider that fermentation pauses if freezing occurs and plan for indoor relocation during winter months. The special culture powder sprinkled over food scraps each time accelerates the fermentation process and ensures consistent breakdown of all materials, including meat and cheese.
Where to Store Your Sealed Compost Bucket in an Apartment
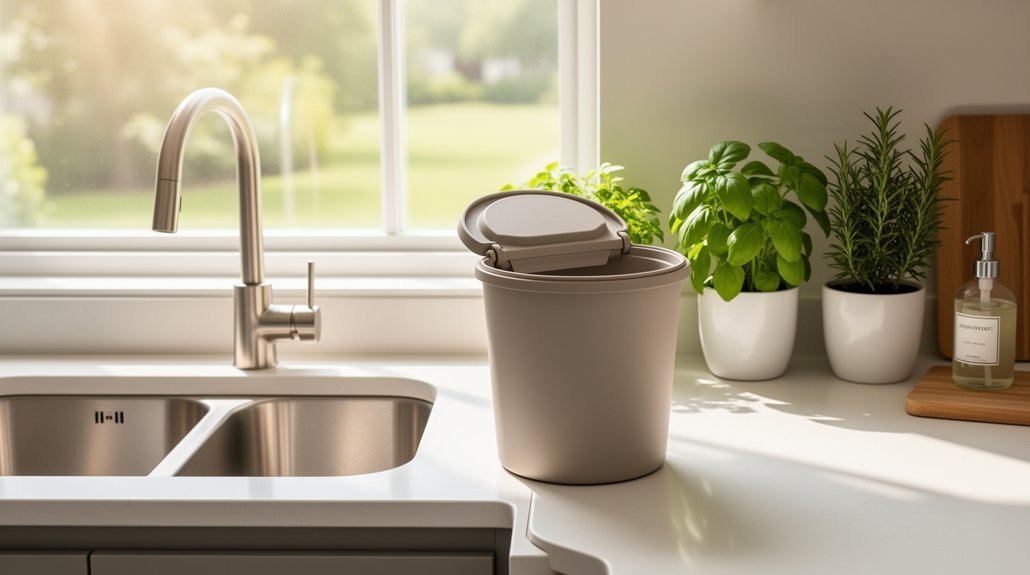
You’ll want to find a storage spot that balances convenience with discretion, and your kitchen offers several practical options. Under-sink cabinets hide your sealed bucket away while keeping it steps from where you’re prepping meals, though you should check for plumbing clearance first.
If that space doesn’t work, consider closet shelves, pantry corners, or even a designated countertop spot near your prep area—each location trades off visibility for accessibility depending on your apartment’s layout and your composting volume. Layering shredded brown paper inside your bucket will help manage moisture and odors regardless of which storage location you choose. For optimal odor containment, look for buckets with airtight lids that feature charcoal filters or similar odor control methods.
Under The Kitchen Sink
When space is tight in an apartment kitchen, the cabinet beneath your sink becomes prime real estate for composting. This often-overlooked area works perfectly for storing a sealed compost bucket because you’re maximizing underused space while keeping food scraps hidden from view. Many apartment dwellers opt for stainless steel pails that can be easily removed and dishwasher cleaned for convenient maintenance.
Consider these practical advantages:
- Concealed storage – The bucket stays out of sight until you open the cabinet door, maintaining your kitchen’s aesthetic appeal.
- Odor control – A sealed container prevents smells from spreading through your compact living space.
- Pest prevention – Closed lids protect your scraps from fruit flies and other unwanted insects.
- Easy access – Positioning the bin near your sink reduces friction during meal prep and cleanup, encouraging consistent composting habits.
Closet And Pantry Spaces
Where else can you stash a sealed compost bucket in your apartment? Closets and pantries offer excellent alternatives to under-sink storage. These enclosed spaces keep your compost out of sight while containing odors effectively. Cold, dark environments slow decomposition, reducing smells naturally.
For closet storage, choose a well-ventilated area away from heat sources. Pantries work best in shaded, cool locations rather than near appliances or sunlight. Both spaces benefit from moisture control—add shredded paper or dry carbon material to absorb excess liquid and minimize odors. Regular aeration with compost turning tools can help maintain proper decomposition even in sealed containers. Freezer storage is an even more effective option for apartments, as it significantly slows decomposition while maintaining a completely smell-free setup.
Easy access matters too. Position your sealed bucket on a shelf or floor where you’ll empty it frequently, preventing material buildup. These discreet placements make short-term holding practical before transferring scraps to municipal pickup or outdoor composting.
Countertop Placement Considerations
Because apartment kitchens face unique space and ventilation challenges, strategic countertop placement matters more than it does in homes with dedicated composting areas. You’ll want to position your sealed bucket thoughtfully to maximize both convenience and odor control.
Consider these key placement factors:
- Keep it away from heat sources like stoves, ovens, and sunny windows, which accelerate decomposition and odors
- Place it near your food prep zone to reduce the temptation of tossing scraps in the trash instead
- Choose a cool, shaded spot that maintains stable temperatures between emptying cycles
- Balance visibility with accessibility by positioning it where you’ll remember to use it daily without dominating your limited countertop
This strategic placement supports your composting habit while keeping your apartment fresh and organized. Proper storage in cool, dry places helps maintain the potency of your bokashi bran over multiple seasons. A charcoal filter in your sealed bin will provide additional odor control during warmer months or if you miss a daily emptying.
How to Layer Scraps for Better Fermentation
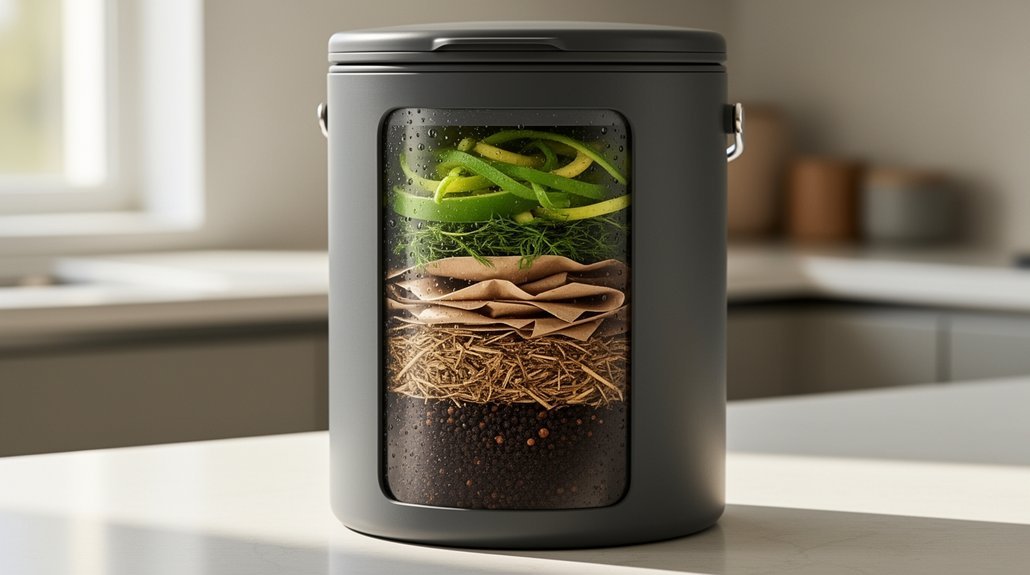
Layering your scraps thoughtfully is what transforms a bucket of kitchen waste into an efficient fermentation system. Alternate thin 2- to 3-inch layers of nitrogen-rich greens—like kitchen scraps—with carbon-rich browns such as shredded leaves or cardboard. This balance maintains steady microbial activity and prevents your container from becoming waterlogged or foul-smelling.
Chop your scraps into smaller pieces to increase surface area for microbes. Place food waste in the center and bury it completely under brown material to discourage pests and odor escape. Smaller, evenly distributed layers create consistent decomposition without compaction that’d suffocate microbes. Your brown layers also absorb excess moisture from fresh scraps, maintaining the moisture-balanced environment fermentation requires. Sprinkling a microbial inoculant on each layer accelerates fermentation and helps prevent odor by colonizing scraps with beneficial bacteria within 2–3 weeks. For apartment dwellers, using a tight-fitting lid with a rubber gasket seal ensures odor management remains effective throughout the fermentation process.
What Happens After Fermentation Finishes
Once fermentation’s complete, you’ll need to move your bokashi material out of the sealed bucket to finish breaking down—the fermentation phase only preserves the scraps, it doesn’t fully decompose them. You can bury the fermented contents directly in outdoor soil or mix them into an existing compost pile, where soil microbes and decomposers will rapidly break down what’s left. Both methods typically finish the job in a few weeks, with burial in active garden beds or compost offering the fastest breakdown and added soil enrichment. For apartment dwellers without garden access, rodent-proof containment can hold the material before final disposal or transfer to a community garden space.
Finishing In Outdoor Soil
What happens to your fermented scraps when they leave the sealed bucket? They transition from preservation to active breakdown. Outdoor soil provides the oxygen, moisture, and microbial diversity that complete decomposition where fermentation left off.
- Oxygen restarts aerobic processes – Soil’s porous structure reintroduces oxygen, shifting microbial activity from fermentation microbes to oxygen-dependent decomposers.
- Timing depends on conditions – Warmer soil accelerates microbial action, while cooler temperatures slow the process. Loose, well-aerated soil speeds breakdown faster than compacted ground.
- Most material disappears quickly – Your pre-fermented scraps break down rapidly, leaving only tough components like eggshells behind. The fermented organic matter delivers concentrated nutrients directly to plant roots as decomposition accelerates in aerobic soil conditions.
- Nutrients integrate into your garden – The buried material acts as a temporary nutrient reservoir before becoming part of your soil’s organic matter.
Completing In Compost Piles
Your fermented scraps don’t end their breakdown in outdoor soil alone—they can also finish in dedicated compost piles where aerobic microbes take over where anaerobic fermentation stopped. Once you expose your fermented material to oxygen, decomposition accelerates rapidly. You’ll notice the pile heating up as bacteria, then fungi and actinomycetes, break down remaining compounds. After the temperature peaks and declines—typically weeks to months depending on pile size—you know active decomposition is finishing. The pile temperature should reach at least 110°F within a week during warm seasons to effectively eliminate weed seeds and disease organisms.
Your compost will shrink by 70–80 percent, turn dark brown and crumbly, and smell earthy. When it stops reheating after disturbance, you’ve got finished compost ready for your plants. This two-step approach transforms kitchen scraps into stable, garden-ready material efficiently.
Common Setup Mistakes to Avoid
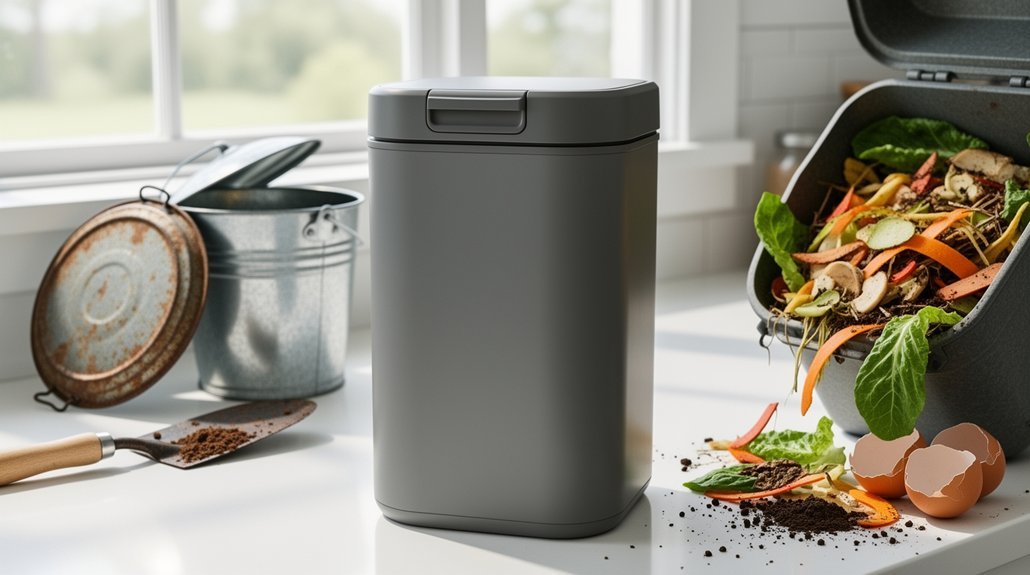
How easily can a sealed composting system derail? Without proper attention, you’ll quickly encounter problems that halt decomposition and create odors.
- Add wrong materials. Meat, dairy, and oily foods attract pests and smell terrible. Pet feces and non-compostable plastics contaminate your batch. Avoid adding diseased plant materials that can spread pathogens throughout your finished compost.
- Neglect moisture balance. Excess water reduces oxygen and triggers anaerobic breakdown, producing foul smells. Too much moisture also drowns worms in worm-based systems.
- Ignore aeration needs. Compacted material starves your compost of oxygen, slowing decomposition. Turn contents regularly and incorporate bulky browns like dry leaves to maintain airflow.
- Skip regular monitoring. Check moisture levels, airflow, and fill height consistently. Overstuffing prevents even processing, leaving material half-finished and your system frustrated.
Using Your Finished Compost
Once your sealed composting system produces dark, crumbly finished compost, you’re ready to put it to work. You don’t need outdoor space to benefit from your finished product.
Mix 30% compost with 70% potting soil for houseplants, or refresh root-bound plants by upgrading them to larger containers.
Apply compost one or two times yearly for indoor plants.
If you’re short on space, donate surplus compost to community gardens, allotments, or neighbors.
You can also store finished compost briefly in a dry, cool place before sharing it with local growing groups.
Even apartment dwellers can support edible herbs and small indoor plants with quality compost.
Your sealed system transforms kitchen scraps into genuinely useful material for any living situation.
Your Setup Checklist: What You’ll Need
What does a successful apartment composting setup actually require? You’ll need several key components to get started:
- A sealed container with a tight-fitting lid – Choose a plastic storage bin, lidded garbage can, or worm bin that closes securely to control odors and prevent pests.
- Brown materials for bedding – Gather shredded newspaper, paper packaging, or egg cartons to provide carbon and maintain moisture balance in your system.
- Odor control features – Install a carbon filter, use compostable bin liners, or keep a freezer-safe scrap container nearby to eliminate smells.
- Ventilation and drainage solutions – Drill air holes near the upper sides and, if needed, drainage holes in the bottom for proper airflow and moisture management.
With these essentials in place, you’re ready to begin composting.
Frequently Asked Questions
Can I Use a Sealed Container Without Bokashi Bran or Fermentation Accelerator?
You can use a sealed container without bokashi bran, but you’ll face inconsistent results. Your scraps will ferment, yet you’re risking foul odors and batch failure. Adding bran gives you reliable, controlled decomposition instead.
How Often Should I Empty My Sealed Compost Bucket Before It Fills Completely?
You should empty your sealed bucket every 2–4 days for odor control, or before it’s completely full. Smaller buckets, higher-moisture scraps, and larger households require more frequent emptying to prevent smell and mold.
Will a Sealed Container Work in My Freezing Apartment During Winter Months?
Yes, you can use a sealed container in your freezing apartment during winter. You’ll collect scraps effectively, but decomposition will slow dramatically. Freezing pauses microbial activity, so you’re mainly storing material for spring processing.
Can I Add Meat, Dairy, or Oils to My Sealed Composting System?
You can add small amounts of meat, dairy, and oils to your sealed system, but you’ll need to manage them carefully. Add them sparingly, maintain proper carbon-nitrogen balance, and avoid overloading to prevent odors and anaerobic conditions.
What’s the Difference Between Sealed Storage and Actual Composting in Terms of Timeline?
You’ll see sealed storage take 2-4 weeks for fermentation, while actual composting needs 3-5 months for finished compost. Sealed containers break down anaerobically and slower; true composting requires oxygen, heat, and active management.
In Summary
You’ve discovered that sealed containers are your apartment’s best composting solution. You’ll eliminate odors, save space, and transform your kitchen scraps into nutrient-rich soil. You’re ready to set up your bokashi system, store it conveniently, and watch fermentation work its magic. You’ll soon have finished compost for your plants. You’ve got everything you need—start composting today and you’ll never waste food again.



