
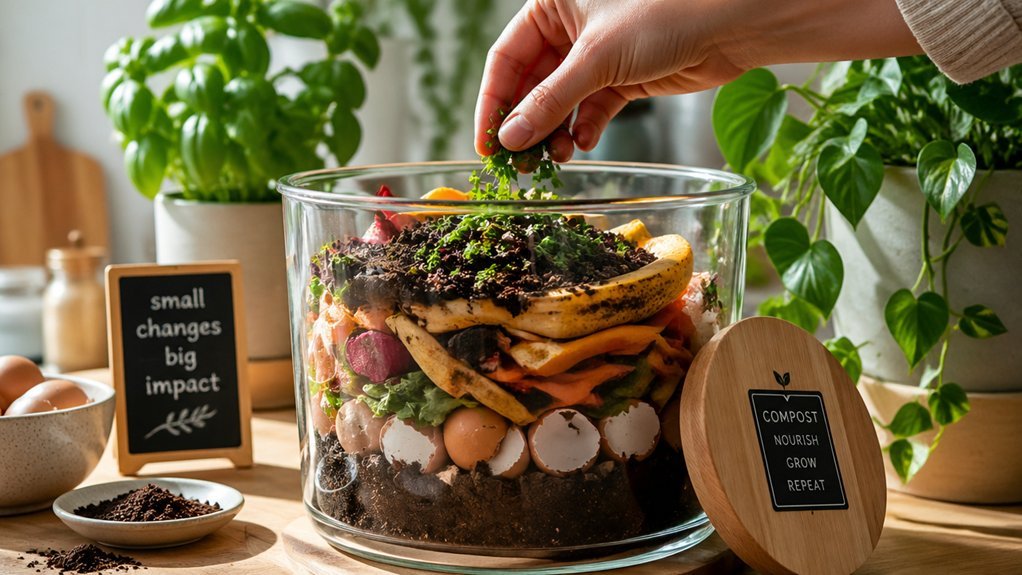
You can turn kitchen scraps into nutrient‑rich soil right in your apartment, cutting waste, saving money, and boosting houseplant health without a backyard. A sealed countertop bin with a snug lid and carbon filter controls odors, while a 1:2 greens‑to‑browns ratio keeps the pile active and pest‑free. Proper ventilation and occasional stirring prevent overheating and slime, and the finished compost improves soil structure and water retention. Keep going to discover step‑by‑step setup, maintenance, and troubleshooting tips.
What Indoor Composting Is and Why It Matters for Apartment Living
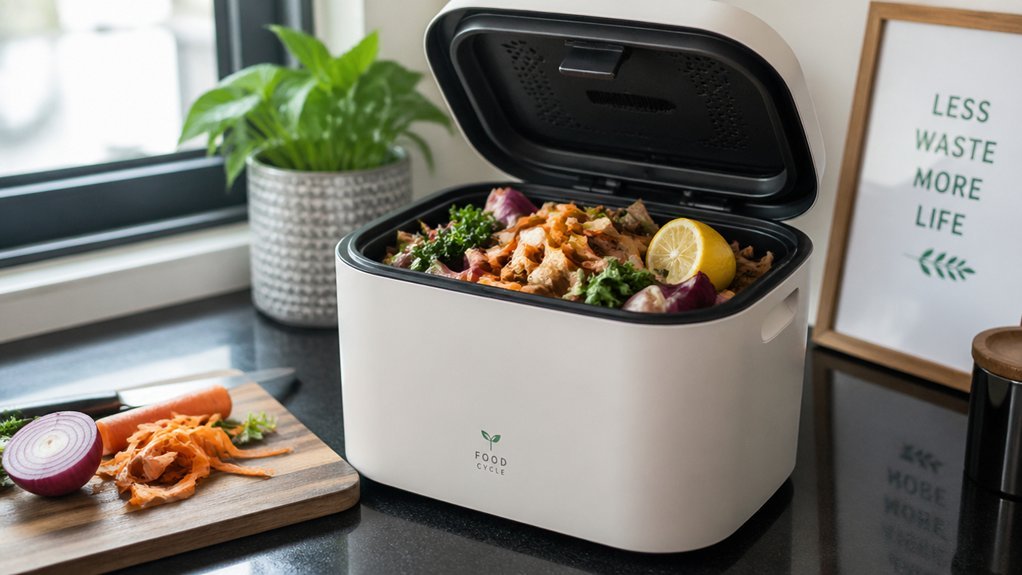
Ever wondered how you can turn kitchen scraps into garden gold without a backyard? Indoor composting lets you recycle food scraps right inside your apartment living space, cutting waste and feeding plants. By using a sealed bin with proper odor management, you keep smells under control while diverting up to 30 % of trash from landfills. The process creates nutrient‑rich compost that improves soil structure and water retention for houseplants and balcony gardens. Modern kits are compact, low‑maintenance, and designed for small kitchens, so you don’t need a backyard or balcony. Odor control remains a key feature in many 1‑gallon ceramic crocks, helping sustain a clean, scent‑free countertop setup. As more urban dwellers adopt these methods, resources and expert guidance become readily available, making indoor composting a practical, eco‑friendly habit for any apartment resident.
Indoor Composting: Picking the Right Countertop Bin for Small Spaces
Looking for a compact, odor‑controlled bin that fits a tiny kitchen corner? Choose a closed compost bin with a snug lid and optional carbon filter; it locks in smells while staying sleek on your countertop. For small spaces, an apartment‑sized model or rapid‑decomposition unit slides under the sink or into a pantry, keeping scraps handy yet out of sight. Aim for a 1‑to‑2 greens‑to‑browns ratio to balance moisture and curb odors. Wrap fruit or veggies in newspaper, or cover the top with a damp cloth, to deter fruit flies. Clean the bin regularly, and you’ll enjoy a tidy, low‑odor composting routine without sacrificing precious kitchen realestate. Regular monitoring and choosing a model with good drainage and aeration can further support healthier worm bedding and soil amendment outcomes in related applications sustainable material source.
Setting Up Your Kitchen Bin – Placement, Lid, and Airflow Tips
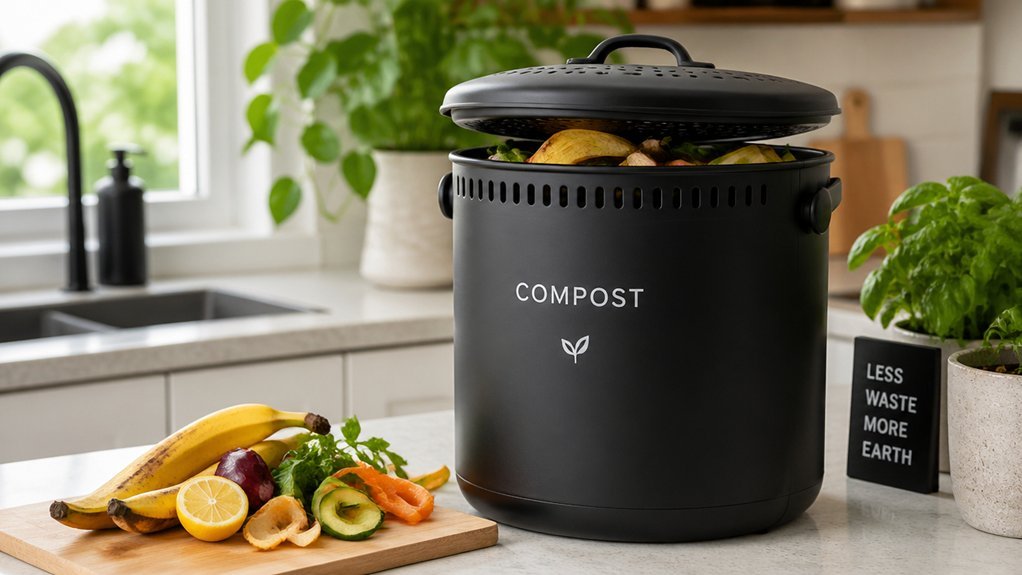
You’ll want to stash a compact, movable bin near the sink or a pantry corner so it’s handy and keeps odors contained.
Choose a lid that seals tightly yet has a carbon filter or ventilation‑cap to let air flow while trapping smells.
Adding a few small holes or a vented lid creates the right airflow for aerobic breakdown and prevents fruit‑fly buildup.
Optimal Placement Near Sink
Where should you put the kitchen compost bin for maximum convenience and minimal odor? Position a small, closed compost bin indoor, near sink, beside the trash can under the counter. This spot lets you toss scraps straight from prep work, keeping the flow tight and the smell contained. Choose a space‑saving design with a tight‑fitting lid and an odor‑filter, like activated charcoal, to trap fumes while staying accessible. If your kitchen is cramped, opt for a rapid‑decomposition or vermicomposting unit that fits the narrow gap. Keep the bin on a stable surface, avoid crowding other dishes, and ensure a little air gap under the lid for ventilation without exposing the contents. This placement streamlines daily use and curbs odors. Soft-grip handle helps move the bin comfortably when full.
Secure, Breathable Lid
Placing the bin near the sink already streamlines your workflow; now a secure, breathable lid keeps that efficiency odor‑free. Choose a compost bin lid with built‑in ventilation holes or a carbon filter; it lets air in for aerobic breakdown while trapping smells. Drill a few tiny holes if the lid lacks them, and add a charcoal insert for extra odor control. Slip a damp newspaper or paper towel under the lid to balance moisture and deter fruit flies. Keep the lid tightly closed when you’re not adding scraps, and place a tray underneath to catch any drips. This simple setup maintains airflow, reduces pests, and keeps your kitchen smelling fresh.
| Feature | Benefit |
|---|---|
| Ventilation holes | Fresh air for microbes |
| Carbon filter | Traps odors efficiently |
| Charcoal insert | Enhances odor control |
| Damp paper layer | Regulates moisture |
| Secure closure | Prevents spillage & pests |
Strategic Airflow Holes
Wondering how to keep your kitchen compost bin both efficient and odor‑free? Place it where you can reach it easily, away from direct sunlight, and keep a tray underneath to catch spills. Drill a few small holes in the lid for ventilation; this promotes aeration, keeps microbes happy, and boosts odor control. If the mix gets soggy, add extra browns like shredded cardboard to balance moisture and maintain steady airflow. Position the bin on a countertop or shelf that’s temperate, ensuring you can stir weekly without hassle. These strategic airflow holes create a consistent flow of oxygen, preventing anaerobic pockets and keeping your indoor composting system clean, fast, and virtually smell‑free. Two-stage tumbling system features in some external bins can help optimize mixing and aeration, further enhancing odor control and composting speed.
Indoor Composting: Balancing Greens and Browns (1 : 2 Ratio) With Everyday Items
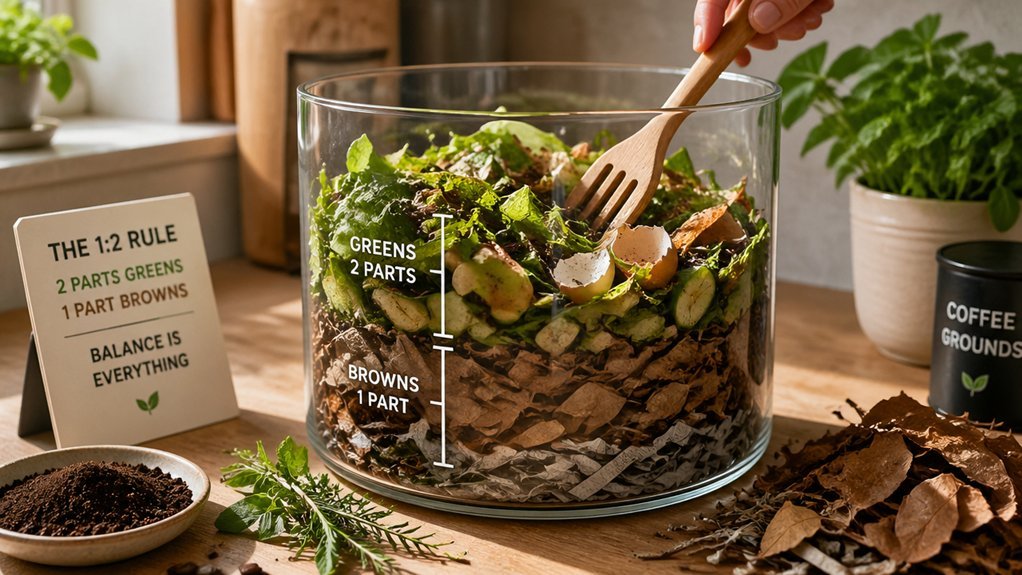
You’ll pick easy carbon sources like shredded paper, newspaper, or cardboard and pair them with nitrogen‑rich kitchen scraps.
By keeping the greens‑to‑browns ratio around 1 : 2, you control moisture and odor while speeding up decomposition.
If the bin gets smelly or soggy, just toss in a few more browns and keep chopping and layering for better aeration.
Choose B & Browns
A solid 1 : 2 greens‑to‑browns mix is the cornerstone of indoor composting, keeping the pile aerated and odor‑free. To hit that ratio, gather kitchen scraps—fruit peels, coffee grounds, and leafy trimmings—as your greens. Then pair them with carbon‑rich browns like shredded newspaper, junk mail, peanut shells, or cardboard strips. SpaceAid Bamboo Drawer Dividers with Inserts can help organize the tools and scraps in your prep area, keeping everything tidy and accessible organization.
Simple Carbon Sources
After gathering your greens, turn your attention to the carbon side of the mix. Simple carbon sources keep indoor composting balanced, preventing the pile from turning soggy or stinky. Reach for everyday browns like shredded paper, junk mail, newspaper clippings, and dry leaves; they supply the necessary carbon and structure. Peanut shells work well too, offering a crunchy texture that improves aeration. Aim for roughly two‑thirds browns to one‑third greens, maintaining the 1 : 2 ratio that fuels efficient decomposition. Using a balanced mix also helps support a healthy environment for worm activity and reduces the risk of odors and mold. Waste disposal guidance can help you manage spent bedding and tea safely and responsibly.
Adjust Ratio With Kitchen Items
Ever wonder how to keep the 1:2 greens‑to‑browns balance without a scale? Grab a handful of kitchen scraps and toss them into your bin, then add roughly twice as many browns—shredded paper, junk mail, or peanut shells. If the pile smells sour or feels soggy, sprinkle more browns to restore airflow and dry excess moisture. Chop the scraps into small bits; this speeds up microbial digestion and helps you hit the greens-to-browns ratio consistently. Rotate the bin every few days to mix the material evenly, keeping nitrogen‑rich greens from clumping. Using everyday items lets you fine‑tune the balance quickly, ensuring steady indoor composting without fancy equipment. Regularly monitor for signs of overheating or blockages in the airflow to maintain optimal microbial activity safety features.
How to Control Odor and Deter Pests Using Newspaper Wraps and Charcoal Filters
Wondering how to keep your indoor compost smelling fresh and pest‑free? Wrap each fruit‑fly‑magnet scrap in newspaper to boost carbon, balance greens‑to‑browns, and trap moisture‑driven smells. The paper creates a barrier that cuts off pest access, while charcoal filters in the lid act like a scent‑absorbing shield. Pair the wraps with proper airflow and occasional papering, and you’ll maintain steady odor control and strong pest deterrence.
| Benefit | How it Works |
|---|---|
| Fresh scent | Charcoal filters absorb volatile compounds |
| Fewer flies | Newspaper wraps hide food from insects |
| Moisture balance | Paper adds carbon, dries excess liquid |
| Clean look | Covered bin with wraps looks tidy |
When to Add Scraps and How Often to Stir for Optimal Decomposition?
Keeping the bin odor‑free with newspaper wraps and charcoal filters sets the stage for the next step: timing your feedings and mixing. You’ll want a steady composting frequency that keeps microbes busy without overwhelming the system. Aim for a 1:2 greens‑to‑browns balance, chop scraps fine, and add them no more than once a week if you have worms. Then stir to aerate and boost activity. Here’s a quick routine:
Steady feedings, 1:2 greens‑to‑browns, fine chops, weekly stir for odor‑free, active compost.
- Check moisture; add dry browns or a spray of water for moisture management.
- Verify the greens‑to‑browns ratio stays near 1:2.
- Add fresh scraps on your weekly schedule.
- Stir the pile once a week, watching the thermometer for a healthy temperature rise.
Harvesting and Curing Finished Compost From Your Indoor Bin
A handful of dark, crumbly material signals that your indoor compost is ready to harvest. Scoop the finished compost out of the indoor bin with a small trowel, shaking off any remaining moisture. Transfer it to a breathable container and let it sit for a week or two, allowing the curing process to stabilize nutrients and eliminate any lingering odors. During curing, stir occasionally to aerate and break up clumps, ensuring even drying. Once the texture feels light and the scent is earthy, the compost is fully cured and safe to use. Keep a second bin running so you maintain a steady supply while the first batch finishes its curing cycle. This routine maximizes nutrient quality and keeps your indoor composting system efficient.
Using Indoor Compost on Houseplants, Herb Gardens, and Community Swaps
Ever wondered how to turn your finished indoor compost into a boost for houseplants, herb gardens, and even neighborhood swaps? You can sprinkle a thin layer of the dark, crumbly material onto potting mix, then lightly work it in. The nutrients improve soil structure, giving your houseplants stronger roots and your herb gardens richer flavor. Plus, sharing the surplus in community swaps spreads the benefits and builds local connections.
- Dilute for delicate houseplants – mix one part compost with three parts potting soil.
- Feed herb gardens – add a quarter‑inch layer to each pot before planting.
- Create a compost exchange – package small amounts in reusable bags for neighbors.
- Rotate bins – start a second bin while the first finishes to keep supply steady.
Indoor composting makes these steps easy, even in apartments or condos.
Troubleshooting Common Indoor Compost Problems and When to Switch to a Service or Worm Bin?
You’ve got great results using indoor compost on plants, but sometimes the bin misbehaves. When you smell sour or notice a wet, slimy mass, the moisture balance is off—add more brown material, stir for aeration, and keep the lid vented. Fruit flies or gnats? Bury scraps in the bedding and cover with damp newspaper to block access. If decomposition drags, the pile is too dry or low on nitrogen; give it a light mist and toss in coffee grounds or fresh greens. Remember, composting indoors can range from 24‑hour electric cycles to 3‑6‑month vermicomposting. If tweaks don’t fix the issue, consider a worm bin service or a dedicated worm bin for a more reliable indoor solution.
Frequently Asked Questions
Should You Compost Indoors?
Yes, you should compost indoors; it cuts trash, enriches your plant soil, and fits small spaces. Just balance greens and browns, keep moisture right, and enjoy odor‑free, sustainable waste recycling.
Can You Compost Comfrey?
Yes, you can compost comfrey. Chop it into small pieces, mix it with carbon‑rich browns, and keep the pile aerated. This prevents matting, odor, and heat spikes while boosting nutrient content.
Do Potato Peelings in Compost Attract Rats?
Yes, if you leave moist potato peels exposed overnight, you’ll attract rats; keep the bin sealed, cover scraps, and chop peels to speed decomposition and deter pests.
Can Lentils Be Composted?
Yes, you can compost lentils—chop or shred them, keep them balanced with other greens and browns, avoid excess oil or dairy, and mix well to prevent matting and maintain airflow.
In Summary
By turning kitchen waste into nutrient‑rich soil, you’ll cut trash, boost plant health, and feel good about your eco‑impact—all from a compact countertop bin. Keep the right greens‑to‑browns mix, manage airflow, and stir regularly, and the compost will stay odor‑free and pest‑free. Harvest the dark, crumbly material, use it on houseplants or share it with neighbors, and enjoy a greener, cleaner apartment lifestyle.



