
Pick a solid 55‑gal black food‑grade drum and drill 20–30 evenly spaced 5/16‑inch holes about 6–8 inches apart to let oxygen in and control odors. Build a sturdy base from pressure‑treated 2×4s, cut uprights and footers, then mount a 1.5‑inch axle through the top and slide the drum onto it, securing a feed pipe through the frame. Load kitchen scraps, add water, and turn the drum regularly for fast, odor‑free composting—keep going for more detailed tips.
Pick a 55‑gal Drum for Your Indoor Rotating Compost & Add Air Holes
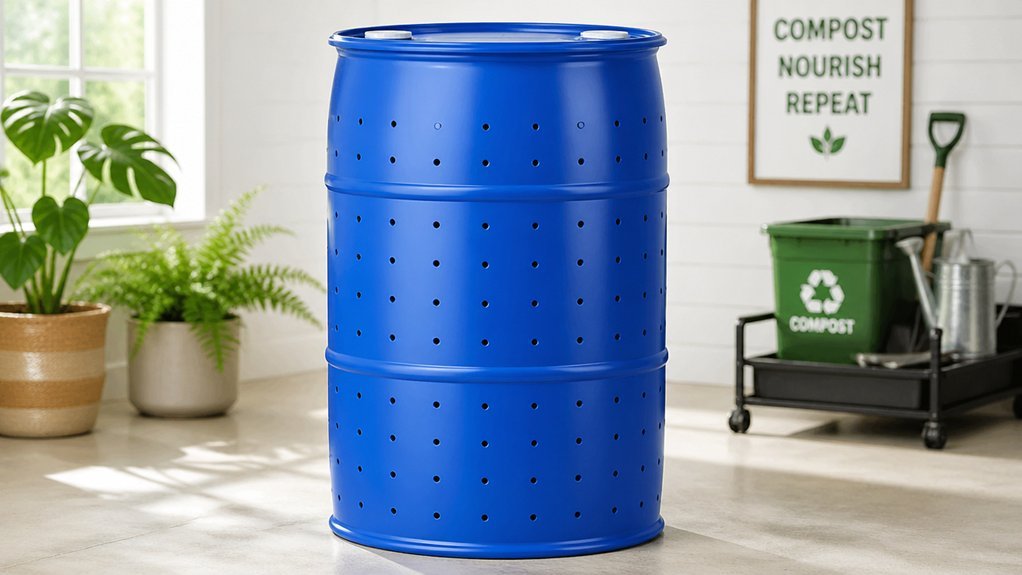
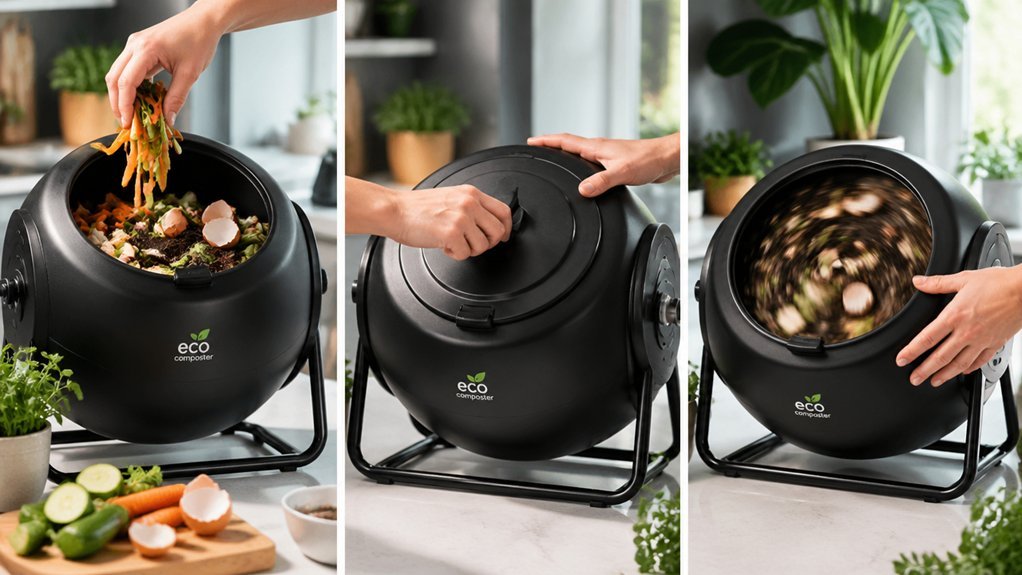
A solid 55‑gal drum—preferably a black, food‑grade model—gives you enough volume for kitchen scraps while staying easy to roll or lift. You’ll use this 55‑g drum as a tumbler for indoor composting, so start by drilling ventilation holes. Grab a 5/16‑inch or ½‑inch bit and make 20–30 evenly spaced holes around the barrel, covering top, bottom, and sides. Space them 6–8 inches apart vertically and horizontally to ensure consistent aeration. The air holes let oxygen flow in, keeping the carbon‑to‑nitrogen ratio balanced and speeding up the rotating compost process. A removable lid or locking ring lets you add material and check progress without breaking the seal, and when the material darkens and smells earthy, you’ve got finished compost ready to use. Regular monitoring and occasional turning will help maintain odor control and microbial activity air flow and ensure steady composting progress.
Build a Sturdy Base & Install the Axle for Indoor Rotating Compost
Now that the drum has its ventilation holes, you can focus on a stable platform that lets it spin smoothly. Build a sturdy base from pressure‑treated 2×4s, cutting two 8‑foot boards into 35‑inch uprights, 34‑inch footers, and 29‑inch spacers. Assemble the frame with casters, attaching the four stationary casters to the footers for easy movement. Drill 1.5‑inch holes at the top of each upright to accommodate the axle for your compost tumbler. Slide the 55‑gallon drum onto the axle, aligning the feed pipe so it passes through both frame and rotating barrel; trim excess pipe and secure it with a nail stop. Finally, perform a drum rotation test to confirm the indoor compost system spins freely and stays balanced.
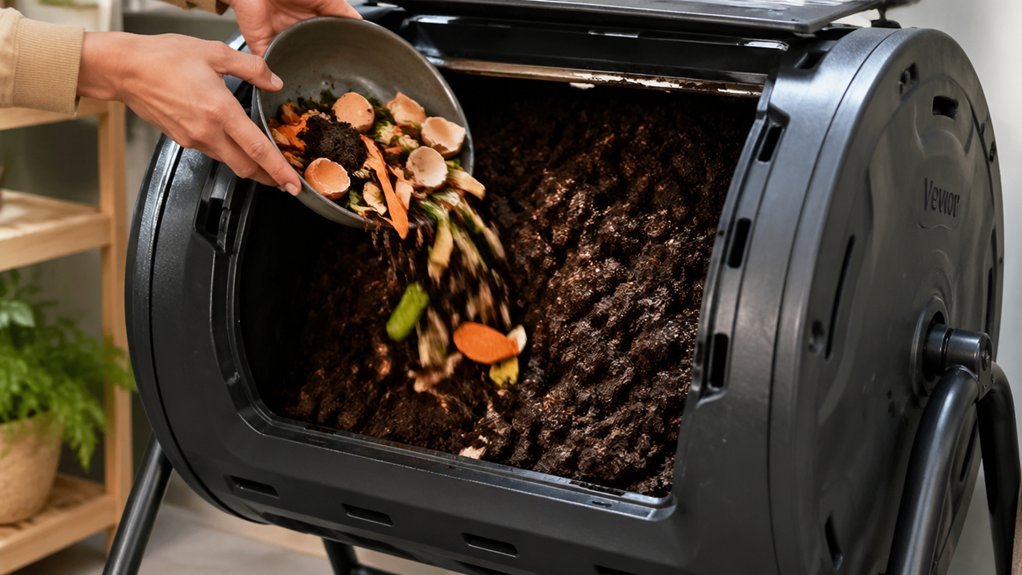
Load, Moisten & Turn: Tips for Smooth Rotation of Your Indoor Rotating Compost Bin
Vent holes – drill 20–30 × ½‑inch holes around the barrel to feed aerobic microbes and cut odors. This added step helps maintain airflow and odor control, aligning with the goal of odor-free indoor composting. aerobic microbes
Frequently Asked Questions
What Is the Lazy Compost Method?
You use a rotating drum or tumbler, mixing kitchen and yard waste at roughly a 3:1 brown‑to‑green ratio, turning regularly to keep it aerobic, moist, and odor‑free, speeding decomposition.
Are Rotating Composters Any Good?
Yes, rotating composters work well; they speed up decomposition, cut labor, and keep pests out. Just maintain a 3:1 brown‑to‑green ratio, control moisture, and you’ll get fast, odor‑free compost.
How to Compost Indoors for Beginners?
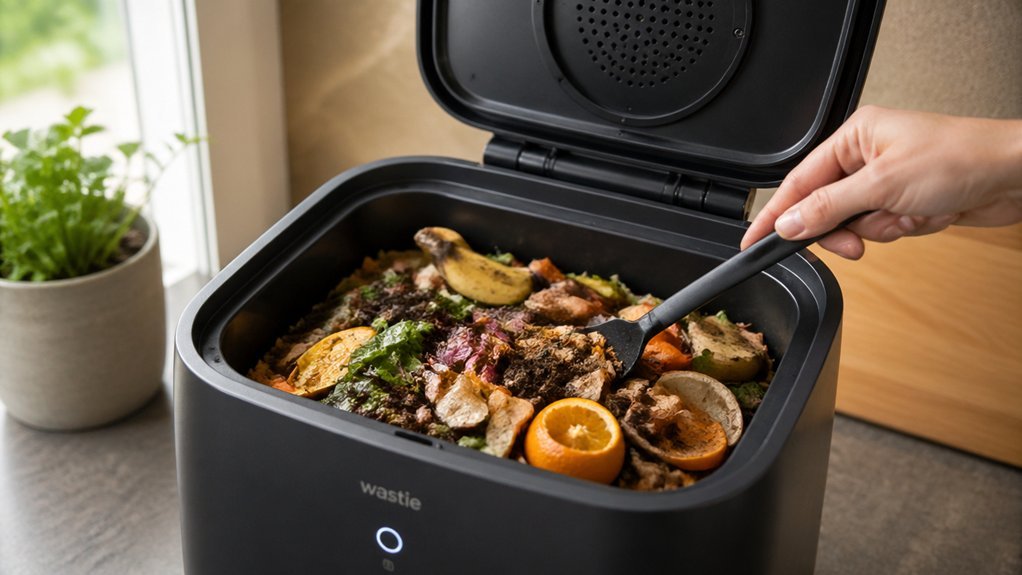
You start by picking a sealed tumbler, chopping kitchen scraps into bite‑size pieces, adding dry browns, drilling small ventilation holes, and rotating a few times after each addition to keep it moist and odor‑free.
What Three Items Should Not Be Placed in a Compost Pile?
You should keep meat, dairy, and oily foods out of your compost pile, and also avoid cat or dog waste and diseased plant material, because they cause odors, attract pests, and can harbor pathogens.
In Summary
Now you’ve got a compact, fast‑working indoor compost that turns waste into garden gold in no time. Keep the drum breathable, the base sturdy, and the lid tight, then add scraps, a splash of moisture, and give it a regular spin. With a little routine, you’ll watch food scraps disappear, soil improve, and your kitchen stay cleaner—all while cutting down on landfill waste. Enjoy the effortless, eco‑friendly cycle you’ve built.
Leave a Reply