
Start your tiny home bokashi system with two food-grade buckets equipped with tight-sealing lids and drainage holes. You'll need to layer your food scraps with bokashi bran daily, maintaining an airtight environment for ideal fermentation. Place your bins in a warm spot away from direct sunlight, like under the sink or in a corner. Drain the nutrient-rich tea every few days for houseplants. These fundamentals will set you up for composting success in your compact space.
Why Bokashi Works Best in Small Spaces

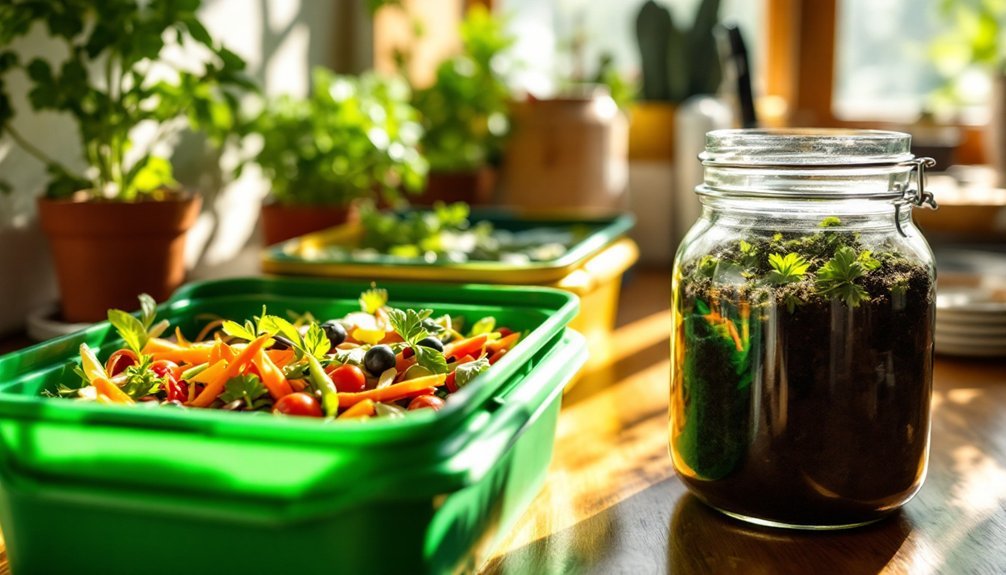
When space comes at a premium in tiny homes, Bokashi composting stands out as an ideal waste management solution.
You'll appreciate its compact design, requiring only a small bin of 2-7 gallons that fits neatly under your sink or in a corner.
Unlike traditional composting methods, you can process all types of food waste, including meat, dairy, and citrus, without attracting pests or creating unpleasant odors.
Regular collection of nutrient-rich Bokashi tea provides an excellent natural fertilizer for your indoor plants or container garden.
The sealed, anaerobic system keeps your tiny living space fresh while efficiently breaking down waste in just two weeks.
Bokashi's sealed system transforms kitchen waste into nutrient-rich compost in two weeks, keeping small spaces clean and odor-free.
You'll find Bokashi particularly practical because it's a year-round solution that works independently of weather conditions.
Its enclosed nature means you won't have to worry about pests or odors disrupting your compact living space, making it perfect for indoor use in tiny homes.
Setting Up Your First Bokashi System
Now that you understand why Bokashi works well in your tiny home, starting your own system is straightforward.
Begin by sprinkling Bokashi bran at the bottom of your bucket, creating a foundation for beneficial microbes. Each time you add food scraps, coat them with bran and press down firmly to remove air pockets.
You'll need two key habits for success: seal the lid tightly after each use and drain the liquid every few days. Store your composting bucket in a warm, dry place to maintain optimal fermentation conditions.
Keep your bucket in a stable temperature, away from direct sunlight. Break down large food pieces before adding them, and maintain even layers of waste and bran.
Remember to press down each layer to maintain the anaerobic environment that's essential for proper fermentation.
Within two weeks, you'll have nutrient-rich compost ready for soil integration.
Choosing the Right Equipment
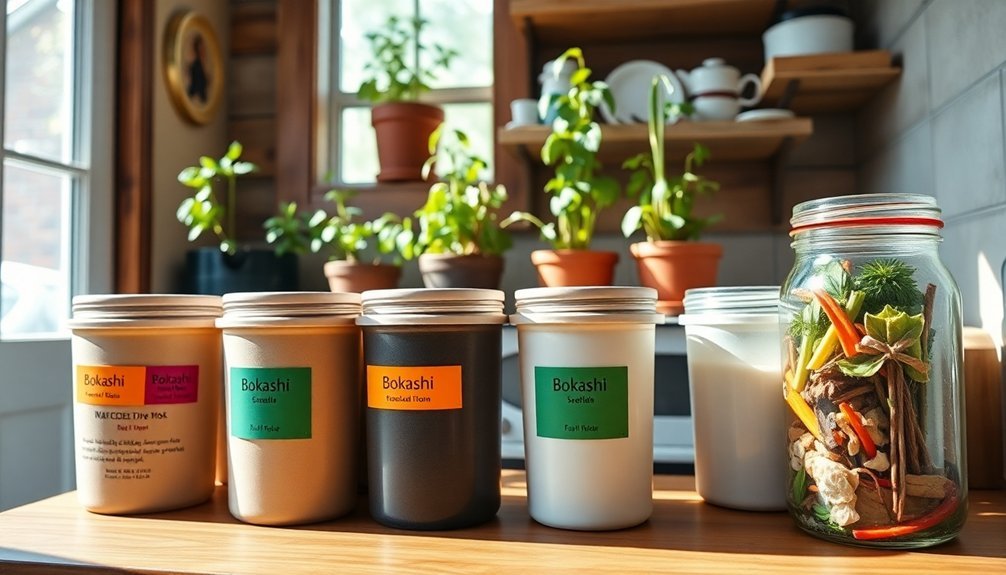
Since your tiny home's success with bokashi composting depends heavily on proper equipment, selecting the right components is essential.
You'll need at least two identical food-grade plastic buckets with airtight lids to maintain the vital anaerobic environment. Choose buckets with durable handles and strainer plates for easy handling and liquid separation. Drill several holes in the base of one bucket to create an effective drainage system setup.
Consider adding a spigot to collect bokashi tea efficiently – both plastic and metal options work well.
While pre-made kits offer convenience and extra features, you can save money by creating a DIY system using 5-gallon buckets.
Don't forget to stock up on bokashi bran, which you can buy in bulk for cost savings.
When space is tight, look for stackable bins or compact designs that'll fit your tiny home's dimensions while still processing your food waste effectively.
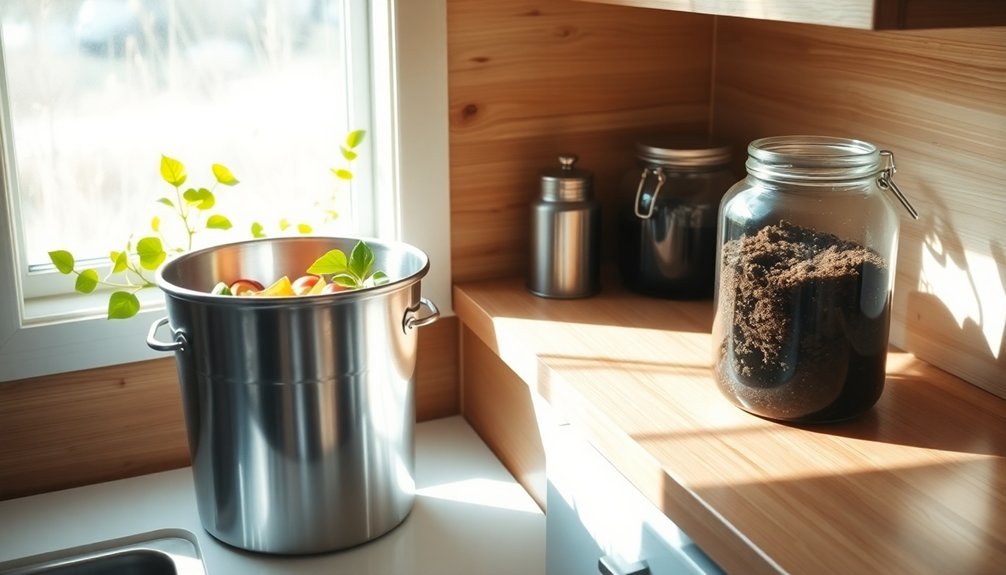
Space-Saving Bin Placement Strategies
Finding the perfect spot for your bokashi bin in a tiny home requires thoughtful planning to maximize both space and convenience.
You'll want to place your bin in a warm location that's easily accessible for daily use, such as under the kitchen sink or in a hot water cupboard.
Make the most of vertical space by utilizing corners or mounting your bin on walls. If you're tight on space, look for underutilized areas like cabinet undersides, but guarantee there's adequate airflow for fermentation.
Keep the bin away from direct sunlight and structural elements to prevent moisture damage. Consider using a bin that has a tight-sealing lid to contain any potential odors and maintain proper anaerobic conditions.
Choose a bin that matches your home's aesthetic, as many modern designs blend seamlessly with interior décor.
Remember to position it where you can easily perform maintenance tasks like adding scraps and draining leachate every few days.
Managing Food Waste Collection

Effective food waste collection in a tiny home starts with understanding the bokashi system's versatility.
You'll find that bokashi fermentation accepts all types of food scraps, including meat and dairy, making it ideal for your compact living space. The process requires an airtight bucket where you'll layer your waste with bokashi bran, creating nutrient-rich compost without unpleasant odors. The system comes with two flexible bucket lids to ensure proper sealing during the fermentation process.
Key points to remember for successful bokashi collection:
- Keep your specialized bucket sealed tight to maintain proper fermentation
- Layer food scraps with bokashi mixture daily, removing excess air
- Drain the liquid every few days to use as plant fertilizer
- Let waste ferment for 10-14 days before soil burial
- Avoid adding liquids, paper, or plastics to your bokashi bin
Proper Layering Techniques
Mastering the art of layering in your bokashi system builds upon successful waste collection practices.
Start by spreading a thin layer of bokashi bran at the bottom of your bucket, then add your food scraps in 1-2 inch layers. Cut larger pieces into smaller ones to guarantee even fermentation. Since the average UK household wastes approximately 24 meals worth of food monthly, proper bokashi layering helps maximize waste reduction.
After each layer of food waste, sprinkle enough bokashi bran to lightly cover the surface. Press down firmly to remove air pockets and maintain anaerobic conditions.
You'll want to repeat this process until your bucket is full, always keeping the lid tightly sealed between additions.
For your final layer, add a generous coating of bokashi bran, then seal the bucket for fermentation. The process will create a sour smell, indicating successful fermentation.
Once complete, you're ready to bury or further compost the mixture.
Maximizing Fermentation Results
To achieve ideal fermentation in your tiny home Bokashi system, you'll need to maintain temperatures between 68-86°F (20-30°C) and monitor moisture levels by draining excess liquid every few days.
You can check moisture content by squeezing a handful of material – it should feel like a damp sponge, not soggy or dry. The process promotes anaerobic fermentation when sealed properly.
Create balanced layers by alternating food scraps with Bokashi bran in roughly 2-inch increments, pressing down firmly after each addition to remove air pockets.
Temperature Control Methods
While bokashi composting doesn't require complex temperature monitoring like traditional methods, maintaining the right temperature range maximizes your fermentation results. The process relies on fermentation without heat rather than decomposition.
Keep your bin at room temperature, ideally between 70°F and 75°F, to guarantee the best fermentation. Place your bin indoors to protect it from temperature fluctuations and extreme weather conditions that could harm the essential microorganisms.
- Set up your bin in a temperature-stable indoor location away from direct sunlight
- Use insulation materials around your bin during colder months
- Drain bokashi tea regularly to maintain ideal conditions
- Keep the bin away from heating vents or cold drafts
- Choose a spot where temperatures stay between 60°F and 80°F consistently
In tiny homes, consider placing your bin under the sink or in a kitchen cabinet where temperatures remain stable throughout the day.
Maintaining Proper Moisture
Just as temperature plays a key role in bokashi composting, proper moisture balance determines your fermentation success. You'll want to maintain moisture levels similar to that of good soil while avoiding excess liquid that can cause unpleasant odors. Drain your bokashi liquid daily and verify your bin has proper drainage holes. Since bokashi relies on anaerobic fermentation, maintaining proper moisture in a sealed container is critical to the process.
| Moisture Condition | Signs | Action Needed |
|---|---|---|
| Too Wet | Excess liquid, odors | Add shredded paper |
| Ideal | Slightly damp feel | Continue monitoring |
| Too Dry | Slow fermentation | Add moister scraps |
Monitor your bin's moisture regularly, as environmental factors and food types can impact levels. In drier climates, you'll need to focus on moisture retention, while humid conditions may require more frequent draining. Remember, proper moisture helps maintain the healthy microbial activity essential for successful fermentation.
Layer Balance Techniques
Successful bokashi fermentation depends on three key layering principles: proper material ratios, consistent thickness, and strategic material placement.
To maximize your tiny home bokashi system's efficiency, maintain a 2/3 brown to 1/3 green material ratio, and keep each layer between 5-10 cm thick when compressed. A waterproof cover helps maintain optimal moisture levels throughout the fermentation process.
- Mix diverse materials like kitchen scraps and shredded paper for ideal nutrient balance
- Alternate green and brown layers to create a favorable environment for microbes
- Add bokashi bran or EM between layers to boost fermentation
- Compact each layer by pressing firmly to guarantee proper density
- Include thin soil layers to introduce beneficial microorganisms
Remember to walk on each layer as you build your stack, guaranteeing proper compaction.
This careful attention to layering will help you achieve rich, nutrient-dense compost even in your limited space.
Handling Leachate in Limited Space
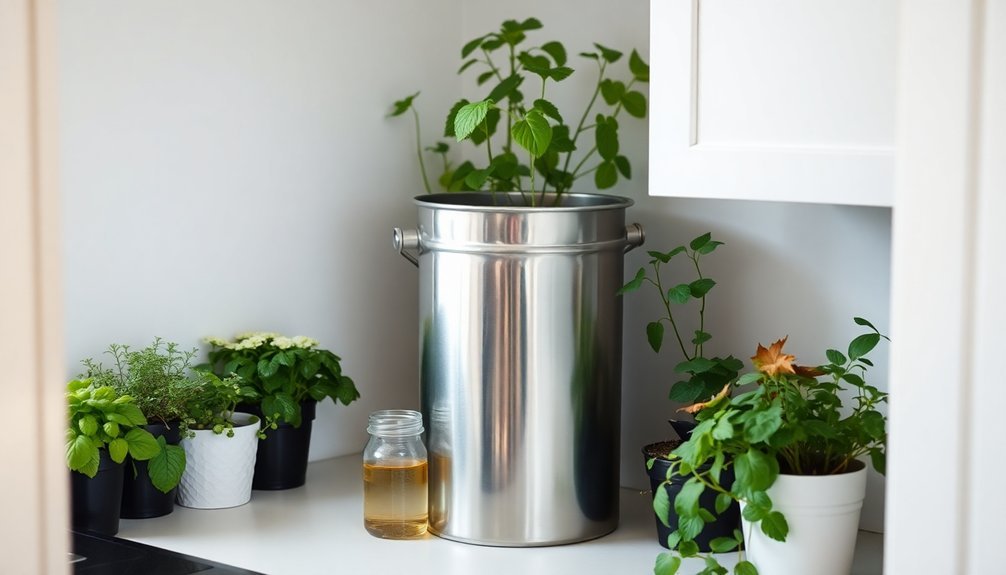
Space management becomes essential when handling Bokashi leachate in a tiny home environment. You'll need a properly equipped bin with a drain valve and a system for regular collection. Install your bin in an accessible spot away from direct sunlight, and drain the leachate every 2-3 days to prevent overflow and odors. Store food scraps in the fridge or freezer until ready to add them to prevent premature decomposition.
| Strategy | Purpose | Benefit |
|---|---|---|
| Daily Draining | Prevent overflow | Maintains cleanliness |
| Add dry material | Absorb excess moisture | Reduces leachate volume |
| Use drain plate | Prevent blockages | Guarantees smooth operation |
| Proper dilution | Safe plant application | Maximizes fertilizer use |
Keep your leachate management system simple by using diluted tea for plants (1:100 ratio) or pouring it undiluted down drains to clear blockages. Remember to maintain temperatures between 60-90 degrees for ideal fermentation.
Dealing With Finished Pre-Compost
Managing finished Bokashi pre-compost in a tiny home requires strategic planning and proper timing.
You'll need to decide whether to use containers, small compost bins, or wormeries based on your available space. If you're using containers, fill one-third with pre-compost and add soil layers, letting it sit for 14 days before use. Green and brown layers can be alternated throughout your composting system for optimal decomposition.
For compost bins, mix the pre-compost thoroughly with other materials and turn regularly to maintain aerobic conditions.
- Monitor pH levels consistently to guarantee proper decomposition
- Mix pre-compost with soil to neutralize acidity before adding to your system
- Allow 2-4 weeks for the pre-compost to break down fully
- Ascertain adequate drainage in containers to prevent waterlogging
- Check local regulations before burying or disposing of Bokashi cake
Troubleshooting Common Issues
When operating a Bokashi system in a tiny home, you'll likely encounter several common challenges that need quick attention.
Watch for white mold, which signals healthy fermentation, but act quickly if you spot blue or green mold by adding more Bokashi bran to restore balance.
Keep your system's moisture level in check by draining liquid regularly and maintaining a pH between 6 and 8.
If you notice putrid odors, verify you're using enough Bokashi bran and sealing the container properly.
Check the tap frequently for blockages, and don't over-tighten it when closing. Use clean plumbing tape to fix any persistent leaks around the tap area.
Monitor the fermentation process closely – it should take 2-4 weeks.
If it's taking longer, you might need to adjust your food waste mix or add more bran to optimize the microbial environment.
Expanding Your Bokashi Practice
As your confidence with basic bokashi composting grows, you'll discover numerous ways to expand its benefits throughout your tiny home lifestyle.
You can integrate your system with chickens, create a closed-loop ecosystem, and maximize space efficiency year-round. The versatility of bokashi lets you process all types of food waste while maintaining a pest-free, odor-controlled environment in your compact space. Your compost will be enriched with beneficial microorganisms through the anaerobic fermentation process.
- Set up a DIY dual-bucket system with proper drainage to collect valuable liquid fertilizer
- Add bokashi bran to chicken feed for improved digestive health
- Combine fermented waste with your permaculture practices for enhanced soil fertility
- Monitor temperature and moisture levels to optimize fermentation efficiency
- Connect with local bokashi communities to share experiences and learn new techniques
Frequently Asked Questions
Can Bokashi Fermentation Attract Pests or Insects in a Tiny Home?
You won't typically attract pests with bokashi fermentation when you're using an airtight bin properly. The fermentation process creates an acidic environment that deters insects, and there's minimal odor to draw them in.
How Long Does Bokashi Bran Stay Effective in Storage?
Your bokashi bran will stay effective for up to 18 months when you store it properly in an airtight container at room temperature. If you maintain ideal conditions, it can last up to 2 years.
What Happens if I Forget to Add Bokashi Bran Between Layers?
If you forget to add bokashi bran between layers, you'll risk incomplete fermentation, slower decomposition, and potential odor issues. It's best to add the missed layer as soon as you remember to maintain proper fermentation.
Can I Use Bokashi Pre-Compost Directly in Potted Plants?
No, you can't use bokashi pre-compost directly in potted plants. You'll need to mix it with soil (1:2 ratio) and let it neutralize for at least two weeks before using it for planting.
Does the Fermentation Process Work Differently in Extreme Temperatures?
Yes, extreme temperatures greatly affect your Bokashi fermentation. You'll notice slower processing in cold weather and faster breakdown in heat. It's best to keep your bin at room temperature (60-80°F) for ideal results.
In Summary
You'll find bokashi composting fits perfectly into your tiny home lifestyle once you've mastered these essential techniques. Keep your system well-maintained, stay consistent with your food waste collection, and manage the leachate regularly. Don't let space constraints stop you – with proper planning and these tips, you can successfully convert kitchen scraps into valuable pre-compost while maintaining a clean, odor-free tiny living environment.


Leave a Reply