
You can transform your balcony into a composting powerhouse by selecting a compact tumbler with drainage and ventilation. Layer greens and browns in a 1:3 ratio, maintain wrung-sponge moisture levels, and turn weekly to accelerate decomposition. Prevent odors by balancing materials and capping with browns. In just months, you’ll harvest dark, crumbly finished compost to nourish your container plants. The specifics of mastering each step await you below.
Start Batch Composting on Your Balcony
How does batch composting differ from traditional composting? You fill one container with a finite mix of greens and browns, then let it finish before starting another. This approach works perfectly for balconies because you can remove finished compost all at once, freeing your container for the next round.
Batch systems offer predictability that continuous piles don’t. You’re working with a contained, periodic-turn setup rather than an ever-expanding pile. This makes volume management straightforward, especially for low-waste households.
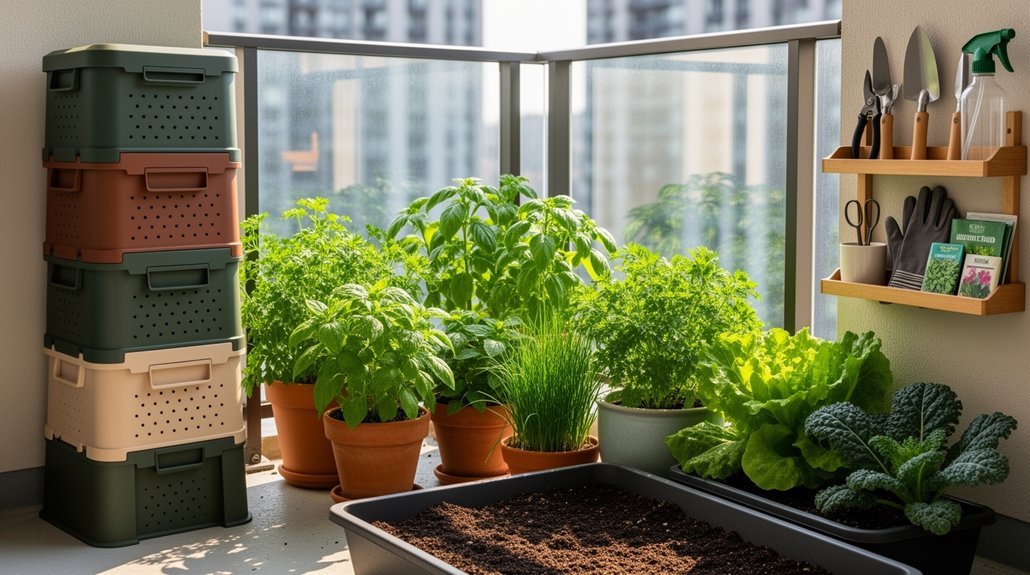
Start by choosing your container—something compact that fits your space. Then gather your materials: nitrogen-rich kitchen scraps as greens and carbon-heavy items like cardboard and dry leaves as browns. Keep extra browns nearby so you can immediately cover wet scraps, preventing odor before decomposition even begins. To manage odors effectively on a shared balcony, consider using carbon filter solutions designed for compost containers. Aerobic bacteria in your pile will work faster when you maintain proper airflow through weekly mixing and turning.
Pick a Compact Container With Drainage and Ventilation
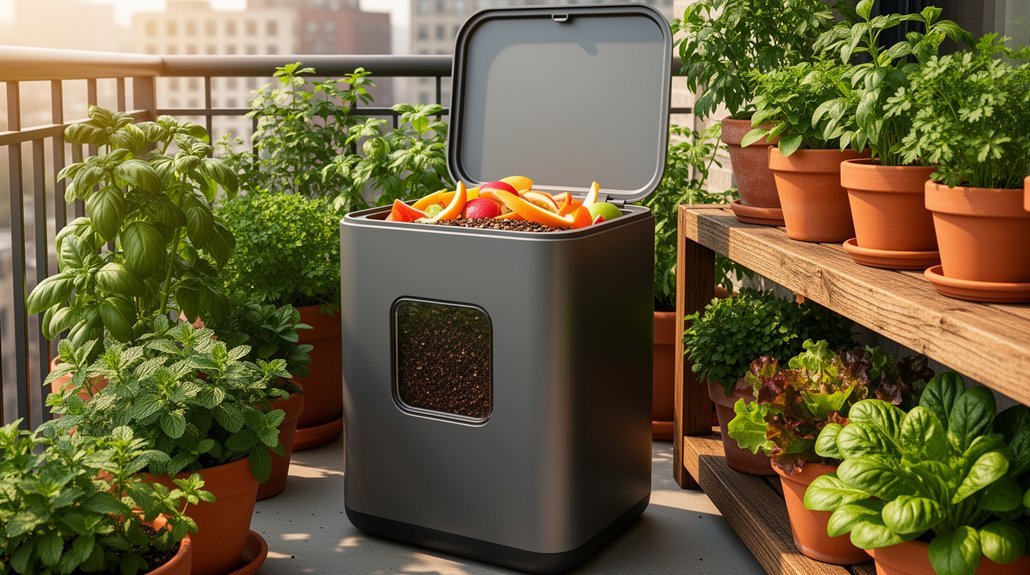
What makes a container suitable for balcony batch composting? You’ll want a compact tumbler that combines three essential features: a footprint that fits your space, proper drainage, and adequate ventilation.
| Feature | Function | Benefit |
|---|---|---|
| Drainage holes | Release excess moisture | Prevents odor and anaerobic conditions |
| Side and lid vents | Supply oxygen to microorganisms | Speeds decomposition to 4–6 weeks |
| Built-in mixing fins | Prevent material sticking | Ensures even composting |
Look for models with removable twin-latch doors and wide hatch openings that simplify loading and unloading in tight quarters. Vented end caps control moisture while maintaining airflow. Crank-and-gear mechanisms make rotation effortless. A steel frame elevates the composter 12 inches off the ground for improved drainage and accessibility. A 12 cubic foot capacity handles up to three 30-gallon trash bags, giving you substantial capacity without consuming your balcony. For faster results, consider using a compost starter to introduce beneficial microorganisms that accelerate the decomposition process.
Layer Greens and Browns to Balance Smell and Moisture
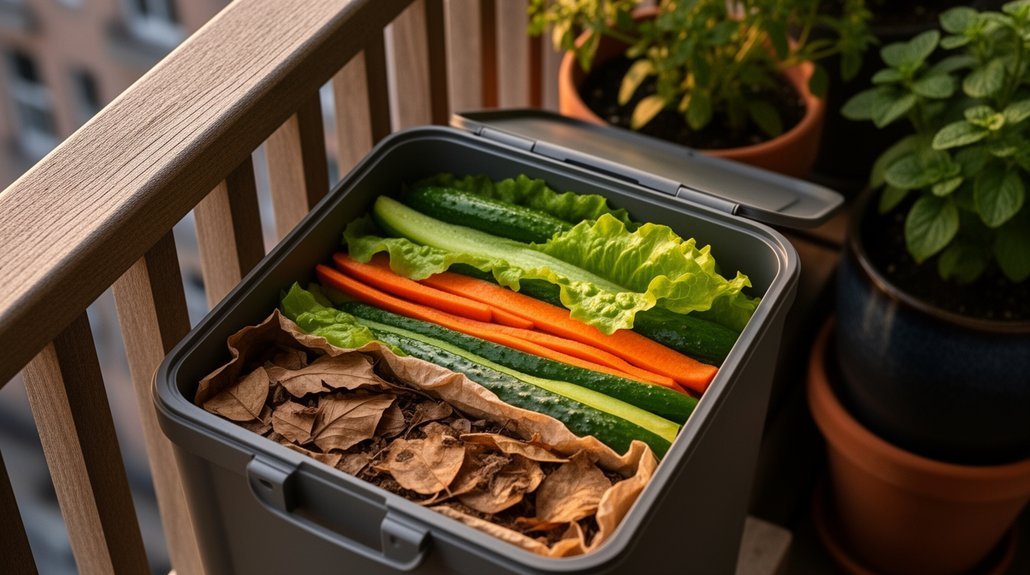
Why does your balcony compost smell rotten or turn into slime? You’re likely adding too many greens without enough browns to absorb moisture and balance nitrogen. The fix is simple: layer materials using a 3:1 or 4:1 ratio of browns to greens by volume.
Balcony compost smells rotten? You need more browns than greens. Use a 3:1 or 4:1 ratio to absorb moisture and eliminate odors.
Here’s what you’ll notice when you get it right:
- One bucket of kitchen scraps covered with three buckets of dry leaves prevents soggy, anaerobic conditions
- Layered cardboard and shredded paper between food scraps absorb excess moisture and eliminate putrid odors
- Alternating greens and browns creates consistent breakdown without stalling or overheating
Browns like dried leaves and cardboard absorb moisture from fruit scraps while supplying carbon. Greens like food waste provide nitrogen that fuels microbial activity. Balance them, and you’ll eliminate smell while speeding decomposition in tight spaces. Consider using compost caddies to collect and organize your kitchen scraps before adding them to your balcony pile. When your pile isn’t heating properly, regular turning can optimize microbial activity and accelerate the natural decomposition process.
Get Moisture and Airflow Right From Day One
Your balcony compost won’t thrive without the right moisture and airflow balance from the start. Aim for that wrung-out-sponge consistency—damp but not dripping. Use the squeeze test: if your hand stays dry, you’re too dry; if water drips, you’re too wet.
Oxygen is essential for fast decomposition. Choose containers with ventilation holes, drilled sides, or fabric construction to keep air circulating. Don’t overfill your bin; leave headspace to preserve airflow. Dense packing traps moisture and encourages foul-smelling anaerobic conditions. Consider using a timer-controlled aeration system or simple hand-turning schedule to maintain consistent oxygen levels throughout your compost pile. For small spaces, continuous-flow bag designs with detachable moisture controls offer excellent airflow without requiring manual turning.
Watch for warning signs early. Dry, crumbly compost needs a light spray. Soggy, compacted material requires added airflow and absorbent dry material. Small adjustments now prevent major problems later.
Turn Your Batch Weekly to Speed Up Breakdown
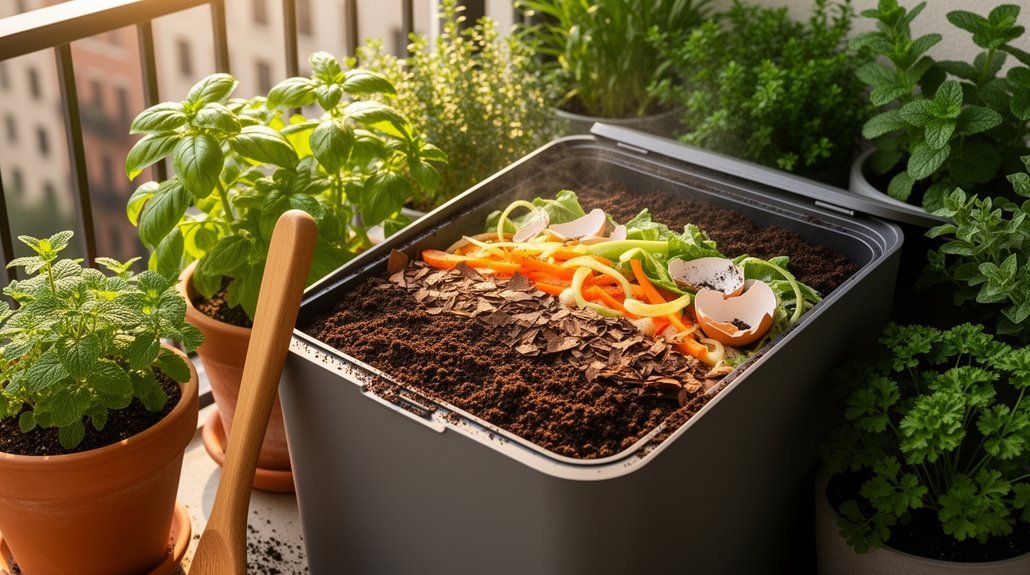
Once you’ve dialed in moisture and airflow, the next step is to actively manage your batch through weekly turning. This practice accelerates decomposition by redistributing materials from the cooler edges into the hot center, where microbial activity thrives most intensely.
Weekly turning delivers three key benefits:
- Oxygen boost — Fresh air penetrates the pile, fueling aerobic microbes and faster breakdown
- Heat maintenance — Regular mixing helps your batch reach and sustain thermophilic temperatures above 130°F
- Quality checks — Each turning session lets you assess moisture levels, catch odor issues, and spot imbalances early
The tradeoff is clear: you’ll invest hands-on effort for significantly faster results. In small-batch systems, this weekly rhythm transforms passive composting into an active process that delivers finished material in weeks rather than months. For balcony systems with limited space, consider using ergonomic aerator tools to reduce physical strain during turning sessions. Turning also helps kill some pathogens and weed seeds through the elevated heat generated during the mixing process, which is particularly valuable when composting materials from multiple sources.
Prevent Odor and Pests With Proper Maintenance
How do you keep a balcony compost bin from becoming a neighborhood nuisance? You’ll maintain a proper moisture balance—aim for a damp, wrung-out sponge texture, not soggy compost that breeds odor-causing bacteria. Add more browns like shredded paper or dry leaves if material looks slimy.
Balance greens and browns at roughly 50/50 by volume. After adding food scraps, layer browns on top to reduce exposed odors and discourage flies. Ensure strong aeration by using ventilated or tumbler designs; oxygen supports aerobic microbes that break down waste without foul smells.
Keep your bin covered with a secure lid to block odors and prevent pest access. Wash collection pails regularly to remove odor-causing residue. Freeze food scraps before adding them to slow decomposition and reduce smells. For enhanced odor control, consider using bokashi bran starter to accelerate fermentation and actively reduce unpleasant smells. Monitor for foul odors as an early warning sign. Avoid adding meat, dairy, and oily foods to your bin, as these materials attract pests and create persistent unpleasant smells that can disturb neighbors.
Use Your Finished Compost on Balcony Plants
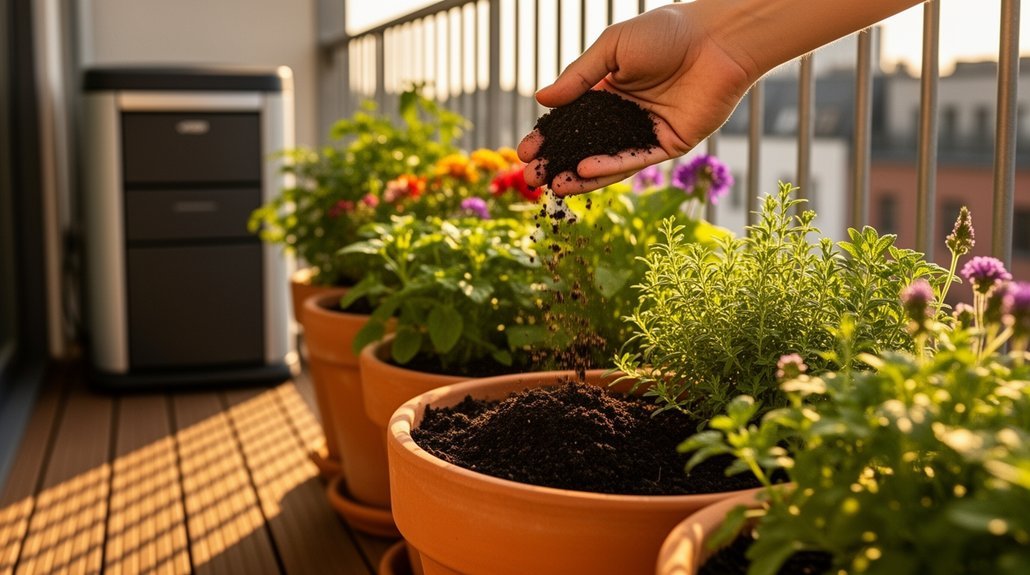
You’ll want to enrich your balcony potting soil by mixing finished compost at a ratio of about 1 part compost to 3 parts potting soil, which improves both drainage and nutrient content for your container plants.
For seasonal applications, you can refresh tired pots annually by working compost into the upper soil layer or applying it as a top dressing to support steady nutrient release throughout the growing season. This slow-release fertilizer approach delivers nitrogen, phosphorus, and potassium to your plants over time, reducing the need for commercial chemical inputs. When collecting finished compost for your balcony garden, consider using a stainless steel compost pail to store and transport your finished material without rust or degradation.
When you repot plants, aim for roughly 30% compost by volume combined with lighter amendments like perlite to create an ideal long-term growing medium.
Potting Soil Enrichment Mix
What’s the secret to maximizing your homemade compost’s impact on balcony plants? You’ll want to blend it strategically rather than using it alone.
Create a balanced potting mix by combining:
- 30% finished compost with 70% regular soil mixture for ideal moisture retention and drainage
- Coarse materials like perlite or sand alongside your compost to prevent compaction in small containers
- Screened, mature compost free of clumps to ensure consistent texture throughout your mix
Never exceed one-third compost in your total volume—overloading risks poor drainage and phosphorus-induced root burn. Ensure your containers feature drainage holes at least 1/2 inch in diameter to prevent waterlogging when using compost-enriched potting mixes. You can also refresh existing container soil by mixing compost into the top layer seasonally. This approach revitalizes your plants without complete repotting while maximizing your small-space composting efforts. Monitor your plants after application to catch any signs of nutrient excess, such as browning leaves, which may indicate over-application of compost.
Container Plant Nutrient Boost
Transform your finished compost into a powerful nutrient delivery system for your balcony plants. Top-dress containers with a thin compost layer to feed plants gradually over weeks or months without full repotting. Position compost away from stems and crowns to prevent rot and moisture damage.
You can also use compost as mulch around plants to suppress surface evaporation and moderate soil temperature swings in exposed containers. For new plantings, place finished compost directly in planting holes to reduce nutrient stress during establishment. Shredding coarse materials like twigs and eggshells before composting ensures your final product is fine enough for seamless application to container plants.
Before application, ensure your compost is dark, crumbly, and earthy-smelling. Screen out larger pieces, and air-dry moist material briefly to prevent clumping. Consider replacing charcoal filters every 3-6 months if you’re using an indoor compost bin to maintain optimal decomposition conditions. These simple techniques refresh depleted container media and boost biological activity in your balcony garden.
Seasonal Application Best Practices
When should you apply your finished compost for maximum benefit? Timing matters for your balcony garden’s success.
Spring application kicks off the growing season perfectly. Spread 1–2 inches of finished compost on your beds when active growth resumes, giving plants slow-release nutrients they’re hungry for. For containers, top-dress lightly and work compost into the upper soil layer without disturbing roots.
Fall application builds soil structure before winter. Add compost to prepare potting media for overwintering perennials and spring planting. Finished compost also improves moisture retention and boosts the microbial populations that support healthy container gardens through seasonal transitions.
- Use sifted, finished compost for even coverage across balcony pots
- Mix compost at roughly 30% of container volume with perlite or vermiculite
- Refresh containers seasonally with partial soil replacement rather than complete turnover
This approach keeps your small-space garden nourished year-round without overwhelming your setup. For best results, ensure your compost is fully finished and free of odors before applying to your balcony plants.
Frequently Asked Questions
How Long Does a Batch Cycle Typically Take in Warm Conditions?
You can typically finish a batch cycle in warm conditions within 1 to 2 months with active management. Less intensive approaches stretch it to 3 to 4 months, while complete decomposition may take longer.
Can I Use Meat, Dairy, or Oils in My Balcony Compost System?
You should avoid meat, dairy, and oils in your balcony bin. They’ll attract pests, create odors, and decompose slowly. Stick with plant scraps, leaves, and cardboard instead. If you’re considering it, use a sealed bokashi system first.
What Temperature Range Is Optimal for Faster Composting Breakdown?
You’ll achieve fastest breakdown when you maintain temperatures between 135°F and 160°F. You’re targeting the sweet spot where thermophilic microbes thrive most actively while keeping oxygen flow adequate for your balcony system.
Is Vermicomposting or Bokashi Better for Small Balcony Spaces?
For tight balcony spaces, you’ll find bokashi more practical because it’s compact, sealed, and needs minimal airflow. However, if you’ve got room and want finished compost directly, vermicomposting works well too.
How Much Finished Compost Can I Expect From One Small Batch?
You’ll get enough finished compost from one small batch for containers, seed-starting mixes, or periodic top-dressing—not large garden beds. Expect significant volume reduction as materials decompose and lose moisture throughout processing.
In Summary
You’ve got everything you need to transform your balcony into a composting powerhouse. By choosing the right container, balancing your materials, and maintaining proper moisture and airflow, you’ll create nutrient-rich compost in weeks. Your weekly turning keeps the process moving fast, while smart maintenance prevents odors and pests. Soon you’ll be recycling your kitchen scraps into black gold for your potted plants—it’s that simple.


Leave a Reply