

You’ll stop pests from invading your compost by burying food scraps at least 6–12 inches deep and covering them immediately with soil. Balance your pile with at least 2–3 parts browns to 1 part greens, keep it moist like a wrung-out sponge, and use an enclosed bin with a tight-fitting lid. Empty indoor containers weekly before fly larvae develop, and wash your bin regularly. For stubborn pest problems, consider bokashi fermentation. Discover additional strategies that’ll transform your composting routine.
Our Recommended Product on Amazon

As an Amazon Associate we earn from qualifying purchases.
Why Food Scraps Attract Pests to Your Compost
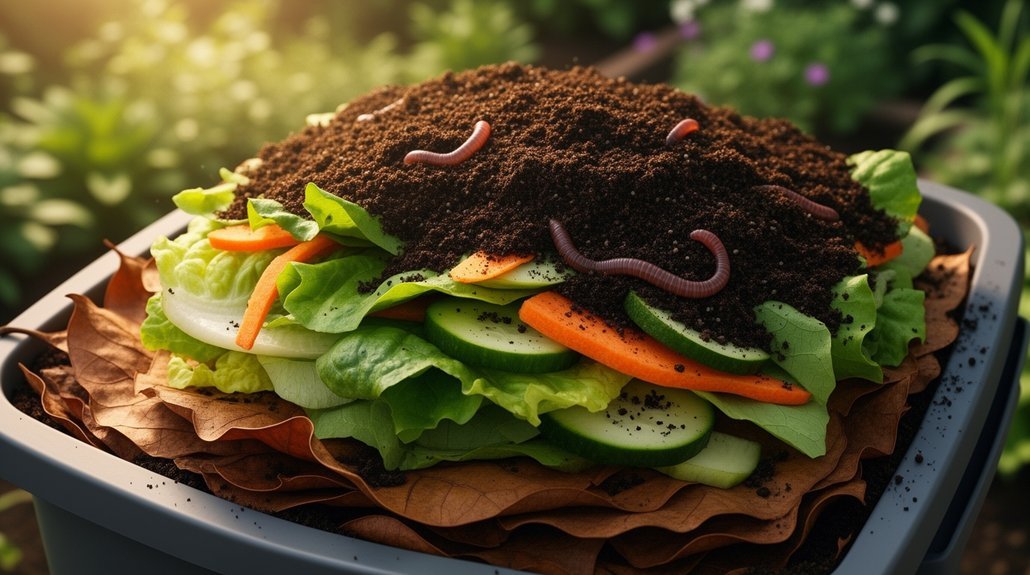
Why do pests seem magnetically drawn to compost piles? Food scraps emit strong odors that act as pest signals, advertising an easy meal to insects and rodents. Meat, dairy, and greasy scraps produce especially pungent smells as they decompose, with rotting odors traveling beyond your compost area to attract nearby scavengers.
Your scraps become even more problematic when they’re warm, wet, or poorly mixed with dry materials. Uneven decomposition leaves partially rotted food exposed, which pests find irresistible. Cooked foods break down in ways that create stronger odors and messier textures than raw plant scraps. Even fruit and vegetables can smell enough to draw scavengers when left unmanaged. Avoiding cooked fruits or vegetables in your compost pile significantly reduces pest-attracting odors. Using aerator tools to thoroughly mix your compost promotes even decomposition and reduces the exposed food waste that attracts pests.
The bottom line: exposed food waste provides both an obvious food source and pest-attracting odors you can’t ignore.
Bury Fresh Scraps Deep and Cover Them Immediately
Now that you understand why pests flock to your compost, you can stop them before they arrive. The key’s burying your scraps deep and covering them immediately.
Stop pests before they arrive by burying scraps deep and covering them immediately.
You’ll want to bury fresh scraps at least 6 inches deep, though 8 to 12 inches works even better for kitchen waste. Rodent control experts recommend 12 to 18 inches of soil cover as the strongest barrier against diggers like raccoons and deer.
Here’s what makes this strategy effective:
- Cover scraps with soil the moment you add them to prevent flies from spotting exposed food
- Soil blocks odor release into the air, keeping scavengers away
- Deep burial keeps food smells from reaching raccoons, deer, and other pests
- Microbes colonize buried scraps immediately, accelerating decomposition and nutrient availability to plant roots
- Adding bokashi bran to buried scraps further minimizes odors and speeds decomposition
Chop larger pieces before burying so they decompose faster and stay buried longer.
Balance Browns and Greens to Control Odor
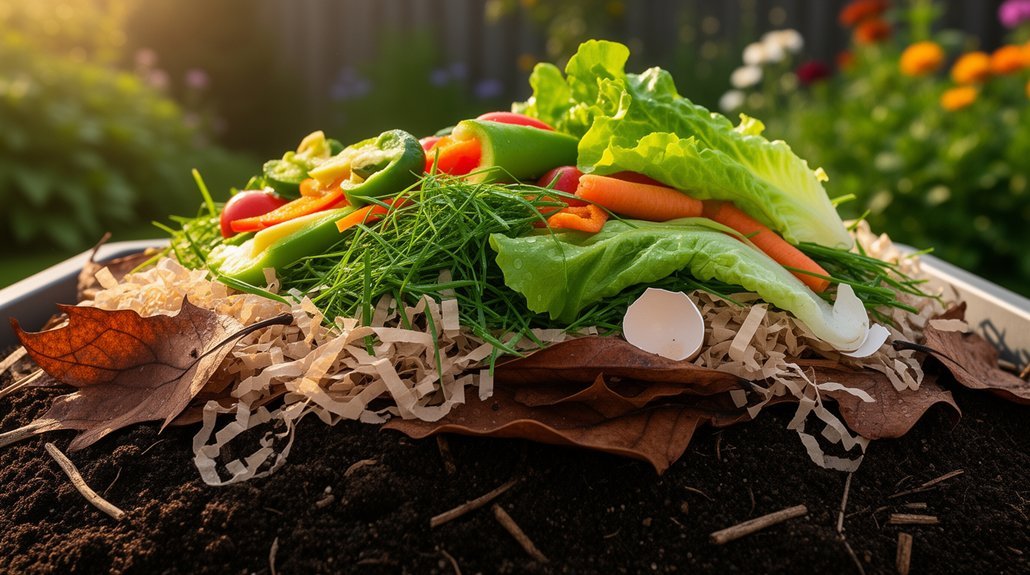
The right balance of browns and greens is your most powerful tool for controlling odor and keeping pests away. Greens supply nitrogen and moisture, while browns provide carbon and structure. You’ll want at least 2–3 parts browns to 1 part greens by volume.
| Problem | Cause |
|---|---|
| Rotten-egg smell | Excess greens, oxygen starvation |
| Ammonia odor | Too much nitrogen |
| Wet, slimy pile | Imbalanced ratio favoring greens |
| Pest attraction | Strong odors from decay |
When you add too many greens, anaerobic conditions develop, creating putrid smells that attract flies and rodents. Layer dry leaves, straw, or shredded paper after each green addition. Turn your pile regularly to improve airflow. Cover food scraps with several inches of brown material immediately. This simple discipline eliminates odors and pests naturally. For apartment dwellers with limited outdoor space, window sill herb gardens can provide fresh greens for composting while keeping your indoor environment productive. Keeping browns dry and building tarp-covered storage near your compost bin ensures you always have carbon-rich materials available to maintain proper balance.
Keep Your Pile Moist Like a Sponge, Not Soggy
Balancing your browns and greens prevents odors, but you’ll also need to manage moisture carefully—the two work hand in hand. Composting microbes require moisture to break down organic material effectively. Without it, decomposition stalls; with too much, you’ll create anaerobic conditions that produce foul smells and attract pests.
Aim for a wrung-out-sponge consistency:
- Check regularly using the hand-squeeze test—your compost should feel damp without dripping water
- Water during hot spells when piles dry out faster from sun and wind exposure
- Turn while watering to distribute moisture evenly throughout layers, preventing dry spots and soggy pockets
A covered pile helps retain moisture while reducing evaporation. This balanced approach keeps your compost active, odor-free, and far less appealing to flies and other unwanted visitors. Brown materials create air pockets that improve airflow and support the aerobic conditions needed to prevent pest-attracting odors. For kitchen scraps and smaller composting setups, consider using compostable trash bags to contain materials and reduce pest entry points before adding them to your main pile.
Choose an Enclosed Bin With a Tight-Fitting Lid
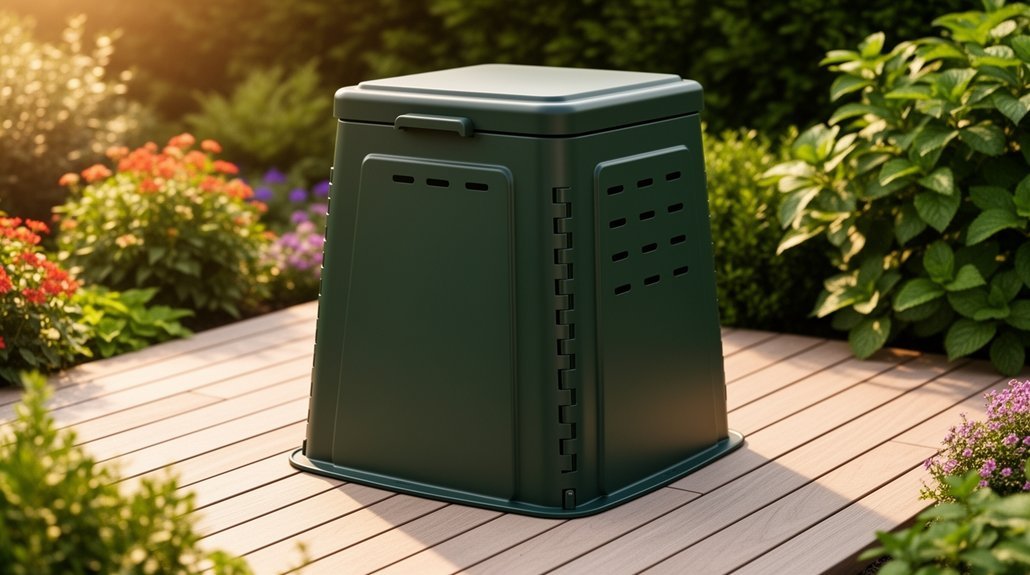
Most pests find their way to your compost through odors escaping from food waste, so an enclosed bin with a tight-fitting lid is one of your best defenses. Airtight or leak-proof lids contain food odors that attract flies, ants, raccoons, and rodents far more effectively than flip-up designs.
Choose smooth-sided containers made from stainless steel or sturdy plastic—they’re durable, easy to wipe down, and won’t trap residue that invites pests. Removable lids improve cleaning access, letting you rinse out stubborn material before odors build up. Installing eye hooks and string to your lid mechanism can help ensure it closes completely and stays sealed between uses.
Select a compact 1- to 2-gallon bin for daily kitchen collection. Place it in an accessible spot so you deposit scraps immediately rather than leaving them exposed. Bokashi and worm-based systems are particularly effective at odor control, making them excellent choices for apartment dwellers concerned about pest attraction. Empty your bin frequently into an outdoor compost system to prevent odor accumulation.
Screen Vents and Gaps Without Blocking Airflow
You’ll want to add fine mesh screening over your bin’s vents and gaps to block small insects like fruit flies and fungus gnats while maintaining the airflow your compost needs.
The key is balancing pest protection with ventilation—small, evenly spaced gaps work better than large holes that invite rodents and insects, and you can strategically place screening on side vents, false-bottom openings, and lid areas to keep material contained without suffocating your pile.
When you combine screened barriers with a thoughtful bin structure, you’re essentially creating multiple layers of defense that let oxygen flow through while keeping unwanted visitors out. Using breathable fabric over vent openings—similar to the methods employed in specialized bucket designs—allows air circulation while preventing pest infiltration and moisture retention issues that could compromise your composting environment. Models with tight-fitting lids and secure spigots provide superior pest protection by preventing leaks and odor escape that attract insects.
Fine Mesh and Barrier Materials
Three critical vulnerabilities exist in most compost bins: vents that admit insects, gaps where rodents squeeze through, and seams where pests exploit weak points.
You’ll want to seal these entry points strategically without suffocating your compost. Here’s what works:
- 1/4-inch galvanized or stainless steel mesh covers vents and openings while maintaining airflow for passive aeration
- Hardware cloth reinforces structural seams and corners, holding its shape better than soft netting under outdoor conditions
- Fine insect mesh screens lid openings and access doors where repeated use creates wear points
Secure all mesh tightly with wire clips or twist ties—loose edges invite pest entry. Choose galvanized steel for rust resistance or stainless for superior durability. The key is covering every penetration; small gaps still admit flies and mice. Elevating your bin on bricks or blocks deters burrowing pests from tunneling underneath the base. Layer mesh barriers throughout your bin design rather than relying on single protection points. For bokashi systems specifically, tight-fitting lids and secure locks maintain anaerobic conditions while preventing pest access through structural gaps.
Balancing Protection With Ventilation
Sealing your bin’s entry points with mesh and hardware cloth stops pests, but you can’t let that protection choke off the oxygen your compost pile needs. Small ventilation openings preserve circulation while limiting insect access. You’ll want to pair screened vents with regular maintenance—turn your compost frequently to prevent matting that blocks airflow through those gaps. Add bulky materials like sticks or stalks to create internal air pockets. Keep moisture balanced so your pile stays damp like a wrung-out sponge, not soggy and compacted. Check vents regularly for debris buildup that might bridge over screens. Aerobic conditions ensure that the beneficial bacteria in your pile can metabolize efficiently and break down materials faster than anaerobic environments would allow. When you combine effective barriers with proper turning and moisture management, you’ll maintain the airflow your composting bacteria need while keeping flies and pests out. Consider using airtight lids with charcoal filters on your countertop compost bin to reduce odors that attract pests while still allowing proper decomposition through regular emptying and turning.
Strategic Placement of Screening
Where should you position screening to hide your compost bin without suffocating it? The key is placing barriers around your bin’s perimeter, not blocking its ventilation pathways.
Strategic screening placement involves:
- Positioning evergreen hedges or shrubs outside your working zone to conceal the bin from street and neighbor views while preserving access for turning and harvesting
- Leaving side vents unobstructed so cool air enters and heat vents off, maintaining the aerobic conditions your compost needs
- Creating maintenance buffer space around the bin to accommodate wheelbarrow access and pile disturbance without screening interference
You’ll want to check screening coverage on all sides equally. Remember, your goal isn’t to seal your compost away—it’s to hide it while keeping airflow and accessibility intact for consistent, odor-free decomposition. Red wigglers and other composting worms can significantly accelerate decomposition when your bin maintains proper aeration and moisture levels. Before installing screening materials, verify that opaque fencing or evergreen materials provide year-round visual obstruction while still allowing adequate ventilation for the decomposition process.
Turn Your Compost Weekly to Bury Exposed Food
When you turn your compost pile weekly, you’re accomplishing three pest-control goals at once: you’re burying exposed food scraps beneath the surface, increasing oxygen flow throughout the material, and creating conditions that speed decomposition. By mixing fresh scraps into the pile’s center and covering them with brown materials like leaves or cardboard, you eliminate the visible food sources that attract flies, rodents, and other pests. This regular aeration also supports aerobic decomposition, which produces fewer odors and is far less inviting to insects than the foul smell of rotting, oxygen-starved waste. For apartment dwellers managing compost in tight spaces, consider using a compact leaf shredder to break down brown materials more efficiently, which accelerates the decomposition process and creates less volume. Maintaining a 40% greens to 60% browns ratio throughout your layered pile ensures the compost breaks down efficiently while deterring unwanted visitors.
Why Weekly Turning Matters
Because exposed food attracts pests faster than buried scraps, you’ll want to turn your compost pile weekly. This simple routine delivers multiple benefits:
- Buries fresh scraps – Turning redistributes kitchen waste into the pile’s interior, removing it from pest reach and reducing fly and rodent attraction.
- Speeds decomposition – Regular turning introduces oxygen that aerobic bacteria need, breaking down food faster and reducing the time waste remains recognizable and odorous.
- Maintains pile activity – Weekly turning keeps your compost hot and active without over-turning, which can reduce nutrient retention and slow woody material breakdown.
This balanced schedule prevents matting, improves airflow, and eliminates anaerobic conditions that create smells attractive to unwanted insects. You’ll manage pest risk effectively while producing quality finished compost. However, frequent turning can lead to nitrogen and carbon loss, so weekly turning represents an optimal middle ground between pest prevention and nutrient preservation.
Burying Scraps Below Surface
How quickly can exposed food scraps attract pests to your compost pile? Within hours, flies and rodents can discover uncovered kitchen waste. That’s why burying scraps below the surface is essential.
When you turn your pile weekly, you’re accomplishing two critical goals. First, you’re moving any exposed scraps back into the hot center where decomposition accelerates. Second, you’re disrupting potential nesting sites that rodents create in undisturbed compost.
The mechanics are straightforward: turning redistributes brown material over fresh greens, which reduces surface odors that attract pests. A well-maintained pile heats internally, breaking down buried material faster than anything sitting on top. This faster decomposition shortens the window when scraps remain accessible to pests. Chopping materials into small 1 to 2 inch pieces helps the pile heat up evenly, leading to faster breakdown and fewer odors that draw unwanted visitors.
Make weekly turning part of your routine. Your consistency directly determines whether your compost stays pest-free.
Aeration Reduces Pest Activity
Turning your pile weekly does more than bury exposed scraps—it also introduces oxygen that transforms your compost into an aerobic system. This shift is crucial for pest management because aerobic decomposition produces far fewer odors than stagnant, anaerobic conditions that attract flies and rodents.
Regular aeration delivers three major benefits:
- Faster breakdown of food materials, shortening the time scraps remain exposed and appetizing to pests
- Reduced odor from aerobic processing, making your pile less appealing to scavengers seeking decomposing food smells
- Hotter decomposition that limits the window for insects to reproduce and establish colonies
Balanced weekly turning maintains airflow without cooling your pile too much. However, under-turning allows compacted zones and soggy patches where pests thrive, while over-turning can slow decomposition and extend the time food stays attractive. Turning every 7-10 days during active decomposition supports beneficial microorganisms that outcompete pest larvae for resources in the pile.
Empty Indoor Containers Before Larvae Develop
When should you empty your indoor compost container? You should empty it frequently—ideally weekly or even more often during warm months—before flies complete their life cycle. Fly eggs can hatch into larvae in just four days under warm, moist conditions, so leaving scraps sitting for multiple days invites infestation. By emptying your container regularly, you break the pest cycle before maggots establish themselves.
After emptying, rinse and wash the bin with soap and water to remove residue that attracts flies back. Scrape away any visible maggots or pupae stuck to the sides. A clean interior reduces the smell and moisture that support pest activity. For bins with ventilation openings, cover them with charcoal filters to prevent pest entry while allowing airflow. Pair frequent emptying with a consistent disposal schedule—gather scraps in a small container and transfer them outside daily or every few days. This habit prevents your indoor bin from becoming a breeding ground.
Freeze Food Waste Before Adding to Kill Eggs
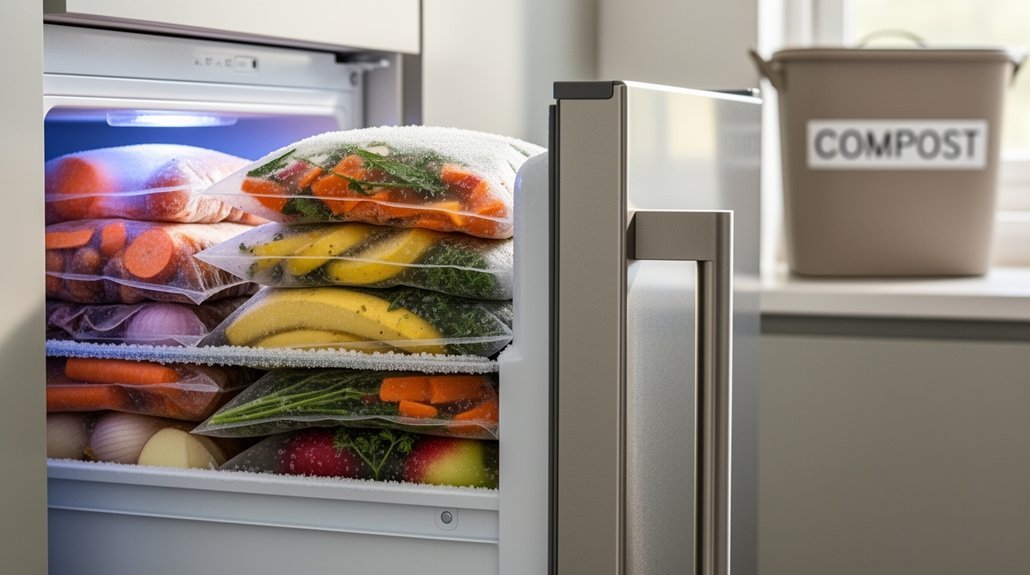
While emptying your indoor container frequently prevents flies from completing their life cycle, you can add another layer of protection by freezing food waste before it ever reaches your compost bin.
Freezing kills fruit fly eggs and larvae already lurking on fruit peels and soft produce. When you thaw frozen scraps, the damaged cell walls break down faster, reducing the time pests find your compost attractive. Plus, frozen waste produces less odor, making your collection containers less inviting to insects. This approach also helps you manage large quantities of waste by collecting scraps until you’re ready to feed them to your compost system.
To maximize this strategy:
- Freeze scraps immediately after collection, especially fruit peels
- Use sealed containers or freezer bags to prevent leakage
- Thaw scraps before composting to accelerate decomposition
Wash Your Bin After Emptying to Remove Residue
Why should you wash your compost bin after each emptying? Food residue left inside attracts flies, ants, and other pests while encouraging bacterial growth. Wirecutter recommends cleaning weekly to reduce odors and pest activity.
Start by rinsing the bin with water to loosen debris. Then scrub the interior and exterior with warm soapy water, paying special attention to corners, seams, lids, and handles where residue collects. You can use mild dish soap, white vinegar mixed with water, or baking soda for deodorizing.
After scrubbing, rinse thoroughly to remove all cleaner residue. Drying matters a lot—moisture promotes mold and bacteria growth, restarting odor problems. Air dry all surfaces, including the lid, handle, and underside. A fully dry bin stays cleaner and resists pest activity longer.
Try Bokashi If Traditional Composting Attracts Too Many Pests
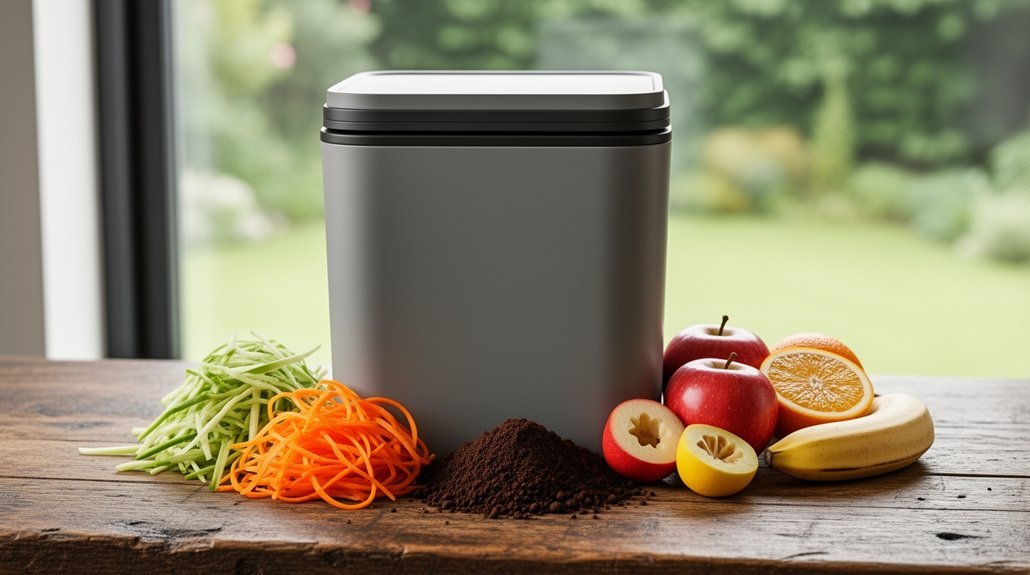
If traditional composting keeps attracting pests to your yard, bokashi offers a sealed alternative that’ll work better for your situation. This anaerobic fermentation method ferments your food scraps in an airtight bucket instead of exposing them to outdoor pests.
Bokashi beats conventional composting because:
- Sealed environment – The oxygen-free setup dramatically reduces odors that attract flies and rodents
- Faster processing – Fermentation takes just 2-4 weeks, leaving less time for pests to discover your scraps
- Broader feedstock – You’ll compost meat, dairy, and fish indoors without creating outdoor pest problems
After fermentation, you’ll bury the material in soil for final decomposition. This pest-resistant approach works especially well in small spaces like kitchens and patios where traditional composting creates nuisance issues.
Frequently Asked Questions
Can Diatomaceous Earth Really Prevent Insects From Accessing My Compost Pile?
You can use diatomaceous earth as a light surface treatment to reduce fly larvae, but it’s not a complete solution. It loses effectiveness when wet and won’t reliably stop insects in active compost piles. Proper layering works better.
How Long Does It Typically Take for a Compost Pile to Become Pest-Free?
You’ll typically reach pest-resistant conditions in about a month under good conditions. You’ll need active decomposition, proper turning, balanced brown-to-green ratios, and adequate moisture to speed the process considerably.
What’s the Ideal Temperature Range to Discourage Pest Breeding in Compost?
You’ll discourage pest breeding by maintaining your compost between 130°F and 160°F, with 140°F as an ideal target. This thermophilic range kills pest eggs and parasites while supporting rapid microbial decomposition.
Are Certain Types of Bugs in Compost Actually Beneficial to the Decomposition Process?
Yes, you’ll find that earthworms, millipedes, sow bugs, and black soldier fly larvae are highly beneficial. They’re actively breaking down organic matter, improving aeration, and creating nutrient-rich castings that enhance your finished compost.
Can I Compost Diseased Plants Without Attracting Additional Pests to My Yard?
You can’t reliably compost diseased plants without attracting pests. Infected material rots slowly, creating odors and moisture that draw flies and rodents. You’re better off burying or burning diseased debris instead.
In Summary
You’ve got plenty of options to keep your compost pest-free. By burying scraps, balancing materials, and maintaining proper moisture levels, you’ll create an environment where bugs can’t thrive. An enclosed bin with a tight lid gives you extra protection, while freezing waste and regular cleaning eliminate problem sources. If traditional composting still attracts pests, bokashi composting offers a viable alternative that’ll let you compost without the headache.



