
You’re losing heat because the bin’s surface‑to‑volume ratio is too high, the insulation’s thin, and the lid lets snow and rain in. Moisture swings between soggy and bone‑dry, choking microbes, while inadequate airflow lets anaerobic pockets form. A low‑profile, wide bin wrapped in 6‑12 inches of dry leaves or straw, sealed with a tight‑fitting lid, and fitted with passive PVC aeration pipes will keep the core warm and aerobic. Keep the C:N around 30:1, maintain 40‑60 % moisture, and you’ll see the pile stay active all winter—keep going to discover the exact steps.
Is Winter Composting Possible in a Tiny Bin?

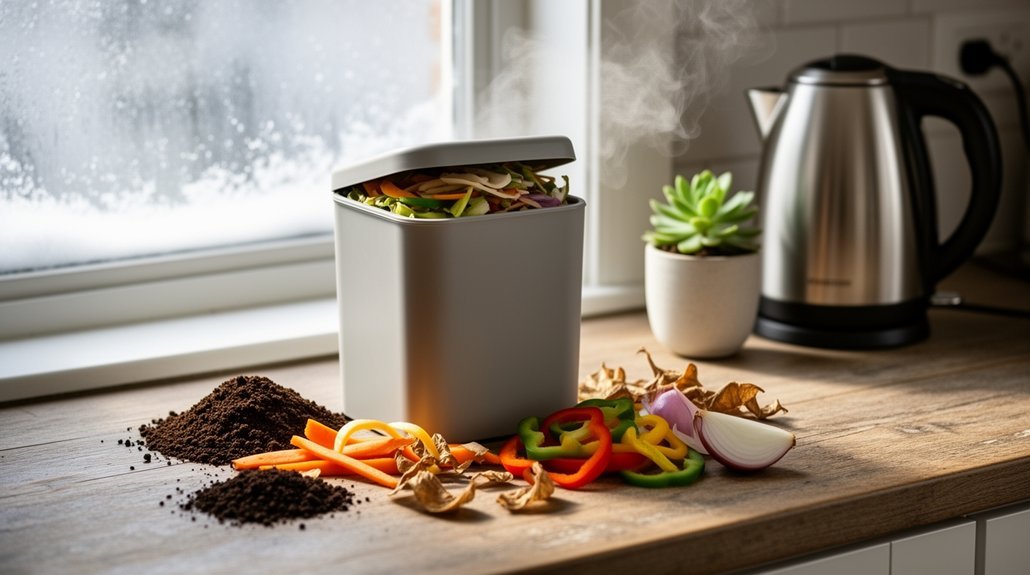
Can you compost in a tiny bin during winter? Absolutely—if you manage heat, insulation, and balance correctly. A small bin can keep a warm core as long as you load enough organic mass; the bulk generates the heat that prevents freezing. Insulate aggressively: line the interior with 6–12 inches of dry leaves, straw, sawdust, or even bubble wrap, and surround the bin with bags of foliage or straw bales. Favor a wide, low shape over a tall, skinny one to reduce heat loss. Pair every pound of kitchen greens with a generous layer of browns—dry leaves, shredded paper, or newsprint—to mop up moisture and curb odor. For moisture management, consider using brown paper bags to line your bin and help absorb excess liquid from food scraps. Place the bin near the house, in a sunny, sheltered spot, and use a tight‑fitting lid to keep snow and rain out. With these steps, your tiny winter compost can stay active, or at least not freeze solid, until spring. Microbes remain active even at freezing temperatures.
Cold Weather’s Effect on Microbial Activity in Small Compost Bins
Even with the right insulation and moisture balance, winter still drags down the microbes that power a tiny compost bin. As temperatures dip below 55 °F, enzyme speed stalls and thermophilic bacteria lose their edge. Your small bin loses heat fast because its high surface‑to‑volume ratio lets the core chill, so the microbial community shifts toward slower psychrophiles. Moisture hangs around longer, crowding out oxygen and inviting anaerobic smells. The net result is sluggish cellulose breakdown, less metabolic heat, and a feedback loop that deepens the cold. Adding carbon-rich bedding material like coconut coir can improve aeration and drainage, helping maintain the oxygen levels needed to prevent anaerobic conditions even as temperatures drop.
| Effect | Why it matters | What you feel |
|---|---|---|
| Slow enzymes | Low temps curb reaction rates | Frustration |
| Heat loss | Small mass radiates quickly | Cold bin |
| Community shift | Thermophiles → psychrophiles | Slower progress |
| Moisture lock | Evaporation drops | Stagnant odor |
| Reduced heat feedback | Less decomposition heat | Persistent chill |
A critical mass of at least 3‑4 feet is needed to retain the metabolic heat generated by microbes.
How to Balance C:N for Winter Compost in Small Bins
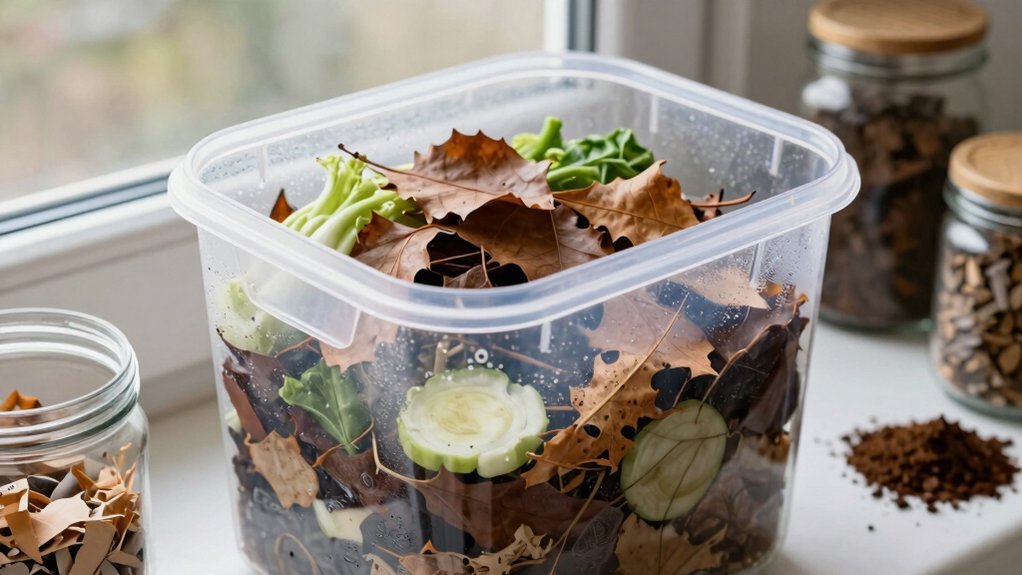
You’ll want to aim for roughly three parts brown to one part green by volume, which lands you near the 25:1‑30:1 C:N sweet spot even in winter. Adjust the mix as moisture shifts—add extra browns when the pile feels soggy and thin layers of carbon when greens are scarce. Incorporate dried leaves to maintain balance when green materials are limited. For small-space winter composting, consider using a dual-chamber rotating composter to manage your brown and green materials more efficiently while one batch cures.
Optimal Green-to-Brown Ratio
- Measure volume, not weight, for a quick start.
- Adjust to 3:1 if greens are nitrogen‑rich (manure, fresh scraps).
- Use lighter browns (leaves) in larger volumes than dense ones (sawdust). For odor control, consider adding activated carbon filters to your small composting bin to absorb food odors and organic chemicals.
- Watch for odors or stalled heat and add the opposite material accordingly. Aim for at least twice as much brown material as green material.
Moisture‑Adjusted C:N Targets
How do you keep your small‑bin compost from turning into a soggy, nitrogen‑rich mess when winter moisture spikes?
First, treat the C:N ratio as a moving target.
Aim for a base 25:1–30:1 mix, then add extra dry carbon whenever rain or snow raises the water content.
Dry leaves, shredded cardboard, straw, or wood chips bulk up the pile, soak excess moisture, and restore airflow.
If the bin feels compacted, shift the ratio toward 14:1–20:1 by sprinkling more carbon‑rich bulking material.
Avoid overloading fresh greens; match each wet green batch with a generous handful of dry brown.
Cover the bin with a breathable tarp, and elevate it on a pallet to keep water off the bottom.
Monitoring texture and adjusting carbon on the fly keeps oxygen flowing and prevents anaerobic odors.
Add a layer of diatomaceous earth at the base to deter pests and improve drainage.
Consider using a bokashi bin presser to compact waste layers and eliminate air pockets that trap excess moisture.
Seasonal Feedstock Scheduling
What’s the trick to keeping a tiny compost bin alive through a frosty season? You need a steady, carbon‑rich rhythm that offsets the cold‑slowed microbes and limited yard waste. Freeze kitchen scraps in a bag, chop them small, then add them in modest, frequent batches. Each addition should be sandwiched between a generous layer of dry browns—leaves, straw, cardboard, or shredded paper—to keep the C:N ratio in your favor and prevent odor. For winter composting in confined spaces, consider using a bokashi starter kit to ferment food waste indirectly before adding it to your small bin.
Key steps for seasonal feedstock scheduling
- Stockpile dry browns in fall.
- Freeze and portion greens weekly.
- Layer every green batch with at least twice its volume of browns.
- Store extra browns nearby for quick top‑ups.
Follow this routine, and your small bin will stay active until spring. Freezing slows microbial activity and helps preserve greens for later use.
Manage Moisture to Keep Your Winter Pile Wet, Not Soggy
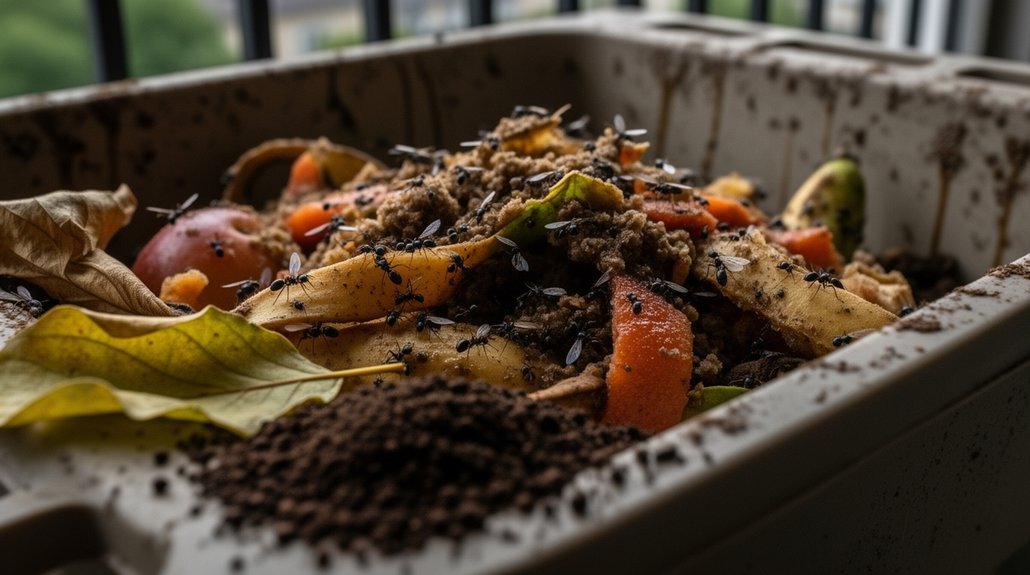
Wondering how to keep your winter compost moist without turning it into a soggy mess? Aim for a 40‑60 % moisture level—think of a wrung‑out sponge. If the pile feels dry, spray a little water; if it feels drippy, toss dry carbon like leaves, shredded cardboard, or straw to soak up excess. Cover the bin with a breathable tarp or lid to block rain while still letting air flow, and bury fresh kitchen scraps deep inside so moisture spreads rather than pooling on top. In rainy regions, add extra browns after storms; in arid zones, mist lightly on warm days above freezing. Keep the surface from freezing solid, and you’ll maintain active microbes and pleasant odors throughout winter. Excess moisture creates anaerobic conditions and foul odors. For added odor protection during winter storage, consider using activated charcoal filters in your bin to manage any decomposition smells.
Create Aeration in Small Winter Bins: Tools and Techniques
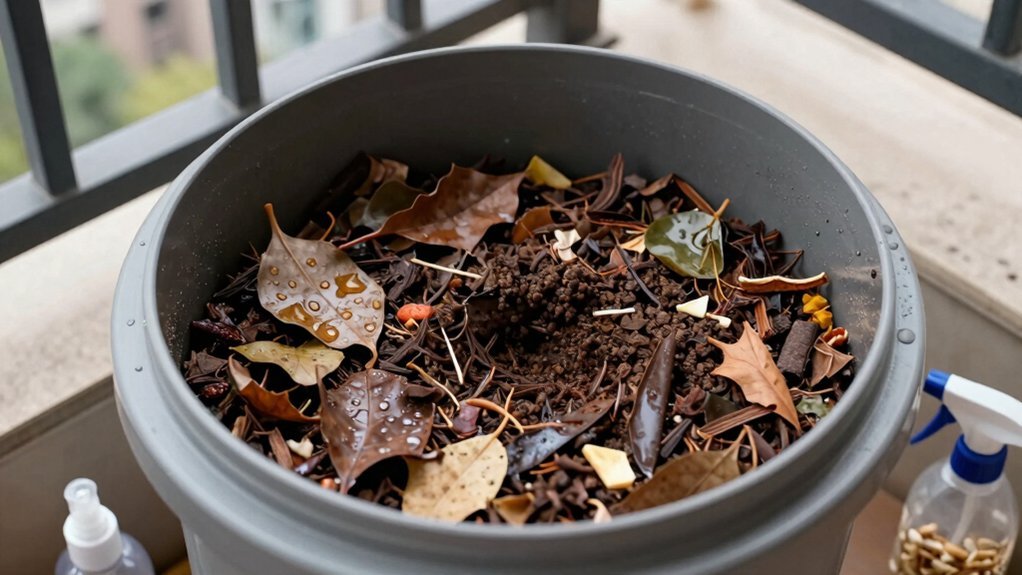
Ever wondered why your winter compost seems stagnant? You can boost oxygen without turning the whole pile by installing passive vertical pipe aeration. Use 4‑inch PVC pipes, drill 1/2‑inch holes every 4–6 inches, and run 3–5 pipes from bottom to top (3–4 ft). Position them in a grid, angle outer pipes toward the center, and keep the central pipe a bit taller to avoid snow blockage.
Key tools & techniques
- Rebar rods or aeration probes for quick point‑by‑point channels.
- Long‑handled auger‑style tools to reach deep spots in tight bins.
- Partial turning—move material from bottom to top—to refresh airflow with minimal effort.
- Layer bulky, coarse materials (oak leaves, straw, twigs) to keep pore space open and prevent compaction.
Balance airflow with insulation; too much air dries the pile, while too little creates foul odors. Adding nitrogen‑rich activators such as coffee grounds or fresh grass clippings can jump‑start microbial activity even in cold temperatures.
Pick the Best Bin Shape for Heat Retention in Small Winter Compost Bins
You’ll find that a square‑cube bin packs the most insulation into a small footprint, keeping heat inside longer than a flat or open design.
A cylinder trims the surface‑to‑volume ratio, so it loses less warmth to the cold air around it.
Choosing one of these shapes gives you the best chance of staying active through winter.
Add a larger mass of material to reach a minimum of 3 ft × 3 ft × 3 ft to ensure the core stays hot.
Square Cube Shape Maximizes Insulation
Why does a cube‑shaped bin keep your winter compost hotter than a shallow tray? Because a cube maximizes interior volume while minimizing exposed surface area, so the microbial heat stays inside longer. Its balanced dimensions give a superior surface‑to‑volume ratio, and the uniform shape makes insulation easier to apply on all sides.
- Maximum volume for a given footprint concentrates mass and heat.
- Reduced surface area cuts wind‑driven loss and edge cooling.
- Even depth creates a stable central hot zone, supporting active microbes.
- Simple insulation—wraps, straw, or panels fit snugly without gaps.
In a small yard, a square cube bin can sit flush against walls, capture sun, and be wrapped uniformly, giving you the best chance to keep composting alive through freezing temperatures. Adding a breathable top mat further reduces heat loss while preserving the chimney effect. For compact spaces, selecting a bin with compact footprint dimensions ensures your composting setup fits efficiently while maintaining the thermal mass needed for winter activity.
Cylinder Reduces Surface‑to‑Volume Ratio
A cube gives you a solid, insulated core, but a cylinder can cut heat loss even further by shrinking the exposed wall area for the same volume. You’ll notice a wide‑low cylinder encloses the same compost mass with far fewer square feet of wall than a tall, skinny box. That reduced surface‑to‑volume ratio means less heat escapes to cold air, wind, and night‑time radiation—critical when your pile’s heat production is limited. A broader base lets the interior self‑insulate while still allowing easy turning. Dark, enclosed cylinders absorb solar warmth and block wind, whereas perforated wire cylinders need extra straw, cardboard, or a tarp to keep heat in. Position the bin in a sheltered spot and wrap the sides; the shape itself does most of the work. Insulation is essential to retain moisture and keep microbial activity ongoing during freezing temperatures. Consider material durability and quality when selecting winter bins, as stainless steel bodies resist damage from moisture and freeze-thaw cycles better than plastic alternatives.
Turn and Monitor Your Small Winter Compost Bin When Snow Blocks Access?
How do you keep your small winter compost bin functional when snow blocks the path? First, clear a narrow lane with a shovel or blower so you can reach the bin without over‑exertion. Second, limit turning to the thaw‑freezing windows; a quick stir when the surface thaws preserves heat and airflow. Third, check moisture by feeling the top layer—if it feels soggy, add dry browns to soak up excess water. Fourth, keep the bin near a door or walkway to reduce the effort of weekly additions. Large piles can stay steaming and remain hot at core. If odors emerge during winter thawing cycles, consider using odor-neutralizing sprays designed for composting to maintain a pleasant environment. 1. Shovel a thin path each week. 2. Stir only when the top isn’t frozen. 3. Add dry browns if wet. 4. Locate the bin for easy reach. These steps keep your compost active and odor‑free until spring.
Cover and Insulate Your Small Winter Compost Bin Efficiently
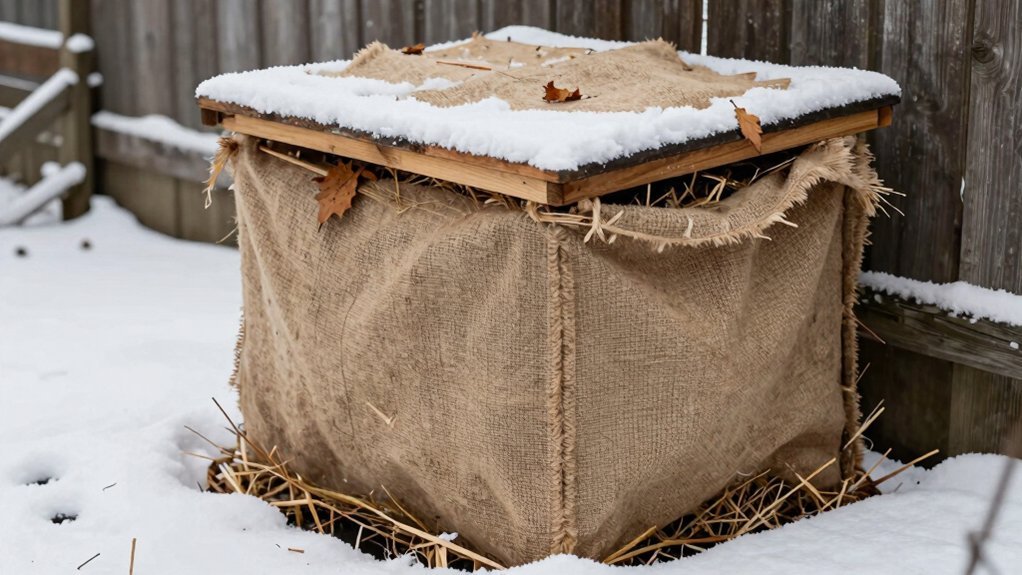
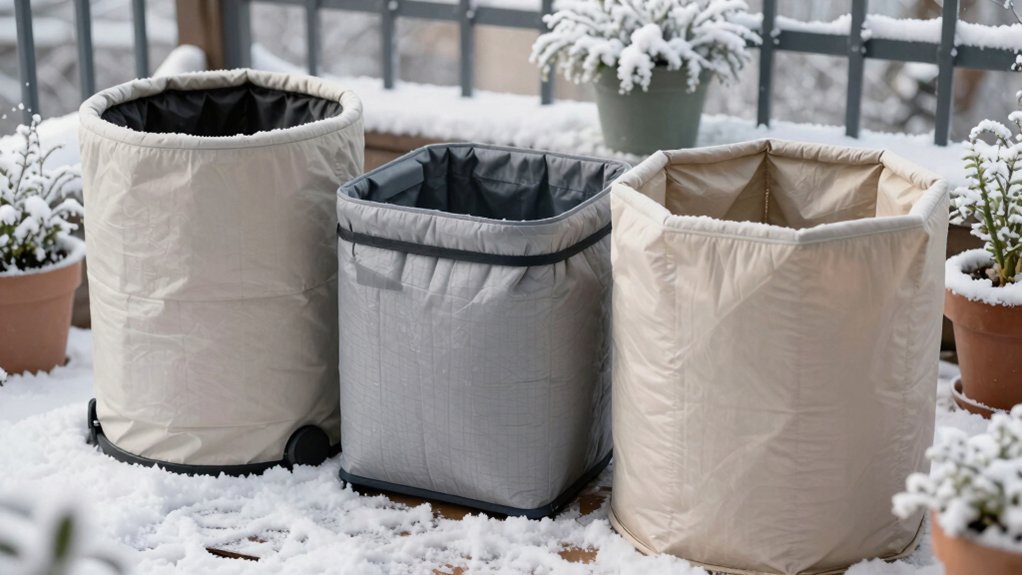
After clearing a thin lane and timing your turns, the next step is to keep the bin’s heat from escaping. Wrap the exterior with dry straw, shredded leaves, or wood chips; these trap air while preserving interior space.
Stack leaf bags or corrugated cardboard around the sides and top for extra perimeter insulation, but avoid compressing them into the compost mass. Secure a heavy‑duty tarp or foam‑board jacket over the lid to block wind, rain, and snow; leave small ventilation gaps or built‑in channels to maintain oxygen flow.
Position the bin in a sunny spot or behind a windbreak, and consider a garage or shed for added temperature stability. When you need to turn the pile, lift the removable cover, not the insulation, to keep the thermal barrier intact. Insulate the compost by stacking bales of straw or leaves around the bin.
Frequently Asked Questions
Can I Compost Frozen Food Scraps Without Thawing Them First?
Yes, you can toss frozen food scraps straight into your compost. Just balance them with brown material, keep moisture in check, and layer them well so the pile stays aerated and odor‑free.
How Many Layers of Insulation Are Enough for a 3‑Ft Cube Bin?
You need at least two insulation layers for a 3‑ft cube bin—one inside, like corrugated cardboard, and an outer shell of straw, bubble wrap, or rigid panels. Add a third layer on top if it’s especially windy or cold.
Do I Need to Add Extra Nitrogen When Using Only Yard Waste?
Yes, you should add some nitrogen because yard waste is carbon‑heavy. Mix in grass clippings, coffee grounds, or a modest fertilizer dose—about one green part to three carbon parts—to keep microbes active and odor‑free.
What Temperature Range Defines “Active” Composting in Winter?
You’ll keep it “active” when the pile stays roughly 50‑70 °F (10‑21 °C); anything below 50 °F stalls microbes, while 70‑104 °F sustains decent breakdown, and 104‑150 °F hits hot, thermophilic activity.
Can a Sealed Compost Bin Still Maintain Enough Oxygen?
Yes, a sealed bin can keep enough oxygen if you add vents or a small fan, keep the mix fluffy, and turn it occasionally; otherwise oxygen drops quickly and the pile turns smelly.
In Summary
Don’t let the cold or the size of your bin stop you. Keep the mix balanced, moist but not soggy, and give it plenty of air. Insulate and cover it well, and turn it when you can. With a little attention, even a tiny winter compost can stay active, break down waste, and deliver nutrient‑rich soil when spring arrives.

Leave a Reply