

You’ll eliminate compost odors by mastering three essentials: airflow, moisture, and carbon balance. Keep your pile at 50–60% moisture—damp like a wrung-out sponge—and choose a bin with built-in vents or a tumbler for mechanical mixing. Turn every 3–10 days to restore oxygen and prevent anaerobic pockets. Add coarse browns like wood chips to maintain structure and airflow. Place your bin in shade on well-drained ground. These fundamentals transform foul smells into earthy decomposition, but there’s much more to optimize your setup.
Foul Smells Signal Oxygen Starvation
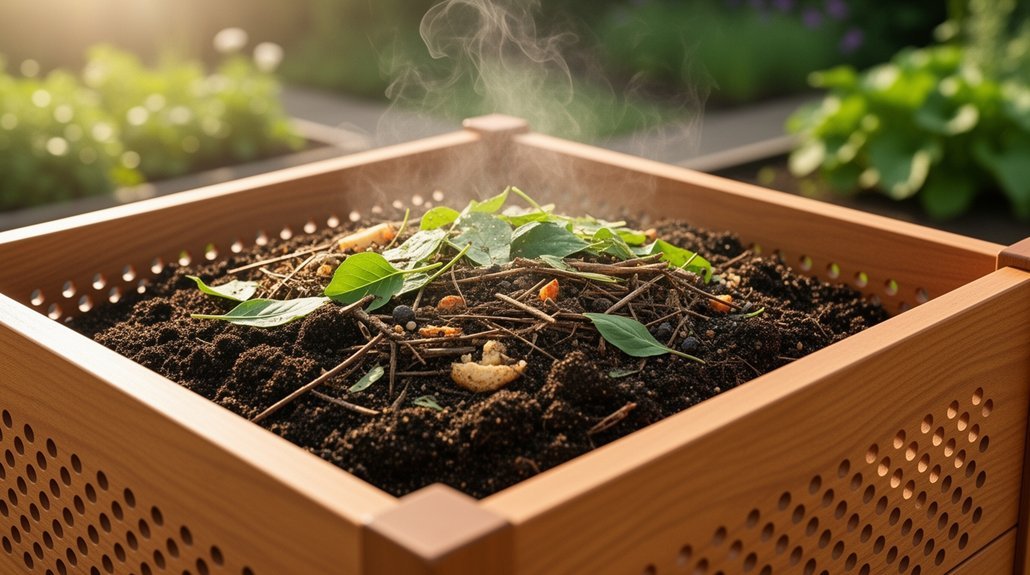
Why does your compost smell like rotten eggs? When oxygen levels drop below 10% in your pile’s pores, anaerobic microbes take over from beneficial aerobic organisms. These oxygen-starved microbes produce hydrogen sulfide and other volatile compounds that create foul odors—rotten eggs, vomit-like smells, or garbage stench are all telltale signs.
You can identify oxygen problems by tracking odor changes. Healthy compost smells earthy and forest-like. When that pleasant aroma suddenly shifts to something putrid, your aeration has failed. Ammonia odors also suggest oxygen stress alongside excess nitrogen. Turning your compost pile weekly maintains oxygen levels and promotes even decomposition throughout the pile.
The culprit is often compaction. Dense, matted material restricts airflow and traps oxygen-depleted pockets throughout your pile. Your compost needs open pore spaces for air circulation. Without them, anaerobic zones develop rapidly, triggering the stink you’re trying to avoid. Bokashi bran absorbs excess liquid and can help minimize these odors when added to your bins or tumblers.
How Moisture Blocks Airflow (and Creates Stink)
Compaction isn’t your only enemy—moisture plays an equally important role in suffocating your pile. When water fills too many pore spaces, you’ve essentially waterlogged your compost, blocking the oxygen that aerobic microbes desperately need. Moisture above 65–70% creates anaerobic pockets where decomposition shifts to oxygen-free breakdown, producing those foul odors you’re trying to avoid.
You’ll know you’ve crossed the line with a simple squeeze test. If more than a drop or two comes out of a handful, your pile’s too wet. For kitchen countertop bins, charcoal filters help manage moisture-related odors while you work on balancing your pile’s water content.
Ideal moisture hovers around 50–60%—think damp, wrung-out sponge. When moisture drops below 35–40% by weight, decomposer organisms die or go dormant, severely limiting your pile’s ability to break down materials efficiently. Below 35–40%, microbes slow dramatically; above 70%, they suffocate. Regular turning helps excess moisture evaporate while restoring airflow, keeping your bin balanced and odor-free.
Why Browns Aren’t Just Filler: They’re Essential
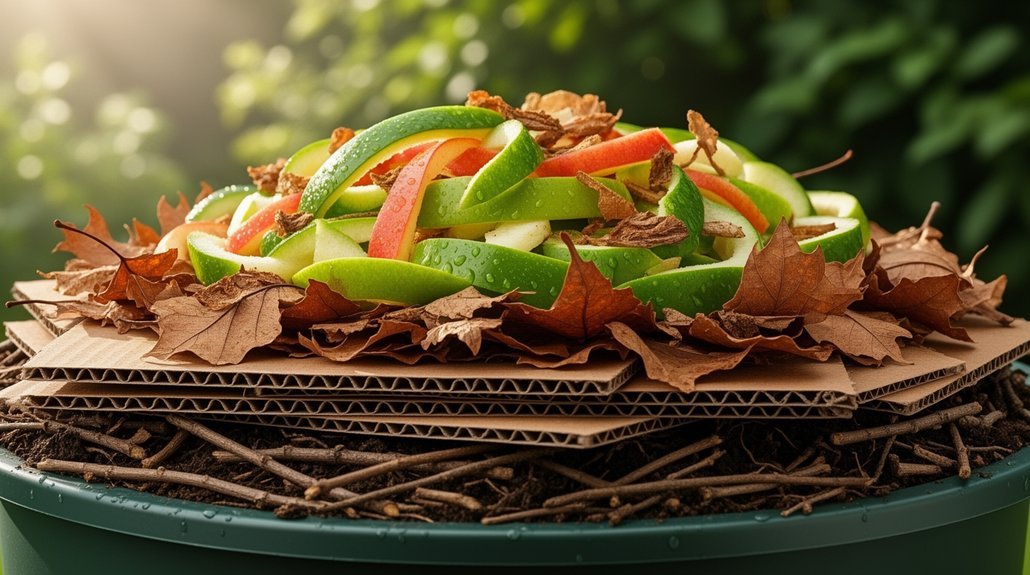
Have you ever wondered what keeps a compost pile from collapsing into a soggy, smelly mess? Browns do far more than fill space. They’re your composting foundation.
Browns provide carbon that feeds decomposer microbes, fueling the breakdown process. Without sufficient carbon-rich materials, decomposition stalls and maturity delays considerably.
Beyond nutrition, browns create structure. Coarse materials like wood chips and twigs prevent compaction, establishing voids that allow air to flow through your pile. This airflow is critical for aerobic decomposition and odor control. Shredding or chopping browns increases surface area, which accelerates the decomposition process and ensures more efficient microbial activity throughout your pile. Maintaining ideal compost temperatures between 130-150°F supports effective decomposition when combined with proper airflow.
Browns also buffer moisture by absorbing excess water from greens like grass clippings and vegetable scraps. This absorption keeps your pile balanced—neither waterlogged nor dry—supporting reliable composting and minimizing foul smells that attract pests.
Aerobic Decomposition: What Happens When Air Gets In
When you introduce oxygen into your compost pile, you’re kickstarting a biological transformation that’s remarkably efficient. Aerobic bacteria and fungi rapidly break down organic matter into carbon dioxide, water, minerals, and humus—all essential nutrients for your soil.
Your pile heats up quickly, often reaching 70–80°C within days as decomposition accelerates. This heat signals active microbial work, though temperatures above 140°F can actually slow the process. You’ll notice the material gradually darkens and becomes soil-like in texture as decomposition progresses through stages. Weed seeds and pathogens are destroyed by the high temperatures generated during this aerobic process.
The real payoff? Aerobic systems produce significantly less odor than oxygen-starved piles. You’ll get cleaner, more stable finished compost suitable for plants. Maintaining 360° ventilation throughout your bin ensures consistent airflow to sustain microbial activity and prevent odor buildup in compacted zones. Regular turning or aeration restores oxygen to compacted zones and restarts heating when activity declines, keeping your composting process efficient and odor-free.
Pick a Bin That Actually Breathes
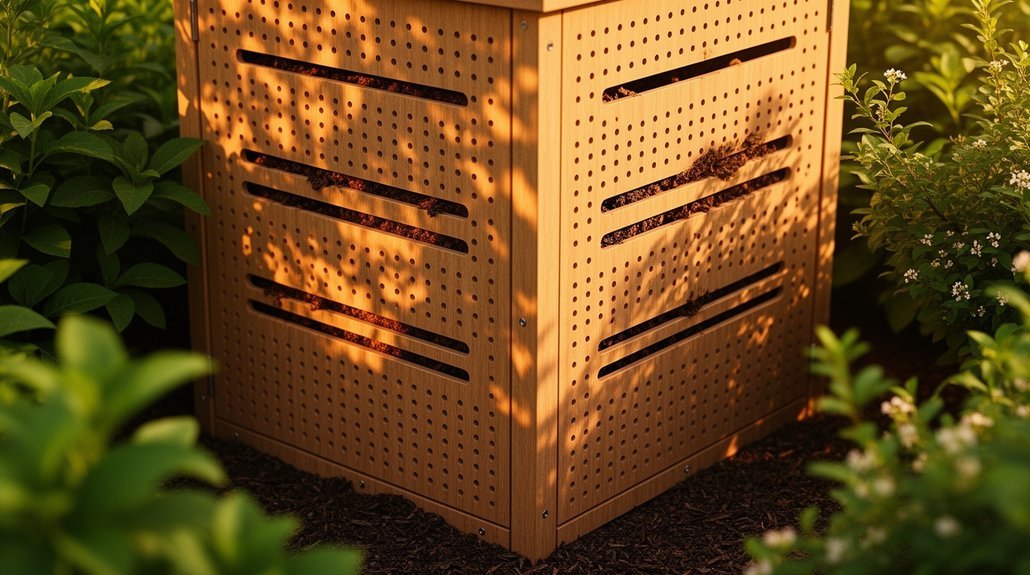
Your bin’s design is just as critical as your composting method—it’s the foundation that either supports or sabotages your aerobic process. You’ll want to prioritize bins with built-in aeration vents and breathable structures that prevent anaerobic conditions. Avoid fully sealed containers, which trap oxygen and create foul-smelling decomposition.
| Bin Type | Best For | Key Feature |
|---|---|---|
| Beehive-style | Maximum airflow | Aeration vents throughout |
| Tumblers | Easy mixing | Mechanical oxygenation |
| Stationary outdoor | Low maintenance | Built-in ventilation system |
Choose designs with vented or perforated lids that balance odor control with continuous air exchange. Adjustable lids help you regulate airflow seasonally. An efficient ventilation system with an air channel that delivers directly to the center of your compost mass accelerates decomposition while maintaining airtight odor control through activated-charcoal filtration. Most ceramic crocks use standardized charcoal filters with a typical lifespan of 4–6 months, ensuring consistent odor prevention as your bin breathes. Your bin’s breathability directly reduces fruit fly attraction and prevents the foul smells associated with oxygen depletion.
Where Your Vents Should Go (Bottom, Sides, or Both?)
Now that you’ve selected a bin with breathable design, you’ll need to decide exactly where those vents should go.
Bottom vents excel at drainage and intake, preventing waterlogging while supporting oxygen supply at lower pile layers—they work best on soil rather than sealed surfaces.
Bottom vents prevent waterlogging and boost oxygen supply to lower pile layers, working best on soil surfaces.
Side vents promote oxygen exchange and reduce anaerobic pockets, particularly helpful when composting wet materials like kitchen scraps or grass clippings.
For the strongest passive airflow, combine both: bottom intake plus side exhaust creates a complete path that reaches more of your pile’s volume and supports faster decomposition.
Your ideal vent layout depends on pile size, material mix, and turning frequency. Bulking agents like sawdust or perlite can improve the structure and airflow within your bin, regardless of vent placement. Additionally, mycorrhizae and beneficial microbes in finished compost can enhance soil structure when mixed into potting applications.
Hot composting benefits from robust airflow, while passive composting works with limited openings if you maintain loose, moist conditions.
Fine-Mesh Screens: Stop Pests, Keep Air Flowing
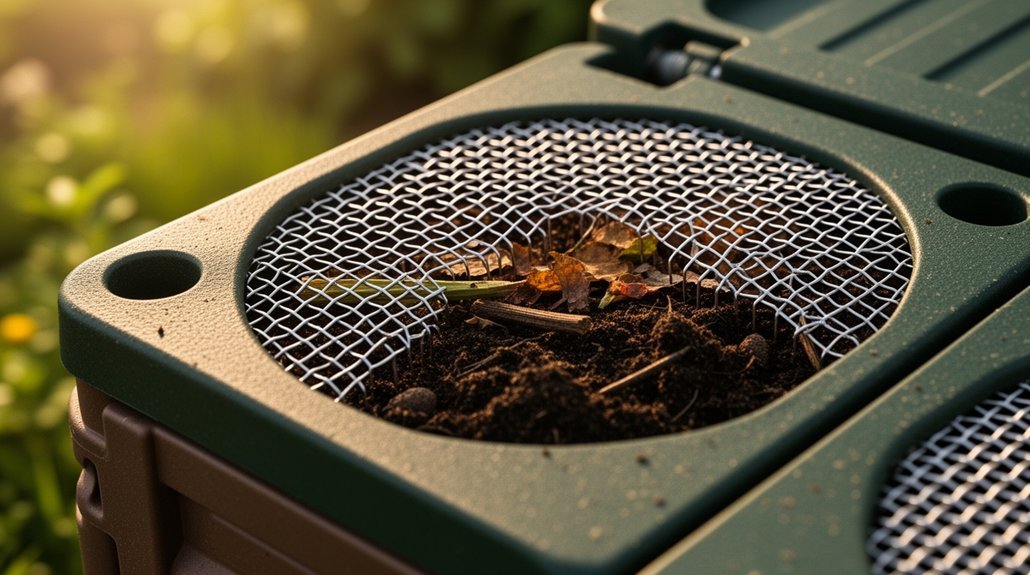
How do you keep rodents and insects out of your compost without suffocating the pile? Fine-mesh screens solve this dilemma by blocking pests while preserving airflow. You’ll want to use 1/4″ galvanized welded mesh for rodent deterrence or finer insect mesh over ventilation ports to stop flies. Stainless steel or PVC-coated options resist rust and maintain airflow over time. Install mesh as a liner inside wooden composters or cover vents entirely—no gaps allowed. The tradeoff? Tighter mesh requires more frequent cleaning since moisture and fine particles can clog it. Elevating your bin on bricks or blocks provides additional burrowing deterrence by preventing pests from tunneling underneath the base. Proper 360-degree airflow design also reduces odors and pest attraction while maintaining the aerobic decomposition your compost system needs.
Coarser 1/2″ hardware cloth moves air better and needs less maintenance, though smaller pests may slip through. Choose based on your primary pest concern and maintenance capacity.
Sealed Lids With Gaskets: Trap Odors Without Blocking Air
What’s the simplest way to control compost odors in a kitchen or apartment? A gasketed lid. The rubber seal creates a complete closure that traps ammonia and sulfur compounds while your scraps sit for days before emptying.
You’ll want a snug seal at the rim—this prevents odors from leaking around edges. Some gasketed lids include vents that allow measured airflow and moisture escape without full odor release, reducing stagnant air pockets that cause rotten-egg smells. Many modern compost containers use silicone gasket technology similar to airtight food storage systems to maximize seal effectiveness.
Sealed lids also manage moisture by limiting rain and spills, preventing the anaerobic conditions that intensify odors. However, effectiveness depends on regular maintenance. Clean your gasket surfaces often so food residue doesn’t compromise the seal. Pair your sealed lid with frequent emptying for best results. For optimal performance during server-side rendering processes, ensure your bin is placed in a stable location away from direct heat sources that could warp the gasket material.
Turn Your Compost: When and How Often
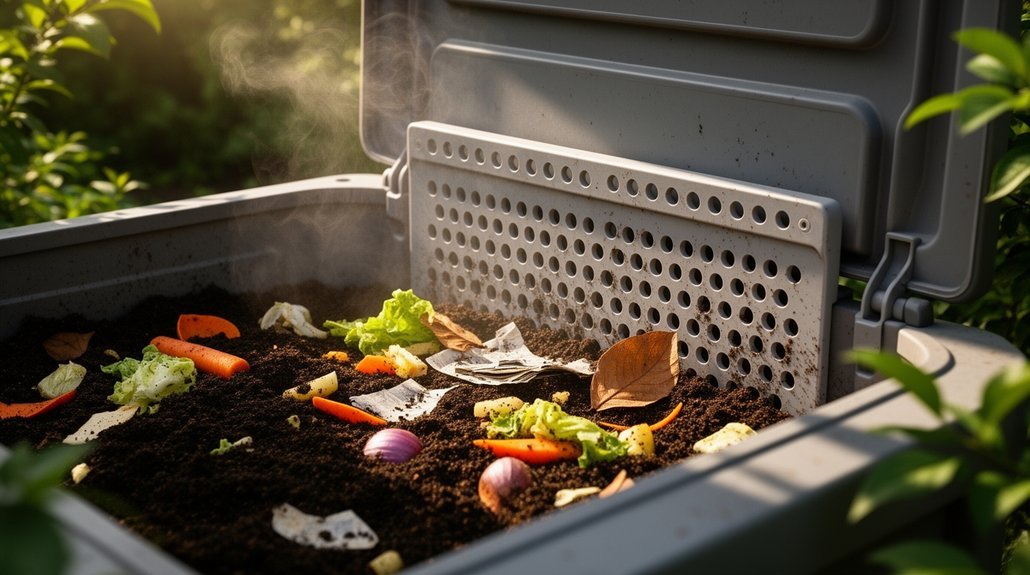
Turning your compost pile is one of the most effective ways to speed decomposition and prevent odors, but there’s no one-size-fits-all schedule. Temperature is your most reliable guide—turn when your pile’s heat begins declining, typically below 104°F. If you’re aiming for fast composting, aim for every 3–4 days to maintain aerobic conditions. For slower, low-maintenance composting, every 7–10 days works fine. Watch for practical signals: cooling after an active heating phase, strong odors indicating poor aeration, or steamy heat after turning showing active decomposition. Smaller material pieces reduce turning frequency needs. Ultimately, frequent turning accelerates results but isn’t necessary for finished compost—consistency and proper moisture matter most. Consider using aerator tools or drilled PVC pipes as alternatives that can minimize your turning frequency while maintaining adequate oxygen levels in the pile. Materials like crinkle cut paper shred can be added to improve aeration and structure within your compost system.
Cover Fresh Scraps to Block Flies and Smells
One of the simplest yet most effective fly-prevention strategies is covering your fresh scraps immediately after you add them to the bin. Fresh kitchen waste releases odors as it breaks down, attracting flies that’ll lay eggs on exposed organic matter within hours.
Use dry brown materials—leaves, shredded paper, cardboard, or sawdust—as your cover layer. These absorb excess moisture, block odor escape, and create an unappealing surface for flies. Bury scraps under 10–12 inches of existing compost or browns to limit fly access entirely. According to a 2019 study in the American Journal of Entomology, improperly managed waste prevention can significantly reduce the breeding sites that flies depend on for reproduction. For indoor compost bins with limited ventilation, activated charcoal filters provide additional odor control to complement your covering strategy.
Adjust your cover depth based on moisture and smell levels. If your bin reeks, you likely need more browns to absorb liquid and prevent anaerobic conditions that breed flies. Consistent, fine coverage beats occasional thick layers, keeping your bin odor-free and pest-resistant.
Why Placement Matters More Than Temperature Control
Where you place your compost bin matters far more than obsessing over temperature readings. You’ll find that site selection solves moisture and airflow problems before they start, while temperature control demands constant monitoring and adjustment.
| Factor | Full Sun | Shade |
|---|---|---|
| Drying | Too rapid, requires extra watering | Stable, natural moisture balance |
| Temperature | Extreme swings, overheating risk | Consistent, moderate conditions |
| Maintenance | High intervention needed | Reduced management demands |
Position your bin in a dry, shady, well-drained spot with good air circulation. This one-time decision prevents anaerobic conditions, odors, and excess moisture buildup. Choose a location near access routes so you’ll actually turn the pile regularly. Good placement supports aerobic decomposition naturally—your strongest defense against smell problems. In rainy climates, avoid positioning your bin under eaves or areas with poor drainage, as water accumulation will compromise the aerobic environment you’re trying to maintain.
Do Charcoal Filters Replace Good Ventilation?
How effectively do charcoal filters actually control compost odors? They’re helpful—but only when air traverses them. Activated charcoal absorbs odor-causing compounds like hydrogen sulfide and ammonia, yet a sealed bin renders filters useless within hours. You need ventilation operating alongside filtration to succeed.
Charcoal filters don’t replace good airflow; they complement it. Your bin still requires adequate oxygen for aerobic decomposition. Without it, fermentation develops, intensifying smells regardless of filter presence. Poor ventilation paired with excess moisture, density, or food scraps overwhelms any filter’s capacity. Dual-ventilation ports for intake and exhaust maximize charcoal efficacy by ensuring consistent airflow across adsorption sites.
The best approach combines containment, active airflow, and properly sized carbon filters. Ensure vents align well and filters fit snugly to prevent air bypass. Maintenance matters too—replace saturated filters regularly. Ventilation remains your foundation; charcoal enhances it.
Frequently Asked Questions
Can I Use a Vented Compost Bin Indoors Without Creating Household Odor Problems?
Yes, you can use a vented bin indoors if you’ll add dry browns regularly, empty it frequently, rinse it often, and keep it cool. You’ll need charcoal filters too.
How Long Does It Take for a Properly Ventilated Bin to Decompose Food Scraps?
You’ll typically decompose food scraps in 1 to 2 weeks with proper ventilation, though you’ll need 6 to 12 weeks for finished compost. You’ll accelerate breakdown by keeping your bin warm, moist, and well-oxygenated.
What Should I Do if My Vented Bin Still Smells Despite Good Airflow?
You should reassess your moisture balance first—add dry browns like shredded paper or leaves to absorb excess liquid. Then turn the pile to break compaction, check for meat or dairy, and clean residue from bin walls.
Are Compostable Liners Necessary for Indoor Vented Bins, or Optional?
Compostable liners are optional for your indoor vented bin. You can use paper bags, newspaper, or no liner at all. Liners mainly offer convenience rather than improving composting performance in vented systems.
How Often Should I Replace Charcoal Filters in a Vented Compost Bin?
You’ll typically replace your charcoal filter every three to six months, though heavier usage, warm conditions, or stronger odor loads from meat and dairy can shorten that timeline considerably.
In Summary
You’ve learned that you can’t eliminate odors by ignoring ventilation. If you’re serious about a smell-free compost bin, you’ll prioritize airflow through proper browns, regular turning, and smart bin selection. You’ll cover your scraps, position your bin wisely, and skip the false promise of charcoal filters. These aren’t optional extras—they’re your foundation for successful, odor-free composting.



