

You can transform kitchen scraps into finished compost within weeks using sleek, compact systems designed for apartment living. Bokashi buckets, worm bins, and electric composters fit under sinks, on balconies, or in closets—all sealed to contain odors. If freezer space suits you better, you’ll find local drop-off programs handle processing entirely. Each system reduces waste by up to 90% while producing nutrient-rich amendments for your urban garden. The right choice depends on your space, lifestyle, and how quickly you want results.
Why Compact Composting Systems Solve Apartment Living
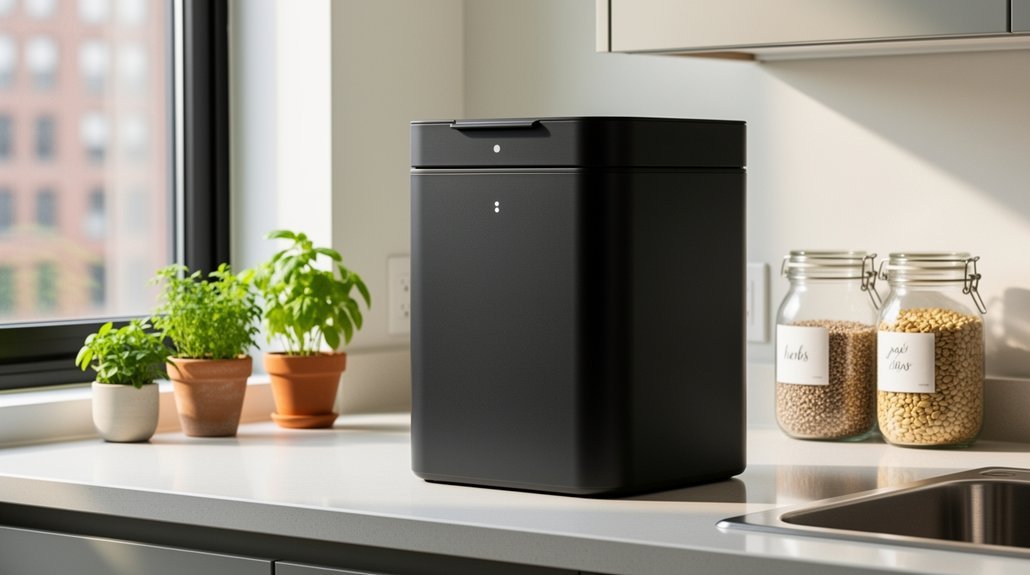
How can you compost without a backyard? Compact composting systems let you transform kitchen scraps into nutrient-rich soil right in your apartment. These space-efficient solutions—like Bokashi bins, worm bins, and countertop units—fit under sinks, on balconies, or in closets, requiring minimal square footage.
You’ll appreciate their sealed designs, which contain odors and prevent pest problems in shared living spaces. Unlike unmanaged organic waste storage, these systems maintain a clean indoor environment while processing food scraps consistently. Bokashi fermentation uses bran inoculant and anaerobic processes to break down organic matter efficiently. Regular maintenance includes weekly stirring and moisture control to balance greens and browns and prevent odors or waterlogging.
Compact Bin Systems That Fit Any Apartment Layout
Once you’ve decided that compact composting works for your apartment, the next step is choosing a bin system that fits your specific layout and lifestyle. You’ll find several options designed for tight urban spaces.
Under-the-sink bins maximize cabinet space while keeping scraps hidden. Countertop models work well if you have limited cabinet room, especially those with charcoal filters to control odor. Freezer-safe containers eliminate smell by pausing decomposition until you’re ready for drop-off.
Under-the-sink bins hide scraps while maximizing space. Countertop models with charcoal filters control odor, or use freezer-safe containers to pause decomposition.
Consider your kitchen’s constraints carefully. Measure available space under sinks, in cabinets, or on counters before selecting a bin. Match capacity to your weekly food-scrap output so you’re not constantly emptying or overstuffing. Replaceable charcoal filters in odor-control bins make them particularly stylish and practical for maintaining your apartment’s clean aesthetic.
Slim footprints fit urban layouts better than bulky alternatives. Electric composters with 3-layer filter systems can process food waste in hours rather than weeks, making them ideal for apartments with minimal storage. Choose secure-lid designs that reduce mess and pest risk while maintaining your apartment’s clean aesthetic.
Where to Put Your Composter: Balcony, Under-Sink, and Hidden Spots
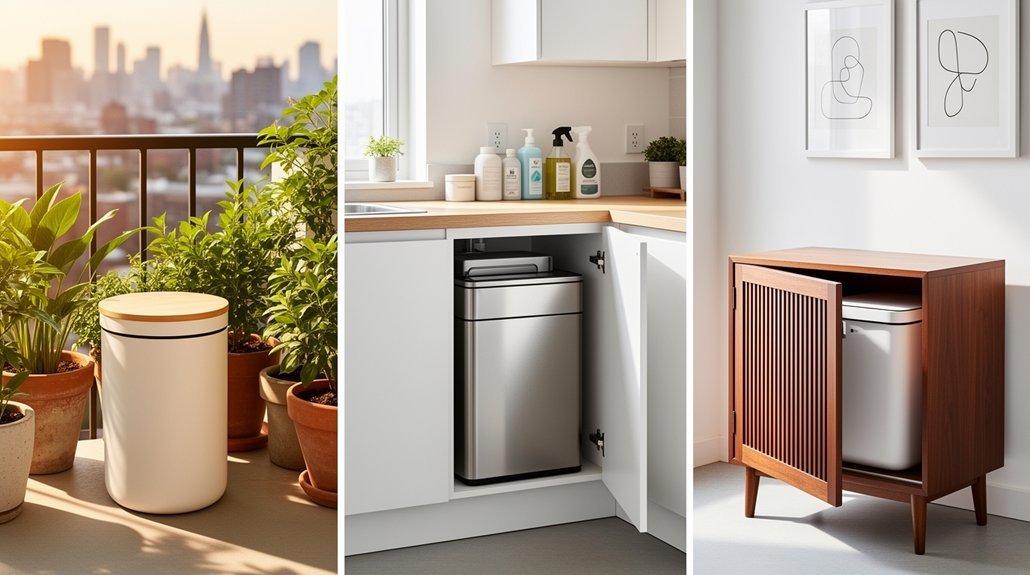
You’ll find that your balcony or patio offers an excellent outdoor option for enclosed composters, while under-sink cabinets work perfectly for discreet scrap collection before transfer. If you’re drawn to minimalist aesthetics, hidden interior spots like closets and pantries keep composting completely out of sight without sacrificing functionality. Each location demands different considerations—balconies need weather protection and neighbor awareness, while interior spaces require sealed bins and moisture control to prevent odors. For apartment dwellers with limited space, 3-tray expandable systems provide substantial food waste capacity while maintaining a compact footprint. Countertop composters are particularly well-suited for minimalist homes since they require minimal space and can fit seamlessly into kitchen cabinetry or designated pantry shelves.
Balcony and Patio Placement
Strategic placement transforms your balcony composter from an eyesore into a functional garden feature. Position your bin near a wall, railing, or corner to minimize visual impact while maintaining easy access. Choose a neutral plastic or wood finish that blends seamlessly with your outdoor furniture.
For space-conscious setups, consider a ring-style design featuring an outer container with a smaller inner bucket. The surrounding space between containers holds potting soil and edible plants, merging composting with productive gardening. This integrated approach maximizes your balcony’s utility. Ensure your container has holes in the floor and bottom to allow oxygen circulation and prevent odours from developing. For apartment dwellers managing limited outdoor space, compostable bag liners offer a practical way to contain food scraps before transferring them to your composter or municipal facility.
Place a tray beneath your bin to catch excess liquid and protect flooring. Weight your lid to prevent wind from dislodging it on exposed balconies. These details keep your composter discreet, functional, and tidy.
Discreet Interior Storage Solutions
When counter space vanishes and balconies aren’t an option, your kitchen’s hidden zones become prime real estate for compost storage.
| Location | Setup | Key Benefit |
|---|---|---|
| Under-sink | Door-mounted or drawer bins | Keeps scraps concealed while preserving floor space |
| Drawer systems | Stainless steel inserts with liners | Direct access during prep; dishwasher-safe cleaning |
| Recessed countertop | Flush-mounted cutout below surface | Maintains minimalist aesthetics and uninterrupted workspace |
You’ll find that lidded containers with charcoal filters work best in enclosed cabinets, controlling odors and deterring flies. Consider automatic lid removal designs that open when cabinet doors swing open, seamlessly integrating compost bins into your kitchen’s existing workflow. Moisture-absorbing materials like newspaper reduce smell and pest appeal. Freezing scraps between emptying cycles prevents warmth buildup in sealed spaces. For urban apartment dwellers with particularly tight spaces, mini bokashi systems offer sealed fermentation in compact under-sink configurations that complete the process in four to six weeks. Whether you choose under-sink storage or custom drawer inserts, prioritize tight-fitting lids and easy-to-clean interiors for discreet, functional indoor composting.
Worm Bins and Bokashi Buckets for Indoor Spaces
You’ll find that compact worm bins and bokashi buckets each offer distinct advantages for managing food scraps in tight urban spaces. While worm bins convert waste directly into vermicompost through live cultures, bokashi buckets ferment scraps in sealed containers before requiring a secondary composting stage. Both systems demand attention to odor control and maintenance routines, though their approaches differ considerably in how they process organic matter and what follow-up steps you’ll need to take. Worm bins are particularly suitable for small spaces since they require minimal setup time and can fit under most sinks with just a couple of inexpensive 5-gallon buckets.
Compact Worm Bin Setup
How can you transform food scraps into nutrient-rich compost within a small apartment or home? A compact worm bin uses red wigglers to convert waste into castings and liquid leachate indoors.
You’ll want a container around 16″ x 24″ x 8″—roughly 10 gallons—positioned in a basement or utility area.
Drill 1-inch ventilation holes near the top and 1/8-inch drainage holes at the bottom, then add screening to contain worms while maintaining airflow.
Fill your bin with fluffy, shredded newspaper or cardboard bedding moistened like a wrung-out sponge. Red Wigglers thrive in small spaces and break down food rapidly, making them ideal for compact indoor setups.
Start with approximately 1,000 worms and introduce a handful of food scraps every 2–3 weeks, allowing prior material time to process. Unlike traditional composting methods, bokashi fermentation handles meat and dairy waste without requiring special preparation or causing excessive odor in confined living areas.
This approach prevents odor and pest issues while maximizing your limited space.
Bokashi Fermentation Process
Bokashi fermentation offers an elegant complement to worm composting for urban dwellers managing food waste indoors. You’ll layer food scraps into an airtight bucket and sprinkle them with bokashi bran, which contains lactic acid bacteria that rapidly lower pH in anaerobic conditions. The process takes two to four weeks, with warmer temperatures accelerating breakdown. You’ll notice white mold growth and a sour smell when fermentation completes.
Drain the nutrient-rich leachate every three to four days through the spigot, then dilute it for use as fertilizer. A continuous two-bucket setup allows you to fill one bucket while the other ferments, enabling ongoing processing of waste without interruption. For optimal odor control during fermentation, consider models with charcoal filters that help manage any lingering smells as your bokashi bucket sits on the counter. After fermentation, bury the partially decomposed material in soil or add it to traditional compost for final decomposition, which takes another three to six weeks.
Odor Control and Maintenance
Why do some indoor worm bins smell fresh while others reek of sewage? The difference lies in balance. You’ll maintain that earthy, garden-soil scent by managing moisture, airflow, and feeding practices.
Keep bedding like a wrung-out sponge—not soggy. Excess moisture triggers anaerobic conditions that produce foul odors. Add dry carbon materials such as shredded cardboard to absorb wetness and improve drainage. Monitor your bin regularly to detect odor changes and intervene early before conditions deteriorate.
Ensure adequate ventilation through bin holes and periodic fluffing to prevent compaction. Bury food scraps in bedding and avoid overfeeding; smaller pieces break down faster. Skip meat, dairy, and excessive acidic foods. Airtight lids with activated-charcoal filters can further reduce odor escape in compact indoor spaces.
When odors emerge, stop feeding temporarily, remove spoiled material, and add dry bedding. For bokashi buckets, seal them routinely and empty after fermentation to prevent moisture buildup and unpleasant smells.
Electric Composters for Apartment Composting: Speed Over Months
Electric composters accelerate the breakdown of kitchen scraps from months down to hours or days, transforming apartment dwellers’ relationship with food waste. You’ll process up to 2.2 pounds of scraps daily, with many units completing batches in 3.5 hours to under 24 hours. Reencle, for example, breaks down most food items within a day.
However, you should understand that speed doesn’t mean finished compost. The output appears as dried or partially decomposed material requiring further curing—typically three weeks—before garden use. You’ll achieve significant volume reduction, sometimes up to 90%, but you’ll need patience for the final stage. Most models use motorized mixing and heating to accelerate decomposition while maintaining compact indoor designs. For additional material efficiency, consider that crinkle cut paper shred and other paper-based kitchen materials can be composted alongside food scraps in electric units.
This trade-off means you’re eliminating daily kitchen waste quickly while accepting that true compost maturation still takes time.
Freezer + Drop-Off: Minimalist Composting With Zero Gear
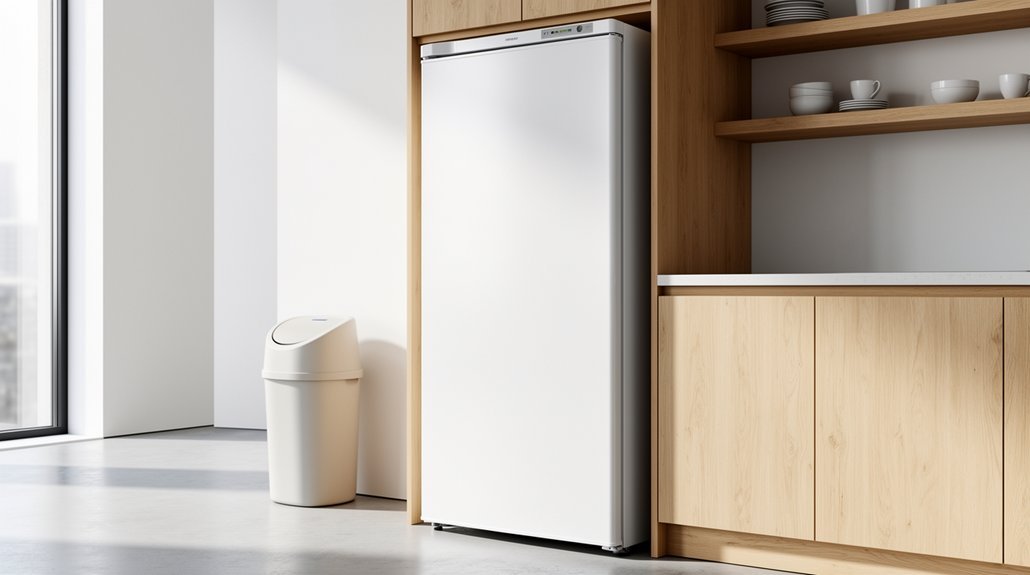
What if you could eliminate kitchen waste without buying a single piece of composting equipment? You can with freezer storage plus drop-off composting. This zero-investment method leverages space you already have while controlling odors that plague room-temperature collection.
Here’s how you’d make it work:
Store scraps in your freezer, check local drop-off options, and schedule regular transport visits to divert waste effortlessly.
- Store fruit, vegetable scraps, eggshells, and even meat in a repurposed container inside your freezer
- Check your local community garden or farmers market for accepted materials before your first drop-off
- Schedule regular visits to align with predictable drop-off hours, typically weekly at farmers markets
- Transport frozen scraps before storage becomes unmanageable during busy weeks
Success hinges on matching your collection habits to a reliable transport routine. You’ll preserve your minimalist kitchen aesthetic while ensuring consistent waste diversion. Freezing eliminates odors and slows decomposition, making this method ideal for apartment dwellers managing limited space. Once your scraps reach the drop-off site, they’ll be processed into compost-ready potting soils that support thriving houseplants and close the waste loop.
Stackable and Vertical Designs to Maximize Small Spaces
How can you compost in a cramped urban space without sacrificing capacity? Stackable and vertical designs solve this problem by growing upward instead of outward. You can build a simple system using 1″x6″ boards stacked into modular sections, or assemble pallet collars that latch together in multiple tiers. Both approaches keep your footprint small while expanding composting volume. Adding rubber bumpers between layers improves airflow for faster decomposition. Since these systems are modular, you’ll move sections easily and scale capacity only as needed. The real advantage? You’re organizing compost neatly in one compact location rather than spreading materials across your yard, making vertical designs ideal for patios, balconies, and narrow spaces where ground area is precious. The 1″x6″ boards used in stackable designs can be sealed with eco-friendly wood treatment to extend their lifespan and protect against weathering in urban environments.
Where Your Compost Output Goes: From Powder to Finished Product
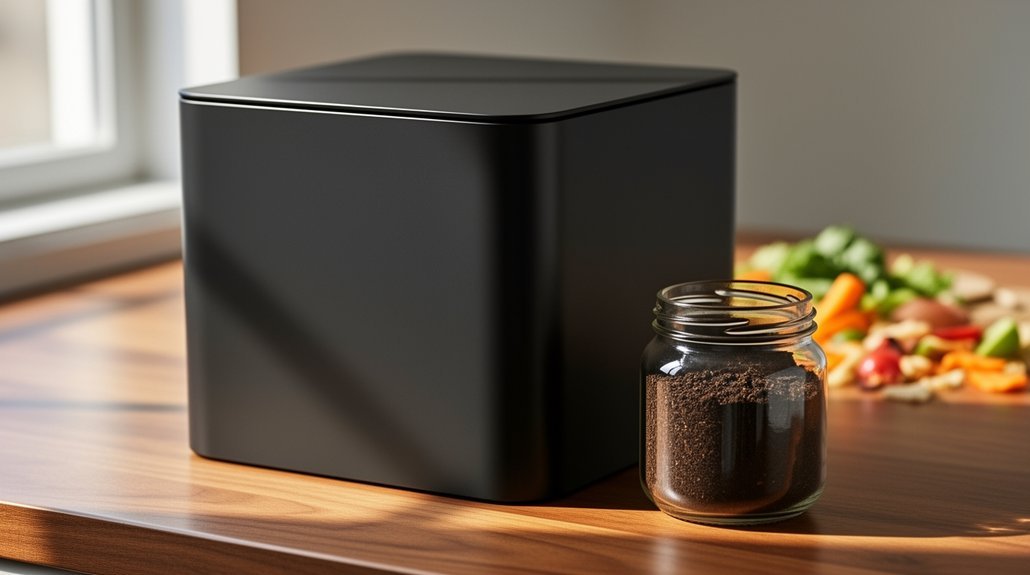
After you’ve built your vertical composting system and let it work its magic, you’re probably wondering what happens next. Your finished compost transforms into a valuable resource through several stages:
- Active decomposition completes in 21-28 days, producing dark, crumbly material ready for refinement
- Mechanical screening removes sticks and stones, separating oversized fragments for recycling back into new batches
- Curing and stabilization deepen the color and soil-like appearance while maturity testing confirms stability
- End-use distribution channels your compost into gardening, landscaping, agriculture, or bagged retail products
You’ll find your finished compost serves as a premium soil amendment for garden beds, potting mixes, and lawn applications. This nutrient-rich product reduces landfill waste while improving soil structure and drought resilience in your urban garden. Windrows may be periodically turned to expose material to oxygen and accelerate the decomposition process during the composting phase.
Matching Your System to Your Space and Lifestyle
Which composting method works best depends entirely on your living situation and how much effort you’re willing to invest. If you’re in an apartment with no outdoor space, vermicomposting or electric composters keep everything contained indoors. A balcony opens up bokashi or small tumblers. For townhouses with modest yards, compact tumblers paired with countertop bins maximize capacity without clutter.
Your lifestyle matters equally. Prefer minimal fuss? Cold composting requires only periodic stirring. Want fast results? Hot composting finishes in two weeks with proper material balance. Bokashi suits set-it-and-forget lifestyles, while freezer storage works if you have community drop-off access nearby.
Consider what you’re composting too. Apartments typically handle food scraps best, while vermicomposting thrives on these rather than yard debris. Bokashi uniquely accepts dairy and meat. Match your system’s capacity to your actual waste volume for success. For urban dwellers who want simplicity, closed-container systems address common concerns like odors and unwanted pests in tight quarters.
Frequently Asked Questions
How Do I Prevent Odors in a Small Apartment With a Worm Bin or Bokashi System?
You’ll prevent odors by maintaining moist-but-not-waterlogged bedding, avoiding overfeeding, adding dry materials like shredded paper, ensuring proper airflow through ventilation holes, and burying food scraps under bedding immediately.
What’s the Cost Difference Between Electric Composters and Traditional Worm Bin Systems?
You’ll spend $300–$1,000+ upfront on electric composters, plus $150–$200 yearly for filters and electricity. Worm bins cost just $50–$200 initially with minimal ongoing expenses, making them substantially cheaper long-term.
Can I Use Compost From Indoor Systems Directly on Houseplants and Balcony Planters?
You can use finished compost from indoor systems on houseplants and balcony planters, but you shouldn’t use it straight. Mix it at about 30% compost with 70% potting medium to avoid root burn and drainage problems.
How Often Do I Need to Transport Scraps if I Use Freezer Storage With Drop-Off?
You’ll typically transport frozen scraps weekly or every two weeks, depending on your freezer container’s size and your household’s food waste volume. Coordinate timing with your local drop-off schedule for convenience.
Do Municipal Composting Programs Accept Bokashi Pre-Compost or Only Fully Finished Compost?
Most municipal composting programs accept only fully finished compost, not bokashi pre-compost. You’ll need to check your local program’s rules directly and ask specifically about bokashi-fermented food waste acceptance.
In Summary
You’ve now discovered that apartment composting doesn’t require sacrificing style or space. Whether you’re choosing a sleek electric composter, a compact worm bin, or simply freezing scraps for drop-off, you’ll find a system that fits your lifestyle. The key’s matching your method to your actual habits and available space. You’re ready to transform your kitchen waste into meaningful environmental action without cluttering your home.



