
You’ll want to start by securing a site with reliable water access and community backing—think public lands, farms, or schools. Next, pick a system that fits your space: enclosed bins for limited areas, tumblers for faster results, or vermicomposting indoors. Finally, establish clear collection protocols, assign management roles, and distribute starter buckets with sorting guidelines. Getting these foundations right sets you up for long-term success.
Pick a Site With Water and Community Support
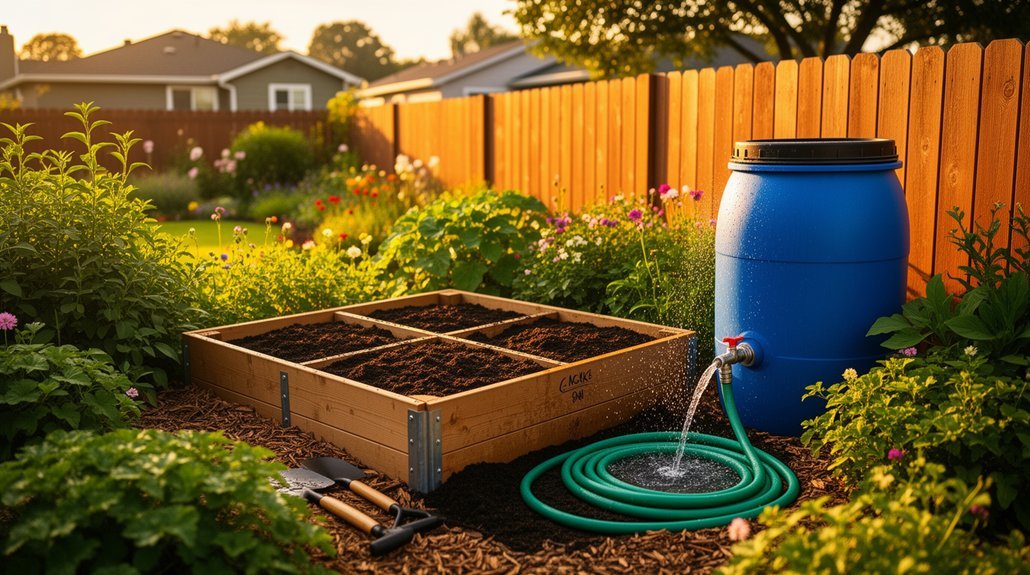
Finding the right location is essential to your community composting program’s success, and you’ll want to prioritize two key factors: reliable water access and strong local support. You’ll need water nearby—whether from an outdoor spigot, hose bib, rain barrel, or irrigation source—to keep compost at the right moisture level without constant manual hauling. Look for sites on public lands, farms, gardens, or schools, as these locations are typically easier to equip with water infrastructure.
Equally important is community engagement. You’ll benefit from nearby residents, volunteers, and partner organizations who can help with collection and maintenance. Sites within or near community gardens work particularly well since they already foster shared stewardship. When your location feels accessible and visible, participation naturally increases, creating the sustained volunteer support your program needs to thrive long-term. Community composting systems work best when paired with odor control features that minimize neighborhood concerns and encourage continued participation. Consider that at least 27% of the US population has access to municipal or private composting programs, which demonstrates the growing demand for organic waste management solutions in your community.
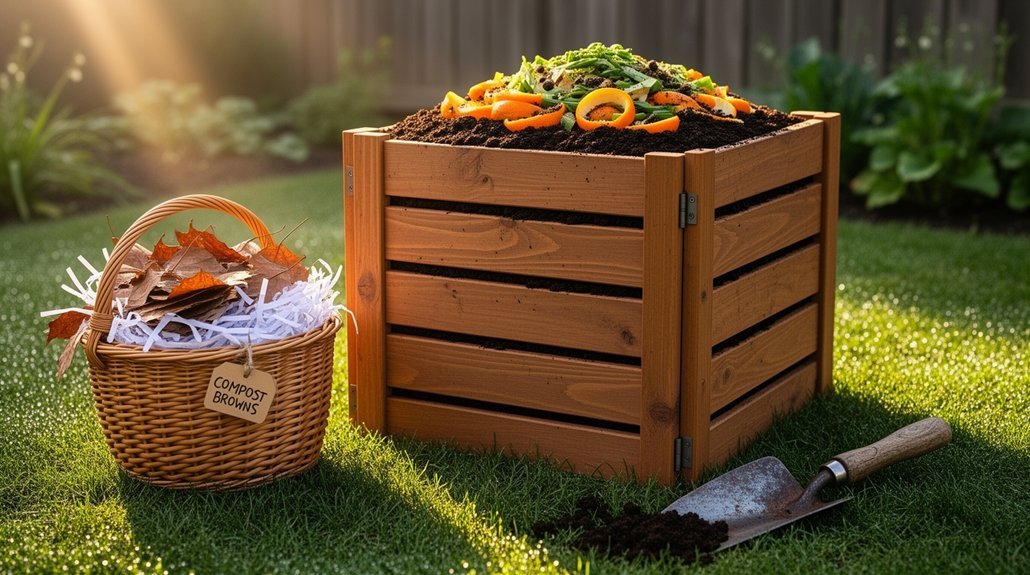
Choose the Right System for Your Space
Once you’ve secured your site and built community enthusiasm, you’ll need to select a composting system that fits your specific space and operational needs. For most community programs, enclosed outdoor bins work well—they’re practical, reduce odor concerns, and accommodate limited spaces effectively.
If you’re working with a smaller group, tumbling composters offer faster results through easy hand-crank turning, though you’ll need to batch materials carefully.
For indoor collection points, vermicomposting or electric food recyclers preprocess scraps before transport to your main site. When using vermicomposting systems, maintain temperatures between 65–70°F to ensure red wigglers process food waste efficiently into worm castings. Consider using airtight food storage containers at your collection points to minimize odors and prevent pest intrusion while materials await transport.
Regardless of your choice, remember that smaller systems require balanced brown-to-green ratios and more attention to feedstock management. Cutting materials into smaller pieces accelerates decomposition significantly.
Plan What to Collect and Who Manages It
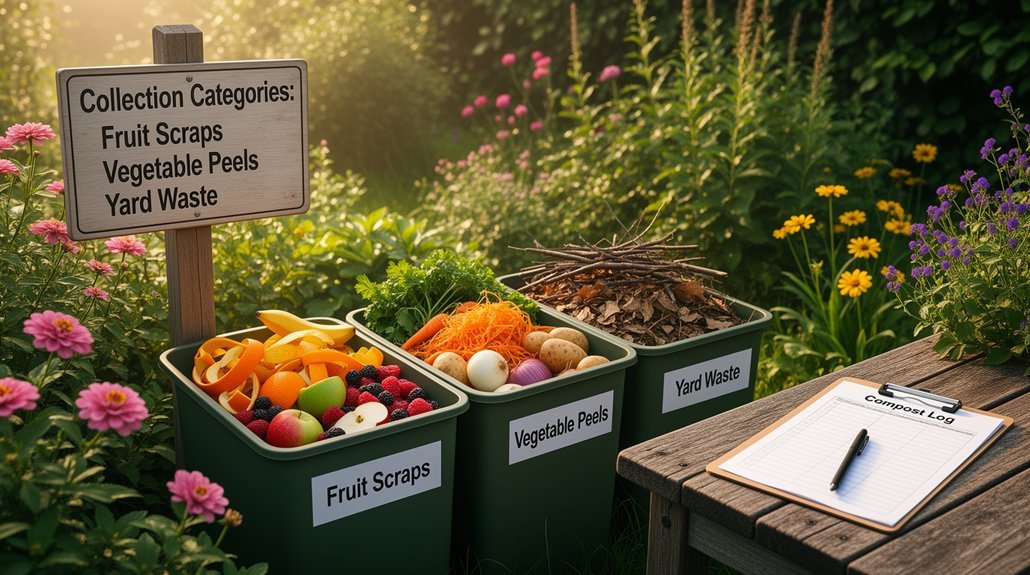
The success of your community composting program hinges on clear decisions about what materials you’ll accept and who’ll handle the day-to-day operations. You’ll need to establish an acceptable feedstock list and post it prominently at your site. Focus on these key elements:
- Accept fruit and vegetable scraps, coffee grounds, eggshells, and yard waste
- Exclude meat, dairy, oils, and most compostable service items
- Maintain a 3-to-4 parts browns-to-greens ratio using leaves and wood chips
- Assign specific roles for collection, pile maintenance, and bucket returns
Distribute starter buckets to participants and reinforce sorting guidelines with signs and printed instructions. Identify your management team early, whether you’re running the program solo or delegating tasks among volunteers. Consider using double-ended wooden tampers or similar tools to help compress and manage vegetable matter in your composting bins. Clear communication prevents contamination and keeps operations running smoothly. Recording temperatures, moisture levels, and odor during the composting process will help you reproduce successful mixes and guide adjustments as your program matures.
Frequently Asked Questions
How Long Does It Take to Produce Finished Compost That’s Ready to Use?
You’ll typically produce finished compost in 2 to 6 months under average conditions. If you’re actively managing a hot pile with proper turning, you can achieve it in 2 to 4 weeks. Cold weather slows the process considerably.
What’s the Ideal Size for a Compost Pile to Maintain Proper Heat and Decomposition?
You’ll want your pile at least 3 ft × 3 ft × 3 ft to maintain proper heat. A 4 ft × 4 ft × 3 ft size works even better. Larger dimensions help retain heat since you’ve got less surface area losing warmth.
How Do We Balance Carbon-Rich and Nitrogen-Rich Materials in Our Compost System?
You’ll balance your compost by mixing roughly three parts browns to one part greens by volume. Aim for a 25:1 to 30:1 carbon-to-nitrogen ratio. Layer dry leaves with food scraps to prevent compaction and odor.
What Should We Do With the Finished Compost Once It’s Ready?
You can mix 2-4 inches into garden beds, use it as mulch, blend it with potting soil, or spread it on lawns. You’ll also want to sift out larger pieces and return them to your active pile for further breakdown.
How Can We Prevent Odors and Pest Problems at Our Composting Site?
You’ll prevent odors and pests by maintaining a 25:1 to 40:1 carbon-nitrogen ratio, keeping moisture around 50-55%, ensuring 40% free air space, covering fresh materials promptly, and removing meat, dairy, and oils from your compost stream.
In Summary
You’re now ready to launch your community composting project. You’ve picked the perfect site, selected your system, and planned your collection strategy. What’s left is taking action—reach out to your neighbors, gather your first batch of materials, and get started. You’ll soon see how composting transforms your community’s waste into valuable soil while building connections among residents. Your green initiative starts today.


Leave a Reply