
You can transform apartment composting by building a simple DIY mesh sifter that removes contaminants, reduces odors, and produces uniform, garden-ready compost. Choose between 1/4-inch or 1/2-inch mesh attached to a cedar or galvanized steel frame—it’ll take just 15 minutes to assemble. Place your sifter on a stable surface near a storage bin, then screen small batches of dried material to prevent clogging. The right setup and technique will show you exactly how to maximize your screener’s potential.
Why You Need a Mesh Sifter for Apartment Composting
Ever wondered why your finished compost looks lumpy and inconsistent? A mesh sifter transforms your apartment composting workflow by separating finished material from chunks that need more time. You’ll remove plastic, stickers, stones, and twigs that contaminate your final product—especially important when dealing with mixed apartment waste streams.
Screening creates a fluffier, more uniform texture that blends seamlessly into potting soil and container mixes. You’ll notice improved soil structure and better nutrient distribution throughout your amendments. The finer particles work better for seedlings and balcony planters. When your compost reaches the texture of wrung-out sponge, it’s ready for screening without becoming overly wet or difficult to process.
Beyond quality improvements, a sifter makes small-space composting practical. You’ll reduce odor and mess by keeping partially decomposed scraps separate. Smaller screened batches are easier to store and transport in tight quarters, making your apartment composting genuinely manageable. For apartment dwellers with limited space, consider that ready-to-use condition in your composting setup saves preparation time and ensures consistent results across batches.
Choose Your Mesh and Frame Materials
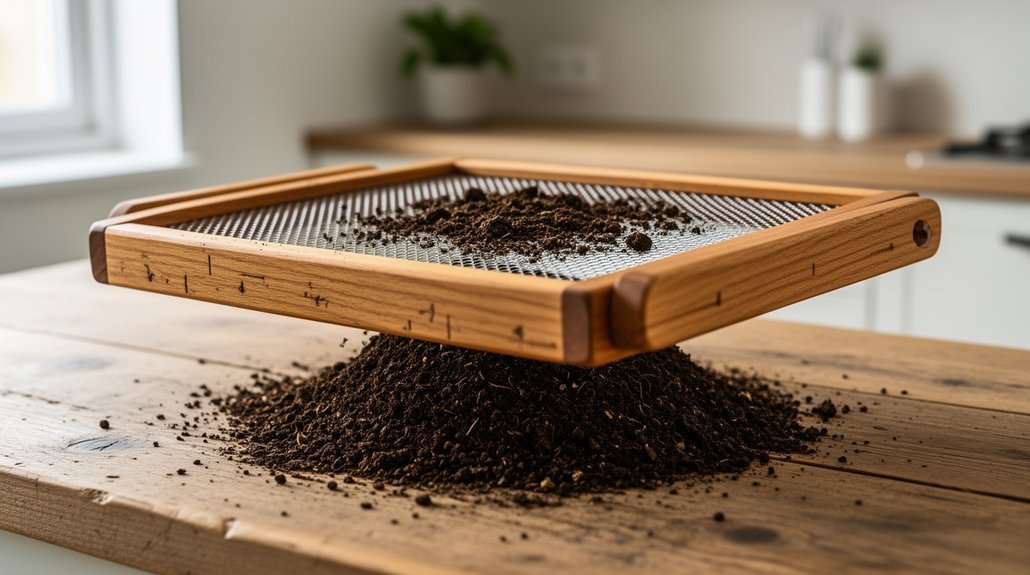
Your sifter’s performance hinges on selecting the right mesh size and frame materials—the foundation for efficient, long-lasting screening.
The right mesh size and frame materials form the foundation for efficient, long-lasting compost sifting performance.
For mesh, you’ll want 1/4 inch hardware cloth for fine compost or 1/2 inch for faster sifting. Galvanized steel offers excellent corrosion resistance and durability, while aluminum works if you prioritize lightweight handling. Avoid plastic mesh—it breaks easily and won’t last through repeated use.
For your frame, cedar or redwood provide natural decay resistance ideal for outdoor composting. If budget matters, untreated pine works fine but requires protection. Use 2×3 or 2×4 boards for adequate strength; thinner 1x boards won’t support compost weight reliably. 45-degree mitered joints create a sturdy picture-frame design that distributes weight evenly across the sifter.
Attach your mesh with staples spaced three inches apart, keeping tension even to prevent sagging. Proper aeration and drainage through your sifter design ensures compost breaks down efficiently while your structure withstands regular use. This combination ensures your sifter withstands regular use while delivering consistent results.
Build a Basic Frame Screener in 15 Minutes
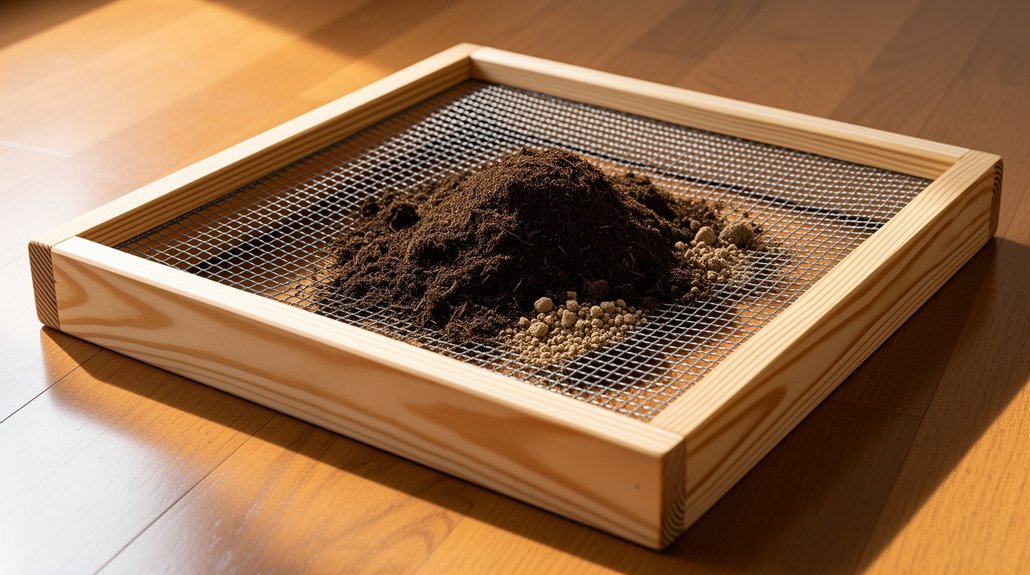
Ready to assemble a working screener? You can build a functional frame in just 15 minutes using basic tools: a saw, drill, measuring tape, and screws.
Start by cutting four boards into a rectangle, typically around 2×3 feet. Pre-drill your corner joints to prevent wood splitting, then fasten the frame together with 3-inch exterior-grade screws. You can use simple butt joints or mitered corners—both work well. Adding glue at the joints gives extra strength.
Next, staple hardware cloth around the frame perimeter, starting along one long side and working partially down the short sides. Trim excess mesh before completing the fastening. Reinforce corners with additional staples for durability. The 1″ x 1″ mesh allows finished compost particles to pass through while catching larger materials that need more time to break down. For best results, consider placing your screener in a convenient location that balances easy access for adults while keeping the composting process organized.
Your screener’s now ready to sit atop a collection bin or wheelbarrow.
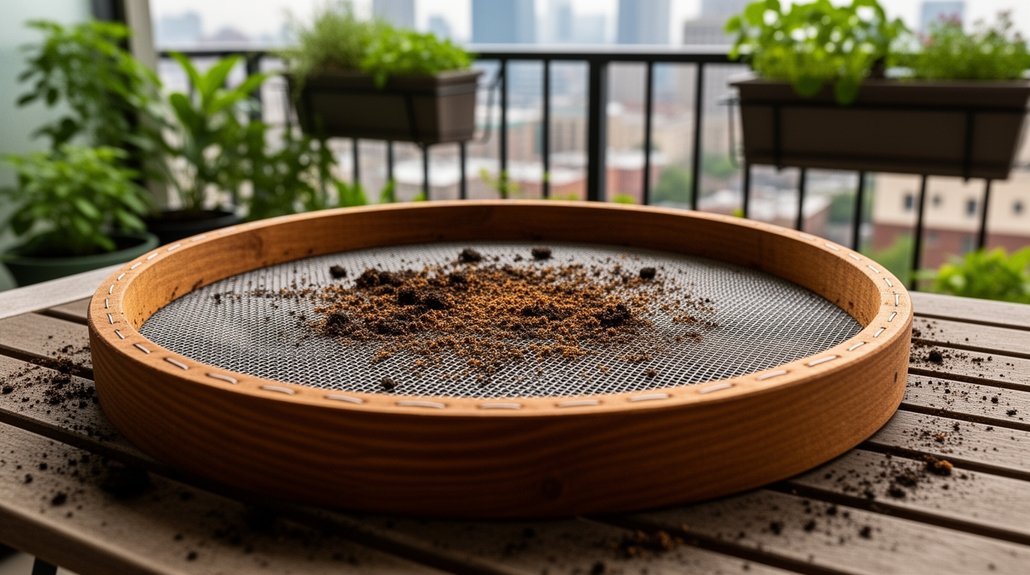
Set Up Your Sifter on a Balcony or Patio
Once you’ve built your frame screener, finding the right spot to use it makes all the difference. You’ll want a flat, stable surface like concrete or patio pavers to prevent tipping while you shake the sifter. Position it near a storage bin to minimize transfer distance for screened material.
Consider these setup essentials:
- Place a tarp or catch basin underneath to contain stray particles
- Keep walking paths clear to avoid trips and accidental spills
- Use rubber mats to reduce movement on smooth surfaces
- Choose a covered area if possible to protect from rain and wind
Dry compost screens more cleanly than wet material, which can clog mesh. Use gentle, light shaking motions to minimize vibration transfer through balcony floors and reduce noise for neighbors. Positioning your sifter away from shared walls helps minimize sound disturbance during operation. Sweep up debris immediately to prevent dust from spreading across your patio. Wearing eye protection during sifting helps shield you from particles that may bounce back toward your face.
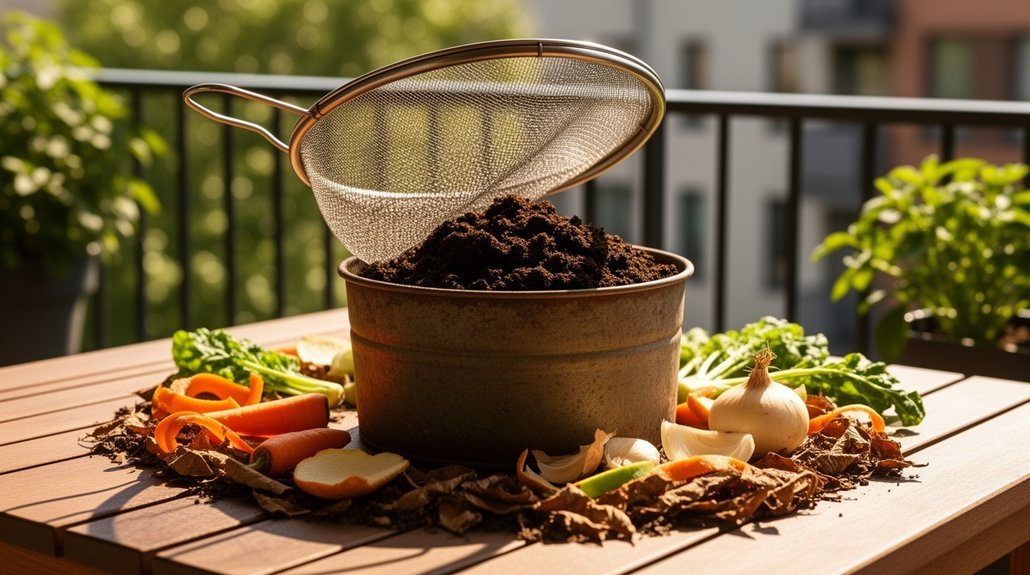
Screen Compost in Small Batches on Your Sifter
How you load your sifter matters just as much as the equipment itself. Small batches prevent mesh clogging and ensure usable compost doesn’t end up in your residue pile. You’ll move material across the screen more easily and reduce wasted effort by working gradually. For best results, dry your material before screening, as vermicompost from enclosed bins needs adequate curing time—typically days in warm, well-ventilated settings or weeks in less ideal conditions—to achieve the crumbly texture that screens most effectively. Stainless steel sifters with interchangeable mesh screens provide the flexibility to adjust your approach based on material type and desired output fineness.
| Batch Size | Moisture Level | Mesh Size | Processing Time | Best For |
|---|---|---|---|---|
| 1–2 gallons | Dry | 1/4 inch | Slower | Fine potting mix |
| 2–4 gallons | Slightly dry | 3/8 inch | Moderate | General use |
| 4–6 gallons | Dry | 1/2 inch | Faster | Mulch amendment |
| Small loads | Damp | 1/2 inch | Quick | Apartment setups |
| Coarse material | Variable | All sizes | Reprocess | Compost pile return |
Start with small amounts and increase until you find your sifter’s sweet spot.
Frequently Asked Questions
How Long Does a DIY Mesh Sifter Typically Last Before Needing Replacement or Repair?
Your DIY mesh sifter typically lasts multiple seasons when you maintain it properly. You’ll likely replace the mesh after 2–5 years, while your wooden frame outlasts it if you’ve built it sturdy with quality screws.
Can I Use My Sifter for Materials Other Than Finished Compost?
Yes, you can adapt your sifter for soil, garden debris, leaves, and twigs by changing the mesh size and frame dimensions to match your material. You’ll find it versatile for various screening tasks.
What’s the Difference in Screening Speed Between 1/4-Inch and 1-Inch Mesh?
You’ll find 1-inch mesh screens material roughly 16 times faster than 1/4-inch mesh because it has substantially more open area. However, you’ll sacrifice finer separation quality, as larger chunks pass through more easily.
How Much Volume Can a Single Sifter Process in One Hour?
You’ll process a few batches hourly with fine mesh, but you can handle substantially more volume with coarse mesh and dry compost. Your actual throughput depends on batch size, material moisture, and operator fatigue.
Should I Store My Sifter Indoors or Outside During Winter Months?
You should store your sifter indoors during winter. Indoor storage keeps hardware cloth and fasteners drier, prevents rust and corrosion, and protects untreated lumber from warping. It’s especially practical for apartments with limited outdoor space.
In Summary
You’ve now got a functional compost screener that’ll transform your apartment composting routine. Your DIY mesh sifter separates finished compost from larger debris efficiently, so you’re getting nutrient-rich material for your plants without the mess. With minimal materials and just fifteen minutes of your time, you’re ready to start screening small batches. You’ve made composting in tight spaces practical and productive.


Leave a Reply