
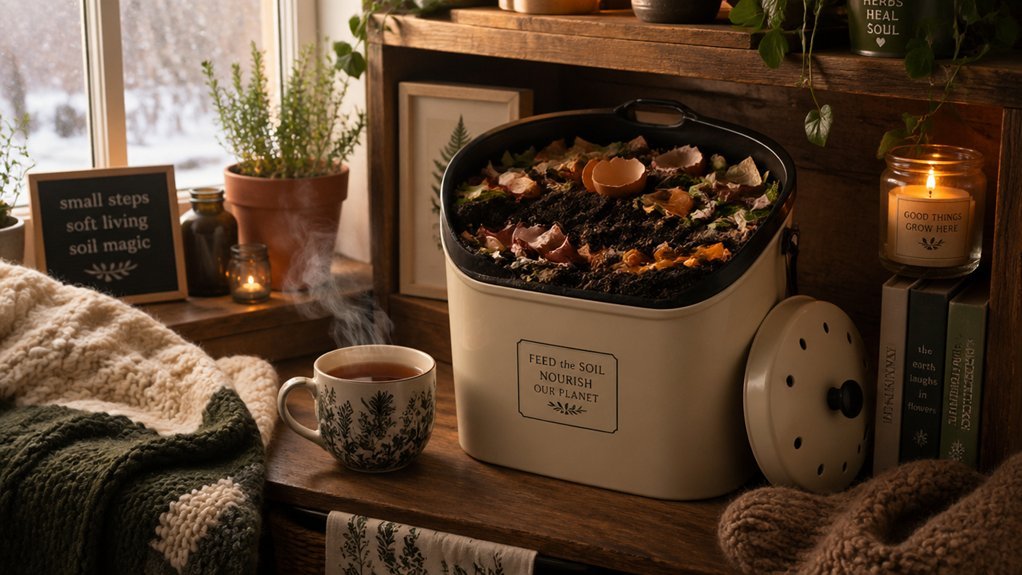
Pick a south‑facing wall or balcony and put your bin on an insulated pallet to trap solar heat. Cover the pile with a dark tarp and a layer of straw for wind protection and extra warmth. Balance greens and browns at roughly a 1:2–3 volume ratio, adding fresh grass clippings or coffee grounds as winter activators. Keep the core temperature between 150–175 °F with a thermometer, and maintain sponge‑like moisture (about 50‑60 %) using a moisture meter and occasional hand squeezes. If you keep these steps, you’ll discover even more tricks to stay cozy and odor‑free all season.
Select a South‑Facing Wall or Balcony for Winter Composting
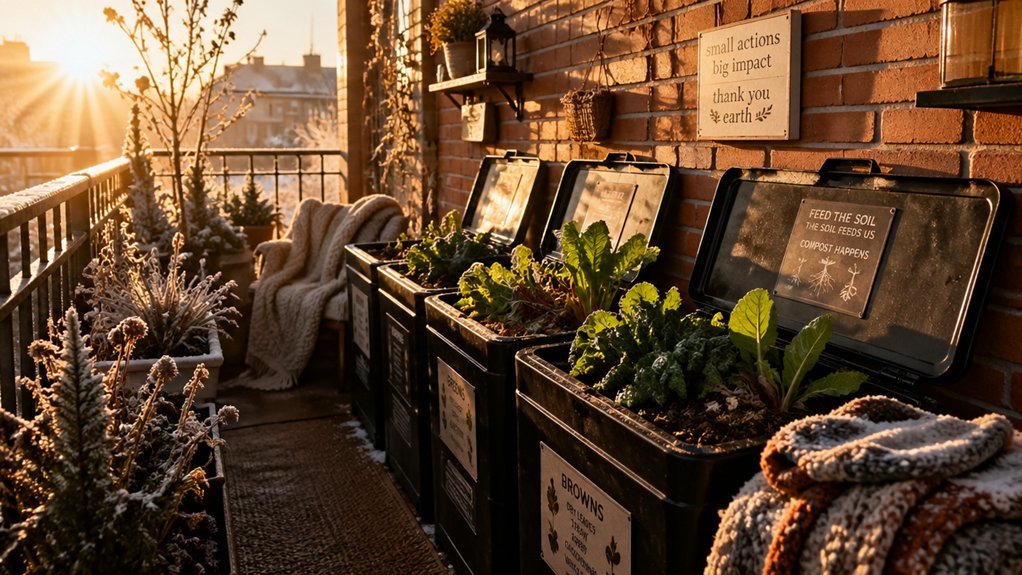
Ever wonder why a south‑facing wall or balcony can make winter composting work? You pick a south-facing wall or balcony because its sun exposure delivers solar gain that warms the pile. Position the bin near an exterior wall that serves as wind protection, shielding microbes from harsh winter breezes.
Choose the warmest composting location in your garden, ideally where the sun hits all day or next to a dark surface that stores heat.
Keep the spot within easy reach from your kitchen, so you can toss scraps even on long, dark nights.
Finally, set the bin on an insulating base or pallet to cut ground heat loss and preserve core warmth, ensuring steady activity throughout winter, and consider odor-control features charcoal filters to maintain freshness in colder months.
Elevate the Bin and Add Insulation for Winter Composting
If you raise your compost bin off the cold ground—by setting it on a wooden pallet or a layer of insulation—you cut away the biggest source of heat loss and keep the core temperature high enough for microbes to stay active throughout winter. Elevation creates an air gap that blocks ground chill, while a blanket of straw or cardboard underneath adds insulation that boosts heat retention. For added resilience, use a durable, dishwasher-safe ceramic bin with odor-control features such as a charcoal filter to maintain hygiene and stability in cold conditions filter maintenance. For tumblers, place the unit on a pallet or move it into a garage to shield it from cold weather. Position the pile on the le opposite prevailing winds and near a south‑facing wall to soak up solar warmth. Keep moisture balanced; a damp but not soggy pile maintains temperature and supports steady composting during winter.
Cover the Pile With a Dark Tarp and Straw for Winter Composting
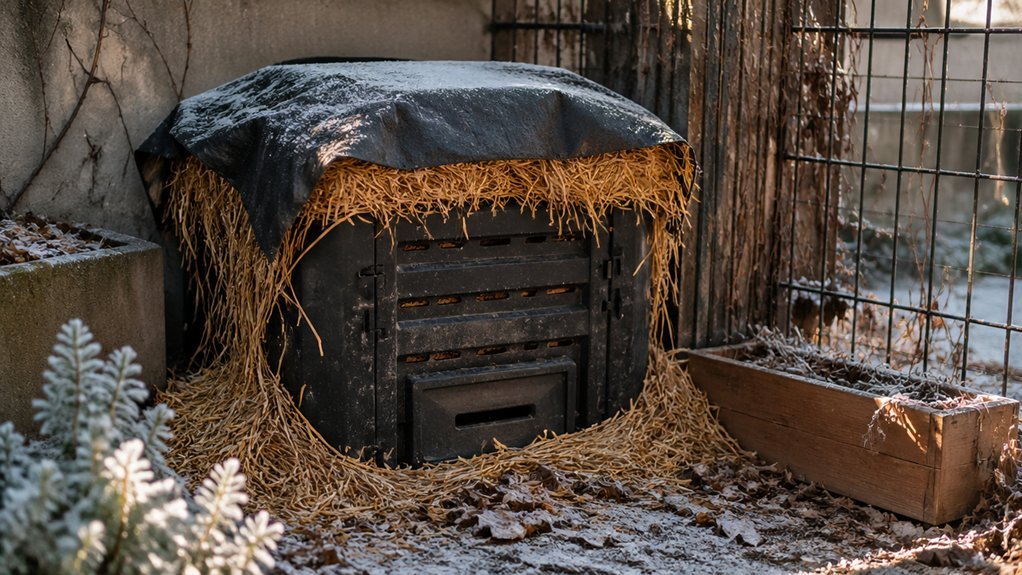
Raising the bin already cuts heat loss; adding a dark tarp and straw insulation takes insulation a step further. The dark tarp captures solar warmth, while straw insulation traps that heat and shields the compost pile from wind. Position the raised pile near a windbreak and keep moisture balanced for optimal winter composting.
4. Use durable, water-resistant tarps to extend protection against melting snow and heavy rain, ensuring consistent warmth inside the pile. wrap-around insulation
Balance Greens and Browns for Winter Composting
Why does a balanced mix of greens and browns matter when composting in winter? Because the greens-to-browns balance drives the carbon-to-nitrogen ratio that fuels microbial heat. Aim for roughly 30 parts carbon to 1 part nitrogen by weight.
Balanced greens and browns set the C:N ratio, fueling microbial heat for winter composting.
Toss kitchen scraps (greens) with dead leaves, wood chips, straw, or shredded paper (browns) in a 1:2‑3 volume ratio.
Layer the compost pile to keep aeration strong; each shovel of greens should be capped with two to three scoops of browns.
Autumn leaves are perfect bulky browns, creating air pockets and insulation.
Top‑dress the pile with extra browns to curb odors, improve moisture management, and trap warmth, ensuring steady decomposition throughout winter.
Balanced ratio helps maintain ongoing microbial activity even in cooler temperatures, aligning with optimal airflow and insulation practices.
Monitor Core Temperature for Winter Composting
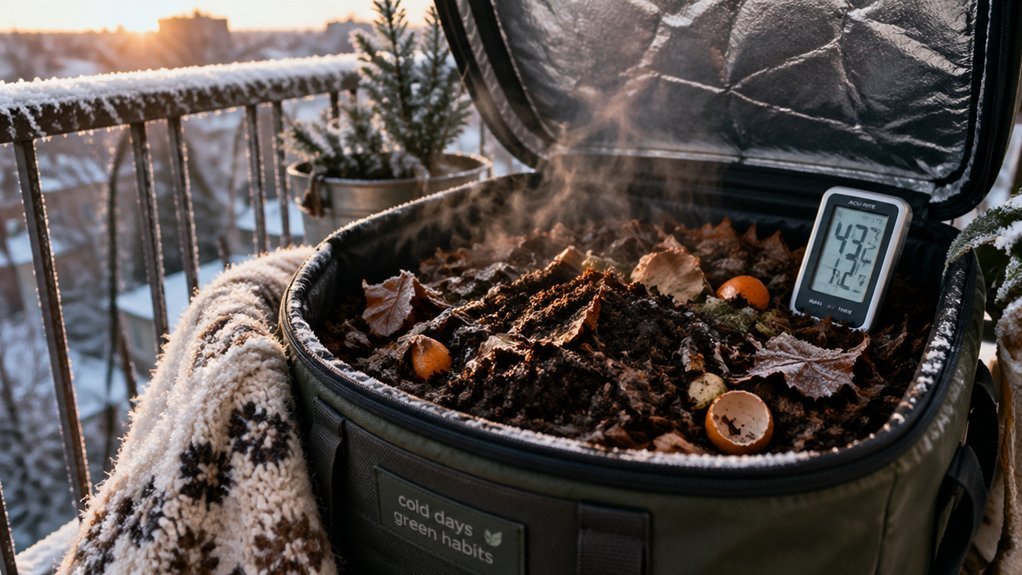
Place a compost thermometer in the center of the pile and check it regularly to see if you’re hitting the 150‑175 °F range. If the reading drops, add nitrogen‑rich greens or add a layer of straw to insulate and keep the core warm. Use the same timing and sorting-reference criteria to ensure your winter inputs stay appropriate for hot or cold methods and maintain consistency with local guidelines.
Thermometer Placement
Ever wondered how to keep your winter compost humming when the temperature drops? The secret starts with where you stick your compost thermometer. Position it deep in the center of the pile, where the core temperature truly reflects microbial heat. Avoid edge spots that mislead temperature monitoring and skew data logging. Below are the key steps to secure accurate readings and boost heat retention.
- Dig a narrow tunnel to the middle of the pile and insert the probe horizontally.
- Anchor it with a small stone or wooden dowel to prevent movement.
- Cover the probe tip with a thin layer of insulating material (e.g., straw) to protect against ground chill.
- Check the reading daily, noting any shifts that signal changes in turning frequency, green-to-brown balance, or moisture management.
Probe Length and Depth Considerations Longer probes penetrate deeper into piles, which can improve core temperature accuracy and better reflect microbial activity at depth.
Data‑Driven Adjustments
When the temperature dips, you’ll need to let the core readings of your compost drive every tweak you make. Grab a compost thermometer, insert it into the center, and record the temperature daily. Data analysis will reveal whether thermophilic bacteria are still active—look for 140‑160 °F (60‑71 °C). Regular monitoring also helps you spot when moisture is drifting toward the damp side, which can slow microbial activity and invite odors. If the numbers slide, boost insulation by adding straw, a tarp, or a pallet base, and check moisture; a damp but not soggy feel keeps microbes humming. Adjust the greens‑to‑browns ratio, adding nitrogen only when the pile cools too fast. Larger pile size retains heat longer, while more frequent turning distributes warmth. Use this trend data for winter planning, refining pile size, moisture, and turning frequency each season. Temperature monitoring guides your adjustments and helps maintain a steady, aerobic process during colder months.
Maintain Moisture Like a Wring‑Out Sponge for Winter Composting
You’ll want to check the moisture every few days, squeezing a handful of material until it feels like a wrung‑out sponge. A simple moisture meter can confirm you’re in the 50‑60% range, so you add water sparingly only when it feels dry.
Keeping the pile damp but not soggy ensures the microbes stay active throughout winter.
CheckCheck Moisture Regularly
Wondering how to keep your winter pile alive? You need consistent moisture monitoring to maintain a healthy water balance. A quick wrung sponge test—squeeze a handful of material—tells you if it’s damp enough. Too dry and microbes stall; too soggy and they drown. Keep rain protection in place and add brown material for drainage. Your routine should include:
- Check moisture daily with the wrung sponge test.
- Adjust dampness by sprinkling water or adding dry browns.
- Shield the pile from excess rain using a tarp or roof overhang.
- Record observations to spot trends and prevent dry conditions.
Use a Moisture Meter
Ever wondered how to keep winter compost at the perfect 50‑60% moisture without constantly squeezing a sponge? A moisture meter lets you gauge pile dampness instantly, keeping composting moisture in the ideal range for microbial activity. Stick the probe into the heart of your winter composting mix; the read‑out tells you whether you need more browns for drainage or extra greens for moisture.
In dry spells, add a few wet scraps until the meter reads near 50 %; in rainy periods, cover the pile with a tarp to preserve evaporation control and prevent soggy compaction. Regular checks help you fine‑tune moisture balance, ensuring the right heat, preventing odor, and letting soil amendments work efficiently. Use the meter alongside occasional hand squeezes for the most reliable results.
Add Water Sparingly
A moisture meter tells you when the pile is too wet, but the real trick is to keep that dampness at a wrung‑out‑sponge level—about 50‑60% moisture—by adding water only sparingly. In winter you must balance compost moisture to sustain microbial activity and winter warmth without drowning the pile. Use simple tactics to maintain humidity control and protect the heap from weather.
- Sprinkle a few milliliters of water over a small section, then stir and test the wrung‑sponge feel.
- Cover the bin with a tarp or roof overhang for weather protection and insulation.
- Mix in brown leaves or wood chips to improve drainage and pile hydration.
- Re‑check moisture weekly, adjusting only when the sponge feels dry.
These steps keep the compost lively, warm, and efficient throughout cold months.
Add Fresh Grass Clippings or Coffee Grounds as Winter Compost Activators
Looking to keep your winter compost warm and active? Fresh grass clippings and coffee grounds make excellent winter activators, delivering a quick nitrogen source that spikes microbial heat. Toss a thin layer of grass clippings or a handful of coffee grounds onto your compost pile, then cover with browns to keep the C:N ratio balanced. Watch moisture—too wet fuels compaction and odor—so add dry leaves or shredded paper if needed. Layering greens and browns while monitoring core temperature ensures steady decomposition warmth even in cold weather composting.
| Activator | Recommended Mix |
|---|---|
| Grass clippings | 1 part clippings : 2 parts browns |
| Coffee grounds | 1 part grounds : 3 parts browns |
| Combined | 1 part clippings + 1 part grounds : 4 parts browns |
Frequently Asked Questions
How Do the Amish Compost?
You’ll find the Amish build large, insulated piles on raised beds, mix plenty of straw and leaves, keep a balanced greens‑to‑browns ratio, turn sparingly, and monitor moisture to sustain heat through winter.
What Three Items Should Not Be Placed in a Compost Pile?
You should keep meat, dairy, and oily foods out, avoid coal ash or treated wood, and never add glossy, inked paper—these three items will spoil your compost, attract pests, and harm microbial activity.
Do Coffee Grounds Add Nitrogen to Compost?
Yes, coffee grounds supply nitrogen to your compost, boosting microbial activity and heat. Mix them with carbon‑rich browns, keep moisture balanced, and avoid overloading to prevent compaction or odor.
What Is a Natural Accelerator for Compost?
You can speed up compost by adding nitrogen‑rich greens like fresh grass clippings, coffee grounds, or chicken manure; they feed microbes, raise temperature, and keep the pile active even in cold weather.
In Summary
By following these seven tricks, you’ll keep your compost humming even when temperatures plunge. A sunny wall or balcony, raised and insulated bins, dark tarps with straw, and a proper greens‑to‑browns mix all help retain heat. Keep an eye on the core temperature and treat the pile like a wrung‑out sponge—moist but not soggy. Toss in fresh grass clippings or coffee grounds for an extra boost, and your winter compost will stay lively and productive.



