
You’ll find beneficial bacteria turn kitchen scraps into gold because they rapidly break down organic matter into nutrient‑rich compost that fuels plants and cuts landfill waste. They thrive when you keep the pile as moist as a wrung‑out sponge and aerated, balancing greens (nitrogen) with browns (carbon) at a 25:1‑30:1 C:N ratio. Adding dry browns, turning regularly, and avoiding meat or dairy keep odors low and microbes happy, while vermicomposting or Bokashi can boost activity even more. Keep exploring to discover how to fine‑tune your bin for maximum results.
What Makes Beneficial Bacteria the Engine of Kitchen‑Scrap Composting?
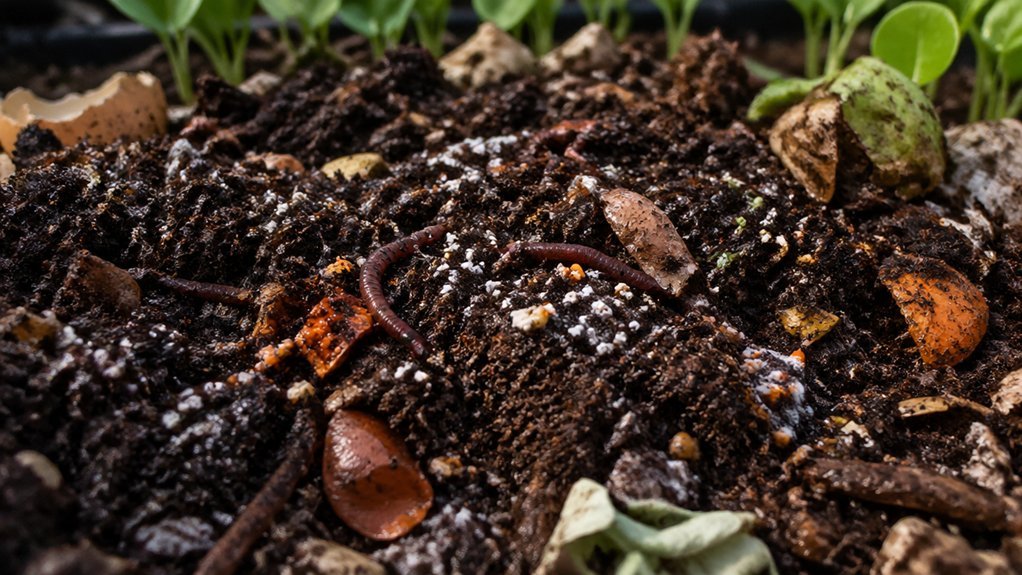
How do beneficial bacteria become the engine of kitchen‑scrap composting? You feed them a balanced mix of green, nitrogen‑rich scraps and brown, carbon‑rich leaves, aiming for a 25:1‑30:1 C:N ratio. The bacteria launch decomposition, releasing heat that speeds the process and turning waste into humus. By keeping the pile aerated and moist, you sustain aerobic digestion, which prevents foul odors and lets microbes convert organic matter into a nutrient‑rich amendment. As they break down proteins, fibers, and sugars, they liberate nitrogen, phosphorus, potassium, and trace minerals like magnesium and iron. The result is a dark, crumbly material that enriches soil, supports plant growth, and closes the nutrient loop in your kitchen. Odor control technology ensures the environment stays favorable for microbial activity while minimizing smells.
Set Up a Low‑Odor, High‑Activity Kitchen‑Scrap Compost Bin
Pick a sturdy, breathable container and line it with a lid that keeps pests out while letting airflow in. Keep the mix as damp as a wrung‑out sponge, adding water or dry browns as needed to avoid soggy smells. Turn the pile every few days to supply oxygen, speed breakdown, and maintain the high‑activity environment you want. Incorporate an adjustable ventilation strategy to tailor airflow as the pile settles and seasons change airflow management.
Choose Materialsizedly
Start with a balanced mix of greens—food scraps, coffee grounds, tea leaves—and browns like shredded paper, dry leaves, or straw, aiming for a carbon‑to‑nitrogen ratio of about 25:1 to 30:1. Choose green materials that are moist and nitrogen‑rich, and brown materials that are dry, fibrous, and carbon‑heavy. Slice or shred larger pieces so microbes can reach them quickly, and layer the browns to trap air and prevent clumping.
A covered bin keeps pests out and odors low, while partial shade protects the pile from extreme heat. By maintaining the carbon-to-nitrogen ratio and ensuring plenty of oxygen, you promote aerobic digestion, keep the compost active, and speed up the transformation of kitchen scraps into valuable soil. Incorporate an indoor Bokashi approach for odor‑free fermentation in small spaces to further optimize the process Bokashi fermentation.
Manage Moisture Balance
If you keep the compost’s moisture like a wrung-out sponge, you’ll suppress odors and keep pests at bay while the microbes work fast. Aim for a damp, not soggy, feel; the pile should drip a few drops when squeezed. When it gets too wet, toss in dry brown material—leaves, wood chips, shredded cardboard—to soak up excess water and boost aeration. If it dries out, spray a little water while you turn the compost pile, restoring the ideal moisture level and spurring microbial activity. A lid with ventilation holes slows moisture loss and masks smells, while regular turning spreads moisture evenly and keeps oxygen flowing. This aligns with the idea of using wooden or stainless steel tools for fermentation tasks to help manage moisture and aeration effectively in food-related processes sturdy tamper and supports maintaining food-grade handling practices in home fermentation setups.
| Issue | Fix | Effect |
|---|---|---|
| Wet pile | Add dry brown material | Reduces odors, improves aeration |
| Dry pile | Sprinkle water & turn | Restores moisture, fuels microbes |
| Strong smell | Cover with lid, ventilate | Controls odor |
| Uneven moisture | Mix thoroughly | Balances humidity |
| Low activity | Ensure proper moisture & aeration | Boosts microbial activity |
Aerate Regularly, Promptly
Keeping the moisture just right means you can now focus on moving air through the bin. You’ll notice that proper aeration keeps aerobic digestion humming, so the microbes stay active and the pile doesn’t stink. Punch a few holes in the bottom of your turning bins and add a slatted lid for airflow while shielding moisture. Every one to two weeks, give the bin a quick turn; this mixes the green‑to‑brown layers, spreads the damp sponge‑like texture, and prevents anaerobic spots. Shred scraps, balance carbon and nitrogen, and avoid meat or dairy to keep the oxygen‑rich environment stable. Consistent moisture control and regular aeration speed decomposition, turning kitchen waste into garden‑ready gold. Odor control remains a practical benefit when using airtight lids and proper bran layering to maintain an aerobic environment.
Choose Aerobic Bacteria for Kitchen‑Scrap Compost
What makes kitchen‑scrap compost thrive is the right mix of aerobic bacteria, and you can keep them happy by ensuring plenty of oxygen, balanced carbon‑to‑nitrogen ratios (about 25:1–30:1), and just‑right moisture—think a wrung‑out sponge. Aerobic bacteria sprint through the pile, turning scraps into rich humus while generating heat that kills pathogens. Your job is simple: turn the heap every few days, spray a mist if it feels dry, and add brown material when it looks too green. This routine guarantees continuous aeration, moisture control, and rapid composting. OK compost HOME is one of the certifications often highlighted for bags used in home composting, helping ensure compatibility with common household composting programs.
Balance Carbon‑to‑Nitrogen for Small‑Space Kitchen‑Scrap Compost
You’ll keep your compost humming by aiming for a 25:1‑30:1 carbon‑to‑nitrogen mix, pairing browns like shredded newspaper with greens such as fruit scraps and coffee grounds. Cutting larger pieces into bite‑size chunks speeds up microbial action and helps you stay within that ratio in a tight space. Regular turning promotes aeration and helps maintain steady decomposition, especially when using bokashi starters that boost microbial activity EM-1. Remember to turn the pile regularly and adjust moisture by adding dry browns when it’s soggy or extra greens when it’s too dry.
Carbon Nitrogen Ratio
Ever wondered why your kitchen‑scrap bin sometimes smells sour or takes forever to break down? You can fix that by watching the C:N ratio. Aim for a 25:1–30:1 balance; that’s the sweet spot where microbes thrive and decomposition speeds up. Greens—fruit scraps, veg peels, coffee grounds—supply nitrogen, while browns—dry leaves, shredded paper, wood chips—add carbon. Chop large pieces, mix often, and adjust moisture: if it’s soggy, toss in more browns; if it’s bone‑dry, add moist greens. A quick visual check helps:
| Item | Approx. C:N |
|---|---|
| Coffee grounds | 20:1 |
| Fruit scraps | 15:1 |
| Dry leaves | 80:1 |
| Shredded paper | 100:1 |
Keep the ratio in range and your bin will stay fresh and fast‑acting.
Brown Green Balance
How can you keep a tiny kitchen compost thriving? Aim for a carbon‑to‑nitrogen balance of about 25:1–30:1 by pairing nitrogen‑rich greens—fruit peels, coffee grounds, tea leaves—with carbon‑dense browns like shredded newspaper, dry leaves, or wood chips.
Chop larger scraps into bite‑size pieces; this boosts surface area and lets composting microorganisms work faster in a confined bin. Layer greens and browns, then give the pile a gentle stir each few days to maintain aeration and prevent odors.
Dry browns soak up excess moisture, keeping the mix from getting soggy while still providing the carbon needed for steady microbial activity. Keep the container partially shaded, and you’ll see steady, odor‑free decomposition even in a small kitchen space.
Moisture Aeration Management
Wondering how to keep your kitchen compost from turning into a soggy mess?
Managing moisture and aeration is the secret sauce for a thriving, small‑space compost. Keep the pile damp, not dripping, and you’ll boost aerobic bacteria that speed up composting.
Aim for a carbon‑nitrogen balance of about 25:1‑30:1, layering greens with browns to soak up excess liquid and keep the air flowing.
Turn the mix every few days; each stir injects oxygen, prevents foul odors, and speeds decomposition.
Chop big scraps into bite‑size pieces so microbes can feast faster and the pile stays airy.
- Add dry brown material when it feels wet
- Mix greens and browns in thin layers
- Turn the pile regularly for aeration
- Keep C:N ratio near 25:1‑30:1 for optimal moisture control
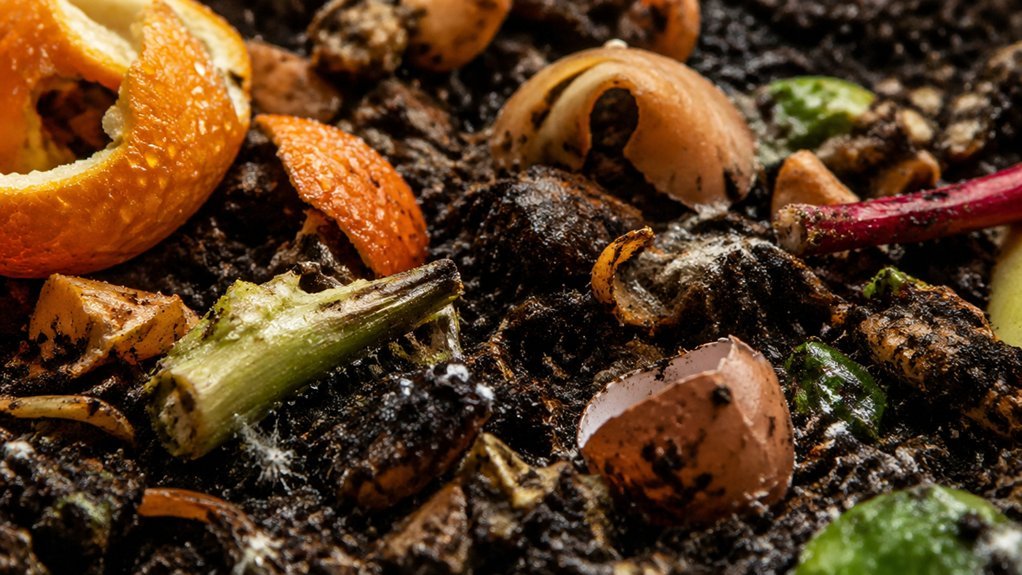
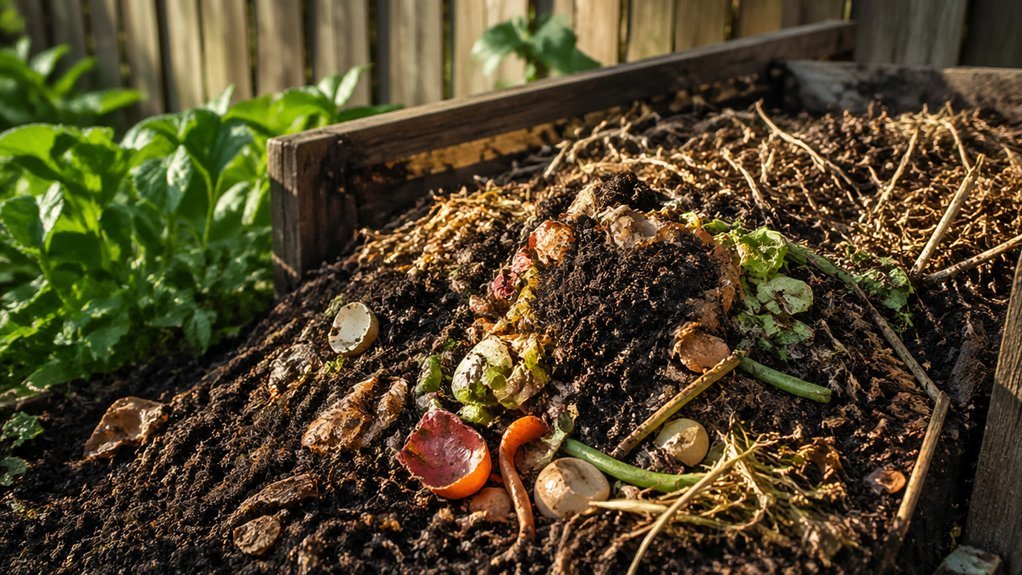
Add the Right Kitchen Scraps and Exclude the Wrong Ones
Which kitchen scraps belong in your compost bin, and which should you keep out? You’ll want to load greens—fruit peels, vegetable cores, coffee grounds, tea bags—alongside browns like shredded paper, dry leaves, or cardboard. This 25:1–30:1 carbon‑to‑nitrogen balance fuels composting and keeps microorganisms thriving. Chop large pieces into bite‑size bits to speed up their breakdown, and avoid meat, dairy, oils, pet waste, and diseased plants, which attract pests and foul odors.
| Greens (nitrogen) | Browns (carbon) | Exclude |
|---|---|---|
| Fruit peels | Dry leaves | Meat |
| Coffee grounds | Shredded paper | Dairy |
| Vegetable scraps | Cardboard | Greasy foods |
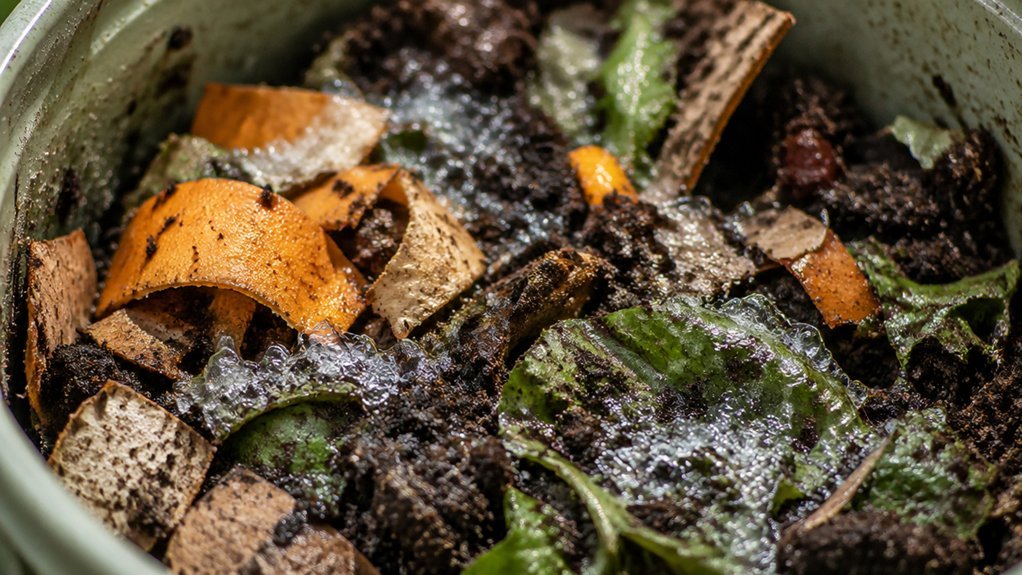
Control Moisture & Aeration in Kitchen‑Scrap Compost
Ever wondered why your kitchen‑scrap compost sometimes smells sour or drags its feet? You’re probably missing the sweet spot of moisture and aeration, the twin engines that keep bacteria thriving and composting fast. Keep the pile damp, like a wrung‑out sponge, but not soggy; add dry brown material if it feels swampy, and sprinkle water when it looks crusty. Turn or mix it every few days to inject fresh air, break up clumps, and speed aerobic digestion.
- Test moisture by squeezing a handful; it should drip a few drops.
- Add shredded newspaper or straw to absorb excess water.
- Flip the pile with a pitchfork or shovel to boost aeration.
- Cover the bin to keep pests out while allowing airflow.
How Long Does Kitchen‑Scrap Compost Take?
You’ll see compost turn from scraps to soil in anywhere from a couple of weeks to a few months, depending on how you manage aeration, moisture, and the carbon‑to‑nitrogen balance.
Faster methods like tumblers or vermicomposting can slash the timeline to 2–3 months, while Bokashi pre‑fermentation needs about 2–3 weeks before you can bury the material.
Keep the C:N ratio around 25:1–30:1, stay the pile moist, and mix it regularly to push the process along.
Composting Timeline
Because composting methods differ, the time it takes to turn kitchen scraps into usable compost can range from a couple of months to a full year.
In an aerobic backyard pile you’ll typically see mature, crumbly compost after three to six months if you keep the carbon-to-nitrogen balance right, manage moisture, and turn regularly.
Vermicomposting can cut that to two or three months, while bokashi pretreatment stabilizes waste in about two weeks before burial.
Urban windrow or aerated static systems usually finish within six to twelve months, depending on site aeration efficiency.
- Aerobic decomposition thrives with proper oxygen flow.
- Moisture management prevents drying or sogginess.
- Carbon-to-nitrogen balance fuels microbial activity.
- Turning or site aeration accelerates breakdown.
Factors Influencing Speed
What speeds up kitchen‑scrap composting? You’ll see the biggest gains when you hit a balanced carbon-to-nitrogen ratio, keep aeration high, maintain proper moisture, and shrink particle size. Aim for a C:N around 25:1‑30:1, turn the pile daily, water it like a wrung‑out sponge, and chop scraps into bite‑size pieces. These tweaks let microbes feast and breathe, slashing the timeline from months to weeks.
| Factor | Effect |
|---|---|
| C:N ratio | Optimizes microbial growth |
| Aeration | Supplies oxygen, speeds aerobic digestion |
| Moisture | Keeps microbes active without odor |
| Particle size | Increases surface area for faster breakdown |
Optimizing Conditions Quickly
Balancing the C:N ratio, keeping the pile aerated, and chopping scraps into bite‑size pieces together shrink kitchen‑scrap composting from months to weeks.
You’ll see results faster when you fine‑tune aeration, carbon-to-nitrogen ratio, moisture control, and microbial activity.
- Aim for a 25:1–30:1 carbon-to-nitrogen ratio by mixing greens and browns.
- Turn the pile every few days to maintain aeration and oxygen flow.
- Chop vegetables and fruit into small bits; surface area fuels microbial activity.
- Keep the mix as damp as a wrung‑out sponge; add dry browns if it’s soggy, water if it’s dry.
With these tweaks, a well‑managed bin can finish in a few weeks, while larger, less‑aerated setups may still need months.
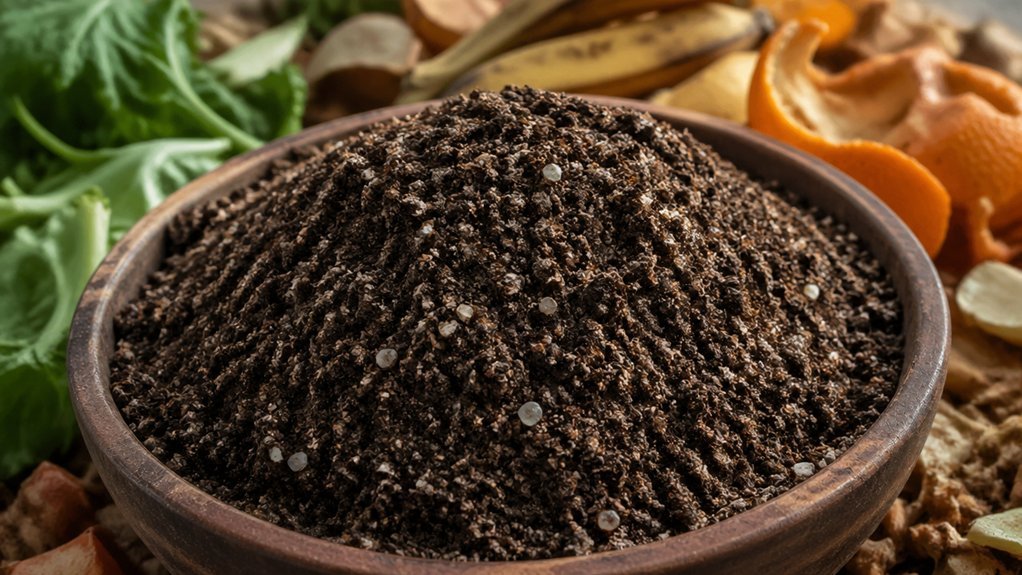
Harvest Kitchen‑Scrap Compost Without Disrupting Bacteria
When you harvest kitchen‑scrap compost, you’ll want to do it gently so the beneficial bacteria stay active. Scoop the top layer with a shallow trowel, keeping the pile’s structure intact to preserve aeration. Transfer only the dark, crumbly material; avoid pulling up the still‑wet core that houses the most microbial activity. As you move compost, monitor moisture management—if the batch feels dry, mist it lightly; if it’s soggy, sprinkle shredded paper or dry leaves to rebalance water and airflow. Maintain the carbon‑to‑nitrogen ratio by mixing in a handful of brown material each time you harvest. This careful handling keeps the composting process humming, letting the bacteria continue breaking down scraps into nutrient‑rich soil.
Use Kitchen‑Scrap Compost to Boost Indoor Plant Health
A handful of fresh kitchen‑scrap compost can instantly revitalize your indoor plants, delivering nitrogen, phosphorus, potassium, and trace minerals that strengthen roots and boost growth. By mixing this nutrient‑dense amendment into your potting mix, you give indoor plants the soil nourishment they crave while encouraging beneficial bacteria to keep the microbiome balanced. The result is greener foliage, faster root development, and fewer wilting episodes.
- Sprinkle a thin layer of compost on the surface before watering to let it soak in.
- Blend compost with existing potting soil at a 1:4 ratio for even distribution.
- Use vermicompost or Bokashi‑derived compost for a steady release of nutrients.
- Keep the soil lightly moist—like a wrung‑out sponge—to support bacterial activity.
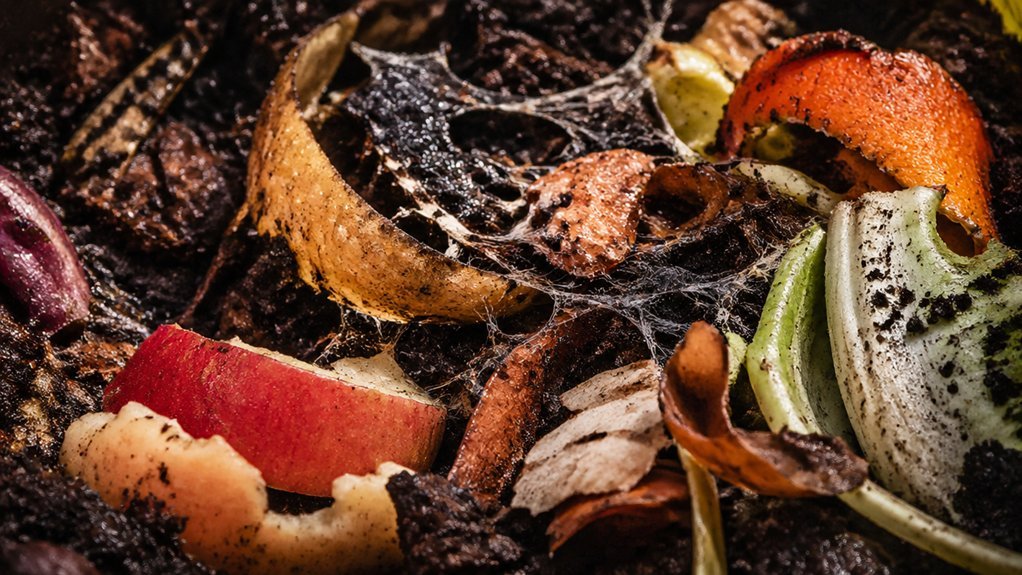
Troubleshoot Smells, Slime, and Slow Decomposition in Kitchen‑Scrap Compost
Ever notice a sour stench, sticky slime, or sluggish breakdown in your kitchen‑scrap bin? Those symptoms scream a moisture balance problem or a lack of browns. First, check the carbon‑to‑nitrogen ratio; aim for roughly 25:1–30:1. Add dry browns—leaves, shredded cardboard, straw—to soak up excess water and cut odors. Shred large scraps, then turn the pile every few days to boost aeration and keep the process aerobic. Keep the bin covered, place it in partial shade, and monitor moisture with a squeeze test: it should feel like a wrung‑out sponge.
| Issue | Quick Fix | Why it works |
|---|---|---|
| Bad smell | Add dry browns | Absorbs excess moisture, restores aerobic conditions |
| Slime | Turn pile, improve aeration | Disrupts anaerobic pockets |
| Slow breakdown | Chop scraps, balance C:N | Increases surface area, feeds microbes |
Boost Bacterial Activity With Vermicomposting or Bokashi Add‑Ons
Vermicomposting and Bokashi each supercharge your kitchen‑scrap bin by flooding it with specialized microbes and, in the case of vermicomposting, nutrient‑rich worm castings. By adding these composting additives, you boost microbial activity, speed up breakdown, and enrich the final amendment with nitrogen, phosphorus, potassium, and trace minerals. The worms concentrate nutrients into castings, while Bokashi’s fermenting microbes pre‑process waste anaerobically, cutting odors and creating a pre‑compost that later integrates into soil.
- Introduce red worms to accelerate digestion and create castings.
- Sprinkle inoculated bran for Bokashi fermentation.
- Keep the bin moist and aerated to sustain microbial activity.
- Rotate material regularly to expose fresh scraps to both worm and microbial action.
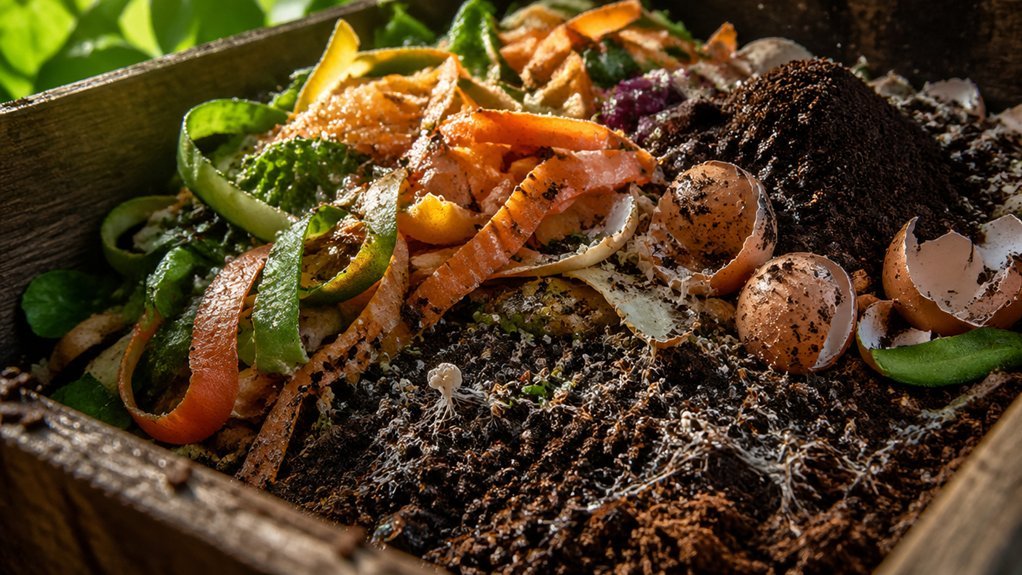
Why Kitchen‑Scrap Composting Is a Sustainable Choice for Apartment Residents
Adding vermicomposting or Bokashi to your kitchen‑scrap bin already shows how microbes can turn waste into nutrients, and the same principle makes indoor composting a smart, sustainable habit for apartment dwellers. You’ll cut landfill waste, lower your carbon footprint, and feed balcony herbs with nitrogen‑rich compost. Aerated bins keep odors low, while balancing greens and browns fuels beneficial bacteria that break down kitchen scraps quickly. Even a tiny corner can host a thriving micro‑ecosystem, turning everyday waste into garden gold.
| Material | Green (N‑rich) | Brown (C‑rich) |
|---|---|---|
| Fruit peels | ✔ | – |
| Coffee grounds | ✔ | – |
| Newspaper strips | – | ✔ |
| Eggshells | ✔ | – |
| Dry leaves | – | ✔ |
Frequently Asked Questions
What Bacteria Converts Metal to Gold?
You won’t find any bacteria that literally turn metal into gold; some microbes can precipitate gold nanoparticles from solution, but they don’t transmute ordinary metals into elemental gold.
Is It True That Cupriavidus Metallidurans Poop Gold?
No, you shouldn’t expect Cupriavidus metallidurans to poop gold. It tolerates heavy metals, but it doesn’t excrete precious metals; its role lies in bioremediation, not gold production.
What Material Process Turns Food Waste Into Golden Soil?
You’ll use aerobic composting, layering browns and greens, turning the pile, and keeping it moist and oxygen‑rich; microbes break down the waste into dark, nutrient‑dense “golden” soil.
What Are Gold Bacteria?
You’re looking at the microbes that break down organic waste into nutrient‑rich compost; they’re called beneficial bacteria, and they convert kitchen scraps into “gold” by releasing nitrogen, phosphorus, potassium, and humus.
In Summary
By now you’ve seen how beneficial bacteria turn everyday kitchen scraps into nutrient‑rich gold for your indoor garden. Their rapid, low‑odor decomposition keeps your apartment clean while slashing waste. With the right balance of carbon, nitrogen, and aeration, you’ll enjoy thriving plants and a greener lifestyle—all thanks to those microscopic powerhouses working behind the scenes.
Leave a Reply