
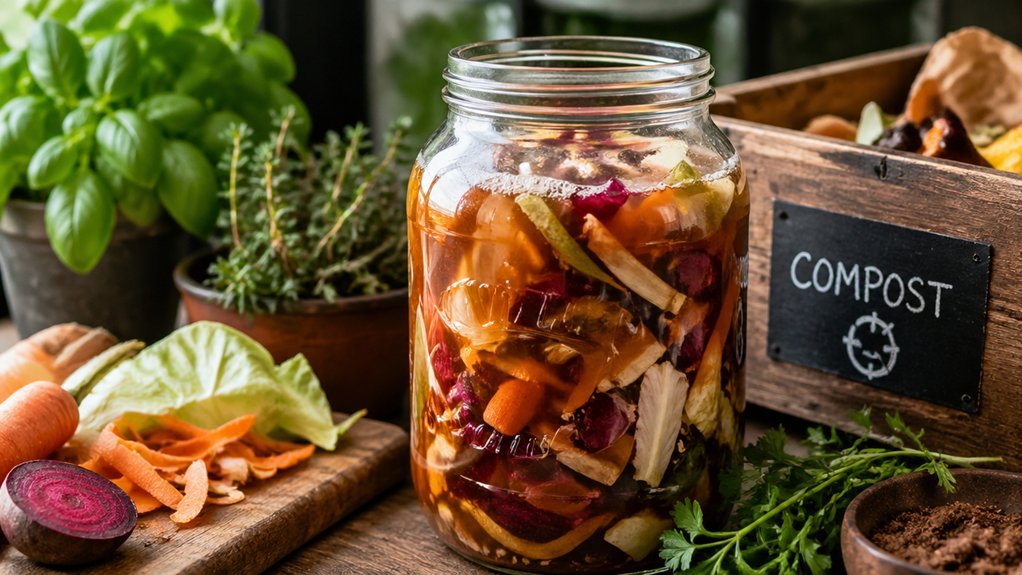
You’ll turn kitchen scraps into garden‑ready compost in just two to three weeks with a sealed Bokashi bin and a microbial inoculant. Layer chopped veggies, eggshells, and small bits of meat or cheese, sprinkle a bit of inoculant on each layer, and press it down; keep the lid loosely sealed to trap anaerobic gases and block odors. After the fermentation period, bury the dark, crumbly material 8‑10 inches deep, water lightly, and let the microbes finish breaking it down. Keep going for deeper insights.
What Is Bokashi Fermentation?
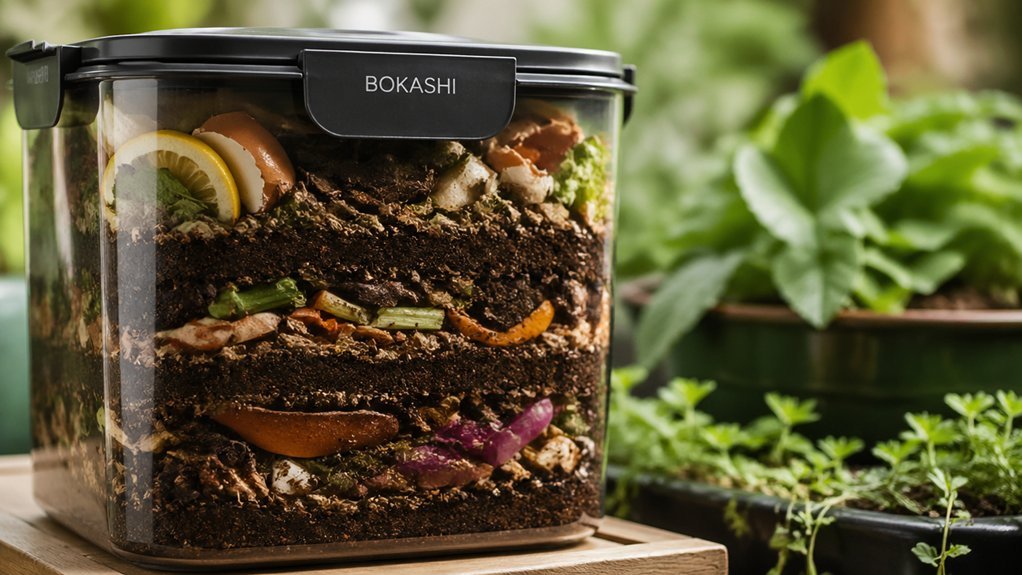
Ever wondered how you can turn kitchen scraps into soil‑friendly gold without the stench? Bokashi fermentation does just that. You place kitchen scraps in an airtight or semi‑sealed container, sprinkle an inoculant of beneficial microbes, and let the anaerobic process work for two to three weeks. The inoculant kick‑starts fermentation, breaking down fibers and neutralizing odors while the microbes multiply. After the period, the fermented material looks dark and crumbly, ready to be buried or mixed into soil. There, the same microbes continue to decompose the matter, releasing nutrients that enrich your garden. A typical setup includes a countertop fermenter, a 5‑gallon bucket for finished waste, and regular inoculant applications each time you add new scraps. Organic Certification
Why Bokashi Benefits Kitchen Scraps
You’ll see nutrients return to your garden quickly because the fermented scraps break down into bio‑available forms. An airtight bokashi bucket helps ensure consistent odor control and maintains efficient fermentation within the system 0 and contributes to overall kitchen cleanliness.
Rapid Nutrient Return
Why does bokashi make nutrients hit the garden faster? You add kitchen scraps, seal them with a microbial inoculant, and let Bokashi fermentation break down organics anaerobically. The process locks in nitrogen and other nutrients, then you bury the fermented mass 8–10 inches deep. Soil microbial life instantly colonizes the material, turning it into a hotbed for rapid nutrient delivery to plant roots.
| Step | What Happens | Benefit |
|---|---|---|
| 1. Inoculate | Add Bokashi microbes | Starts breakdown |
| 2. Ferment | Anaerobic digestion | Preserves nutrients |
| 3. Bury | Mix into soil | Boosts microbial life & fast uptake |
You’ll see healthier plants sooner, without synthetic fertilizers, because the nutrients are released where roots can grab them immediately. Improved nutrient retention and a more resilient soil ecosystem are supported by the fermentation process, which aligns with best practices for sustainable composting and soil health.
Reduced Odor Emissions
The rapid nutrient release you just saw also comes with a surprisingly low‑odor profile, thanks to Bokashi’s sealed, anaerobic fermentation. When you drop kitchen scraps into a bucket, sprinkle the inoculant, and press them down, the microbes start breaking down the material without oxygen. That sealed environment traps the smelly gases, so you won’t notice the sour whiff that typical compost piles emit. The fermentation process converts proteins and fats into stable acids, which further mute odors. Even if the container sits on a balcony, the airtight lid prevents the smell from escaping and keeps pests at bay. In practice, you get a clean‑smelling, nutrient‑rich amendment that’s ready to enrich your garden without disturbing neighbors. Odor control features help maintain a near‑odorless kitchen environment throughout the process.
Accelerated Soil Microbe Growth
Bokashi kick‑starts soil microbes by flooding kitchen scraps with a potent inoculant that colonizes the material in just 2–3 weeks. This process can help create a more diverse microbial community that spreads into the surrounding earth once you bury the fermented bundles 8–10 inches deep Made-in-USA certified and remain consistent with proper maintenance. The inoculant’s anaerobic environment preserves nitrogen, phosphorus, and potassium, delivering them straight to plant roots and sparking a rapid surge in beneficial bacteria and fungi. This surge improves soil health, diversifying the microbial community and enhancing nutrient cycling. As a result, composting efficiency climbs, you waste less, and your garden reaps richer, more resilient growth without extra fertilizers.
What Gear Do You Need for Apartment‑Friendly Bokashi?
You’ll want a compact 2–3 quart countertop bin with a lid and a microbial inoculant to kick off the fermentation. A sealed lid helps contain odors and pairs well with charcoal-filtered options to keep your kitchen fresh odor control. Keep a 5‑gallon bucket handy for storing the fermented waste until you’re ready to bury it, adding inoculant at each layer. If you opt for rice or wheat hulls, a spigot on the bucket makes draining the liquid by‑ painless.
Compact Bokashi Bin
A compact bokashi system fits on any kitchen counter, pairing a 2‑3‑quart sealed container for daily scraps with a 5‑gallon bucket that stores the fermented material until you’re ready to enrich your garden. You’ll need a sturdy lid for the countertop bin, a tight‑fit lid for the bucket, and an inoculant that kick‑starts the bokashi fermentation. Measure about 1/8 cup of inoculant per 2 cups of waste, sprinkle it after each layer, and keep the lids on—tightness isn’t critical. After 2–3 weeks, the fermented mixture is ready to be buried in a trench or mixed into potting soil, delivering microbes and nutrients straight to your garden. EROSION-RESISTANT containers from outdoor aeration tools can offer insight into durable housing options when you’re thinking long-term storage of finished bokashi material.
Essential Fermentation Kit
Wondering what you actually need to keep bokashi thriving in a small apartment? You’ll want a compact 2‑ to 3‑quart countertop container with a lid, plus a microbial inoculant—your core fermentation kit. Keep the lid on while you sprinkle about 1/8 cup of inoculant per 2 cups of kitchen scraps; the lid doesn’t have to seal tightly, just stay closed to retain moisture.
For the next stage, grab a 5‑gallon bucket with a lid to hold the fermented scraps until you’re ready to add them to your garden. If you plan to collect the liquid by‑, a spigot on the bucket makes drainage easy.
After 2‑3 weeks of warm, anaerobic fermentation, the microbes will have turned your waste into nutrient‑rich material ready for any composting system.
Prepare Kitchen Waste for Bokashi
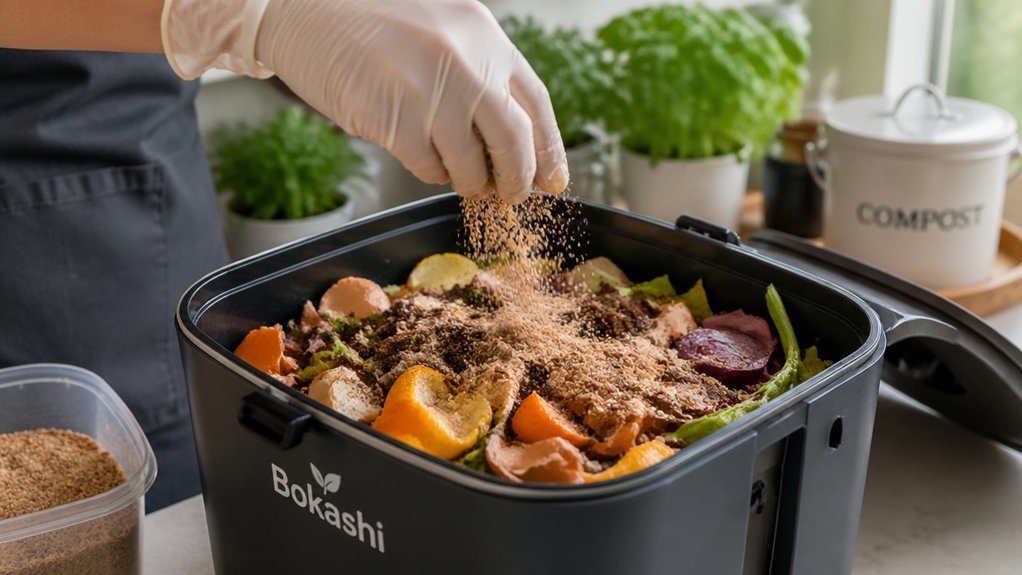
How can you turn everyday kitchen scraps into a nutrient‑rich bokashi starter? First, gather a mix of vegetables, eggshells, tiny meat bits, cheese, wilted flowers, and citrus peels. Toss them into a 2‑3‑quart countertop container, then sprinkle roughly 1/8 cup of inoculant for every 2 cups of kitchen waste. Press the mixture down, seal the lid loosely, and let the bokashi fermentation begin. Keep the lid on but not airtight so gases escape without odor. After a few weeks the microbes will have colonized the scraps, ready for soil incorporation.
- Use a small countertop container with a lid.
- Add inoculant at the recommended ratio.
- Layer scraps and inoculant alternately.
- Keep the lid loose to vent gases.
- Transfer fermented material to a bucket before burying.
Fermentation Timing, Temperature, and Odor Control
Ever wondered how temperature and timing shape your bokashi fermentation? You’ll find that fermentation timing usually spans 2–3 weeks, but temperature can speed or slow microbial colonization. Keep the bucket in a warm spot—around 70 °F—to boost activity; if it drops below 50 °F, the process stalls and you may need to shelter the container. Add the inoculant at roughly 1/8 cup per 2 cups of scraps each fill; this not only jump‑starts microbes but also provides odor control, preventing unpleasant smells. When winter freezes, store the bucket in a garage or insulated box, then reactivate it when temperatures rise. By monitoring temperature and respecting the 2–3‑week window, you’ll achieve consistent fermentation timing and clean, odor‑free Bokashi ready for the garden.
How to Turn Fermented Bokashi Into Garden Compost
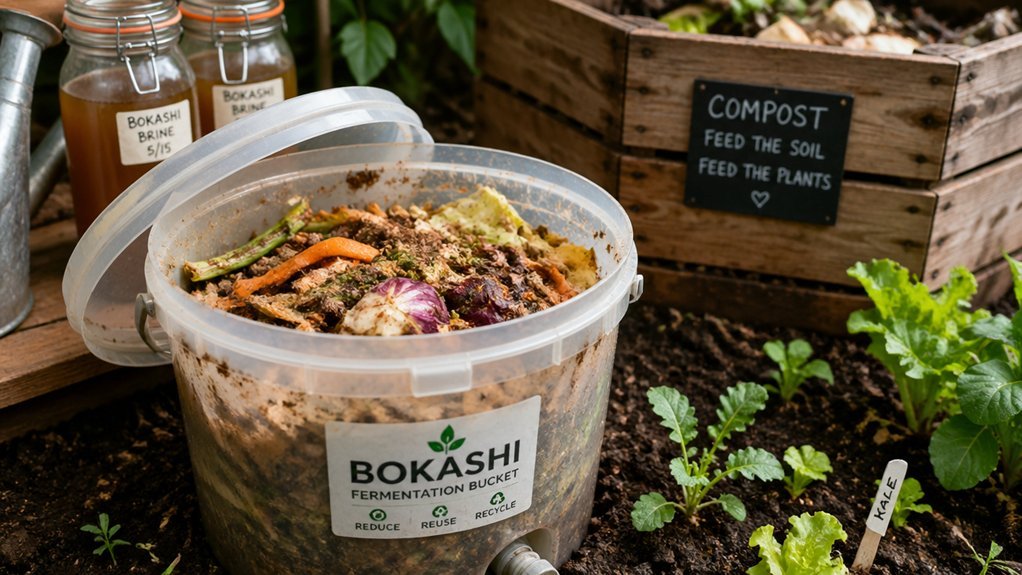
Now that your bokashi has finished its 2‑3‑week fermentation, you can turn it into rich garden compost in just a few steps. Dig a trench 8‑10 inches deep, spread the fermented scraps, and backfill with soil inoculant. The microbes you the bokashi blend with the earth, boosting fertility without synthetic fertilizers. This method works for beds, raised pots, or houseplant containers, where the inoculated material slowly disappears as roots feed on it.
- Choose a sunny spot and loosen the soil.
- Lay the fermented bokashi in a thin layer.
- Cover with the dug‑out soil, tamp gently.
- Water lightly to activate microbes.
- Repeat annually for a thriving garden compost.
Bokashi for Pet Waste, Yard Clippings, and Small Spaces
Curious about turning pet waste, yard clippings, and even balcony debris into garden gold? You can start a Bokashi system in a sealed bucket, sprinkle a microbial inoculant on each layer, and press down yard cl waste cl fermentation waste, and yard clippings. The airtight environment drives anaerobic fermentation, turning high‑nitrogen pet waste into a safe amendment while breaking down grass cuttings in 7–10 days. Once the mix smells sweet, bury it 8–10 inches deep or add it to pots with inoculated soil; cover with three inches of soil and let microbes finish the job. This method excels in small spaces—apartments, balconies, or tight yards—because it controls odor, speeds processing, and handles diverse waste streams without a full‑size compost pile.
Frequently Asked Questions
How to Convert Kitchen Waste Into Compost?
You’ll collect scraps, mix them with a Bokashi starter, seal them in an airtight bucket, let them ferment two weeks, then dig a shallow trench, bury the fermented material, and cover with soil.
How Do the Amish Make Compost?
You’ll layer greens and browns, turn the pile regularly, keep it moist, avoid meat or dairy, and sometimes use bokashi or trench methods, letting microbes break down scraps into dark, crumbly garden compost.
What Is the Main Problem With Bokashi Composting?
You’ll find that bokashi’s main problem is its anaerobic fermentation, which can produce foul odors and foster unwanted microbes if the container isn’t properly aerated, sealed, and timely incorporated into soil.
What Kind of Kitchen Scraps Can Be Input Into Compost?
You can toss fruit peels, veggie cores, rinds, eggshells, tea bags, coffee grounds, bread, cooked rice, pasta, grains, grass clippings, herbs, spices, cut flowers, and houseplant trimmings into compost.
In Summary
Now you’ve got a simple, low‑odor way to turn kitchen scraps into nutrient‑rich compost, even in a small apartment. By setting up a bokashi bin, feeding it daily, and letting it ferment for a week or two, you’ll end up with a dark, moist material that quickly becomes garden gold. It handles pet waste, yard clippings, and limited space with ease—so you can keep your kitchen clean and your garden thriving.



