
Turn your tumbler 3‑5 times a week, keep the mix as moist as a wrung‑out sponge (40‑60% moisture), and balance greens and browns at roughly a 3‑to‑1 ratio. Chop waste into 1‑2‑inch pieces and layer kitchen scraps under a carbon‑rich brown layer to boost aeration and deter pests. Aim for a temperature of 130‑160°F; if it drifts, adjust turning frequency. Open vents after each turn and add dry browns if it smells or feels soggy. Keep going and you’ll discover deeper tips.
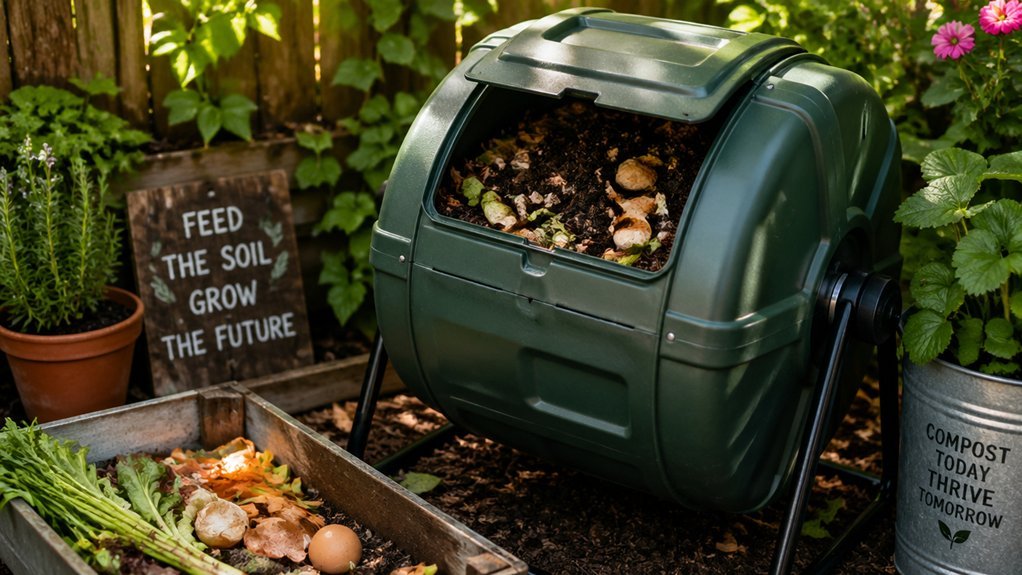
Fast, Even Decomposition: Set Up Your Tumbling Composter
Ever wondered how to keep your tumbler humming? You’ll want a compost tumbler that rotates enough to boost aeration and keep microbes busy. Aim for a turning frequency of three to five spins each week; that rhythm prevents clumping and pulls fresh oxygen into the pile. Keep moisture like a wrung‑out sponge—about 40‑60%—by adding dry browns or damp greens as needed. Size reduction matters: chop waste into one‑to‑two‑inch pieces to raise surface area and speed decomposition. Start with a materials balance of roughly one part greens to three parts browns, then layer kitchen scraps and yard waste gradually. This mix of aeration, moisture, and size reduction drives fast, even decomposition in your tumbler.
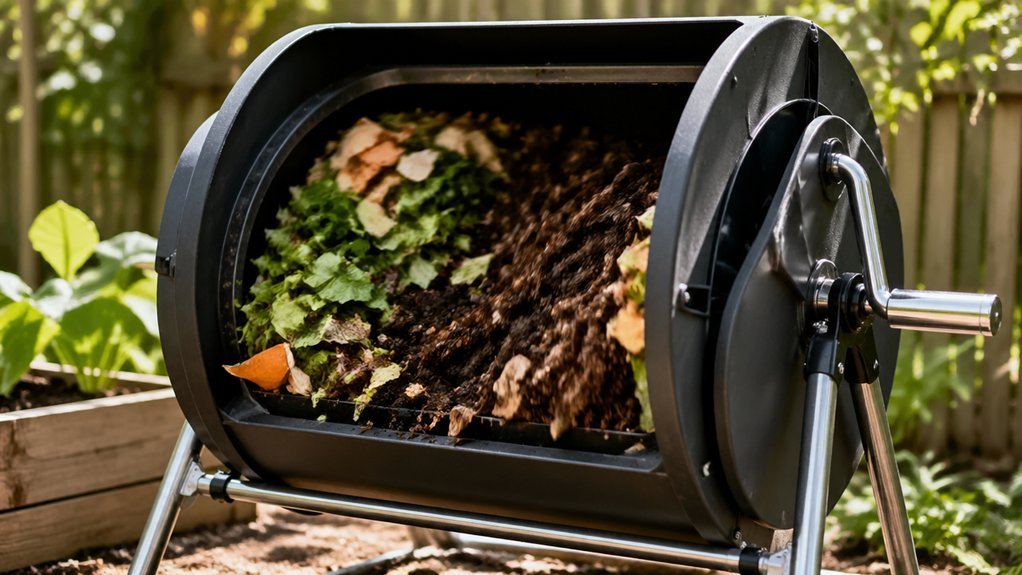
Tumbling Composter Ratio: The 3‑to‑1 Brown‑to‑Green Rule
How can you keep your tumbler humming without foul smells or soggy piles? Follow the 3‑to‑1 ratio: three parts brown to one part green. Browns—dry leaves, wood chips, cardboard, straw, shredded paper—supply carbon and soak excess moisture, while greens—kitchen scraps, fresh grass, vegetable peels, coffee grounds—provide nitrogen for rapid microbial activity. Layering these materials in your compost tumbler creates pockets of air, boosting aeration and preventing clumping. If the mix smells or feels too wet, add more brown to restore the balance and improve airflow. Consistently applying this ratio keeps moisture in check, fuels steady decomposition, and ensures your tumbler runs efficiently. Extended suction tube
Tumbling Composter Daily Checklist: Turn, Moisture, Temperature
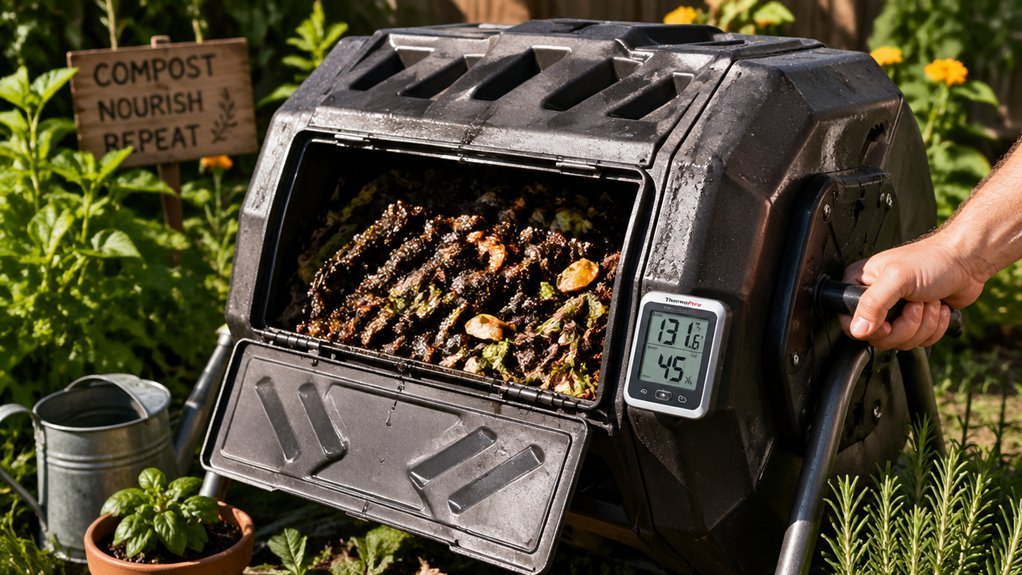
Want a thriving tumbler that never smells and never stalls? Follow a simple daily checklist for your tumbling composter.
First, check turning: give the drum 3‑5 tumb a week, and after each green waste drop, tumble 1‑2 times for aeration and mixing.
Give the drum 3‑5 tumbles weekly, plus 1‑2 after each green drop for aeration and mixing.
Next, feel moisture; it should feel like a wrung‑out sponge. If it’s soggy, add dry browns; if it’s dry, spray water.
Finally, monitor temperature. Aim for 130‑160 °F; if it climbs or drops, adjust turning frequency.
Keep venting open so airflow stays steady, preventing clumps and maintaining compost health. Consistently using properly rinsed coir bedding can help maintain low salt content and neutral pH in long‑term worm‑rearing setups sustainable sourcing.
Tumbling Composter Troubleshooting: Odors, Pests, Slow Break‑Down
Why do your tumbler’s aromas suddenly turn sour, bugs appear, or the breakdown stall? You’re dealing with odors, pests, and a sluggish decomposition rate. The culprits are usually poor aeration, excess moisture, or an imbalance of carbon‑rich browns. Fixing these issues restores a healthy, fast‑acting compost. Open vents and give the sealed tumbler fresh aeration; turn it 3–5 times weekly. Check moisture: it should feel like a wrung‑out sponge; add dry browns or shredded cardboard if it’s soggy. Bury food scraps under a layer of carbon‑rich browns to deter pests and keep the lid sealed. Venting after each turn removes stale air and reduces odor buildup. If smells linger, sprinkle a compost activator to boost microbial activity and speed up decomposition. Regularly inspecting seals and ensuring the lid locks properly can further minimize odors and pest access airflow balance.
Frequently Asked Questions
What to Put in My Tumbling Composter?
You should fill it with kitchen scraps, veggie peelings, coffee grounds, fresh grass clippings, plus dry leaves, shredded paper, cardboard, wood chips, and straw, keeping a 3:1 brown‑to‑green ratio and chopping pieces small.
What Not to Put in a Compost Tumbler?
Don’t toss meat, dairy, oily foods, cooked scraps, pet waste, diseased plants, treated wood, citrus, onions, strong‑smelling greens, plastics, metals, glass, or synthetic fibers into your tumbler; they cause odors, pests, and slow decomposition.
How to Maintain a Compost Tumbler?
You should turn the tumbler three to five times weekly, keep moisture like a wrung‑out sponge, open vents for airflow, chop scraps into 1‑2‑inch pieces, and layer greens with browns at a 3:1 ratio.
Should I Put Worms in My Tumbling Composter?
No, you shouldn’t add worms to a tumbling composter. The constant rotation, heat spikes, and limited moisture will stress or kill them, making traditional worm bins a far better choice.
In Summary
Now you’ve got the basics down—keep the brown‑to‑green ratio at 3 to 1, turn the drum daily, and monitor moisture and temperature. If odors or pests pop up, adjust the mix and keep it aerated. With consistent care, your tumbler will break down waste fast and produce rich compost for your garden. Enjoy the process and watch your soil thrive.
Leave a Reply