
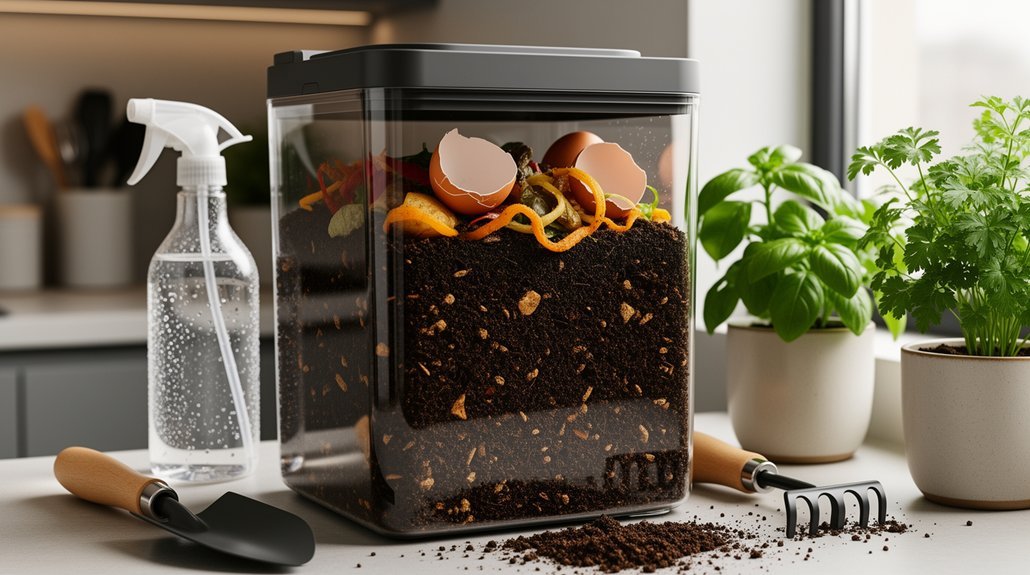
You can compost in an apartment by using a compact tumbler on your balcony, a low‑odor vermicompost bin under your sink, a sealed bokashi bucket on the counter, or a sleek electric food recycler that shrinks waste. Balance greens and browns, keep the mix moist like a wrung‑out sponge, and add charcoal or carbon filters to control odors. Turn or aerate weekly, and harvest finished compost as it matures. Keep exploring for detailed setup tips and maintenance tricks.
Which Compost Method Fits Your Apartment?
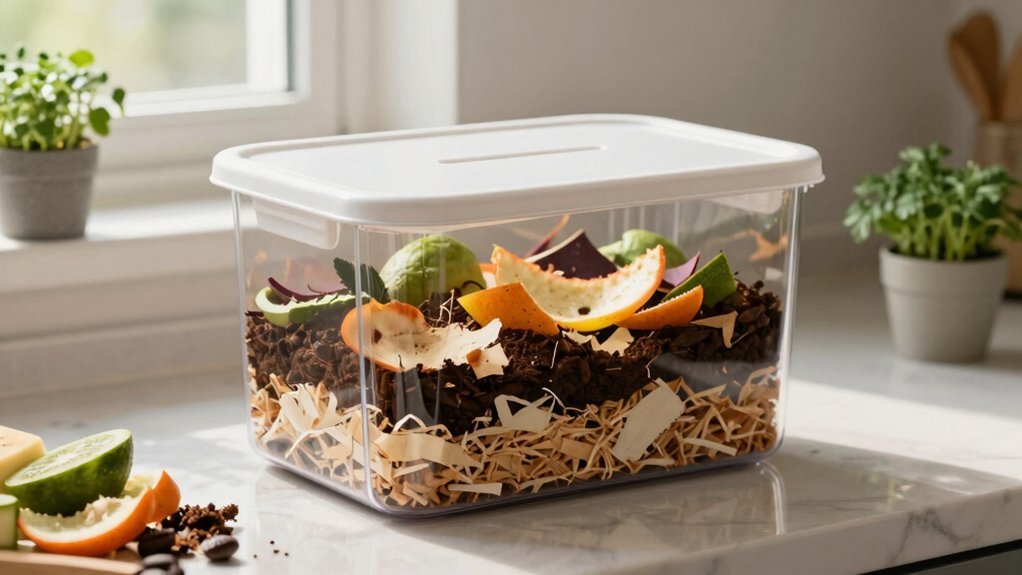
Wonder which compost method works best for your apartment? If you have a balcony or patio, a tumbler is a solid choice. Its airtight drum cuts down on pests and keeps heat in, speeding decomposition. You’ll just crank it every few days—no digging needed. Mix green scraps with brown paper or cardboard for balance, but keep volumes modest; a tumbler isn’t meant for a whole house’s waste.
A balcony tumbler keeps pests out, retains heat, and speeds composting with easy, regular cranking.
An upright bin can also fit a balcony, provided it’s sealed and pest‑resistant. Look for a bottomed model with a leachate tray so you can reuse liquid for potted plants.
If you’re limited to indoor space, bokashi uses a sealed bucket and bran to ferment waste without odor, then you can finish the material in a garden or pot.
For the smallest kitchens, countertop digesters or electric composters sit on a counter, using heat and filtration to break down scraps quickly, though they’re pricier and mainly reduce volume rather than produce traditional compost. A ceramic compost crock with charcoal filtration offers a simpler, low-energy alternative for collecting kitchen scraps before transferring them to outdoor bins or drop-off services.
Finally, if you have no outdoor area at all, a collection‑service drop‑off lets you store scraps temporarily and hand them to a municipal or private compost facility, eliminating bin maintenance while still diverting organics from the trash. Indoor options expand composting possibilities even without a balcony.
Set Up a Low‑Odor Vermicompost Bin for Apartments
Pick a species like Eisenia fetida, keep the bin shallow, and add plenty of shredded paper or cardboard to balance moisture. Drill a few ventilation holes and place the bin on a tray to let excess liquid drain while maintaining airflow. Feed scraps gradually, topping each addition with more bedding to keep the environment airy and odor‑free. Ensure the bin is elevated on a tray to manage moisture and prevent pooling. Once your compost is ready, you can enhance it further by mixing in trace minerals to re-mineralize the finished product before using it in gardens or potted plants.
Choose the Right Worms
A handful of worm species can keep an apartment vermicompost bin low‑odor and productive, but the red wigglers (*Eisenia fetida*) are the safest default choice. You’ll find them on most indoor‑compost guides because they’re surface‑dwelling, fast‑reproducing, and tolerant of shallow bins. Their high appetite turns kitchen scraps into castings quickly, keeping odors down. If you need larger worms, consider European nightcrawlers (*Eisenia hortensis* or *Dendrobaena veneta*), but they’re better for outdoor piles. Indian blues (*Perionyx excavatus*) work, yet they’re heat‑sensitive and may escape when conditions shift. Avoid garden earthworms, annecic, and endogeic species—they burrow too deep and destabilize a low‑odor apartment system. Always purchase by scientific name to guarantee you’re getting true composting worms. The red wigglers thrive in a wide temperature range of 40–95 °F, making them especially adaptable for indoor environments. Monitoring your bin with a quality thermometer helps ensure conditions remain in the optimal range for red wiggler activity and reproduction.
Control Moisture & Airflow
How can you keep your apartment vermicompost bin fresh and odor‑free? Aim for a “wrung‑out sponge” moisture level—about 70–80%—and run a squeeze test: a handful should clump lightly and release only a few drops. Mix shredded cardboard, newsprint, and a bit of coconut coir to buffer excess water, then add straw or peat moss for porosity. Drill side and lid holes, plus a few drainage holes at the bottom, to boost oxygen exchange and evaporation. After feeding, bury scraps under dry bedding and sprinkle extra cardboard if the bin feels soggy. Monitor several spots, add water only when the bedding dries, and pause feeding when moisture spikes. Adjust ventilation during humid weather to prevent condensation and odors. Avoid adding meat, dairy, oils, and bones to your bin, as these items attract pests and slow decomposition while compromising your odor control efforts.
Build an Indoor Metal Compost Bin for Apartments
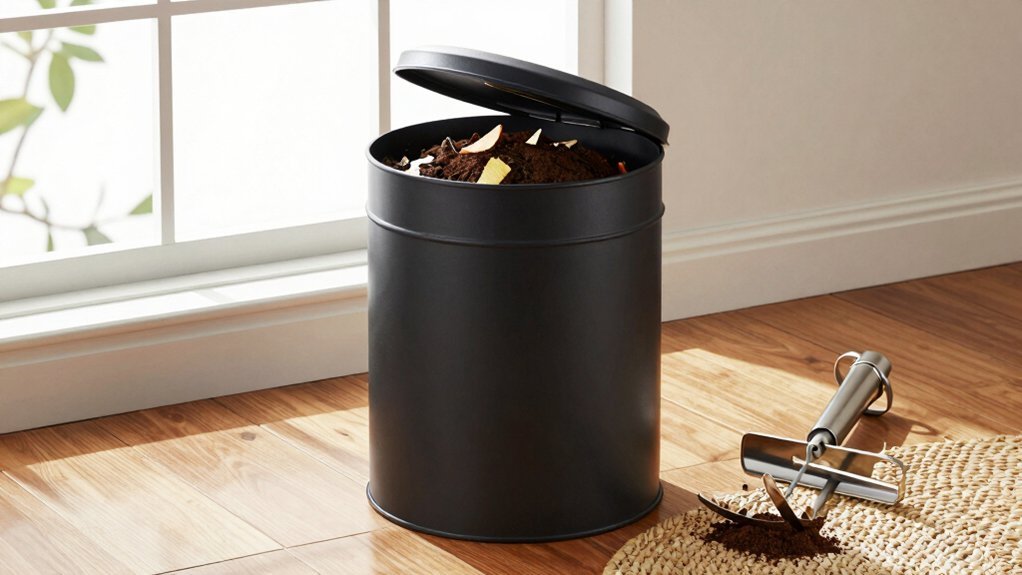
You’ll need a stainless‑steel container, a snug lid, and a few ventilation holes to keep odors at bay.
Add a removable inner tray and a carbon filter so you can balance moisture and layer browns and greens without a mess. Activated charcoal and natural odor absorbers can provide additional odor control if needed for indoor composting.
With these basics you can set up a compact, low‑maintenance compost system right on your countertop.
Consider the Worm Box 5‑Tray model for easy expansion and free shipping.
Materials: & &Ventilation
Ever wondered which metal will keep your kitchen scraps fresh without stinking up the apartment? Stainless steel is your safest bet—non‑porous, odor‑resistant, and easy to clean. It won’t warp or stain like cheap plastics, and you can even repurpose a recycled metal bowl if you empty it often. When you drill ventilation, use small, evenly spaced holes near the lid’s upper sides; this boosts airflow without letting mess spill out. Pair the holes with a breathable liner or a replaceable activated‑charcoal filter tucked into the lid to trap smells. A snug, tight‑fitting lid keeps pests out and reinforces odor control. Keep the bin compact—cylindrical or narrow—to fit under a sink or on a countertop, and add a drip tray to protect surfaces. For additional organization of finished compost or sorted materials, consider airtight storage containers to keep different compost stages or ingredients separated. Regular rinsing and debris removal will prolong the metal’s life and keep your apartment smelling fresh. Composting reduces carbon footprint and minimizes waste sent to landfills, making even small‑scale indoor systems environmentally impactful.
Layering & Moisture Balance
Stainless steel keeps the bin airtight and odor‑free, so the next step is to feed it the right mix of scraps. Start with a thin layer of shredded newspaper at the bottom, then add a handful of garden soil or finished compost to introduce microbes. Alternate thin bands of greens—banana peels, coffee grounds, fruit trimmings—and browns—dry leaves, shredded paper—keeping each layer no more than an inch thick. Chop wet items small; when you see a glossy or sticky surface, sprinkle extra brown material. The brown layers act like a sponge, soaking excess liquid and preventing pooling. Most indoor compost pails use charcoal filters or airtight lids to maintain odor control in compact spaces. In a compact apartment bin, repeat the sequence frequently, adding more browns as needed to maintain a damp‑sponge texture without soggy clumps. This balanced layering supplies airflow, moisture control, and odor suppression. Composting reduces landfill waste.
Install a Compact Balcony Tumbler
Looking for a space‑saving way to compost on a balcony? Choose a 30‑50 liter tumbler that fits a corner and sits on legs for airflow. Pick a model with a tight‑sealing lid, grab handles, and tool‑free assembly. Install a drip tray beneath to catch any runoff and protect the floor. Load greens, browns, and shredded paper in a balanced mix, then turn the drum two to three times a week using the handles. The dual‑chamber design lets one side finish while you add fresh material, but a single‑drum unit works fine for simpler setups. Keep moisture in check—add water sparingly and ensure drainage holes stay clear. For optimal odor control, ensure your tumbler includes charcoal filter features or aeration holes similar to high-quality countertop bins. With good airflow and regular turning, you’ll see finished compost in about a month. Compact design reduces landfill waste and methane production, supporting a greener urban lifestyle.
Start Bokashi Fermentation for Apartment Kitchens

If a balcony tumbler isn’t practical, bokashi lets you turn kitchen scraps into a pre‑compost right on your countertop. Grab a small lidded container (2–3 qt) for daily collection and a 5‑gal bucket with a tight seal as your fermentation bin. Sprinkle bokashi bran over each layer of waste, then press the scraps down to eliminate air pockets. Seal the lid and let the anaerobic process run; two weeks is typical, though cooler temps may stretch it to a month. You can add fruit, veg, cooked leftovers, meat, dairy, and even small amounts of weeds. A spigot can drain the liquid “bokashi tea,” which you dilute for houseplants. When the bucket is full, bury the fermented material in a planter or garden bed to finish composting. Bokashi’s anaerobic fermentation preserves nutrients that later enrich soil.
Use an Apartment‑Friendly Electric Food Recycler
Ever wondered how you can shrink kitchen waste to a fraction of its size without stepping outside? An apartment‑friendly electric food recycler sits on your countertop, turning scraps into a dry, nutrient‑dense fertilizer in a few hours. Models like Reencle handle up to 2.2 lb daily, while a 2.5 L unit processes a full day’s leftovers in 2.5–4 hours. Carbon filters and dual‑air‑filtration keep odors at bay, and enclosed bins hide messes from sight. The output resembles compost, ready for houseplants or garden beds, and reduces volume by 80‑90 %. No outdoor pile, no trips to the curb—just plug it in, load veggies, coffee grounds, eggshells, and watch the waste vanish, keeping your kitchen clean and your trash bag lighter. For those with outdoor space, compact single‑chamber tumblers like the 18.5-gallon capacity models offer similar waste reduction through traditional composting methods. Microbe‑based technology provides authentic indoor composting, differentiating it from simple drying recyclers.
Fix Bad Smell, Pests, and Slow Decomposition
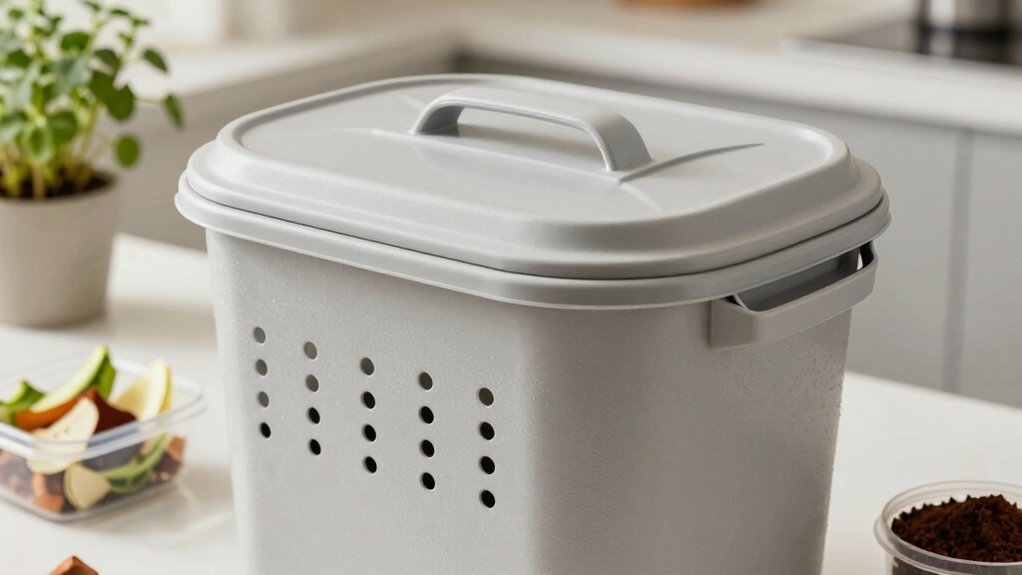
Why does your compost smell like rotten eggs, attract flies, and break down at a crawl? You’re probably over‑loading greens, under‑loading browns, or missing airflow. Add dry leaves, shredded newspaper, cardboard, or straw at a 2:1–3:1 browns‑to‑greens ratio to soak excess moisture and rebalance carbon‑nitrogen. Keep the pile moist, not soggy, and cover it during rain to prevent anaerobic conditions. Turn the pile weekly—or at least every other week—to introduce oxygen, break up compacted layers, and sprinkle coarse twigs or wood chips for internal airflow. Exclude meat, dairy, oily scraps; cover any kitchen waste with browns to deter flies and rodents. Chop food bits and shred browns to increase surface area, and use a “compost lasagna” layering method for even, faster decomposition. For apartment dwellers without outdoor space, electric smart composters can transform food scraps into nutrient-rich fertilizer in 3–6 hours while managing odors automatically. Proper aeration is essential to prevent the sour, ammonia‑like odors that signal a stuck, anaerobic pile.
Monthly Compost Care for Year‑Round Success
How can you keep your compost thriving all year? Check it monthly, balance greens and browns, and adjust moisture and aeration as seasons shift. In fall, stock up on dry leaves; in spring, mix in fresh greens after thawing. Turn the pile every few days when it’s hot, then slow turning in winter to preserve heat. Keep an eye on moisture—add browns if it’s soggy, sprinkle water if it’s dry. Harvest mature compost before the next leaf surge to make space for fresh material.
- Layer a thin green layer followed by a thicker brown layer each month.
- Turn the pile every 3‑7 days while active; reduce frequency in winter.
- Moisture: aim for a wrung‑out sponge feel; adjust with water or browns.
- Harvest seasonally to clear space and reuse finished compost promptly.
Add shredded leaves to the garage bokashi bucket before moving them to the backyard bins.
Frequently Asked Questions
Can I Compost Meat or Dairy in Indoor Systems?
Yes, you can compost meat or dairy indoors if you use a sealed, odor‑controlling system like a bokashi bin or insulated tumbler, turn it regularly, and keep temperatures high enough to kill pathogens.
How Much Space Does a Worm Bin Need on a Balcony?
You’ll need roughly three square feet of bin surface for 1.5 kg weekly waste, so a 30‑60 liter, shallow rectangular bin fits a small balcony, plus a bit of room for ventilation and drainage.
Do I Need to Add Chemicals to Speed up Indoor Compost?
No, you don’t need chemicals; just keep air, moisture, and a balanced green‑to‑brown mix right. Add finished compost, turn regularly, and use a worm or tumbler bin for faster, odor‑free results.
What Temperature Range Is Ideal for Vermicomposting?
You should keep your worm bin between 55°F and 80°F, aiming for the sweet spot of 70‑75°F. Below 55°F activity drops, and above 90°F you risk stressing or killing the worms.
Can I Use Coffee Grounds as the Sole Nitrogen Source?
You can’t rely on coffee grounds alone; they’re a decent green but need browns for carbon, aeration, and balanced C:N. Mix them with straw, leaves, or wood chips for a healthy compost pile.
In Summary
Pick the method that matches your space, set it up, and keep an eye on moisture and airflow. With a little routine—stirring, feeding, and checking for odors—you’ll turn kitchen waste into rich soil without a yard. Stick to the monthly care tips, and you’ll enjoy a thriving, low‑maintenance compost system that fits right into your apartment life.



