
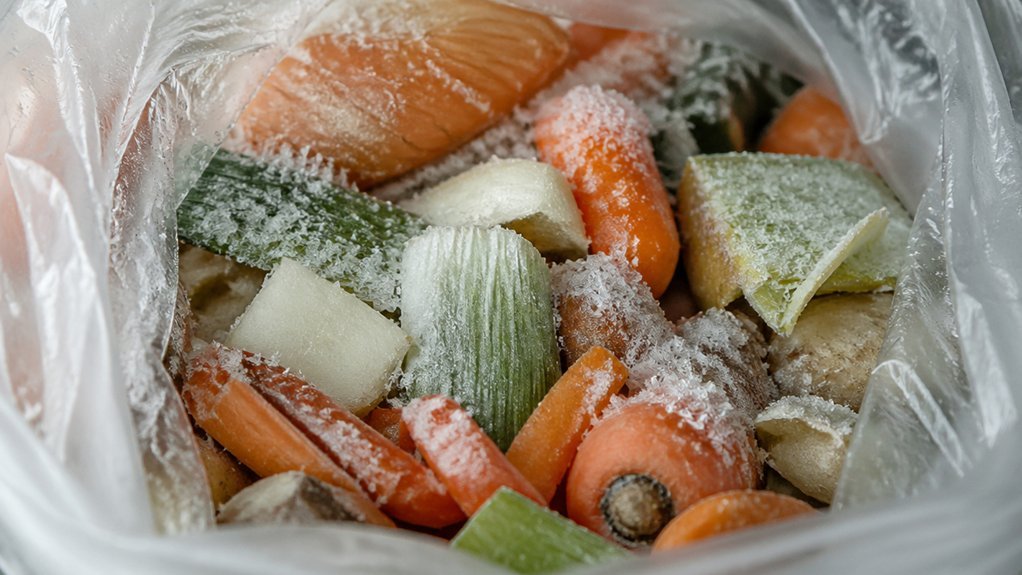
You see ice crystals on frozen food scraps because moisture from the scraps or the freezer air condenses, sublimates, and refreezes whenever the temperature drifts or the door opens. Dry, cold air pulls water out of the surface, forming a thin film that freezes into tiny nuclei; repeated melt‑freeze cycles merge these into larger crystals, making the scraps grainy and dry. Proper packaging and stable temperatures can slow this, and the next section shows how.
Why Ice Crystals Form on Frozen Scraps
Why do ice crystals appear on frozen scraps? You notice them when moisture inside the food or in the freezer air freezes on the surface, beginning with nucleation at cold spots. The dry, cold air draws moisture out, creating a thin film that solidifies into tiny crystals. Repeated temperature fluctuations from opening the freezer allow more moisture to migrate and recrystallize, increasing crystal size and accelerating freezer burn temperature fluctuations. If you open the freezer often, temperature fluctuations let the film melt and refreeze, letting crystals grow larger and migrate, which eventually leads to freezer burn and a grainy texture.
Rapid freezing would keep crystals small, but slow, repeated cycles let them coalesce. Even external moisture that sneaks into the package adds to the surface frost, accelerating the crystallization process and degrading the quality of your frozen scraps.
How Temperature Swings Speed Up Crystallization
How do temperature swings accelerate crystallization? When your freezer drifts between 0 °F and 10 °F, each warm pulse melts a thin film of freezer moisture. As it cools again, the water refreezes on the coldest spots, merging tiny nuclei into larger ice crystals. This melt‑and‑refreeze cycle repeatedly shifts water from small crystals to bigger ones, hardening texture and speeding crystallization.
| Phase | Effect |
|---|---|
| Warm spike | Surface moisture migrates inward |
| Cool down | Water refreezes as larger ice crystals |
| Repeated cycles | Recrystallization enlarges crystals |
| Frost‑free/door opening | Sublimation and redeposition accelerate growth |
You’ll notice tougher, grainier scraps because temperature swings constantly reorganize freezer moisture into bigger ice crystals.
A key factor driving this process is the buildup of ice-laden layers that form as the moistened surface repeatedly encounters ice‑cold conditions, which aligns with how moisture management impacts crystal structure in frozen foods. Moisture management remains a core consideration when seeking to minimize textural changes during freezing.
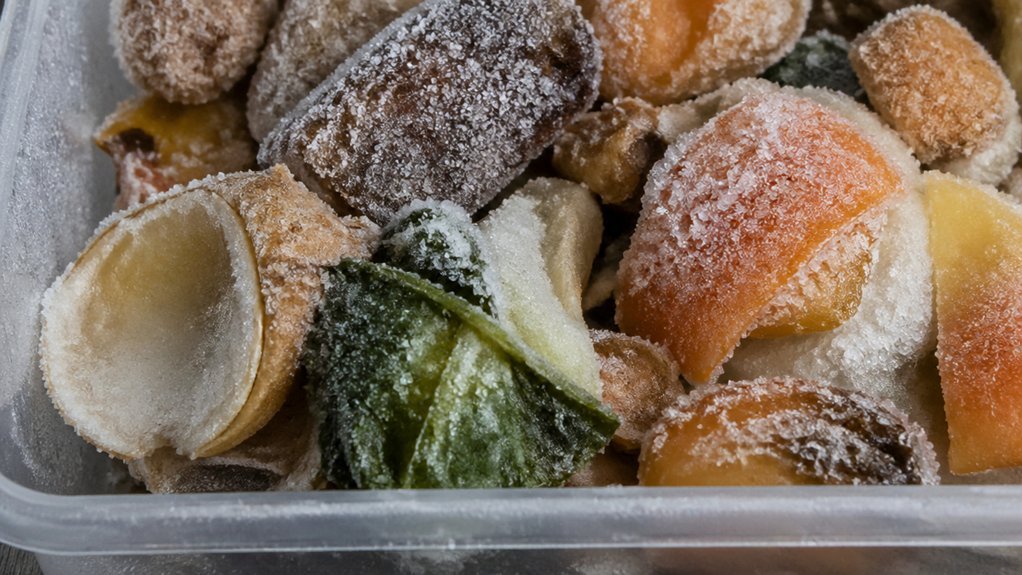
How Moisture Loss Causes Ice‑y Scraps
You’ll notice that exposed surfaces let water sublimate straight into the freezer air, creating a thin film of ice on the scrap. In practice, the high surface area of small scraps accelerates this moisture loss, especially when a balcony-style bin or container is left open to ambient air during brief temperature spikes, which air exposure increases and speeds sublimation.
Moisture Sublimation Dynamics
Ever notice those icy, grainy edges on frozen veggies? That grainy texture comes from moisture sublimation. Dry, cold freezer air pulls water from the food’s surface, then the water skips the liquid phase and deposits as ice crystals. As the sublimated vapor hits the cold interior, it freezes instantly, creating a thin, crunchy layer. This surface crystallization is especially noticeable on high‑moisture items because they lose water faster. Meanwhile, internal moisture migrates outward during storage, forming larger ice crystals that grow when the temperature drifts. The continual exchange between the food and freezer air keeps the cycle going, so each time you open the door, you add a fresh burst of sublimation, worsening the grainy, icy edges you see. Proper storage and packaging help minimize these effects by reducing exposed surface area and limiting moisture loss moisture loss dynamics .
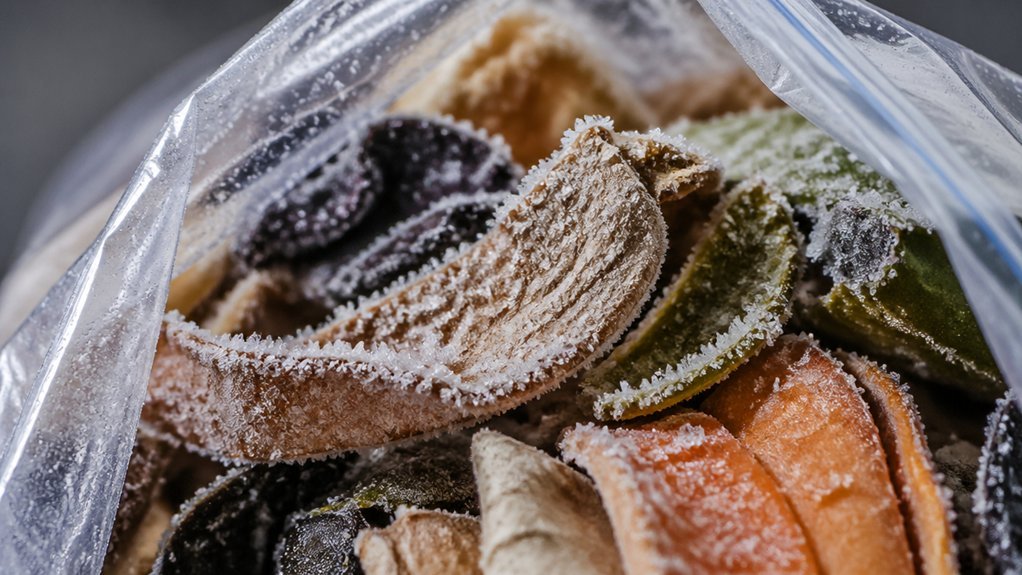
Air Exposure During Storage
Why does the ice‑y crust form on frozen scraps? You notice it when freezer air meets exposed food. Each time you open the door, humid air rushes in, then quickly dries out as the temperature drops. That dry environment pulls moisture from the scraps, a process called moisture loss, and the escaped vapor freezes on the surface, creating frost formation. If the packaging isn’t airtight, the same thing happens from the inside out, leaving a dry, crusty layer that looks like ice.
Freezer air supplies a dry, cold environment that promotes moisture migration from the scraps to the surface, where it crystallizes as frost. Odor control and proper sealing can help limit this, reducing the rate of moisture loss and frost buildup.
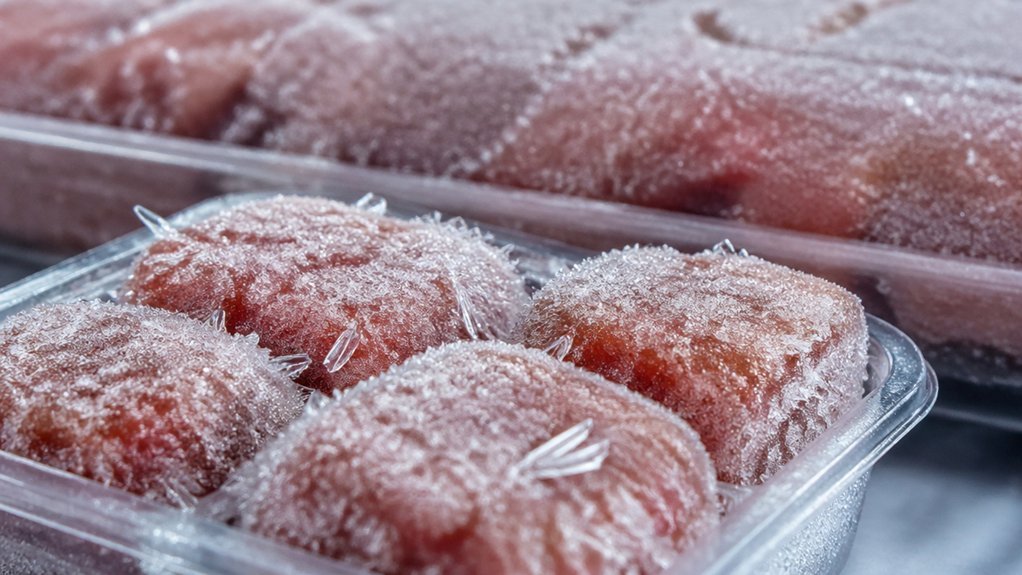
Temperature Fluctuation Effects
When the freezer temperature swings above freezing, even briefly, the ice inside or on the surface of your scraps melts and then refreezes, turning tiny crystals into larger, harsher ones. Each temperature fluctuation forces moisture to melt, migrate, and refreeze, so you see ice crystals growing and freezer burn appearing. The melt‑refreeze cycles create pathways for moisture transfer, pulling water from the interior to the surface where it sublimates or refreezes as coarse frost. As the cycles repeat, the small crystals you started with coalesce into fewer, bigger shards that crunch and dry out the food. This process is also influenced by how long scraps sit before freezing again, which can allow more moisture to migrate and recrystallize moisture migration in the presence of temperature swings.
Why Small Portions Freeze Faster Than Large Batches
You’ll notice that a small portion’s high surface‑area‑to‑volume ratio lets heat escape quickly, so it freezes faster than a bulk batch.
Because less heat is retained, the temperature drops uniformly, preventing large ice crystals from forming.
Spreading the food in a thin layer maximizes this effect and keeps the texture intact.
Note on compostable gloves Many compostable glove materials are designed to break down under industrial or home composting conditions, underscoring the importance of matching disposal methods to material certifications.
Heat Surface Area Ratio
A small portion freezes faster because its surface‑to‑volume ratio is much higher than that of a large batch. You expose more surface area to the cold air, so heat transfer accelerates and the freezing rate spikes. The thin, flat layer lets cold air contact every edge, pulling heat out quickly and solidifying the outer layer before the interior warms up. Because the distance heat must travel from the center to the surface shrinks, the whole piece reaches the freezing point sooner, preventing large ice crystals from forming.
In contrast, a bulky batch traps heat inside, slows heat transfer, and lets big crystals grow. Spread food in a single layer or shallow pan, and you’ll keep the surface area high, the freezing rate fast, and the ice crystals tiny.
Reduced Heat Retention
Why do small portions freeze faster? You’ll notice that small portions have a higher surface‑to‑volume ratio, so heat transfer to the freezer air occurs rapidly. The reduced heat retention means the water inside cells spends less time unfrozen, prompting a higher freezing rate and the formation of many tiny ice crystals instead of a few large ones. Lower thermal mass lets ambient temperature affect the portion quickly, accelerating nucleation and crystal growth to completion, which preserves texture and quality.
| Factor | Small Portions | Large Batches |
|---|---|---|
| Surface‑to‑Volume Ratio | High | Low |
| Heat Transfer Speed | Fast | Slow |
| Freezing Rate | Quick | Slower |
| Ice Crystal Size | Small, numerous | Large, few |
Choose Packaging That Blocks Air and Moisture
Ever wondered how a simple bag can keep ice crystals at bay? You can block air and moisture by picking heavy‑duty freezer bags, airtight containers, or vacuum‑sealed pouches. These options create a solid moisture barrier that stops sublimation, the culprit behind frost.
When you double‑wrap delicate scraps—an inner wrap plus an outer bag—you add an extra shield against dry freezer air. Seal every package tightly, squeezing out excess air to minimize pockets where moisture can escape. Label each container with its contents and freezing date so you rotate stock quickly and avoid prolonged exposure.
For long‑term storage, lean on vacuum sealing or rigid, freezer‑safe containers; they keep the barrier stable and keep ice crystals from forming.
Vacuum‑Seal vs. Freezer Bags for Scraps
You’ll notice that a vacuum‑seal keeps air out far better than a regular freezer bag, creating a tighter moisture barrier.
That extra seal means ice crystals form more slowly, extending the shelf‑life of your scraps.
If you can’t vacuum‑seal, squeeze out as much air as you can from a freezer bag to get a similar, though less effective, result.
Seal Air Retention
How much air you trap around frozen scraps determines whether ice crystals stay tiny or balloon into gritty shards. When you vacuum seal, you strip out almost all air, slashing the surface that sublimation can attack and dramatically slowing crystal growth. A freezer bag squeezed tight still leaves pockets, letting moisture loss creep in and crystals swell over weeks. Double‑wrapping adds a second barrier, keeping the freezer’s cold dry and the scraps insulated from stray air. Label each pack so you rotate stock before long‑term storage lets air‑driven crystals dominate.
- Air squeezed out, vacuum sealing seals tight
- Residual air in freezer bags fuels moisture loss
- Double‑wrap creates a visual “bubble” around scraps
- Thin layers on a tray freeze fast, forming tiny crystals
- Labeled packs remind you to use before air‑induced grit appears
Moisture Barrier Efficiency
Why does a vacuum‑sealed pack keep your frozen scraps smoother than a regular freezer bag? Vacuum sealing removes nearly all air, creating a tight moisture barrier that blocks ice‑crystal growth. With a freezer bag, you can squeeze out some air, but pockets remain, and air exposure lets moisture escape, leading to freezer burn and uneven crystals. The vacuum‑sealed pack maintains uniform moisture, preserving texture and flavor longer than a bag that traps tiny air bubbles. For short‑term storage, a heavy‑duty freezer bag may work up to three months, but vacuum sealing consistently yields fewer ice crystals and less freezer burn. If you lack a sealer, double‑wrapping with an airtight inner layer plus an outer bag offers an intermediate barrier.
Shelf‑Life Extension
Ever wondered how long your frozen leftovers stay tasty? You can stretch shelf life by choosing the right storage method. Vacuum sealing removes almost all air, so ice crystals form slower and freezer burn drops dramatically. Freezer bags let more air in, shortening shelf life to a few months. Here’s how each option looks in practice:
- Vacuum‑sealed scraps, dry, airtight bags, 6‑12 months of quality
- Heavy‑duty freezer bags, squeezed to expel air, 2‑6 months before texture fades
- Small portions sealed quickly, minimizing moisture exposure
- Labels with contents and date, preventing forgotten bags that develop ice crystals
- Proper seal checks, ensuring no leaks that invite freezer burn
Pick the method that matches your storage timeline, and you’ll keep leftovers fresher longer.
Use Fast‑Freeze Settings to Reduce Crystals
Ever noticed how a quick‑freeze setting leaves your frozen food scraps smoother and less icy?
Quick‑freeze yields smoother, less icy frozen food scraps by forming tiny ice crystals and preserving texture.
When you hit fast‑freeze, the temperature drops in seconds, forcing water to form countless tiny ice crystals instead of a few large ones. Those small crystals preserve cell walls, so you see less freezer burn and less texture damage.
Rapid freezing also shortens the window for moisture loss, keeping the surface from sublimating and shedding ice crystals.
Lay your scraps in a single, shallow layer; this maximizes heat transfer and prevents haphazard stacking that would create uneven pockets.
The result is a uniform, crisp freeze that keeps flavor and texture intact while minimizing ice crystal growth.
Pre‑Cool Scraps Before Freezing for Better Texture
Fast‑freeze gives you a smooth freeze, but you can boost texture even more by pre‑cooling the scraps. When you pre‑cool, the temperature rise slows, limiting ice crystals and preserving bite. Quick cooling to 70 °F in two hours—or 41 °F in four—cuts surface moisture, so fewer large crystals form. Spread the pieces in a thin layer, dry them, or give a brief blanch to keep enzymes from wreaking havoc. The result is a firmer, more pleasant bite after thawing.
- Lay scraps in a shallow pan for rapid heat loss
- Pat dry to achieve moisture reduction before freezing
- Chill to 70 °F within two hours for quick cooling
- Use a single thin layer to promote uniform ice crystals
- Blanch delicate vegetables briefly to inactivate ice‑growth enzymes
Add Salt or Sugar to Slow Ice Formation
Why not sprinkle a pinch of salt or a dash of sugar into your freezing mix? Both solutes lower water’s freezing point, shifting nucleation to lower temperatures and creating many tiny ice crystals instead of a few large ones. Salt draws water out of cells, reducing internal crystal growth, while sugar raises osmotic pressure, slowing water migration. Use moderate amounts—enough to seed multiple nucleation sites without causing off‑flavors or surface dehydration. Balance is key: too much solute leads to moisture loss and undesirable taste, but the right balance preserves texture and slows ice crystal formation.
| Solute | Effect on Ice |
|---|---|
| Salt | Lowers freezing point, promotes many small nucleation sites |
| Sugar | Increases osmotic pressure, slows water migration |
| Moderate | Prevents large crystals, maintains flavor |
| Excessive | Causes off‑flavors, dehydration |
| Balanced | Optimizes texture, limits ice crystals |
Space Scraps Properly for Good Airflow
After adding just enough salt or sugar to keep ice crystals tiny, you’ll notice that the freezer still needs room to let cold air circulate. You must give each piece of frozen food space so that freezer airflow stays strong and ventilation isn’t blocked. Lay scraps flat, keep a gap between piles, and avoid stacking irregular shapes tightly. A tidy layout lets cold air sweep over every surface, preventing moisture pockets that spawn ice crystals. Regularly shift items to keep vents clear and maintain consistent temperature.
- Leave at least two inches of clearance around each batch of scraps.
- Position items in a single layer whenever possible.
- Keep the top shelf free for rising cold air.
- Arrange boxes so vents stay unobstructed.
- Rotate older scraps forward to ensure even ventilation.
When to Thaw vs. Keep Scraps Frozen for Compost?
When should you thaw frozen food scraps for compost instead of keeping them frozen? If you plan to compost within the next 2–3 days, thaw them in the fridge; this limits temperature swings and keeps pathogens at bay. Thawing releases moisture, which fuels microbial activity, so use the scraps within 24–48 hours for optimal decomposition. If you can’t compost soon, keep the scraps frozen. The cold preserves moisture, halts enzymatic breakdown, and prevents freezer burn that would degrade nutrients. Frozen scraps also stay free of off-odors, slime, or mold that could contaminate your compost pile. Remember: once thawed, watch for any foul smells or mold—discard those pieces and adjust your feedstock to keep the compost healthy.
Spotting Ice‑Crystal Damage Before Composting
If you’ve decided to keep your scraps frozen, the next step is to check for ice‑crystal damage before they hit the compost bin. Look for white or gray patches, grainy textures, and dull, shrunken areas that signal moisture loss. Open each package and feel the surface—if it feels rough, the crystals have likely hardened into freezer burn. A quick visual scan helps you decide whether to toss, re‑package, or thaw.
- Frosty, powdery spots that brush off easily
- Chalky, discolored patches indicating freezer burn
- Grainy, icy texture on vegetables or meat
- Noticeable shrinkage or wrinkling around edges
- Air‑tight packaging that still shows ice crystals inside
Catch these signs early to keep your compost healthy.
Quick Fixes for Already Crystallized Scraps
How can you rescue frozen scraps that have already turned into icy clumps? First, transfer the scraps to a zip‑top bag, squeeze out excess air, and seal tightly to stop moisture loss. Then, lower the freezer temperature slightly to speed the freezing rate, which encourages smaller ice crystals to form during the next thaw‑refreeze cycle. If freezer burn is visible, trim the discolored edges; the remaining portion can still be used after a quick soak in cold water for a few minutes—this re‑hydrates the surface and reduces crystal size. Finally, store the repaired scraps in a dry, airtight container and keep the freezer at a stable 0 °F (‑18 °C) to prevent further ice crystal growth and keep texture intact.
Frequently Asked Questions
Is It Okay to Eat Frozen Food With Ice Crystals on It?
Yes, you can eat it, but expect texture changes; ice crystals mean moisture loss, so the food may be drier or grainier. Trim any freezer‑burned spots and cook it promptly for best results.
What Should You Do if You Find Frozen Foods With Ice Crystals?
You should discard any items with heavy ice crystals, then reseal the rest tightly, move them to the coldest freezer spot, and consider portion‑freezing to prevent future buildup.
Why Does the Food in My Freezer Get Ice Crystals?
You get ice crystals because warm air, frequent door openings, or frost‑free cycles cause moisture to migrate and refreeze on food surfaces, especially when the freezer temperature isn’t consistently at 0°F.
What Does It Mean When You See Ice Crystals on Frozen Food?
You’re seeing ice crystals because moisture migrated to the surface and refroze, indicating temperature swings or freezer burn. They’re a sign of quality loss, not necessarily spoilage, but they can affect texture.
In Summary
By now you’ve seen why ice crystals appear on frozen food scraps and how temperature swings, moisture loss, and packaging all play a part. Keep scraps sealed, store them in a stable‑cold spot, and give them space for airflow. When you need to compost, thaw only what you’ll use right away—otherwise keep them frozen to preserve quality. Spotting crystal damage early lets you fix it before it ruins your compost batch.


Leave a Reply