
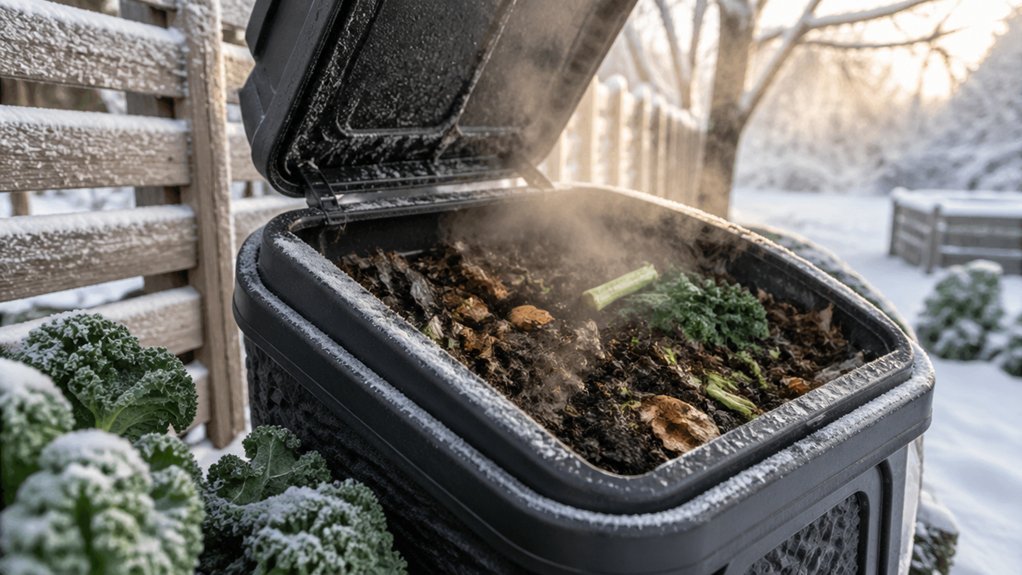
Create a 12‑inch‑wide nitrogen‑rich core in a small cavity, then pack coarse, dry debris around it as insulation. Add a thin layer of lukewarm water after each addition to keep moisture at 40‑60% and stake‑aerate occasionally to supply oxygen. The thick outer shell traps microbial heat, keeping the core above freezing even in winter apartments. Expand the outer heap with rain‑catching material and protect it with a heavy pail or insulation sheet. If you keep this routine, you’ll discover deeper tips for spring‑ready compost.
Define Bird‑Nest Composting
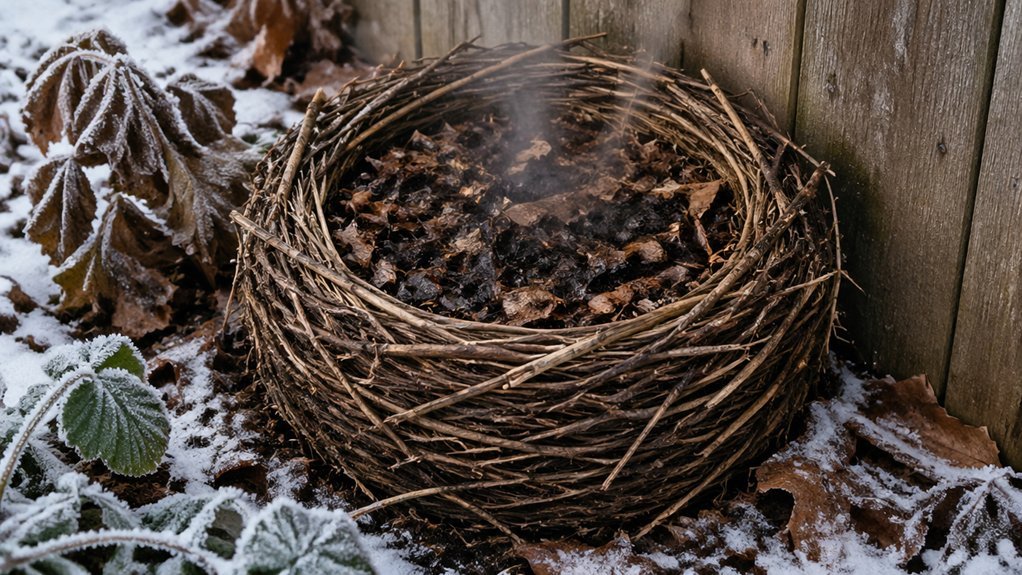
Bird‑nest composting is a compact, heat‑focused system that nests nitrogen‑rich material inside a 12‑14‑inch‑wide core, while rough garden debris forms an insulating shell. You fill the core with manure, pellets, or grains, keep it damp, and stir it occasionally with a stake to draw in air. After each layer you add lukewarm water, raising core heat and sustaining microbial activity. The outer materials spread outward, catching rain and creating space for more waste, while a heavy pail or cover provides extra insulation for winter composting. This design mirrors mallee‑fowl nests, maintaining about 93 °F (34 °C) in the center. Your heating/maintenance routine stays simple: monitor moisture, add water, and avoid turning until spring, letting the insulated core do the work. The system benefits from consistent moisture management and occasional monitoring of core temperature to ensure steady microbial activity insulation.
Explain Why Bird‑Nest Composting Works in Winter?
Because the heat‑producing core is sealed inside a thick, insulating shell, the temperature inside stays well above the freezing air. You create a bird‑nest heap by layering nitrogen‑rich material in a 12‑inch deep core, then packing coarse debris around it. The outer shell works like natural insulation, trapping the heat that the microbes generate. Periodic aeration and a splash of lukewarm water keep the core bioactive, preventing it from freezing. As decomposition moves outward, the core shrinks while the outer heap expands, catching rain and adding fresh waste, which sustains the warm microclimate throughout winter.
| Layer | Material | Purpose |
|---|---|---|
| 1 | Nitrogen‑rich core | Heat source |
| 2 | Coarse sticks | Insulation |
| 3 | Moisture (water) | Aeration support |
| 4 | Additional waste | Sustains temperature |
Build a Core‑Heavy Bird‑Nest Compost Pile
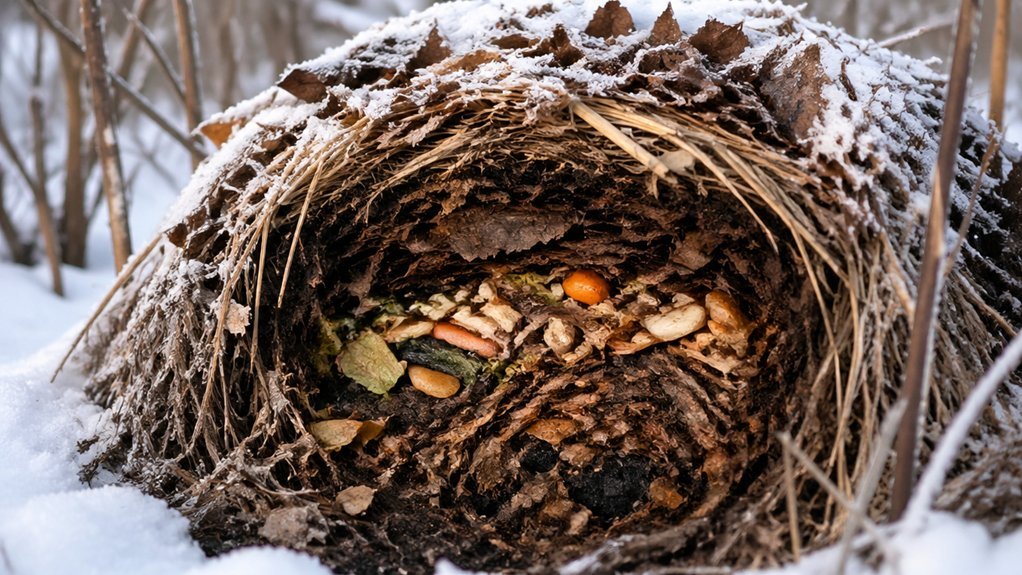
A solid core‑heavy bird‑nest compost starts with a hollow cavity 12–14 inches wide and deep, which you fill with nitrogen‑rich “hot” materials like manure, pellets, or grains, dampening each layer with lukewarm water to keep the temperature up. Add periodic aeration to boost oxygen flow and prevent anaerobic buildup, using a stake to loosen compacted spots. Build the core slowly and evenly, then allow the outer heap to expand as it catches rain and provides insulation. Cover the early stage with a heavy pail, then switch to an insulating cover that mimics a Mallee‑fowl nest, stabilizing heat while you monitor moisture and aeration Odor Control Features.
Raise Microbial Heat in a Bird‑Nest Compost Without Turning
You’ll fill the nest’s core with nitrogen‑rich material, then blanket it with coarse, dry insulation to trap the heat microbes generate. Add a thin layer of moisture to maintain the 40–60% target range for steady microbial activity climate-zone considerations.
Core Nitrogen‑Rich Fill
Ever wondered how a compact, winter‑proof compost can stay hot without ever being turned? In your bird‑nest setup, the central heat core relies on nitrogen‑rich inputs—manure, pellets, or grains—packed into the 12‑14‑inch hollow. Add a splash of lukewarm water after each layer; the moisture raises the core temperature and fuels warm composting even when winter temperature dips low. Periodic aeration with a stake loosens the packed material, keeping microbes active without full heap turning. Think of it like a worm bin that never needs to be flipped: the core shrinks as decomposition proceeds, while the outer shell expands to catch rain and accept more waste. This inward‑out heat generation sustains a to, turning‑free compost through the cold months.
Insulate Outer Layers
When temperatures drop, wrapping the outer heap in natural insulators—straw, grass clippings, shredded cardboard, or leaves—creates a barrier that slows heat loss through convection and radiation. You’ll want to insulate the outer layers of your compost bin while keeping drainage open. A simple surface insulation like carpet or bubble wrap adds a thin shield, and a windrow‑style cover of high‑nitrogen material topped with a tarp traps warmth without smothering worms. Add a 2‑4‑inch top layer of browns mixed with greens to balance moisture and carbon, and consider seed‑starting mats or commercial heating options for uniform warmth.
- Use straw or shredded leaves as base insulation.
- Lay carpet or bubble wrap over the surface.
- Stack a high‑nitrogen windrow and cover with a tarp.
- Finish with a brown‑green top layer for moisture control.
Seasonal Core Maintenance
How can you keep a compost’s core hot without ever turning the pile? Build a bird‑nest‑style heat center inside your worm bin, carving a 12‑inch‑wide, 14‑inch‑deep hollow. Fill it with nitrogen‑rich “hot” materials—manure, pellets, grains—and splash damp water after each layer to boost core warmth. Periodically poke a stake through the center to aerate and loosen material, then drizzle lukewarm water to sustain microbial heat. This approach aligns with the concept of continuous fermentation and compact, space-saving systems that emphasize efficient, odor-controlled processing in small setups. As decomposition pushes outward, let the outer heap expand, catching rain and adding waste while you drape a heavy pail cover and a Mallee‑fowl‑inspired insulation sheet to trap solar warmth. This seasonal core maintenance keeps the heat center active throughout winter, accelerating inward breakdown and setting the stage for a vigorous spring chop. Continuous fermentation
Insulate Your Bird‑Nest Compost Pile for Apartments
Looking for a way to keep your bird‑nest compost warm in a cramped apartment? You can insulate the pile with cheap, effective layers that cut heat loss dramatically. Start by surrounding the bin with a thick blanket of straw; its air‑filled fibers act like natural insulation. Then add a top layer of carpet, bubble wrap, or an Urban Worm Blanket to seal the surface. Slip a breathable tarp over the center, leaving drainage holes clear, and tuck a few leaves or more straw underneath for extra carbon balance. Finally, place a seed‑starting warming mat under the bin, keeping cords far from moisture and combustibles. Removable inner bucket
Control Moisture & Aeration in a Bird‑Nest Compost
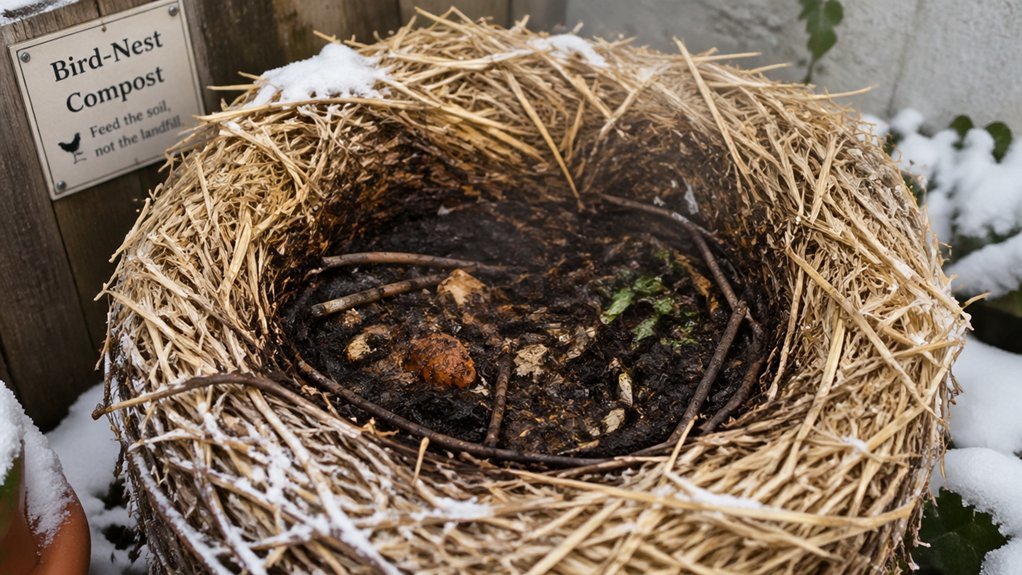
Wondering how to keep your bird‑nest compost’s core moist yet breathable without soggy clumps? Start by building a hollow center core 12–14 inches wide, then layer nitrogen‑rich “hot” material—manure, pellets, grains—dampening each stratum with lukewarm water. This gentle moisture keeps microbes active while avoiding waterlogging. After every few layers, insert a sturdy stake and rotate it to create aeration channels; the stake loosens compacted material and lets oxygen flow. Cover the outer heap with a heavy pail or insulation sheet during early growth to protect the core from rain and temperature swings. If you add a worm bin nearby, the worms will further aerate the compost, enhancing decomposition without turning the entire pile. This routine balances moisture, aeration, and insulation for a thriving winter bird‑nest compost.
When to Mix and Prepare Your Bird‑Nest Compost for Spring?
After keeping the core moist and airy through winter, you’ll want to kick‑start the spring cycle by mixing the hot center outward. The compost pile’s center heating will have expanded, so plan your spring mixing as soon as the heap feels warm and pliable. Dampen the outer layers, then turn the pile to restore aeration and maintain moisture. Insulation fades with the thaw, making this the perfect moment to blend nitrogen‑rich material with the cooler debris.
- Check temperature: if the core feels warm, it’s time.
- Add water: restore moisture to dry edges.
- Turn gently: promote aeration without collapsing structure.
- Spread evenly: ensure uniform decomposition.
This routine jump‑starts decomposition and sets the stage for finished castings. airflow design
Troubleshoot Bird‑Nest Compost Problems in Winter
Ever notice the center staying warm while the outer layers dry out and freeze? Keep your bird‑nest bin’s core damp and you’ll preserve the heat that fuels microbes and worms even in winter. If the outer shell freezes, add insulation—straw, leaves, or bubble wrap—to trap warmth and prevent excess moisture loss.
A heavy pail or blanket on sunny days boosts temperature, while a simple cover at night stops cold drafts. When you see a sluggish breakdown, check moisture: a dry exterior needs a light spray, but avoid soggy conditions that drown the heat.
If worms disappear, raise the internal temperature by adding fresh nitrogen‑rich material and re‑dampening. Regularly monitor the bin’s core temperature; a 7 °F rise over ambient means you’re on track, and you won’t need to turn the pile until spring. Moisture balance remains a key factor in sustaining microbial activity during colder months.
Frequently Asked Questions
How to Keep a Compost Pile Warm in Winter?
You keep it warm by building a 12‑inch hollow core, filling it with nitrogen‑rich, damp materials, insulating the outside with straw or bubble wrap, covering the center with a heavy blanket, and adding a thermostat‑controlled heat mat to raise surface temperature.
How Do the Amish Compost?
You build a hollow core, fill it with nitrogen‑rich, hot materials, keep it damp, and surround it with straw or debris for insulation. You aerate occasionally, cover the center, and mix in spring.
Do Coffee Grounds Heat up Compost?
Yes, coffee grounds can raise compost temperature if you mix them sparingly with brown bulking material. They boost microbial activity, creating localized heat, but avoid overloading to keep aeration and prevent excess moisture.
What Can I Use Instead of a Worm Blanket?
You can replace a worm blanket with straw bales, carpet scraps, bubble‑wrap panels, or a thick blanket—layer them over the bin, secure them, and add a heating mat underneath for extra warmth.
In Summary
By now you’ve got a compact, insulated bird‑nest compost that keeps breaking down all winter long. You’ve learned why the heat‑generating core works, how to stack and moisture‑tune it without turning, and how to protect it in tight spaces. Keep an eye on moisture, let the microbes do their thing, and you’ll walk into spring with rich, ready‑to‑use soil. Happy composting!



