

You’ll want to reconsider a breathable bokashi bin design, since it undermines the anaerobic fermentation that makes bokashi effective for breaking down kitchen scraps in the first place. Instead, you’ll need airtight containers with sealed lids to maintain oxygen-free conditions. Breathable designs eliminate odor control and pest prevention benefits while compromising microbial efficiency. Use breathable containers only for storing pre-fermented scraps, not active fermentation. The proper setup requires specific hole placement and maintenance techniques that’ll transform your kitchen waste successfully.
Decide: Do You Need a Breathable Bokashi Bin?
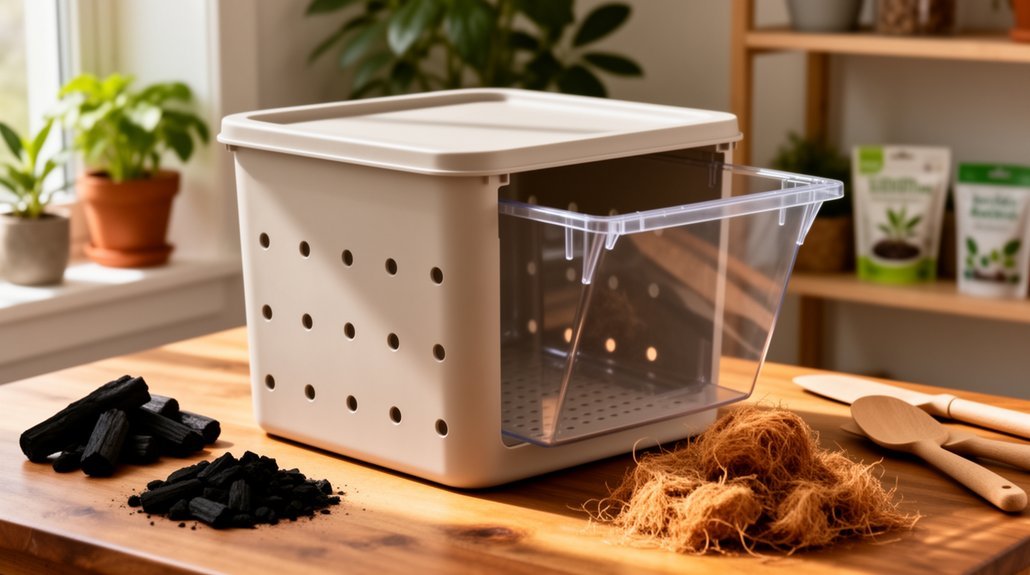
Why would you want a breathable bokashi bin when the method fundamentally depends on an airtight seal? The honest answer: you probably don’t. Bokashi fermentation requires an oxygen-free environment to function properly. Breathable containers undermine this core requirement by allowing air exchange, which reduces microbial efficiency and shifts the process toward putrefaction rather than controlled fermentation. The anaerobic conditions are essential for the bokashi mix of fermented grains to work effectively on food waste including non-compostable items.
If you’re seeking odor control, pest prevention, and consistent results—bokashi’s main advantages—breathing designs eliminate those benefits. Air leakage increases smell risk and encourages decay instead of fermentation. Products like countertop compost bins with sealed lids demonstrate how proper containment design prevents odor escape and maintains fermentation integrity.
Consider a breathable bin only if you’re storing pre-fermented scraps temporarily, not actively fermenting. For active bokashi, choose an airtight container. If you prefer airflow and drainage, traditional aerobic composting better suits your needs than a hybrid approach that compromises both methods.
Choose Your Buckets and Materials
Now that you’ve committed to an airtight bokashi bin, you’ll need to select the right containers and materials to build a system that actually works.
Choosing the right containers and materials is essential for building a bokashi bin system that actually performs.
Start with food-grade plastic buckets—5-gallon sizes work well for most households, though you can go smaller if space is tight.
A two-bucket system lets you nest one inside the other for leachate collection. Bokashi bran should be sprinkled between layers of kitchen scraps to inoculate the fermentation process. Unlike electric composters that rely on heat and grinding, bokashi fermentation preserves nutrient retention through sealed anaerobic conditions.
For the lid, invest in a Gamma Seal or similar airtight option; standard snap-on lids wear quickly and won’t maintain the seal you need.
Add a spigot to the lower chamber for easy liquid drainage, though be aware these can leak over time.
Choose sturdy plastic that’ll handle repeated filling and sealing without cracking.
Gather Tools and Prepare Your Setup
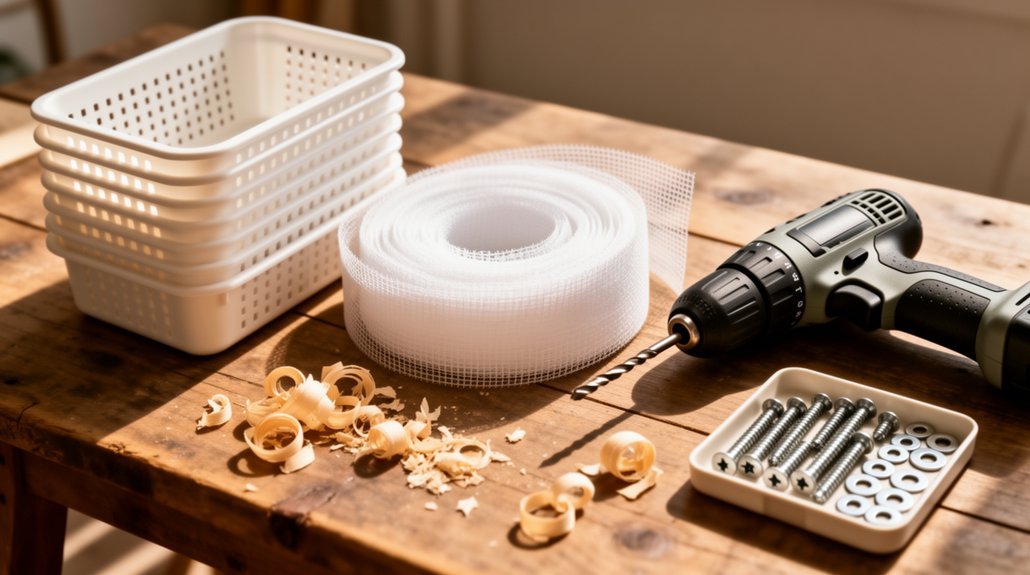
Before you drill your first hole or position a spigot, you’ll want to prepare your work area and gather the right tools to build your bokashi bin safely and efficiently.
Set up on a stable, flat surface like a garage floor or workbench. Clear away loose tools, cords, and debris, then protect the area with cardboard or a drop cloth to catch plastic shavings and spilled liquids.
You’ll need a drill with a 1/8-inch bit for vent holes and a 1-inch hole saw for the spigot opening. Grab a marker, measuring tool, and optional cutting tools like a jigsaw if your design requires trimming.
Gather your spigot, washers, nuts, and sealant. A Gamma Seal lid will ensure your bokashi bin remains airtight during the fermentation process. Proper odor control features like carbon filters and sealed construction will prevent unwanted smells during the fermentation stage. Wear eye protection while drilling, and keep a trash container nearby for immediate cleanup.
Drill the Right Holes for Airflow
With your workspace ready and tools at hand, you’re prepared to create the ventilation system that’ll keep your bokashi bin functioning properly. Start by drilling side-wall holes around the upper-to-middle section of your container. Use roughly 1/2-inch holes spaced about every foot apart—larger holes clog less easily than many tiny perforations. This placement supports oxygen exchange while limiting direct rain entry.
Next, add bottom drainage holes to release excess liquid that accumulates during fermentation. Position your bin over a catch tray to collect draining moisture effectively. Overly wet material slows the process, so controlling drainage is essential. Proper aeration and heat distribution prevents the anaerobic environment from becoming stagnant and generating offensive odors. However, do not create holes in your composting bucket lid, as this can compromise the anaerobic fermentation environment your bokashi system relies on.
Skip lid holes for now. Your side and bottom perforations already provide adequate airflow without introducing excessive water intrusion from rainfall. This balanced approach maintains the proper moisture level your bokashi system needs.
Layer Scraps and Bran in Your Bokashi Bin
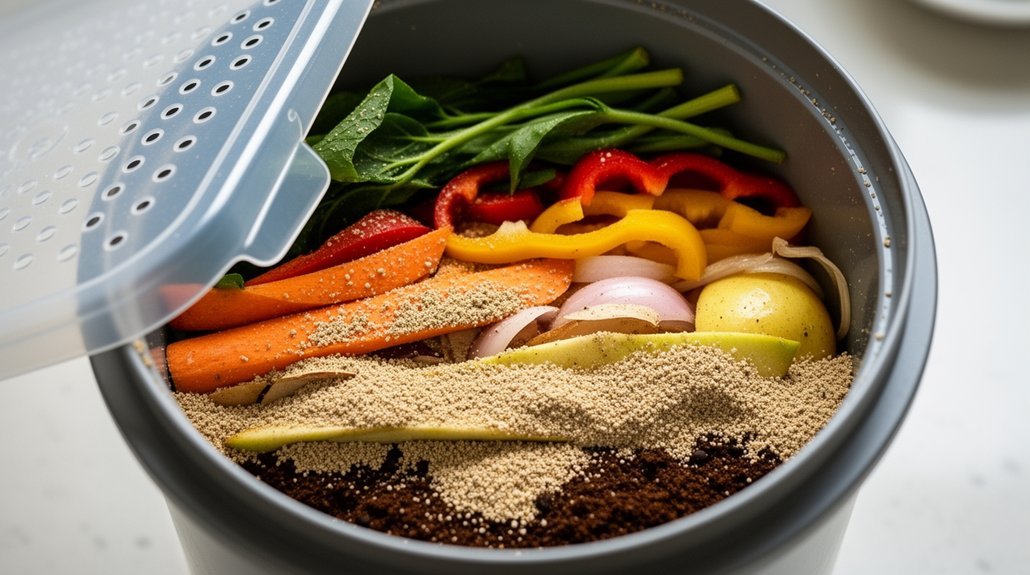
Once your ventilation system is complete, you’re ready to fill your bin with the layered combination of food scraps and bokashi bran that’ll drive the fermentation process. Start with a thin base layer of bokashi bran to inoculate your first scraps. Then alternate small layers of food waste with 1 to 2 tablespoons of bran per 2 inches of scraps, adjusting upward for harder-to-ferment items like meat. Compress each layer firmly with a tamper to eliminate air pockets and ensure anaerobic conditions. Continue layering until your bin reaches capacity, finishing with a final bran layer before sealing. Store your sealed bokashi bin in a cool, dark location to preserve the fermentation process and maintain optimal conditions. Keep additions consistent and avoid excess liquid, large pieces, and excessive oils to maintain optimal fermentation throughout. You can also compost dairy and oily foods alongside your standard kitchen scraps, provided you absorb any excess liquids with the bran and layering technique.
Control Moisture and Drain Liquid
Maintaining the right moisture level is essential because excess water drowns the beneficial microbes driving fermentation, pushing your bin toward odors and spoilage instead. Watch for condensation on your lid’s underside—a clear sign you’re holding too much liquid.
Drain leachate every 2 to 3 days using your bin’s spigot to prevent waterlogging. If you notice soggy contents or strong sour smells, absorb excess moisture by layering newspaper, cardboard, or extra bokashi bran throughout the bin. Dry food scraps like bread or stale cereal also help balance wetter additions. A strong stomach-acid odor may indicate liquid pooling or insufficient bokashi bran, signaling that fermentation is becoming imbalanced. Regular maintenance schedules, including oiling required for optimal performance, ensure your bin’s components operate smoothly without jamming.
When you do collect leachate, dilute it 1:100 with water before using it as fertilizer. Daily monitoring of condensation, drainage, and odors keeps your bin stable and your fermentation on track.
Empty Your Bokashi Bin Into Finished Compost
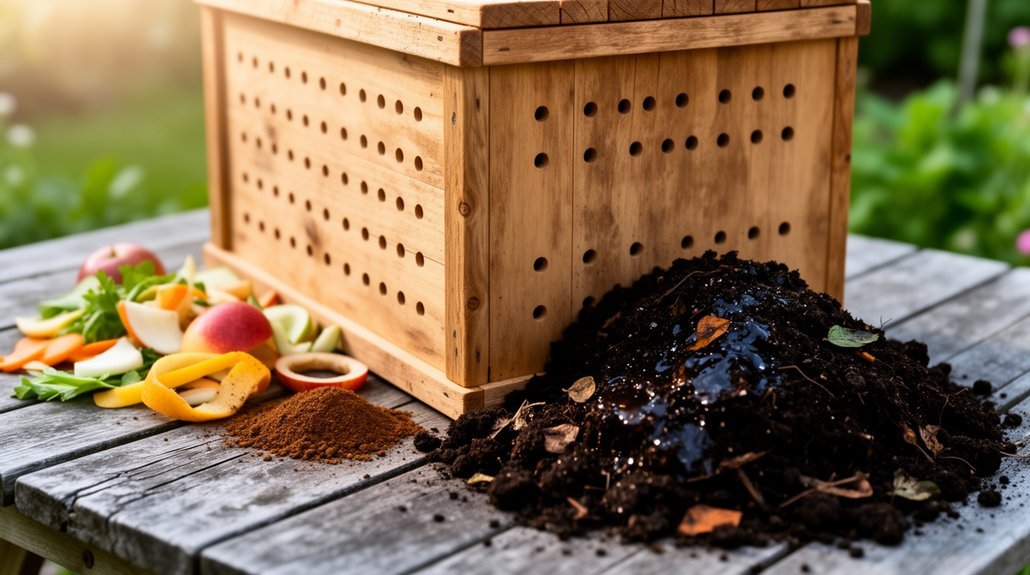
When’s your bokashi bucket ready to move on? After about two weeks of sealing, your fermented contents—not yet finished compost—are prepared for the next stage. You’ll recognize readiness by the acidic, pickled smell rather than rot.
Here’s how to complete the breakdown:
- Dig a hole in your existing compost pile and bury the bokashi material completely
- Break large chunks into smaller pieces for faster decomposition and better microbial contact
- Cover everything with compost or soil to reduce odor and discourage pests
Active organisms in finished compost will finish decomposing your fermented waste. Worms and soil life work as key finishers, potentially completing breakdown within two to six weeks. The garden soil organisms drive the final stages of composting and ensure complete decomposition of your pre-compost material. For optimal results, consider using charcoal filters or other odor-control methods if your compost area is near high-traffic zones. Avoid planting directly into freshly emptied bokashi; wait four to six weeks for full integration into your soil or compost pile.
Frequently Asked Questions
Can I Use a Breathable Bokashi Bin Indoors Without Odor Problems?
You can use a breathable bin indoors, but you’ll face odor challenges. You’ll need to empty it frequently, add plenty of carbon cover, drain it regularly, and stick with dry inputs to minimize smell buildup effectively.
How Often Should I Add Bokashi Bran to My Layered Food Scraps?
You’ll add bokashi bran every time you layer food scraps—typically about 1 tablespoon per inch of waste. Spread it evenly throughout, not in clumps. More bran’s safer than too little; you can’t really overdose it.
What Temperature Range Is Ideal for Optimal Fermentation in Bokashi Bins?
You’ll achieve optimal fermentation when you maintain temperatures between 20°C and 24°C (70°F to 75°F). You’ll want stable conditions more than precise temperatures, so you’re keeping your bin indoors away from direct sunlight.
Can I Mix Different Types of Food Scraps, or Are Some Incompatible?
You can mix most food scraps, but you’ll want to avoid excess liquids, oils, and large amounts of spoiled food. Chop items small, layer with bran, and drain regularly for successful fermentation.
How Long Does Fermentation Typically Take Before Moving Scraps to Secondary Composting?
You’ll typically ferment your bokashi scraps for two to three weeks before moving them to secondary composting. Warmer conditions can shorten this to one week, while colder temperatures may extend it beyond two weeks.
In Summary
You’ve successfully created a functional bokashi bin that’ll transform your kitchen scraps into nutrient-rich compost. By drilling proper ventilation holes, layering materials correctly, and managing moisture levels, you’re now composting efficiently at home. When you’re ready, you’ll empty your bin into finished compost and start fresh. Your breathable bokashi system reduces waste while producing valuable soil amendments for your garden.



