
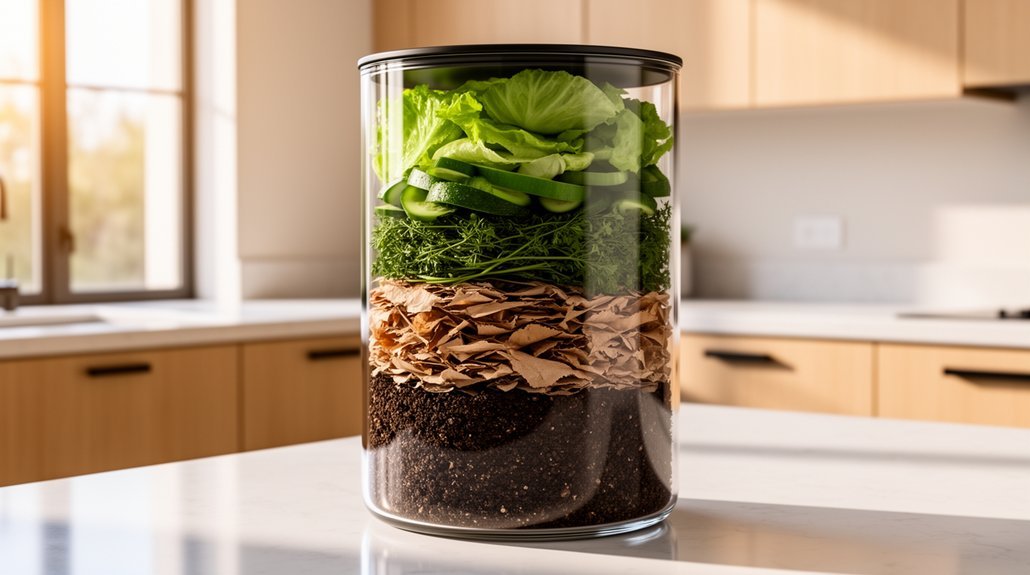
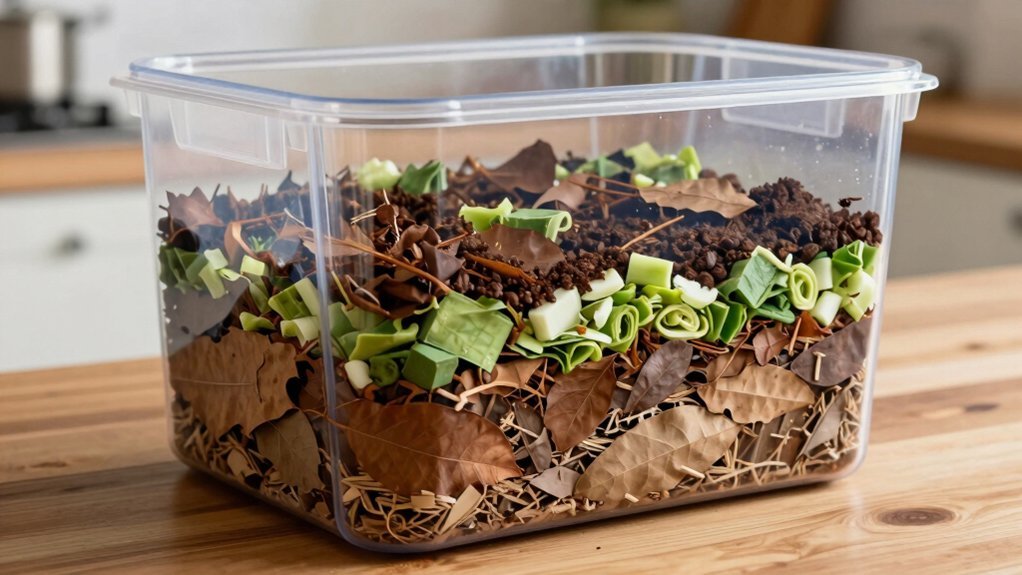
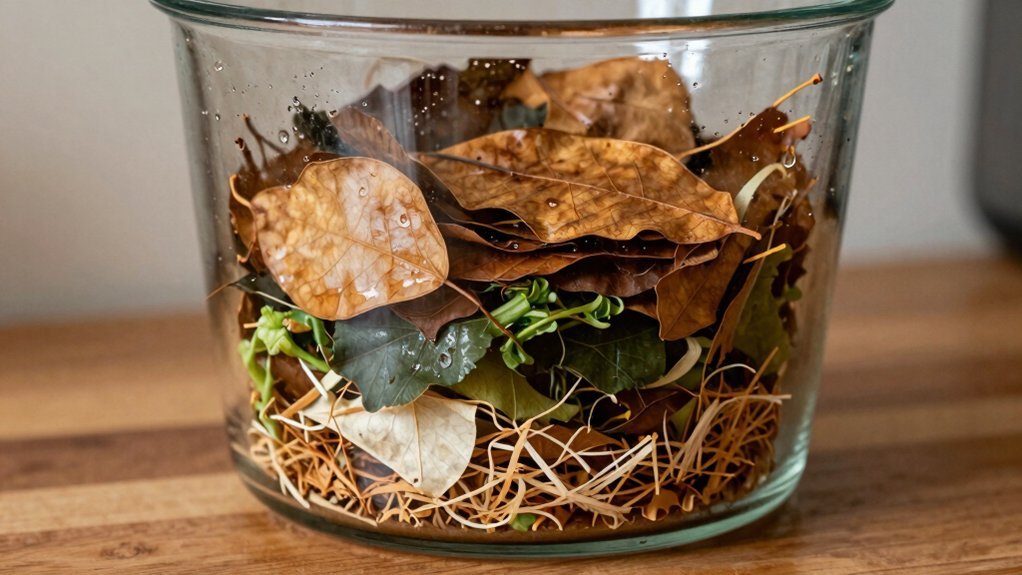
Start with a 4‑6‑inch layer of coarse wood chips on the bin floor for airflow and odor control. Add 2‑3 inches of fresh greens—kitchen scraps, coffee grounds, or grass clippings—then cap them with 4‑6 inches of dry browns like shredded paper, cardboard, or leaves. Keep the volume ratio around 1 part greens to 2–3 parts browns, and lightly mist the browns to boost microbes. If the pile smells or sags, adjust the layers and turn it; the next steps will show you how to fine‑tune moisture and temperature.
Get the Ideal Brown‑to‑Green Ratio
Why does the brown‑to‑green ratio matter? It balances carbon‑rich browns with nitrogen‑rich greens, keeping microbes happy and preventing odors, excess moisture, and a sludge‑like texture. A good mix speeds breakdown, heats the pile, and avoids stagnation.
Aim for roughly three to four bucketfuls of dry leaves, cardboard, or shredded newspaper for every bucket of kitchen scraps. If you add manure, use the same 3‑4:1 proportion. Layer browns and greens together so the dry material soaks up excess water.
Watch for signs: a stinky, soggy pile means too many greens; a dry, slow‑decomposing heap signals too many browns. Adjust by adding the opposite material until the pile feels moist, airy, and warm. Adding nitrogen‑rich greens boosts microbial activity and helps the pile heat up. For apartment dwellers with limited space, consider supplementing your layering approach with bokashi bran to accelerate fermentation and reduce odors in compact setups.
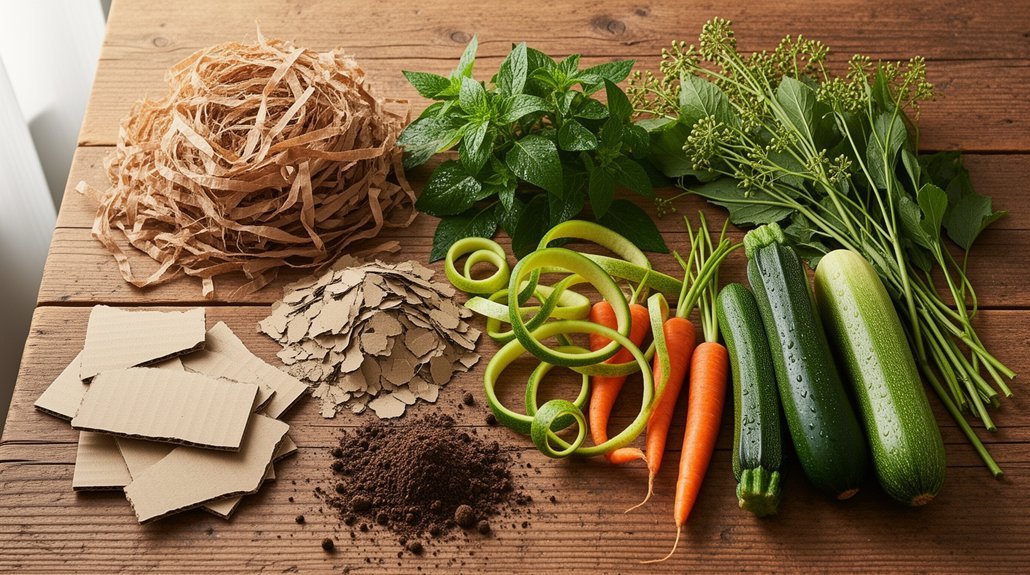
Choose Browns: Paper, Cardboard, Dry Leaves
Balancing browns and greens is only half the battle; now pick the right brown materials. In an apartment bin you’ll want high‑carbon inputs that stay airy, absorb moisture, and avoid nasty coatings. Shred newspaper, office paper, or paper bags into thin strips; they break down fast and keep the pile from drying out. Tear corrugated cardboard into small pieces, soak them briefly, and mix them in—avoid glossy or waxy boxes. Gather dry leaves, crumbling them to improve airflow; steer clear of pesticide‑treated foliage. By layering these browns in thin, repeated sheets you maintain porosity, control odor, and give microbes the carbon they need. Consider using odor-absorbing materials like coconut coir mixed with your browns to further enhance odor reduction in compact indoor bins. Adding too many greens without enough browns can cause a wet, smelly mess, so ensure a proper carbon‑to‑nitrogen balance.
Layer browns thinly—shred paper, soak cardboard, crumble dry leaves—to keep compost airy, moist, and carbon‑rich.
- Shred paper and paper bags
- Tear and soak cardboard
- Crumble dry leaves
- Mix evenly, avoid thick layers
Choose Greens: Kitchen Scraps & Coffee Grounds
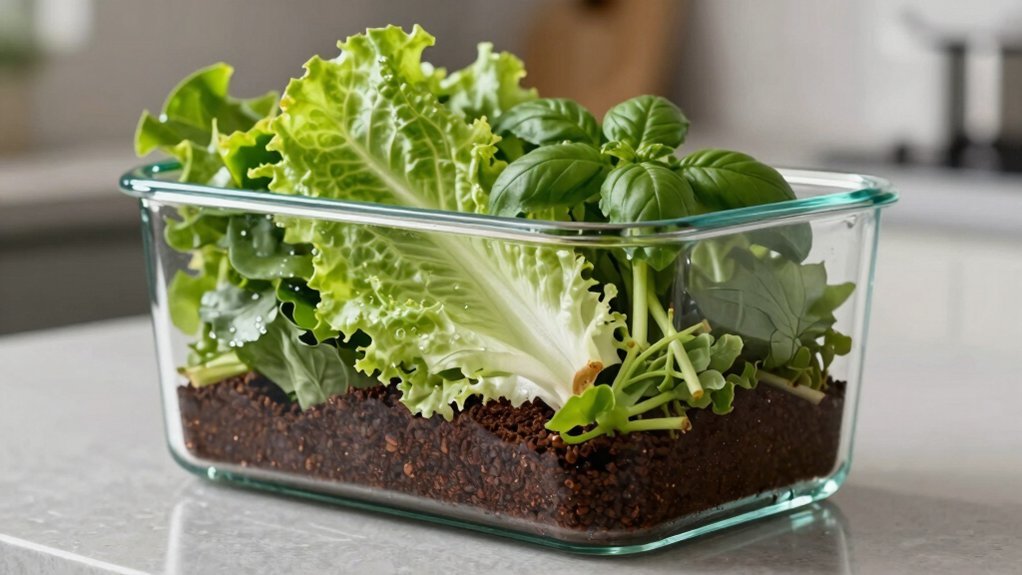
You’ll want to chop vegetable peels, fruit skins, and leftover grains into bite‑size pieces before tossing them in, and you can sprinkle used coffee grounds throughout the mix. Keep an eye on the nitrogen balance by adding roughly one part greens to two or three parts browns, and mix the greens well to spread moisture evenly. If the pile starts to smell, add more dry browns like shredded paper or cardboard to absorb excess liquid and keep odors at bay. Proper odor control relies on maintaining the right carbon-to-nitrogen ratio and adequate aeration to prevent decomposition issues. Remember to maintain a 4:1 browns‑to‑greens ratio for optimal decomposition speed.
Scrap Types & Prep
When you gather kitchen scraps for your apartment compost, focus on non‑greasy, plant‑based greens like fruit and vegetable peels, cores, and trimmings, plus a modest amount of used coffee grounds. Chop or shred peels, cores, and leafy trimmings into bite‑size pieces; this boosts surface area and lets microbes work faster. Mix coffee grounds with the greens, never dumping them in a clump, and add paper filters only if they’re plastic‑free. Crush and rinse eggshells before tossing them in, then break the shells into small shards to speed calcium release. Finally, layer each batch with a thin strip of absorbent bedding to keep moisture balanced and airflow steady. Introducing microbial strain diversity through finished compost can further accelerate decomposition and enhance nutrient cycling in your final product. Ensure the green‑to‑brown ratio stays roughly 1:2 by volume for optimal decomposition. 1. Shred fruit and veg peels
2. Sprinkle coffee grounds evenly
3. Crush and rinse eggshells
4. Add paper coffee filters only if they‑
Nitrogen Balance Tips
Ever wondered how to keep your apartment compost lively without soggy odors? You’ll want a steady nitrogen flow from kitchen scraps and coffee grounds while staying near a 30:1 overall C:N ratio. Aim for a mix of fruit peels, veg trimmings, and a modest coffee‑ground boost (≈20:1). Add greens when the pile looks dry or sluggish, and always layer them with browns to prevent nitrogen pockets. Small, frequent additions keep microbes active and the bin moist but not soggy. For added cushioning and aeration in compact spaces, consider using biodegradable shredded paper as a supplementary brown layer to improve airflow. The ideal C:N ratio is about 30:1, which balances carbon and nitrogen for optimal microbial activity.
| Material | Approx. C:N Ratio |
|---|---|
| Fruit peels | 12:1–15:1 |
| Vegetable trimmings | 12:1–16:1 |
| Coffee grounds | ~20:1 |
| Tea leaves | 15:1–18:1 |
Odor Prevention Strategies
Why do odors flare up in a tiny apartment bin? Because excess moisture and poor airflow invite anaerobic microbes that spew sour, rotten‑egg smells. You can keep the stench at bay by balancing kitchen scraps and coffee grounds with dry browns, chopping greens into bite‑size pieces, and never letting the pile stay soggy.
- Add a dry brown base – layer shredded cardboard or dry leaves first to soak up liquid from scraps.
- Mix greens thinly – sprinkle chopped kitchen waste and coffee grounds, then cover each with a light brown layer.
- Turn regularly – stir or shake the bin every few days to introduce oxygen and break up mats. Regular turning also helps prevent the bad odors that indicate an imbalance requiring more brown materials or airflow.
- Cover the surface – finish each addition with a dry brown top to seal moisture and mask odors.
Aerobic decomposition is essential for preventing the sour smells caused by anaerobic conditions.
Build a 4‑6‑Inch Coarse Wood‑Chip Base
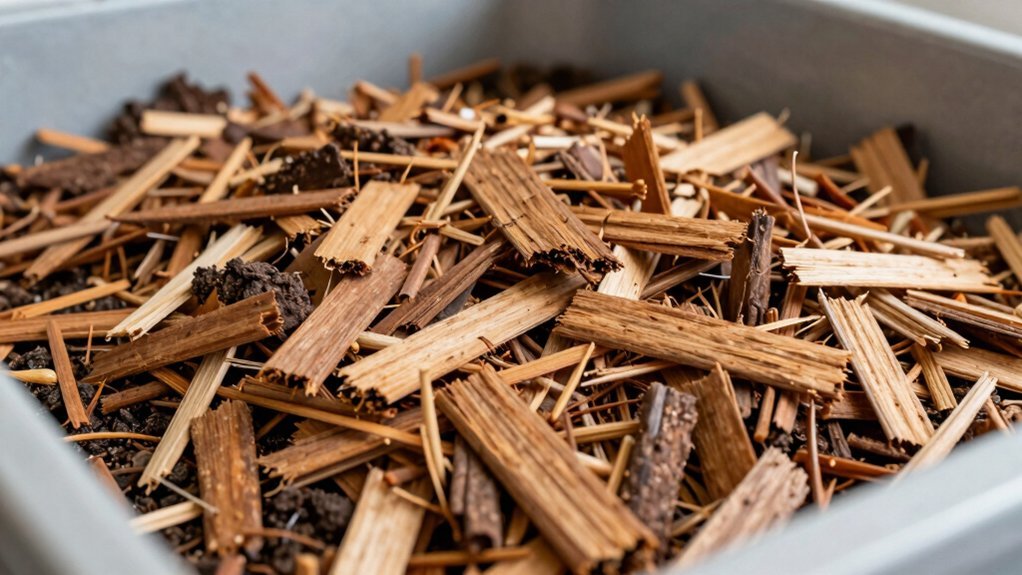
Curious about keeping your apartment compost airy and odor‑free? Spread a 4‑6‑inch layer of coarse wood chips across the bin floor. The chunky, porous material creates a breathable cushion that channels oxygen upward and stops the pile from compacting or getting soggy. Because the chips are roughly two inches or less, they hold moisture like a sponge, catching excess liquid before it pools, yet they break down slowly enough to stay stable for months. This carbon‑rich brown base also separates wet scraps from the hard surface, limiting anaerobic spots and odors. Choose untreated hardwood chips for durability, and you’ll have a reusable foundation that supports fungal activity, improves drainage, and keeps the compost structure loose and effective. For optimal organization of your materials, consider using compartment storage solutions to keep wood chips separate from other compost components. Adding a layer of carbon‑rich wood chips helps balance the nitrogen‑heavy kitchen scraps.
Layer Thickness: 2‑3 Inch Greens, 4‑6 Inch Browns
A 2‑3‑inch green layer keeps the pile airy and prevents compaction, while a 4‑6‑inch brown layer provides the carbon bulk needed to absorb excess moisture and maintain structure. You’ll want to spread fresh grass clippings, kitchen scraps, or dense garden trimmings in a thin sheet, then cap them with a generous coat of dry leaves, straw, shredded paper, or cardboard. The thicker brown mat creates pore space, so oxygen flows and odors stay low. For apartment dwellers managing limited space, stainless steel compost pails can serve as convenient collection vessels before transferring materials to your layering system. Repeating this pattern every few inches builds a balanced, fast‑acting compost that stays warm and active.
Keep greens under 3 inches to avoid matting.
Use 2–3 parts brown to 1 part green by volume.
Aim for 4–6‑inch layers for moisture control.
Alternate layers to maintain airflow and speed decomposition.
minimum pile dimensions are essential for sustaining heat and microbial activity.
Moisten Browns Lightly for Microbial Boost
Often you’ll find dry browns too parched to support microbes, so a quick mist before layering can make all the difference. A light spray gives each particle a thin film of moisture, turning carbon‑rich straw, leaves, wood chips, cardboard or sawdust into an inviting food source. Aim for a damp‑as‑a‑wrung‑out‑sponge feel—wet enough to cling without dripping. Sprinkle water gradually, then toss the material so the dampness spreads evenly. This pre‑moistening speeds microbial colonization, shortens the lag before breakdown, and keeps the pile airy. If you notice excess water, add more dry browns and fluff the mix to restore airflow. Adding enough browns prevents the pile from becoming slimy and anaerobic. Regular maintenance with charcoal filters and proper aeration techniques ensure your apartment compost remains fresh and odor-free throughout the decomposition process. The result is a balanced, lively layer that fuels rapid, aerobic decomposition.
Spot Ratio Problems: Odor, Slime, Slow Heat
Ever notice a foul egg‑like smell, a slick slime layer, or a pile that barely warms up? Those signs mean your green‑to‑brown balance is off, oxygen is low, or moisture is trapped. Too many greens flood the bin with nitrogen, producing ammonia or rotten‑egg odors. Excess water creates a soggy, slimy texture and pushes out air, while compacted browns choke microbes, slowing the heat phase. Even if the overall ratio looks okay, isolated layers can form anaerobic pockets that fester. Fixing this starts with spotting the pattern and adjusting the mix before you turn the bin. Proper material and durability considerations also apply to the tools you use for turning and managing your compost pile.
Foul egg smell, slime, or cool pile? Balance greens, dry browns, and airflow to revive your compost.
- Identify the dominant odor and match it to excess greens, moisture, or compaction.
- Feel for slime; if it drips, add dry browns.
- Check temperature; a cool pile signals too many browns or insufficient airflow.
- Observe layer separation; mix greens and browns evenly to prevent pockets.
- Aeration is essential because oxygen‑deprived zones produce the worst odors.
Quick Fixes: Adjust Layers & Turn the Bin
If your pile feels soggy or smelly, add a thin brown layer to soak up excess moisture and rebalance the greens. Turn the bin once a week to inject oxygen, break up compacted spots, and speed decomposition. A quick shake and a fresh brown cap will keep the system airy and moving forward. Ensure the bin is placed in a partly shaded spot to prevent rapid drying while still receiving some sun.
Balance Balance Greens
When your compost starts smelling sour or looks soggy, the quickest fix is to bulk up the brown layer and give the bin a good turn. Add dry browns—shredded leaves, cardboard, straw, or wood chips—until the greens are fully covered. Aim for roughly a 2:1 or 3:1 brown‑to‑green volume ratio, adjusting as the pile feels wet or dense. Thick brown layers absorb excess moisture, improve aeration, and keep odors at bay. Keep only browns visible on the outside to deter flies, and alternate layers to maintain a stable structure.
- Sprinkle a generous handful of dry browns over fresh greens.
- Pat the layer to create a solid, thick cover.
- Check for soggy spots; add more browns if needed.
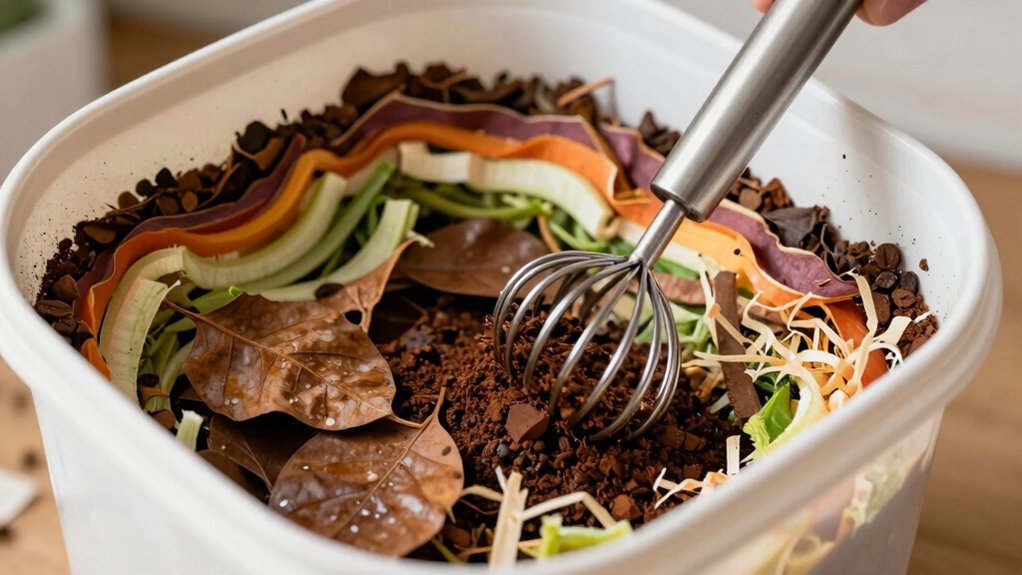
- Mix lightly with a compost aerator or spoon to distribute moisture evenly.
Balancing C:N is essential for preventing sour smells and maintaining healthy decomposition.
Turn Regularly for Air
How often should you turn your apartment compost? Aim for a turn every 3‑4 days if you want a hot, fast‑acting pile. Each turn injects oxygen, feeding aerobic microbes that break down scraps more efficiently than anaerobic ones. When you notice the temperature slipping below about 104 °F, give it a stir—this signals slowing activity and the need for fresh air. In a small bin, compact layers can choke airflow, so loosen dense or wet sections while you mix. Add a handful of coarse browns to create pockets, then redistribute material to break up low‑air pockets. If you use a tumbler, two turns a week boost temperature and speed. Adjust frequency in colder or slower periods, but never let the pile sit still for weeks. Bulking materials like straw or wood chips create free air space, reducing the need for frequent turning.
Frequently Asked Questions
How Often Should I Turn the Compost in a Small Apartment Bin?
You should turn your small apartment compost about once every one to two weeks, or more often if it smells sour or feels soggy. Frequent turning adds oxygen, balances moisture, and speeds decomposition.
Can I Use Citrus Peels Without Causing Odor Issues?
Yes, you can use citrus peels without odor issues if you chop them small, mix them with dry browns, keep the bin moist but not soggy, and aerate regularly to prevent anaerobic conditions.
What’s the Best Way to Keep the Compost From Getting Too Dry?
Keep it moist by covering the bin, adding wet greens, and turning regularly. Sprinkle water while you mix, use shredded newspaper as bedding, and place the compost away from direct heat or drafts.
Do I Need to Add Any Starter Microbes or Activators?
You don’t need starter microbes; just mix a bit of garden soil or finished compost if you like. Focus on keeping the pile moist, aerated, and balanced with brown‑to‑green ratios for healthy decomposition.
How Long Does It Typically Take for a Full Batch to Finish?
You’ll usually see a full batch finish in three to six months with hot composting, but if you turn it daily using the Berkeley method, it can wrap up in just eighteen to twenty‑one days.
In Summary
Now you’ve got the right brown‑to‑green balance, a fluffy wood‑chip base, and the proper layer thickness, keep the pile moist but not soggy, and turn it regularly. If you notice odors or slime, tweak the ratios and add more browns. With these steps, your apartment compost will stay healthy, break down quickly, and give you nutrient‑rich soil for your plants. Happy composting!
Leave a Reply