
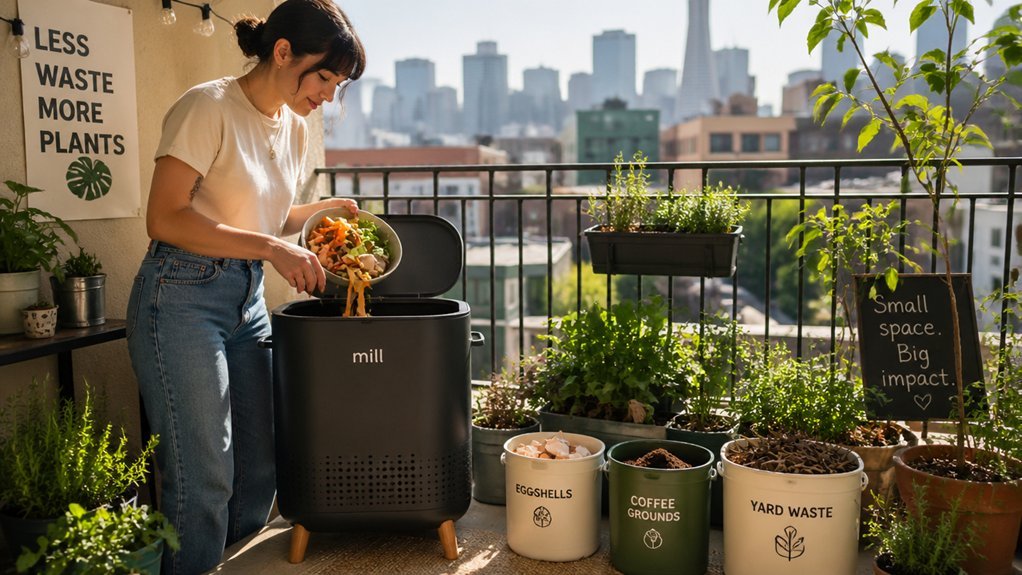
You can compost legally in a rental by first checking your lease, HOA rules, and local ordinances for any bans or size limits on indoor bins. Choose a compact countertop or cabinet‑sized worm bin with a tight‑fitting lid, carbon filter, and ventilation to keep odors down. If space’s tight, use a sealed bokashi bucket or a small electric composter that meets landlord specifications. For balconies, pick a lightweight, sealed tumbler that fits weight restrictions and directs leachate away. When indoor bins aren’t allowed, join a community drop‑off program and bring sealed bags of scraps to a local garden or municipal hub. Following these steps lets you stay compliant while turning food waste into valuable compost, and the next sections show exactly how to set up and maintain each option.
Quick‑Start Guide: Legal Composting Options for Renters
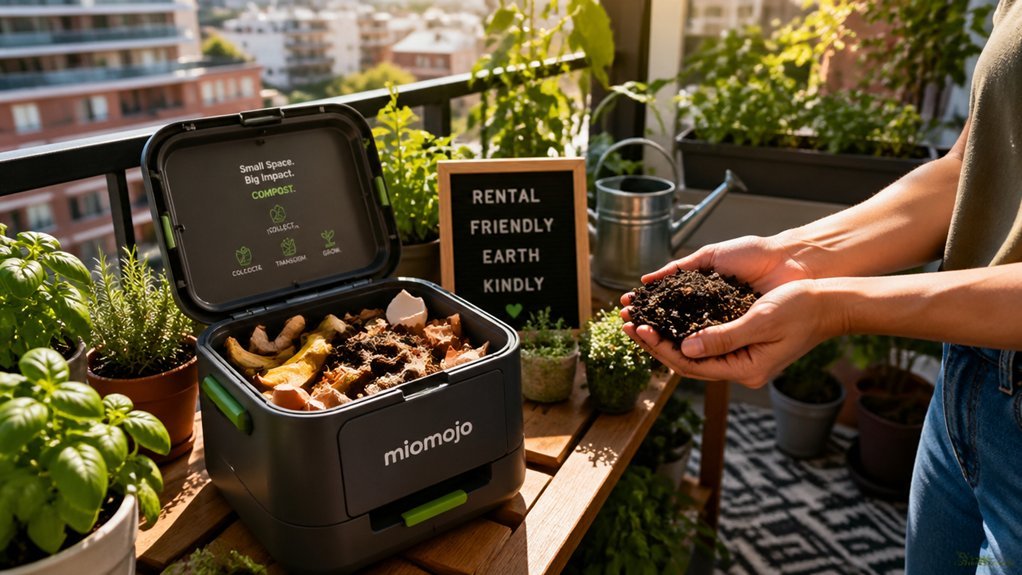
Looking for a hassle‑free way to compost in a rental? Start with indoor composting that fits your apartment living. Vermicomposting uses a compact worm bin; place it on a kitchen counter, add bedding, and feed scraps—worms turn waste into nutrient‑rich castings while the bin’s lid and ventilation handle odor control. Bokashi offers an airtight bucket system: layer food scraps with bran, seal, and let fermentation break down meat and dairy safely. Countertop composters with carbon lids work similarly, providing daily disposal without smell. If space is tight, join a community composting program and drop off organic waste at a local garden or hub. Choose the method that needs minimal maintenance, no permanent alterations, and keeps your rental property fresh home compostability standards.
Understanding Lease Terms and Local Ordinances for Rental Composting
Ever wondered whether your lease actually permits a worm bin on the balcony or a Bokashi bucket in the kitchen? First, scan your lease terms for any clause that mentions composting, outdoor bins, or indoor composting. Some agreements outright forbid any containers, while others allow them with landlord permission.
Next, check local ordinances; many cities regulate container types, moisture levels, and pest‑control standards to prevent neighborhood nuisances. If the law permits, you still need written permission before installing outdoor bins or making changes to the property.
Keep clear documentation of every conversation, email, or approval, noting approved sizes, locations, and any pest‑control requirements. This record protects you and ensures your rental composting stays compliant. A helpful consideration is understanding the typical Odor Control features of common compost options, which can influence where and how you place containers odors and filters.
Checking HOA Rules for Indoor Composting Bins in Rentals

You should start by reviewing the HOA’s written documents to see if indoor compost bins are permitted. Then verify any size limits they impose and make sure the bin you choose fits those restrictions. Finally, confirm the HOA’s odor‑control requirements so you can keep the space fresh and avoid complaints. Ensure you choose an odor-control focused solution to maintain a clean and compliant setup odor-control features within your rental space.
Read Review HOA Documents
Wondering whether your HOA permits an indoor compost bin? Start by pulling the latest HOA documents and scanning for any mention of indoor composting, vermicomposting, or Bokashi. Pay special attention to sections on rental compliance, bin placement, and odor control. If the language is vague, request written approval from the board before you buy anything. Also consider how Bokashi liquid harvesters might influence odor control and containment within a rental unit, especially in relation to odor mitigation standards odor control.
- Identify explicit prohibitions or allowances for indoor bins.
- Note required ventilation, lid usage, and odor‑mitigation measures.
- Record any fines, exceptions, or disclosure obligations that could affect your setup.
Verify Bin Size Limits
How can you be sure your compost bin fits the HOA’s size limits before you even buy one? First, pull the HOA rules from your lease or community handbook and look for any indoor composting specifications. Note the maximum volume—often 1–2 cubic feet—and compare it to the dimensions of a vermicomposting unit, which typically stays under 5 gallons. If the documents are vague, request a permitting verification from building management or ask for an approved addendum that explicitly authorizes the bin size. Keep a copy of the addendum for future reference. By matching the bin’s footprint to the HOA’s bin size limits, you avoid violations, maintain odor control, and stay compliant with your rental property’s policies. The size guidelines mentioned here align with common 5-gallon bucket standards used in Bokashi and vermicomposting setups, which helps you assess compatibility before purchasing a kit. bin size limits
Confirm Odor Control Requirements
Ever wondered whether your indoor compost bin will pass HOA odor rules? First, read the HOA charter for any mention of odor control, sealed compost bins, or vented system requirements. Most HOAs allow indoor vermicomposting only if the unit is a lided unit with tight‑fitting lids and built‑in odor filters. Violating these rules can trigger fines and jeopardize your lease, so double‑check before you buy. Ensure the bin design includes a spiral aeration mechanism or a similar aeration feature to promote consistent airflow and reduce odor buildup, which can help meet stricter HOA standards odor control.
- Verify that the bin is a sealed compost bin with a lid that stays closed during operation.
- Confirm the presence of an integrated vented system or add aftermarket odor filters to meet HOA restrictions.
- Ensure the setup supports pest prevention by keeping the unit airtight and regularly cleaning any waste.
Using Approved Outdoor Composters on Balconies or Patios (If Allowed)
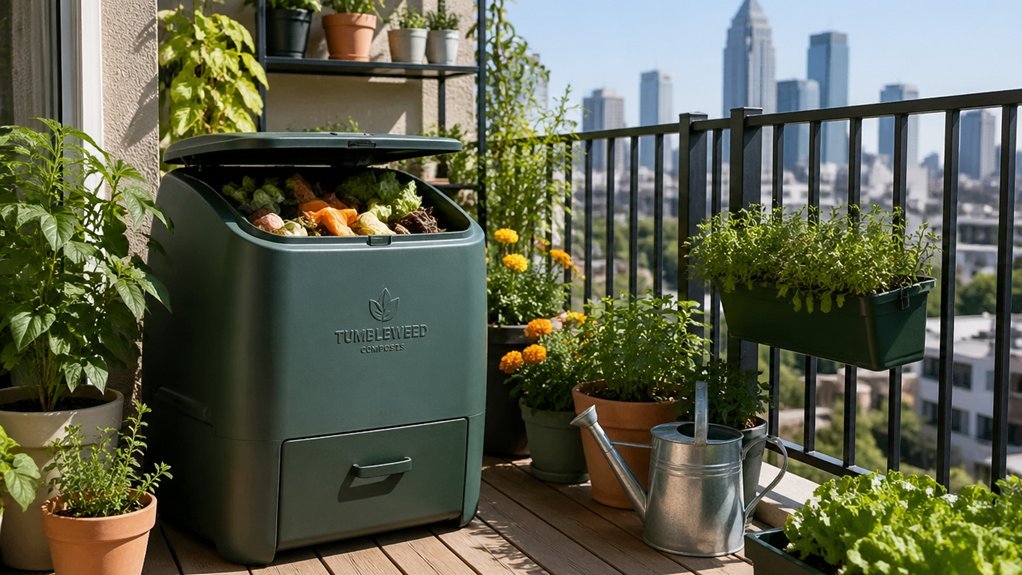
You’ll need to pick a compost bin that fits within your balcony’s size limits and respects any weight restrictions. Additionally, consider a model with a tight-sealing lid and durable spigot to minimize odors in an apartment setting Odor Control Features and ensure the unit can be emptied and cleaned without spills on outdoor surfaces.
Balcony Bin Size Limits
What size should your balcony compost bin be? You need a unit that respects bin composting bin limits while fitting your rental property’s space. Most apartments allow bins about 18–24 inches in diameter and tumblers up to 2–3 feet tall. Choose approved balcony containers with secure lids and odor‑control features to keep neighbors happy and comply with HOA rules. Vermicomposting bins and compact tumblers are popular for apartment composting because they’re designed for limited space and include drainage and moisture‑management systems.
- Measure your balcony’s usable area before buying.
- Pick a bin that stays under the 24‑inch diameter rule.
- Position the unit away from walls, railings, and entryways for safety and pest control.
Patio Drainage Requirements
How do you keep your balcony or patio compost from turning into a soggy mess? First, pick an approved outdoor composter that’s rated for balcony composting and includes a vented design with built‑in drainage outlets. Position it so runoff travels away from neighbors, entryways, and water sources, creating a clear path for patio drainage. Use a drip tray or a container with integrated leachate management to catch excess moisture. Inspect drainage outlets weekly and clear any clogs from leaves, food scraps, or shredded paper to prevent overflow. As a renter, choose a compact unit with a stable base and a vented design that controls odor while directing leachate safely off your patio. Proper leachate management protects the structure and keeps your composting effort tidy and legal.
Choosing a Compact, Odor‑Control Countertop Compost Bin for Rental Composting
Ever wondered how a small kitchen can stay fresh while you turn scraps into compost? Choose a compact countertop bin that fits your rental kitchen without crowding the space. Look for a model with tight‑fitting lids and built‑in odor‑control, like activated carbon filters, to keep smells at bay. Opt for a bin with easy‑clean liners and a leak‑proof interior, so maintenance stays simple between tenants or moves. Ventilation that supports aerobic decomposition while containing odors is essential for indoor use, and electric or Bokashi‑style options give sealed, odor‑free operation for meat or dairy.
Compact countertop bin with tight‑fitting lid, carbon filter, leak‑proof interior, and easy‑clean liners for fresh, odor‑free kitchens.
- Size & Fit – measure your counter and pick a bin under 12 inches wide.
- Odor‑Control Features – carbon filter or charcoal lining, sealed lid.
- Maintenance Simplicity – removable liner, dishwasher‑safe parts, leak‑proof seal.
Setting Up a Kitchen‑Cabinet Worm Bin for Rental Composting
Pick a shallow, sturdy bin that fits under your sink and drill a few tiny vent holes to keep air flowing. Add a damp newspaper layer, then drop in red worms and a handful of fruit‑and‑veg scraps, making sure the lid stays snug to block odors.
Mix the bedding lightly every week and keep the temperature around 55‑77 °F, and the bin will stay odor‑free and pest‑free in your apartment.
Bin Selection
Wondering how to fit a composting system into a rental kitchen? Choose a slim, cabinet‑sized worm bin that slides under the sink or into a pantry. Look for a 5–10 gallon plastic or wooden compost bin with a removable lid, a drainage tray, and smooth interior walls for easy cleaning. Red wiggler worms thrive in indoor composting, so pick a model that lets you add bedding and food scraps without spilling. Keep the bin’s footprint small to respect landlord rules while still handling several pounds of waste each month. Proper worm bin maintenance—moisture control, aeration, and regular harvesting—keeps odors low and your rental property tidy.
- Size the bin to fit your cabinet space.
- Ensure the lid vents but doesn’t seal tightly.
- Choose a material that’s durable and easy to clean.
Ventilation Tips
A slim, cabinet‑sized worm bin works great in a rental kitchen, but without proper airflow it can quickly turn smelly. To keep your indoor composting system fresh, choose a bin design that includes adjustable vent holes near the top and a small vent on the side. Drill a few ¼‑inch slits if the manufacturer doesn’t provide them, then cover each opening with fine mesh to keep pests out while allowing air to circulate. Position the worm bin under the sink or in a cabinet away from direct sunlight and heat sources, and ensure the vents aren’t blocked by dishes or cleaning supplies. This ventilation setup supports vermicomposting, balances moisture, and aids odor control without violating rental property rules.
Odor Control Strategies
If you keep the bin’s lid snug and the bedding dry enough to feel like a damp sponge, odors stay locked out while the worms happily munch on scraps. In rental properties, a compact kitchen‑cabinet worm bin lets you practice vermicomposting without disturbing neighbors. Focus on odor control by mastering moisture management, avoiding anaerobic pockets, and using the right bedding materials. Keep meat, dairy, and oily kitchen scraps out, and cover new additions with shredded paper to aid pest prevention.
- Ventilated placement – choose a cabinet with a small gap or under‑sink vent to circulate air.
- Bedding balance – mix straw and coconut coir, keeping it damp but not soggy.
- Weekly aeration – gently stir the bin to prevent anaerobic conditions and foul smells.
Choosing a Small Electric Composting Unit for Apartment Rentals
Looking for a compact, low‑odor compost solution that fits your apartment? Indoor composting becomes practical with a small electric unit designed for apartment rentals. Choose a model that offers odor control through a sealed lid and carbon filters, keeping smells hidden from neighbors. Check material compatibility—most units handle fruit and veg scraps, while some accept meat or dairy if you need broader waste reduction. Verify that the unit plugs into a standard outlet and sits securely on a countertop or under a sink. Look for low‑to‑moderate wattage to keep energy bills modest, and ensure the maintenance schedule fits your lifestyle. A well‑selected electric composter can slash kitchen waste by half or more without creating mess or noise.
Ensuring Proper Drainage and Ventilation for Indoor Rental Compost Systems
Where can you position your indoor compost to keep it dry and odor‑free? Choose a stable kitchen counter or utility shelf away from direct sunlight, then ensure the unit’s lid seals tightly. Good ventilation and drainage keep composting in rental properties healthy and odor control effective.
- Ventilation – Use slotted lids or breathable liners; place a small fan nearby to promote aeration and prevent stale air.
- Drainage – Position a shallow tray beneath the bin to catch excess liquid; empty it daily to avoid moisture buildup.
- Moisture management – Check the compost’s dampness each week, add dry material if it’s too wet, and turn it regularly to maintain aeration and odor control.
Green‑to‑Brown Ratio for Pest‑Free, Odor‑Free Rental Compost
Wondering how to keep your indoor compost pest‑free and odor‑free?
Aim for a 1:1 green-to-brown ratio, mixing equal parts kitchen scraps (greens) with browns like shredded paper, dried leaves, or cardboard. This balance supplies nitrogen and carbon, keeps the pile moist like a damp sponge, and prevents anaerobic spots that spark smells. When the mix gets too wet, add more browns to restore porosity and aid odor control.
In rental properties, use compact countertop units or worm bins that let you monitor the ratio easily. Consistently layering greens and browns supports pest prevention and smooth decomposition, making indoor composting practical without compromising your landlord’s rules or your living space.
How to Test and Maintain Moisture Levels in Rental Compost Bins?
A balanced green‑to‑brown mix keeps your compost from drying out, but you still need to check moisture regularly. Aim for a damp sponge feel; if it’s soggy, add browns, if it’s crumbly, sprinkle water. For vermicomposting indoor bins, loosen the lid and feel the material after each greens addition. Moisture testing is quick: squeeze a handful—no drips, but it should hold together. Turn the bin weekly to boost aeration and distribute moisture evenly.
- Squeeze test – a handful should feel like a damp sponge.
- Add water or browns – adjust until the texture is right.
- Turn and aerate – mix greens and browns every 7‑14 days for consistent compost moisture.
Handling Non‑Compostable Items to Stay Within Rental Regulations
You’ll need to separate any meat, dairy, oil, pet waste, or plastic before it reaches your indoor worm bin or countertop composter, because those items attract pests, create odors, and often violate lease clauses.
Separate meat, dairy, oil, pet waste, and plastic before they reach your indoor worm bin or countertop composter.
For vermicomposting, keep a dedicated trash bin for non‑compostables and empty it daily to avoid cross‑contamination.
With countertop composters, use a sealed liner and a separate container for prohibited waste, then toss it in regular trash or recycling per rental regulations.
Practice waste segregation by labeling bins, so you never accidentally drop a non‑compostable into your indoor composting system.
This routine protects odor control, satisfies lease compliance, and keeps your apartment pest‑free while you enjoy sustainable composting.
Community Drop‑Off Programs for Restricted Rental Composting
Separating non‑compostables at home sets the stage for using community drop‑off sites, where you can bring larger amounts of food scraps without cluttering your apartment. As a renter, you can tap into neighborhood gardens and municipal curbside programs that accept organic waste, turning your kitchen leftovers into valuable compost while avoiding landfill reduction goals. These programs let you compost responsibly without a bin in your unit, and they often provide clear signage and scheduled pick‑ups, making the process seamless.
- Locate the nearest community drop‑off hub through your city’s website or a local gardening group.
- Pack food scraps in a sealed bag or container to prevent spills and odors.
- Drop the bag off during designated hours, then repeat weekly for consistent organic waste diversion.
Frequently Asked Questions
How to Compost at a Rental?
You can set up a compact worm bin or Bokashi bucket under your sink, keep scraps balanced and chopped, and use a sealed container for odors; or place a small, stakeable tumbler on a balcony with drainage.
How Do I Compost if I Live in an Apartment?
You can set up a compact worm bin, a sealed bokashi bucket, or a small ventilated kitchen pail, then use community drop‑off sites for final processing, keeping everything tidy and odor‑free.
Which Method Is Best for Composting in Small Apartments?
You’ll find vermicomposting works best in small apartments; it’s compact, odor‑controlled, and fits under a sink or in a closet, letting you turn kitchen scraps into nutrient‑rich soil without hassle.
In What States Are Composting Toilets Legal?
You can install composting toilets in most states—California, Oregon, Washington, Colorado, Vermont, Maine, and New Hampshire—provided you follow local building codes, obtain any required permits, and get landlord approval.
In Summary
By checking your lease, local ordinances, and HOA rules, you can pick a composting method that fits your rental without breaking any agreements. Opt for a compact, odor‑controlled bin or use a community drop‑off service if indoor composting isn’t allowed. Keep the green‑to‑brown ratio right, monitor moisture, and avoid prohibited items. This way you stay compliant, keep your space fresh, and still make a positive environmental impact.



