

You can fit a three‑bin compost system into an 8 × 2 ft yard by lining the bins along a fence, using sturdy cedar or redwood pallets for the frame and hardware cloth for airflow. Start with fresh scraps in the first bin, rotate the mix daily in the second, and let it mature in the sealed third. Keep lids tight, add a charcoal filter for odors, and protect the whole unit with a weather‑resistant finish. Continue for and you’ll discover the exact dimensions, construction steps, and maintenance tips.
Pick the Best Urban Compost Bin Layout for Your Yard
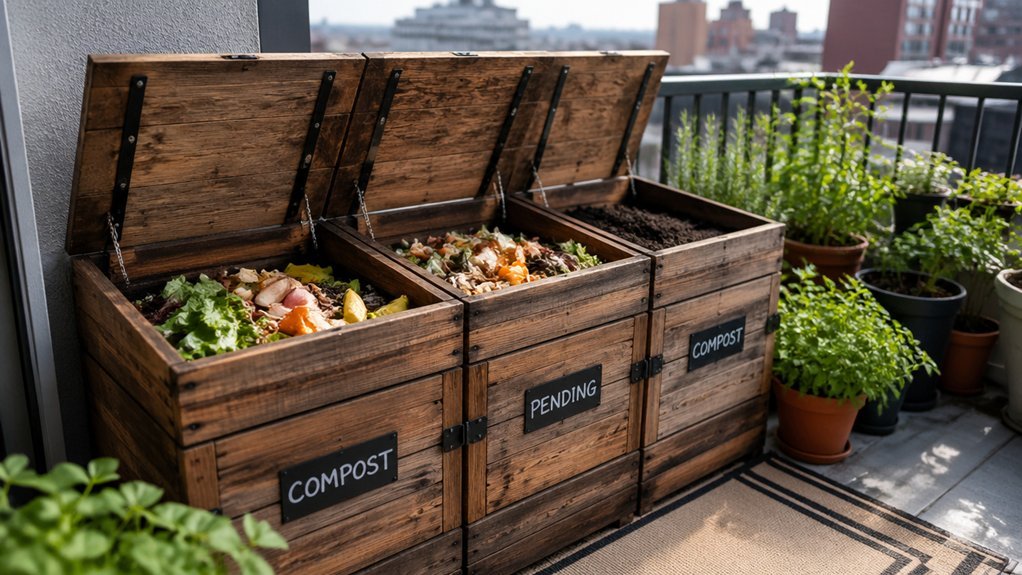
When space is tight, arranging the three bins in a straight line along a fence or wall maximizes airflow and keeps the workflow simple: Bin 1 for fresh scraps sits at one end, Bin 2—your rotating composter—follows, and Bin 3 for mature compost finishes the line. This linear bin layout fits a narrow urban yard while preserving a compact footprint. The design also leverages durable stainless steel or high-grade plastics to resist wear in small-space kitchens and outdoor corners, ensuring longevity for year-round use. Odor control is enhanced by airtight lids and charcoal filters, helping keep indoor and adjacent areas clean while you manage the rotation sequence. Removable slats provide critter deterrence and easy front access for loading, turning, and unloading without disturbing the others.
Build a Compact, Weather‑Resistant Urban Compost Bin Using Pallet Wood
Looking to squeeze a durable, weather‑proof compost solution into a tight urban balcony or backyard? Use pallet wood to craft a compact three‑bin composting system that fits an 8 ft × 2 ft × 2.5 ft footprint. Choose cedar or redwood for rot‑resistance, avoid treated lumber, and line each bin with hardware cloth for airflow and moisture management. Install removable front panels on sliding slats for easy loading and turning, and seal the top with a corrugated‑plastic lid or tarp to keep rain out while allowing ventilation.
- Frame & Posts – Two 4×4 posts cut to 30″ support three sections; six 26″ boards form each front panel.
- Bin Division – Section 1 (36″ wide) for mixing; sections 2 and 3 (30″ each) for aging.
- Weather‑Resistant Finish – Apply a natural oil to cedar/redwood, add a hinged lid secured with a chain, and ensure hardware cloth is stapled every 4″. durable outdoor materials
Set Up the Rotation Workflow for Your Urban Compost Bin

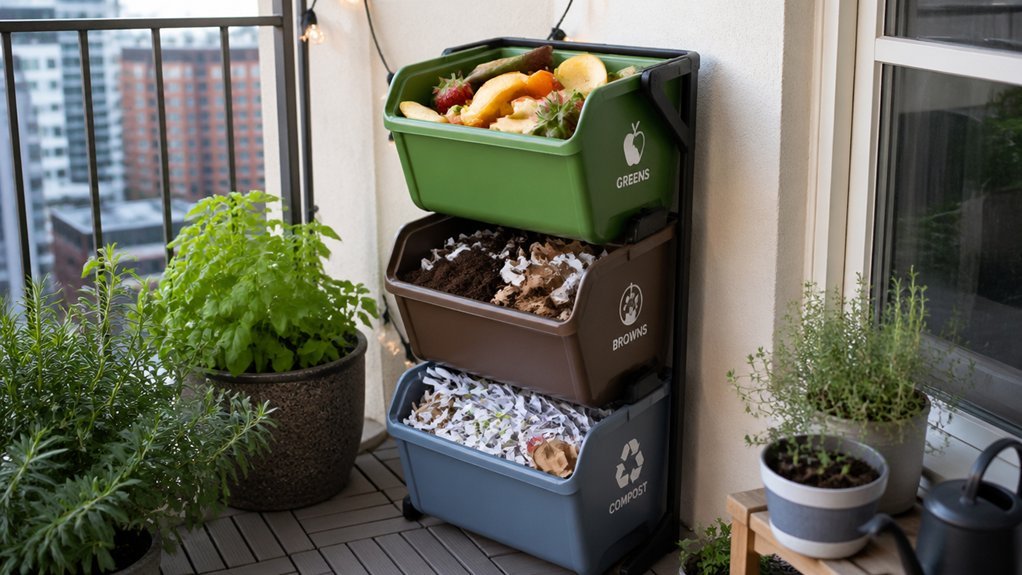
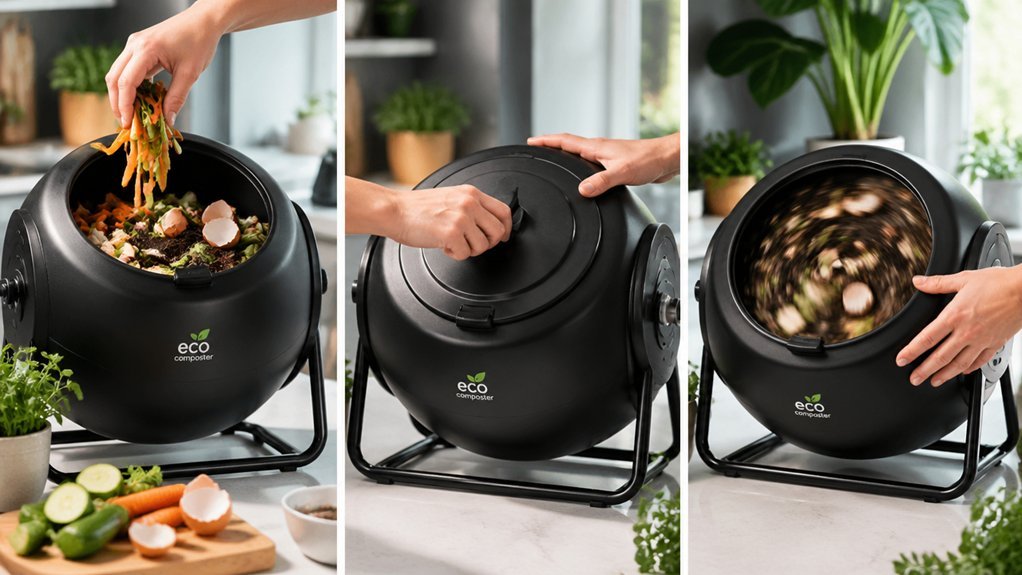
How do you keep your three‑bin system humming smoothly? Start by loading Bin 1 with a brown‑to‑green mix in a two‑to‑one ratio, then stir until you see the first signs of decomposition. When Bin 1 fills, shift its contents to Bin 2, where you’ll perform a daily rotation. This rotation provides aeration, speeds up composting, and keeps the material from compacting. As Bin 2 reaches capacity, move it to Bin 3 for maturation while you resume filling Bin 1. Use the front slats for quick turning and the lids to keep critters out. This simple urban workflow creates a continuous loop: fresh mix in Bin 1, active turning in Bin 2, and aging in Bin 3. The system benefits from maintaining proper moisture and a balanced greens-to-browns mix to sustain microbial activity across all three bins balancing greens and browns.
Control Moisture, Odor, and Critters in Your Urban Compost Bin
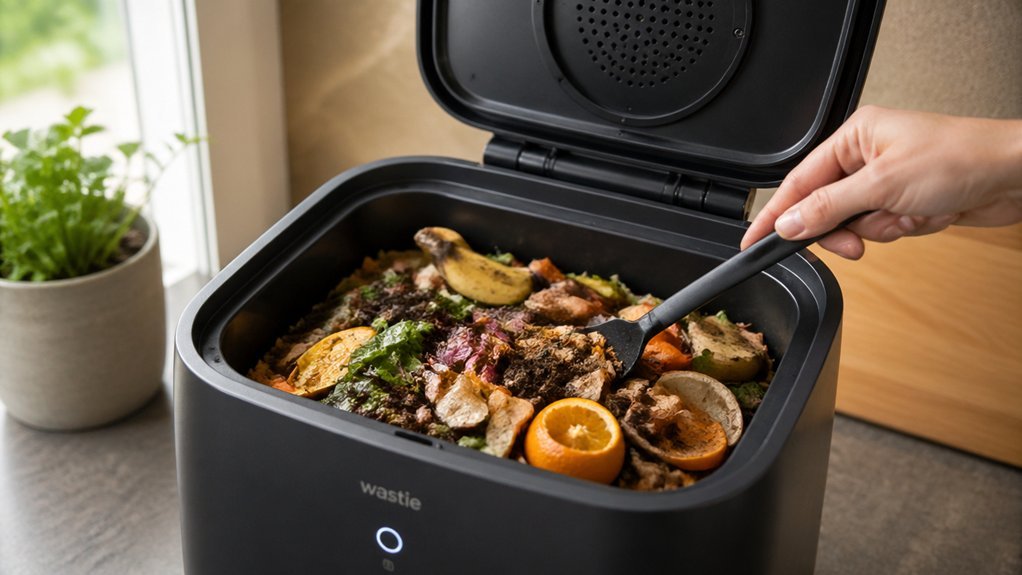
Where can you keep moisture, odor, and critters under control in a three‑bin urban compost? You manage it by separating stages, sealing lids, and using a charcoal‑filtered under‑sink can for indoor smells. The rotating bin stays aerated, while the mesh sides let excess water drain, keeping moisture balance right for kitchen waste.
- Bin 1 – intake – Add wet scraps and a handful of dry browns; the lid’s chicken‑wire frame blocks critters and the rain‑friendly cover prevents soggy buildup.
- Bin 2 – rotating – Lock the lid, turn daily, and let aeration disperse odors; the secure lock deters pests and the charcoal filter traps smells.
- Bin 3 – curing – Seal tightly, let compost mature, and keep pests out with the same tight lid.
These steps give you three‑bin composting with moisture control, odor reduction, and critter prevention for urban composting.
Keep Your Urban Compost Bin Running Smoothly All Year
Ever wondered how to keep your three‑bin compost humming smoothly through every season? Start by loading greens and browns into Bin 1, then shift the decomposed mix to the turning bin for daily agitation. This accelerates breakdown and prevents soggy, odorous piles, which is crucial for year‑round operation in urban gardening spaces. Keep tight lids and a locking rotating composter on place critter protection while still allowing airflow. When material matures, move it to the front‑access Bin 3, where it rests as finished compost ready for use. The removable panels let you unload quickly and refill Bin 1 without hassle, keeping your compost bins compact, efficient, and always ready for the next cycle. A 5‑tray expandable design can enhance capacity for continuous processing tray expansion without sacrificing airflow and odor control.
Frequently Asked Questions
Can I Use the Bin on a Balcony Without a Roof?
Yes, you can place the bin on a roof‑less balcony, but protect it with a lightweight cover or tarp to keep rain out, and ensure proper drainage so excess moisture doesn’t accumulate inside.
How Much Weight Can Each Bay Support When Full?
You can expect each bay to hold roughly 70 kg (about 150 lb) when full; the sturdy steel frame distributes weight evenly, so you won’t exceed the design limit even with dense, moist compost.
Will the Wood Rot if I Compost Meat Scraps?
Yes, wood will rot faster if you add meat scraps because they boost moisture and heat, accelerating decay. Keep meat amounts low, balance with carbon-rich material, and turn regularly to prevent excessive moisture buildup.
Do I Need a Separate Lid for Each Compartment?
Yes, you’ll need a lid for each compartment to keep odors contained, pests out, and moisture balanced. Separate lids also let you control airflow per bin, preventing cross‑contamination and speeding decomposition.
Can I Add a Rainwater Collection System to the Top?
Yes, you can attach a rainwater collector to the top; just seal it tightly, route the flow into a storage barrel, and guarantee the lid’s drainage holes stay clear to prevent overflow.
In Summary
Now you’ve got a compact, three‑bin system that fits any urban yard, stays weather‑proof, and runs on a simple rotation routine. By balancing moisture, keeping odors in check, and blocking critters, you’ll keep the compost healthy year‑round. This low‑maintenance setup turns kitchen scraps into nutrient‑rich soil, letting you garden greener while saving space and reducing waste. Enjoy the satisfaction of turning waste into garden gold, right at home.
Leave a Reply