

You can boost your apartment worm farm with five proven DIY red‑wiggler breeding bins. Start with a shallow, opaque tote for a compact, high‑density bin, then expand to a dual‑50‑gallon gateway that lets worms migrate naturally. Build an aerated, drainage‑ready bin using slitted tubes, landscape cloth, and peat moss. Keep bedding damp, feed 0.5 lb food per lb of worms daily, and rotate scraps. Harvest dark, crumbly castings with a move‑on‑over method, dry them, and mix into potting soil; the next steps will show you exactly how to set each system up.
Choose the Best Small‑Space Red‑Wiggler Breeding Bin
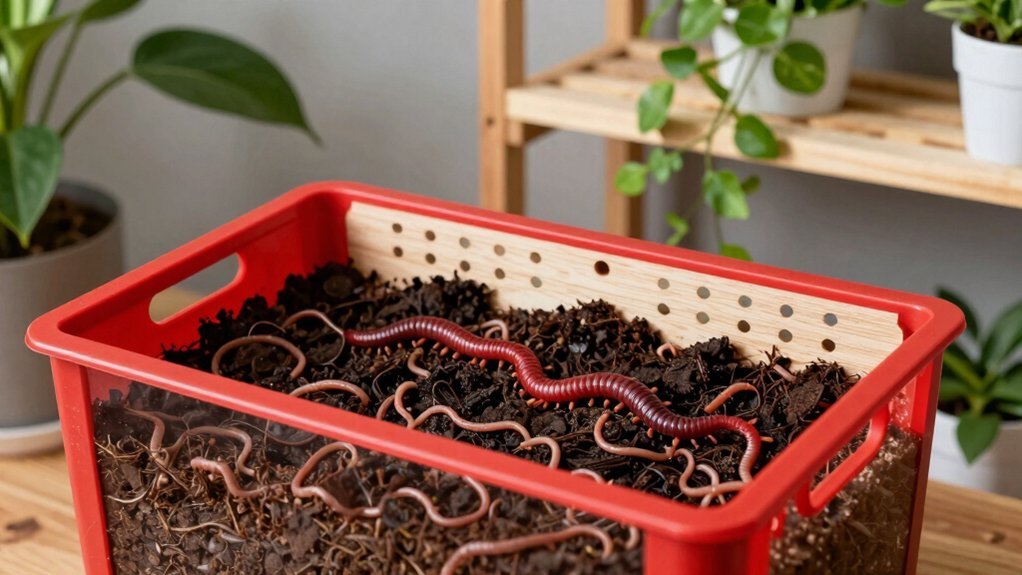
A shallow, opaque tote—like a Rubbermaid bin—gives you the most surface area for oxygenation while staying compact enough for a small space. You pick a bin system that fits a small‑space kitchen or balcony, then drill airflow holes in the lid and sides to keep the red wiggler colony breathing. Add a damp bedding of shredded newspaper or cardboard, sprinkle a little soil for grit, and you’ve created a functional composting setup.
Stock roughly one pound of worms per square foot; a 1.5 ft × 2 ft rubbermaid tote holds about three pounds. Start with a starter population, monitor moisture, and let the breeding bin expand naturally. This simple, efficient design maximizes yield without crowding your living area. Incorporating proper aeration is essential to maintain oxygen flow and reduce odors in your composting system.
Build a Multi‑Bin Gateway for Continuous Red‑Wiggler Harvest
When you line two 50‑gallon bins side‑by‑side on a level base, the gateway between them becomes a simple, low‑maintenance highway for mature red‑wiggler colonies to migrate and for fresh harvests to flow continuously. Drill a gateway hole on the shared side, attach a rope‑held lip, and slide the second bin over the pipe so worm migration occurs naturally. Add four 7/8‑inch aeration holes and two 1/4‑inch drainage holes on the front bumps, then set a drain pan or sand bed for containment and drainage. Monitor load—ensure the floor supports 700 lb—and watch for bulging or overhang, adjusting waste input as needed. Proper drainage and sealing are key to odor control and moisture management in tight spaces.
| Feature | Purpose | Benefit |
|---|---|---|
| Worm bin gateway | Transfer point | Seamless migration |
| Aeration holes | Air flow | Stable moisture |
| Drainage management | Collect runoff | Prevent leaks |
Construct an Aerated, Drainage‑Ready Red‑Wiggler Breeding Bin
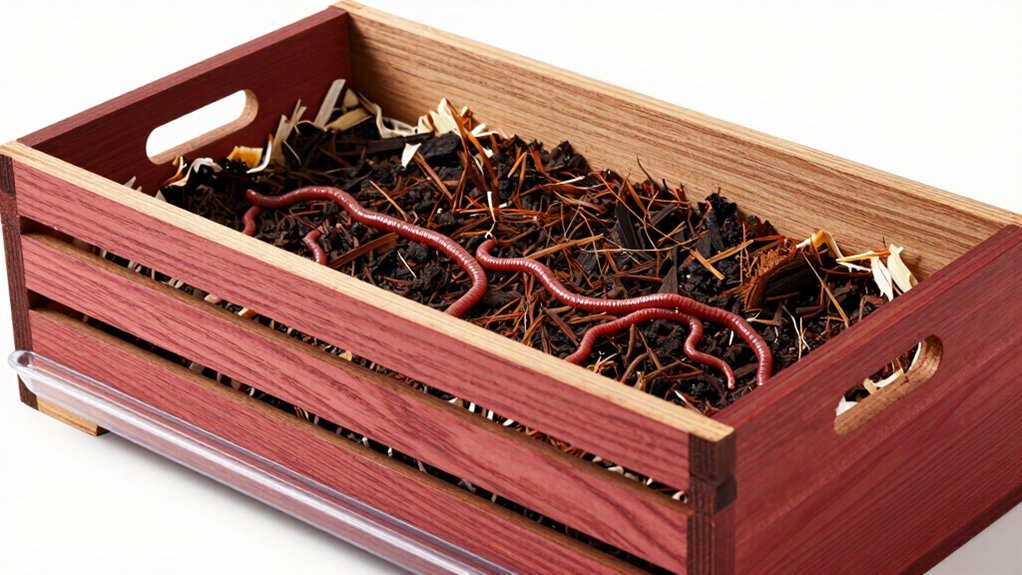
Building an aerated, drainage‑ready red‑wiggler bin starts with cutting two 44‑inch bottom tubes and two 45‑inch top tubes, each with a diagonal slit that begins three inches from the ends. You then drill four 7/8‑inch aeration holes on each end and two 1/4‑inch drainage holes on the raised bumps, ensuring they don’t line up with the base. Slip a porous landscape cloth into the bottom, add a one‑inch layer of moistened peat moss as bedding material, and place drainage pans beneath the drainage outlets to catch excess liquid.
- Align the gateway pipe and stack the bins for a seamless aerated drainage‑ready system.
- Verify drainage holes stay clear for proper moisture control.
- Check that the landscape cloth filters runoff while keeping the red wiggler breeding bin sanitary.
Proper moisture management and ventilation slits are essential to prevent odors and provide an optimal environment for red wigglers.
Feed, Moisturize, and Season Your Red‑Wiggler Breeding Bin
Keeping the bedding as damp as a wrung‑out sponge is key to happy, active red wigglers, so aim for that moisture level without any drips. You’ll check bin moisture daily, adjusting with water or dry bedding. Feed 1–2 cups of kitchen scraps per feeding at first, then shift to a feeding schedule of about 0.5 lb food per lb of worms daily. Chop waste into 1‑inch pieces, bury under damp bedding, and cover lightly with paper. Add fresh shredded cardboard or coconut coir to keep bedding moisture stable and avoid odor. Rotate the feeding量 (feeding量) across the bin to let the composting system work evenly. Using compostable bags for food scraps can help keep your red wiggler breeding bin clean and odor-free.
Harvest Castings and Use Them in Your Apartment Garden
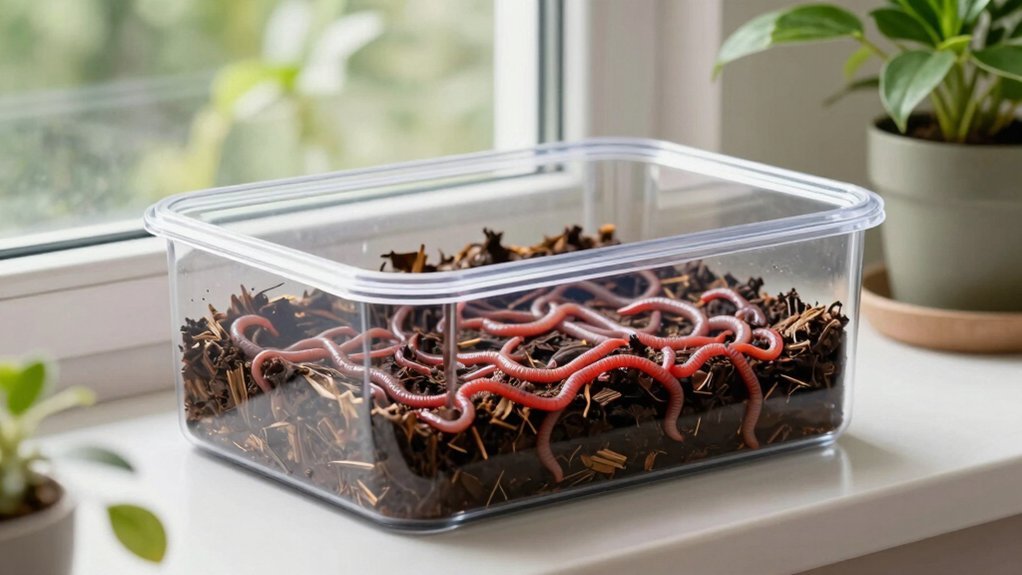
Now that your worms are thriving in a perfectly moist bin, it’s time to collect the dark, crumbly castings they’ve produced and put them to work in your apartment garden. Use the Move‑on‑Over or Dump‑and‑Sort method to separate the castings cleanly, then store them in a fresh bin or age them in an open tube to dry out a bit before planting. The nutrient‑rich castings boost soil structure, water retention, and microbial life, giving your herbs and veggies an instant boost.
- Harvest: Gently shift the food tray, let the Red Wiggler migrate, then scoop out the castings.
- Age: Spread castings thinly in a DIY bin; let them dry for 48 hours to reduce excess moisture.
- Apply: Mix castings into potting mix or sprinkle on top of your apartment garden beds, then water lightly.
Remember to replenish bedding/food casting management right after harvesting to keep the worm bins healthy. Using a dedicated indoor kitchen scrap bin can help reduce odors and maintain cleanliness during the harvesting process.
Frequently Asked Questions
What Is the Best Container for a Worm Bin?
You’ll get the best results with a 27‑gallon opaque Rubbermaid tote; it’s shallow, spacious, and easy to drill for ventilation and drainage, keeping worms dark, active, and well‑aerated.
What Are the 5 Mistakes That People Commonly Make When Composting With Worms?
You overfeed, let the bin dry or become soggy, add meat or citrus, ignore drainage and aeration, and place it in extreme heat or bright light—each mistake kills worm health and slows composting.
How to Make a Red Wiggler Worm Bin?
You’ll build a shallow, opaque tub, drill evenly spaced ¼‑inch holes for ventilation, add a damp bedding layer, place a drainage screen, then introduce 1‑2 lb of red wigglers and a few food scraps.
Can I Put Unused Coffee Grounds in My Worm Bin?
Yes, you can add unused coffee grounds, but mix them with bedding and other scraps, keep them moist but not soggy, and use only a small amount to avoid compaction, odors, or overheating.
In Summary
You’ve got everything you need to turn a tiny corner into a thriving red‑wiggler farm. Pick the right bin, set up a multi‑bin gateway, add proper aeration and drainage, feed and moisture‑balance it, then harvest the rich castings. With these steps, you’ll keep a steady supply of worms and nutrient‑dense soil for your apartment garden—no mess, no hassle, just fresh, organic growth all year round.



