
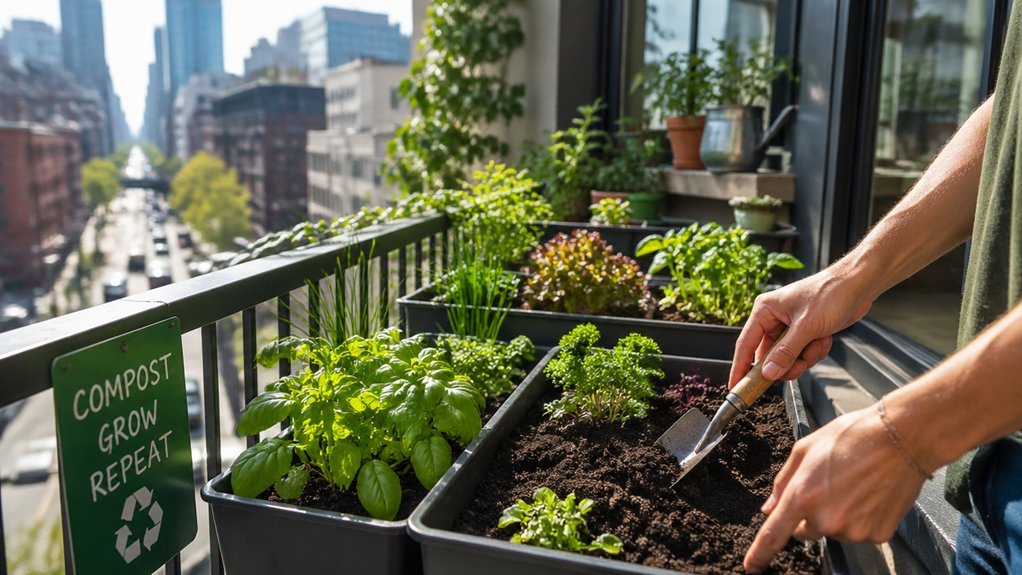
Grab a shallow, easy‑to‑open container—like a sturdy plastic box, terracotta pot, or ceramic bowl with a loose lid—and set it on a breezy windowsill where you can reach it without stretching. Add wet greens (veg peels, coffee grounds) and dry browns (shredded leaves, cocopeat) in roughly equal parts, sprinkle a pinch of old‑tree soil as inoculant, and stir briefly after each addition. Keep the lid loose for airflow, transfer the contents to a larger bin each evening, and you’ll have odor‑free compost ready in days; the next steps will show you how to troubleshoot, harvest, and use it year‑round.
Pick the Ideal Kitchen Vessel for Window‑Sill Compost
Which vessel works best for your window‑sill compost? You’ll want a small, easy‑to‑open compost bin that fits the sill and lets you swap scraps daily. A sturdy plastic box works, but a terracotta chatti adds breathability and a rustic look. Ceramic bowls with non‑airtight lids also do the trick, letting gases escape while keeping pests out. Choose a vessel that’s shallow enough to reach without stretching and wide enough to hold a day’s worth of kitchen waste. Keep the lid loose so air circulates, but make sure it won’t tip over. Position it near the window for natural airflow, then transfer the contents to your larger outdoor compost bin each evening. This setup stays tidy, low‑maintenance, and ready for daily use. window-sill composting and a quick daily swap helps maintain odor control and airflow as you manage your small-bin waste effectively.
Choose the Best Window‑Sill Spot for Airflow
After picking a shallow, breathable vessel, place it on a sill that gets steady airflow and indirect light. Choose a spot that’s open to the room, not tucked behind a closed cabinet, so fresh air can circulate around the compost. Regular replenishment with bokashi bran helps maintain active fermentation and odor control on small windowsills Continuous fermentation capability.
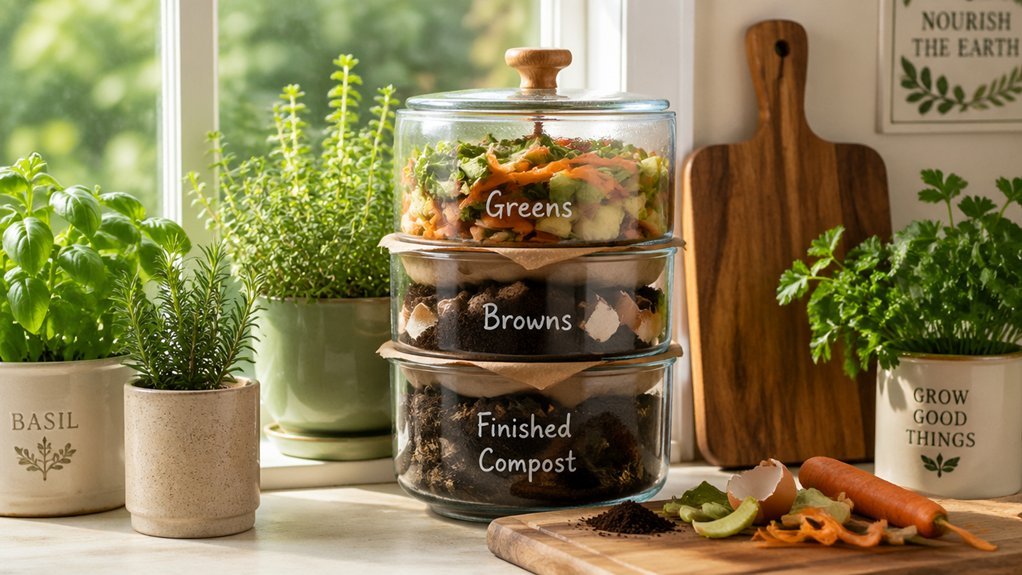
Gather Wet Greens, Dry Browns, and Inoculant
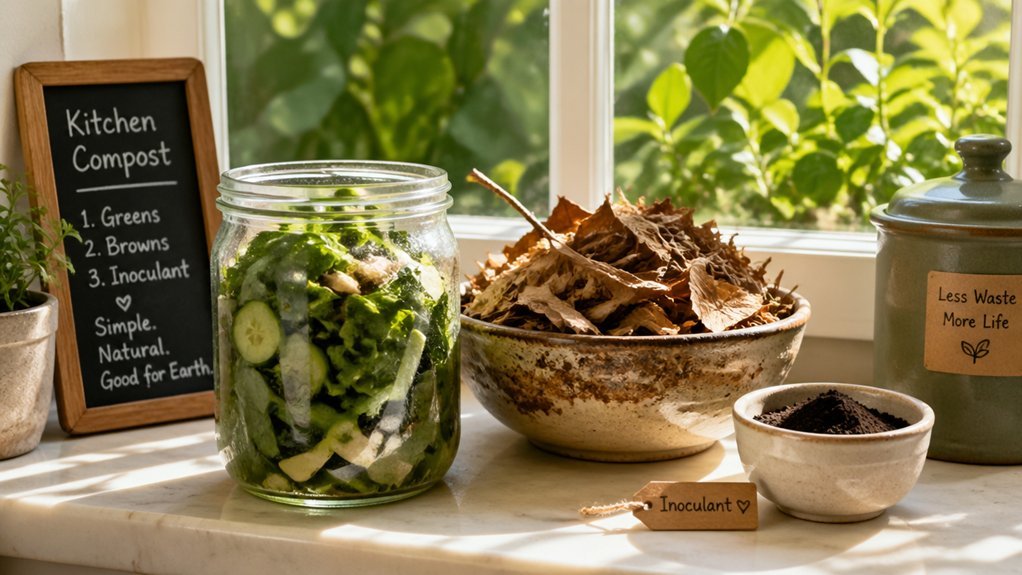
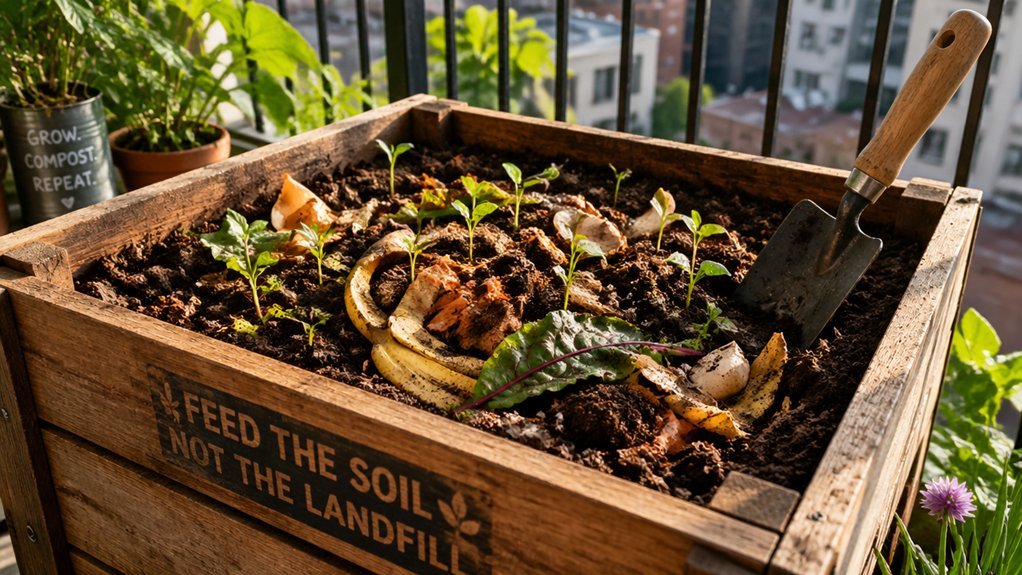
You’ll collect kitchen scraps like veggie peels and fruit rinds as your wet greens, then balance them with dry browns such as shredded leaves, straw, or cocopeat blocks. Toss a small handful of soil from an old tree’s foot into the mix to seed the pile with beneficial microbes. Keep the ratio roughly 1:1, and add the dry material each day after you transfer the greens to maintain proper moisture.
Wet Greens: Kitchen Scraps
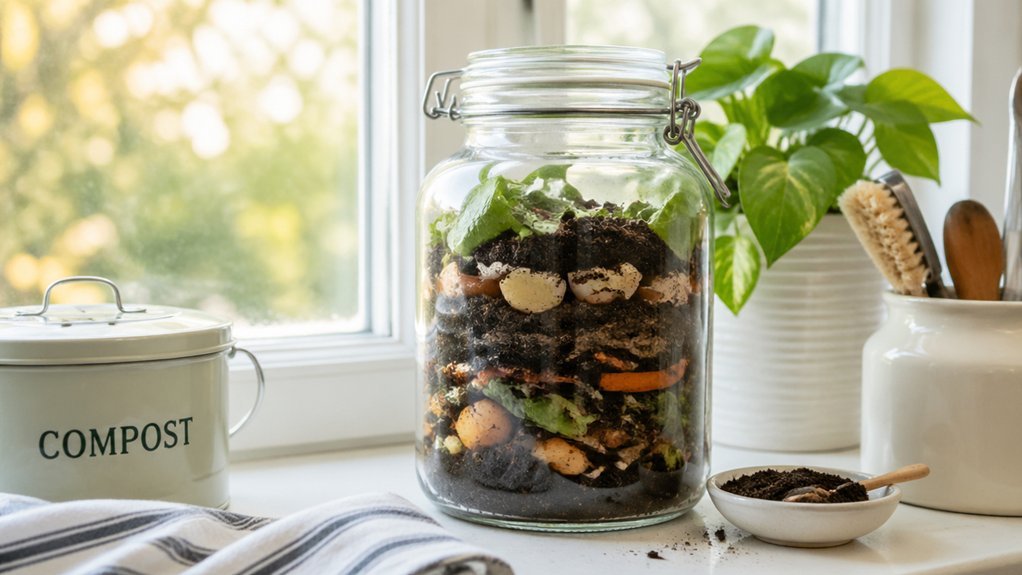
Ever wonder how to turn kitchen leftovers into thriving compost? You’ll start by collecting wet greens—those juicy kitchen scraps like fruit peels, veggie trimmings, coffee grounds, and crushed egg shells. They supply the nitrogen and moisture your window‑sill bin needs. Toss them into a small kitchen vessel, then transfer the mix to the compost unit each day. Vacuum‑packed dried leaves from resin craft sets can help regulate moisture when stored nearby, offering a handy reminder of proper preservation while you manage your scraps Valve‑sealed packaging for freshness. Immediately follow with an equal volume of dry browns to keep the pile from getting soggy. If you want a boost, sprinkle a handful of soil from an old tree’s foot; the inoculant introduces microbes that jump‑start decomposition. Keep the cycle steady, and your scraps will transform into rich, crumbly compost in weeks.
Dry Browns: Leaves & Cocopeat
A handful of dried leaves, shredded newspaper, straw, or a small block of cocopeat makes the perfect dry brown for your window‑sill compost.
You’ll want a balanced mix of carbon‑rich material to keep the pile airy and odor‑free.
Break up the cocopeat block into bite-size pieces; it stores neatly, absorbs excess moisture, and deters fruit flies.
Toss in a layer of dried leaves or straw, then sprinkle a thin coat of cocopeat before adding your next batch of wet greens.
This alternation maintains structure, prevents clumping, and speeds up aeration.
If you have an inoculant—like a pinch of soil from an old tree’s base—mix it in with the cocopeat to jump‑start microbial activity.
The result is a tidy, low‑maintenance compost that thrives on your sill.
Microbial activity can accelerate decomposition and odor control in small-space composting systems.
Build a Two‑Bucket Window‑Sill Compost Tower
Grab two clean paint buckets, put lids on, and drill five 2–8 mm holes in each bucket’s bottom and sides for drainage and airflow. Then add matching holes in the lids so you can swap the top bucket without spilling. Finally, stack the buckets, keep the lid on the lower one, and you’ve got a ready‑to‑use window‑sill compost tower. Regularly replace the charcoal filters to maintain odor control and keep the setup fresh odor control.
Materials Bucket Assembly
When you stack two empty paint buckets with their lids, you create a compact two‑bucket compost tower that fits right on your window sill. First, gather two sturdy, clean buckets and a matching lid. Then, drill five 2–8 mm holes in the bottom of the lower bucket, five around its sides, and a similar set in the lid for drainage and airflow. No extra tools are needed—just a drill and the recycled buckets. Finally, place the assembled tower in a sunny, airy spot, keep the lid closed between transfers, and add kitchen waste to the top bucket daily, balancing each load with dry material. Regular harvesting and moisture monitoring help keep smells down and performance steady, especially in compact indoor setups. Drainage management is an important consideration to maintain healthy larvae and prevent anaerobic pockets.
- Drill holes for drainage.
- Align lid for airflow.
- Stack buckets securely.
Airflow Hole Placement
After drilling the drainage and side holes in the lower bucket, focus on the lid’s airflow openings. Use a 2‑8 mm drill bit to drill holes evenly around the lid’s perimeter, aiming for five openings that match the bucket’s side holes. Space them about an inch apart to promote steady circulation without letting debris escape. Tilt the lid slightly when you drill so the holes face outward, encouraging fresh air to flow down the tower while excess gases rise. Make sure each hole is clean and free of burrs; a quick sandpaper swipe will smooth rough edges. This uniform pattern lets you add green and brown layers without odor buildup, keeping the compost lively and your kitchen fresh. Regular monitoring of moisture through the integrated ventilation helps maintain conditions within the ideal 55-77F range for indoor vermicomposting. Ventilation ensures steady airflow and odor control, supporting healthier worm activity.
Add Dry Browns (Leaves, Straw, Cocopeat) to Control Odor
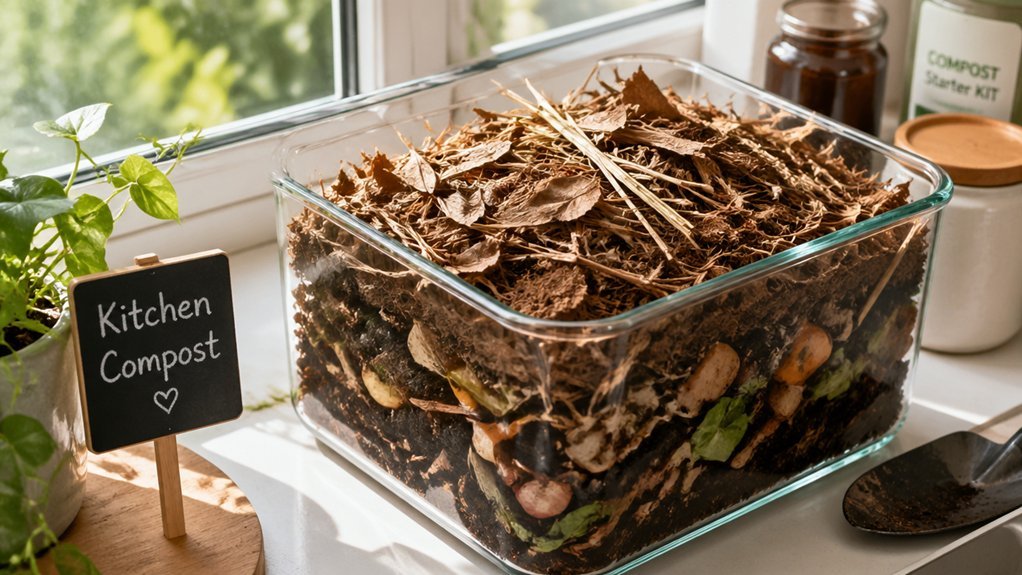
Ever notice how kitchen scraps can turn your window‑sill bin into a stinky mess? Adding dry browns after each transfer balances moisture, tames odor, and keeps flies at bay. You’ll find that a handful of leaves, straw, or cocopeat does the trick. Here’s a quick routine to follow:
- Measure – Scoop an equal volume of dry browns to match the green waste you just added.
- Layer – Sprinkle the dry material over the scraps, then press lightly to seal in moisture.
- Cover – Snap the lid shut; the lid plus the dry layer blocks fruit‑fly access while preserving airflow.
Cocopeat blocks are especially handy: wash, dry, and sieve them before use. A pinch of old‑tree soil boosts microbes, speeding decomposition without extra odor. Stick to this pattern and your window‑sill compost stays fresh and efficient.
Stir and Aerate Your Compost (How Often & Why)
Adding the dry browns you just layered is only half the job; now give the mix a quick stir. Stirring pumps oxygen into the pile, fires up microbes, and keeps odors at bay. After each batch of scraps and browns, give the compost a brisk mix to stay it loose and crumbly. In a two‑bucket window sill system, stir whenever the top bucket nears capacity, then shift material to the lower bucket. If you smell a sour note, stir more vigorously and add extra dry material like cocopeat or leaves before resealing.
| When to stir | How long | Why |
|---|---|---|
| After every addition | 30‑60 seconds | Re‑oxygenates microbes |
| When top bucket fills | 1‑2 minutes | Prevents compaction |
| Every 3‑4 days (small setups) | 45 seconds | Maintains moisture balance |
| If odor appears | 2 minutes | Breaks anaerobic pockets |
| Before resealing | 1 minute | Ensures even texture |
Troubleshoot Common Window‑Sill Compost Issues
If your compost smells sour, add more dry material like shredded paper or straw to absorb excess moisture and balance the carbon‑nitrogen ratio.
Keep an eye on the moisture level; the mix should feel like a wrung‑out sponge, not soggy or bone‑dry.
Adjusting the lid seal and stirring occasionally also helps prevent odors and maintains proper aeration.
Dry Odor Management
Why does your window‑sill compost smell sour? The sour note usually means you’ve got too many greens and not enough dry matter. Add cocopeat, shredded newspaper, or dried leaves, then stir to rebalance the green‑to‑brown ratio. Keep the tower aerated by leaving holes and avoiding overpacking, which traps odors. Use a non‑airtight lid and transfer material daily to keep the kitchen‑sill area airy and prevent anaerobic buildup.
- Add dry matter – sprinkle a handful of dried leaves or cocopeat each week.
- Improve aeration – poke extra holes in the tower and never seal the lid tightly.
- Introduce inoculant – if the smell lingers, mix in a soil inoculant and more dry matter, then monitor.
Avoid fats, oil, and milk to keep the scent fresh and pest‑free.
Moisture Balance Control
When the compost in your window‑sill tower feels either bone‑dry or soggy, the key is to keep the moisture at a “wrung‑out sponge” level—damp enough to stay together but without standing water. Aim for a moisture balance by adding a splash of water and extra green scraps when it’s dry, then mix in dry leaves or cocopeat to soak up excess liquid. Drill drainage holes in each bucket so surplus water can escape, preventing waterlogged layers that cause odor. Stir the pile gently after every addition; this spreads moisture evenly and eliminates dry pockets. Watch the scent: a foul smell means you need more dry material and a quick fluff to restore proper moisture balance.
Determine When Your Compost Is Ready for Harvest
Even though the pile may look finished, you’ll know your compost is truly ready for harvest when it feels like dark, crumbly soil with a faint, earthy scent. At this stage, compost maturity is evident: the texture is fine, the color deep brown, and the aroma pleasant, not sour. Check moisture—press a handful; it should clump without dripping. If you spot chunky bits, sift them out and return the fine material to the bin for a few more days.
How to confirm readiness
- Visual test – look for uniform dark color and no recognizable food pieces.
- Texture test – rub between fingers; it should feel like rich soil, not soggy.
- Smell test – a subtle earth scent confirms it’s ready.
When in doubt, germinate a seed; successful sprout means your compost is safe to use.
Use Finished Compost for Indoor Plants & Small Gardens
Now that your compost has reached that dark, crumbly, earthy stage, you can start putting it to work for indoor plants and tiny garden beds. Mix a spoonful into potting soil or spread a thin mulch layer to boost moisture retention and nutrients. For seed‑starting, stir a pinch into the mix; for established plants, top‑dress lightly to improve structure. In small gardens, blend 1–2 inches of compost into the topsoil or apply a few inches as a top‑dress to enrich fertility. Before using on delicate foliage, screen the compost to remove coarse bits. Store it in a breathable container away from direct sun to keep microbes active.
| Use | Amount |
|---|---|
| Potting mix amendment | 1‑2 Tbsp per pot |
| Mulch layer | ¼‑½ inches |
| Seed‑starting mix | 1‑2 Tbsp per tray |
| Garden top‑dress | 2‑3 inches |
| Storage | Moisture‑retentive container, shade |
Keep Your Window‑Sill Compost Running Year‑Round
How can you keep your window‑sill compost humming all year without a fuss? First, balance moisture and airflow. Every day, dump kitchen scraps into the vessel and immediately sprinkle an equal scoop of dry material—cocopeat, shredded leaves, or straw. Stir the mix weekly to prevent compacting and add a pinch of soil inoculant if it smells sour. Keep the two‑bucket tower vented: drill 2–8 mm holes in the bottom, sides, and lid, then stack for ideal aeration and drainage.
- Add dry brown matter to every green load.
- Stir the pile every 5‑7 days to maintain oxygen flow.
- Check moisture—the mix should feel like a wrung‑out sponge; spray water if it’s dry.
Following these steps ensures steady thermophilic activity, odor‑free operation, and continuous composting throughout the seasons.
Frequently Asked Questions
What Is the Lazy Compost Method?
You use a two‑bucket tower with drilled holes, add kitchen scraps to the top, then mix in equal dry matter and cocopeat, inoculate with a few soil handfuls, and keep fats out for odor‑free, low‑maintenance compost.
What Three Items Should Not Be Placed in a Compost Pile?
You shouldn’t put meat, dairy fats, or oily foods into your compost pile; avoid pet feces and any non‑biodegradable items like plastic, metal, or glass, and keep treated wood or pet litter out.
What Are Two Mistakes That We Should Avoid When We Prepare Compost?
You should avoid adding oily or dairy foods and neglecting dry material; both cause foul odors and slow breakdown, especially in a small window‑sill bin.
What Kitchen Scraps Cannot Be Composted?
You can’t compost fats, oil, lard, milk, meat, dairy, fish, oily fish, or large bones; these create odors, pests, and break down slowly, so keep your kitchen scraps plant‑based and dairy‑free.
In Summary
Now you’ve got a low‑maintenance, odor‑controlled compost system that fits right on your sill. By balancing greens and browns, keeping airflow steady, and harvesting when the material turns dark and crumbly, you’ll produce nutrient‑rich soil for indoor plants and tiny gardens all year long. Enjoy the fresh, sustainable loop you’ve created in your own kitchen.
Leave a Reply