
Turn your sunny window into a compact compost station by mounting a lightweight bin in the frame, sealing the hatch at night, and opening a tiny vent during warm hours. Use a breathable cotton liner and a charcoal filter to keep odors down while the sun creates a warm micro‑climate for fast decomposition. Aerate daily with the swinging panel, monitor moisture, and harvest rich compost from the bottom. The next steps will show you exact sizing, mounting hardware, and maintenance tips.
What Is a Window‑Mounted Compost Bin and Why Use It?
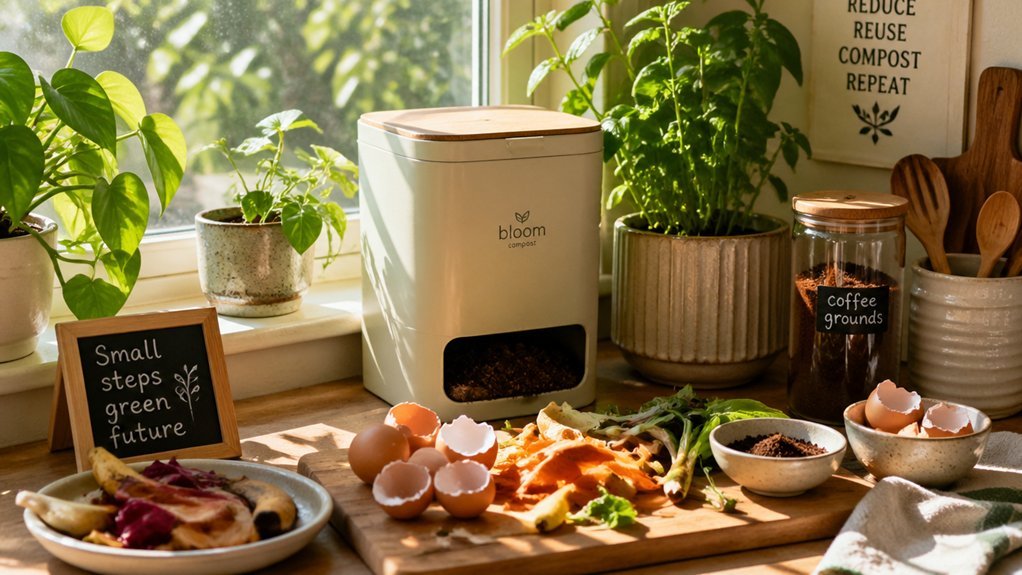
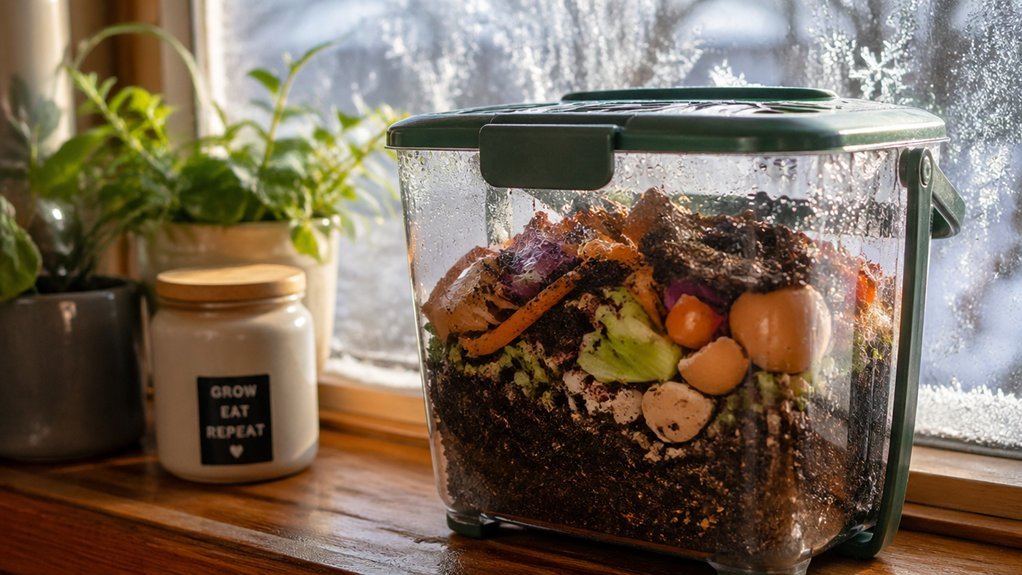
A window‑mounted compost bin is a repurposed window frame fitted with hinged hatch doors that keep heat inside while letting you swing the panel open for quick loading, turning, and aeration. You’ll notice the upcycled trim and salvaged pegboard forming a sturdy shell that encourages airflow and supports heat retention, speeding decomposition. The hinges act like a kitchen hatch, so you can peek inside, stir the mix, and add scraps without losing temperature. Because the bin sits in a sunny spot, the glass captures warmth, creating a micro‑climate that microbes love. This design also leaves room on side and middle panels for future vines, turning your kitchen window into a living, productive compost station heat retention.
Choose the Right Window‑Mounted Compost Bin for Your Space
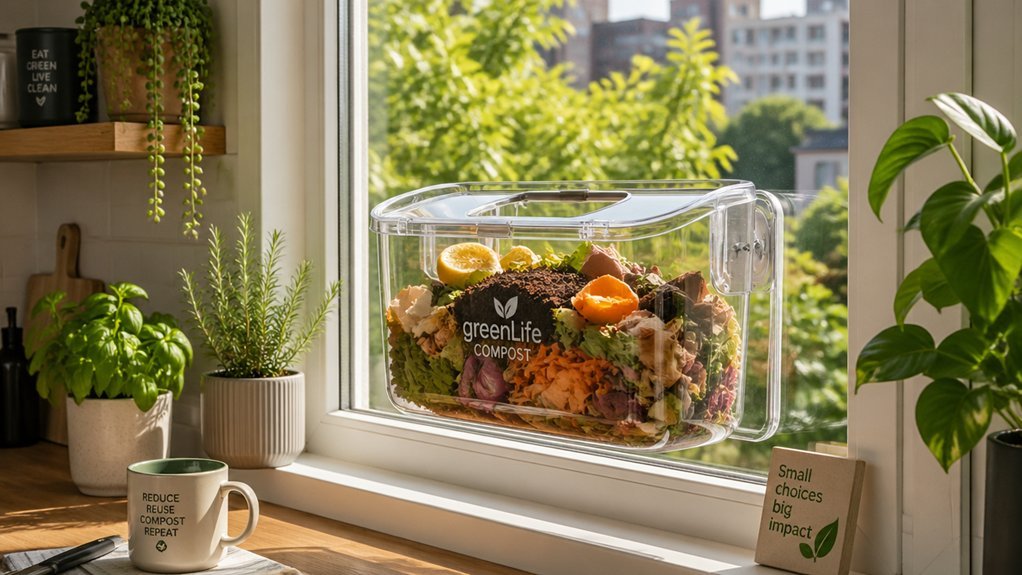
Looking to fit a compost bin into your kitchen window without sacrificing space or style? Start by measuring the window’s opening and the countertop footprint you can spare. Choose a compact design that slides on repurposed hinges and offers a sealable lid for odor control. Plastic units are lightweight and easy to clean, while stainless steel adds durability and a sleek look; ceramic can blend with traditional décor. Verify that the interior features pegboard aeration and that the lid includes charcoal or a replaceable filter to keep smells at bay. Ensure the bin accommodates your preferred bag or bagless system and that any removable parts are dishwasher‑safe. Finally, check that the latch and seal maintain tight closure for long‑term odor‑free operation. Additionally, consider whether the unit offers dual installation options for wall mounting or cabinet‑hanging to maximize space adaptability under‑cabinet mounting.
Install a Weather‑Resistant Bracket for Your Window‑Mounted Compost Bin
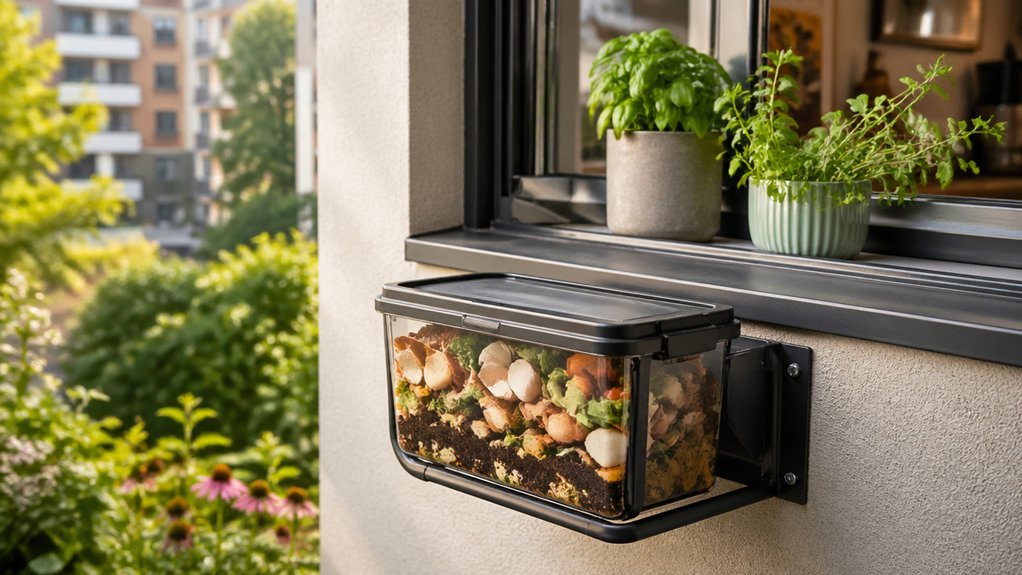
How can you keep your window‑mounted compost bin sturdy and weather‑proof? First, choose a weather‑resistant bracket that anchors to the window frame or sill with corrosion‑resistant fasteners. Make sure the bracket’s load rating exceeds the bin’s full weight, and use a hinge or lid access that lets you add scraps without wrestling the hardware. Install a silicone gasket or seal around the hatch to block drafts and moisture while still allowing smooth opening. Design the bracket with a removable panel or exterior latch so you can drain and clean the bin without compromising the weatherproof seal. Finally, check that the bracket’s venting openings stay clear, ensuring airflow without letting rain seep in. NPK Ratio and other product details from your alfalfa meal options can help gauge soil amendments for compost readiness and plant nutrition.
Add a Tiny Vent to Control Odor and Moisture
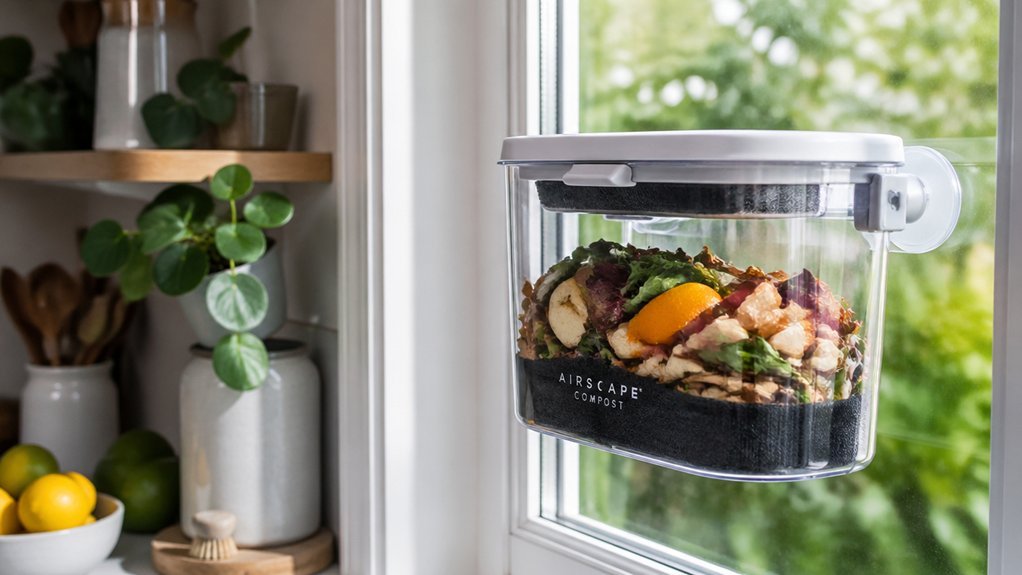
Ever wonder how a tiny vent can keep your window‑mounted compost bin fresh while staying discreet? Install a small vent with a plug‑in damper or adjustable cover near the top of the bin. Choose a vent that lets you fine‑tune airflow so drafts stay out when the window’s closed. Pair it with a carbon filter to neutralize odors without choking aerobic bacteria. Position the vent high enough, or add directional louvers, to hide the opening from sight while maximizing ventilation. Check the carbon filter every few months and replace it every 3–6 months to keep odor and moisture under control. This simple addition lets your compost stay dry, odor‑free, and ready for the next batch. OK compost HOME
Select a Liner and Filter for Your Window‑Mounted Compost Bin
Choose a breathable liner—like a cotton-woven or mesh bag—that lets air circulate while keeping scraps contained. Position a charcoal filter at the bin’s vent so odors are neutralized before they escape the window. Make sure the liner fits snugly and the filter is easy to replace every few months for consistent performance. Also consider using 0.59–1 mil bags with drawstrings to balance durability and compostability when selecting liners for your window-mounted setup drawstring durability.
Breathable Liner Materials
Looking for a liner that keeps odors out while staying easy to clean? Choose a non‑absorbent, dishwasher‑safe material that snugly lines your window‑mounted bin, ensuring liner compatibility with the interior plastic or metal.
A breathable fabric, like polyester‑coated canvas, lets moisture escape but blocks liquid leaks, preventing stains and mold. Pair it with a charcoal filter at the top; the filter traps volatile compounds while the liner maintains a seal against pests and drafts.
When you empty the bin, lift the liner in one piece, shake out debris, and rinse or run it through the dishwasher.
Replace the charcoal filter every three to six months to keep airflow fresh and odor control optimal. This combo offers hygienic, low‑maintenance composting right at your window. odor management
Effective Filter Placement Strategies
A well‑fitted liner keeps your compost bin sealed, but the real key to odor control is where you place the charcoal filter. Choose a liner that hugs the interior walls snugly, then install the charcoal filter just below the lid’s vent opening. This position captures rising gases before they escape into the kitchen while still allowing airflow for aerobic decomposition. Secure the filter with a clip or mesh so it stays flat and doesn’t block the vent holes. Replace the filter every three to six months to maintain peak odor control. Pair the filter with a tight‑fitting lid and a breathable mesh side panel, and add a dry brown layer to absorb excess moisture, keeping the bin fresh and clean. This approach aligns with using compostable materials and certifications to ensure sustainability and safe handling of waste compostable materials.
Day‑Night Seal‑and‑Vent Routine for Your Window‑Mounted Compost Bin
When daylight fades, you’ll want the compost bin’s hatch sealed tight to keep drafts out, but during warm hours you should open a small vent or charcoal‑filtered outlet to let fresh air in and excess odors out.
In the morning, check that the hatch’s gasket sits flush; a snug seal retains heat and prevents kitchen smells from escaping.
Mid‑day, slide the venting flap open a quarter turn, or engage the filtered outlet, to supply oxygen for aerobic digestion while the charcoal absorbs any lingering odor.
Close the vent before nightfall, then inspect hinges for wear.
Repeat this cycle daily, pairing it with a balanced mix of dry browns and occasional cleaning, and your window‑mounted compost bin will stay fresh, efficient, and odor‑free.
Harvest and Reuse Your Compost From the Window‑Mounted Bin
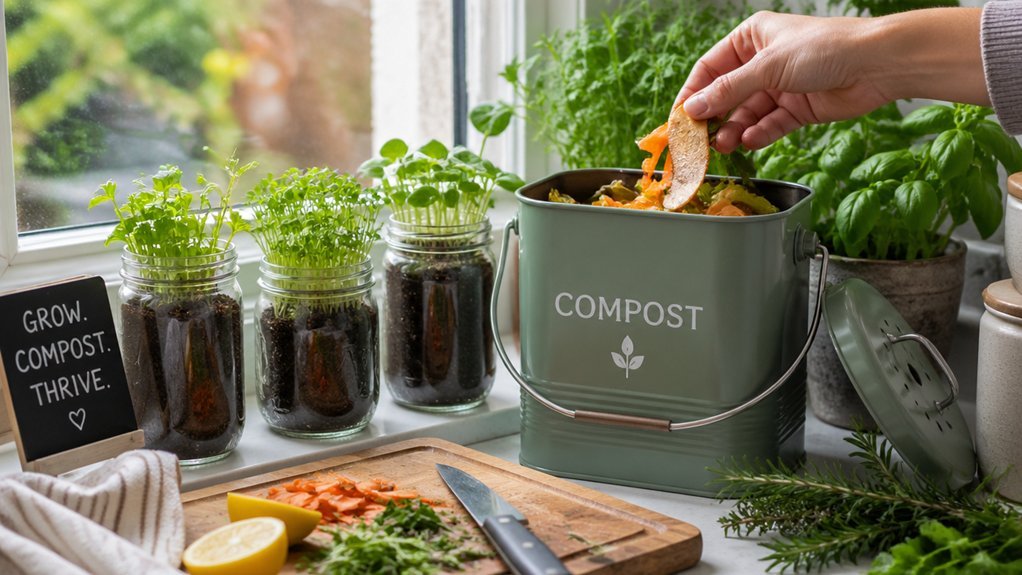
Once the daily seal‑and‑vent routine keeps your bin odor‑free, it’s time to reap the benefits of the rich, dark material you’ve cultivated. Open the hatch, scoop the mature compost, and store it in a breathable tote until you’re ready to enrich your garden or potting mix. The window‑mounted composting system turns kitchen food waste into a nutrient‑dense amendment, closing the loop on scraps and reducing landfill load. By reusing the compost, you also keep the bin’s temperature stable, encouraging faster breakdown for future batches.
- Sift out large fragments before applying.
- Mix with garden soil at a 1:4 ratio.
- Sprinkle on houseplants for instant vigor.
- Compost leftovers again to sustain the cycle.
Frequently Asked Questions
What Three Items Should Not Be Placed in a Compost Pile?
You shouldn’t put meat, dairy, or oily foods in your compost pile; they’ll cause odor, attract pests, and create anaerobic conditions that ruin the process.
What Is the Lazy Compost Method?
You follow the Lazy Compost Method by keeping a small, sealed bin by your sink, trimming and drying scraps, then quickly transferring the pre‑compost to an outdoor pile, using vents or charcoal to control odors.
How Do the Amish Make Compost?
You make compost like the Amish by building a sturdy wooden or metal bin, mixing greens and browns, keeping it moist, turning it manually for aeration, and shielding it from pests and weather.
What Kitchen Scraps Cannot Be Composted?
You can’t compost meat, dairy, oily foods, or greasy scraps. Avoid pet waste, diseased plants, and large, non‑decomposable plastics. Those items attract pests, create odors, and slow down your kitchen compost.
In Summary
Now you’ve turned a plain window into a handy compost hub that’s odor‑controlled, weather‑proof, and easy to maintain. With the right bin, a sturdy bracket, a tiny vent, and proper liners, you’ll keep scraps fresh day and night while harvesting nutrient‑rich soil for your kitchen garden. Enjoy the simplicity, the sustainability, and the satisfying cycle of turning waste into growth right from your windowsill.
Leave a Reply