
You can make a compact, odor‑free compost bin using a 5‑gallon bucket with a tight‑fitting lid, drill about ten holes in the lid and lower half for airflow, and line the bottom with sticks or coir to keep the holes clear and control moisture. Add a separate scraps pail, then transfer kitchen waste and shredded paper in alternating layers, rolling the bin occasionally to mix and aerate. This setup prevents pests and smells, and the next steps will show you two more easy DIY designs.
Pick a Ventilated Kitchen Compost Bin for Your Apartment
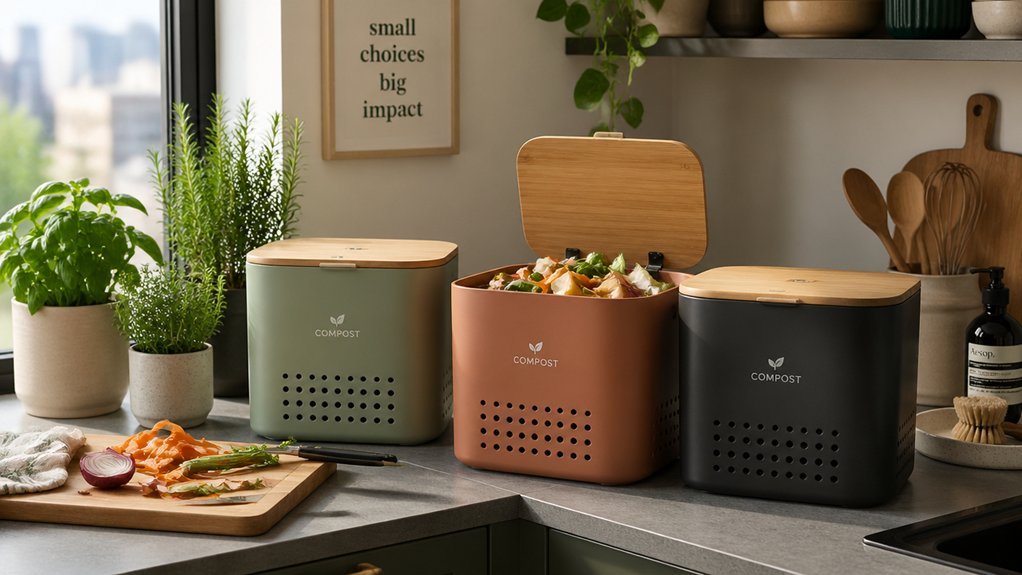
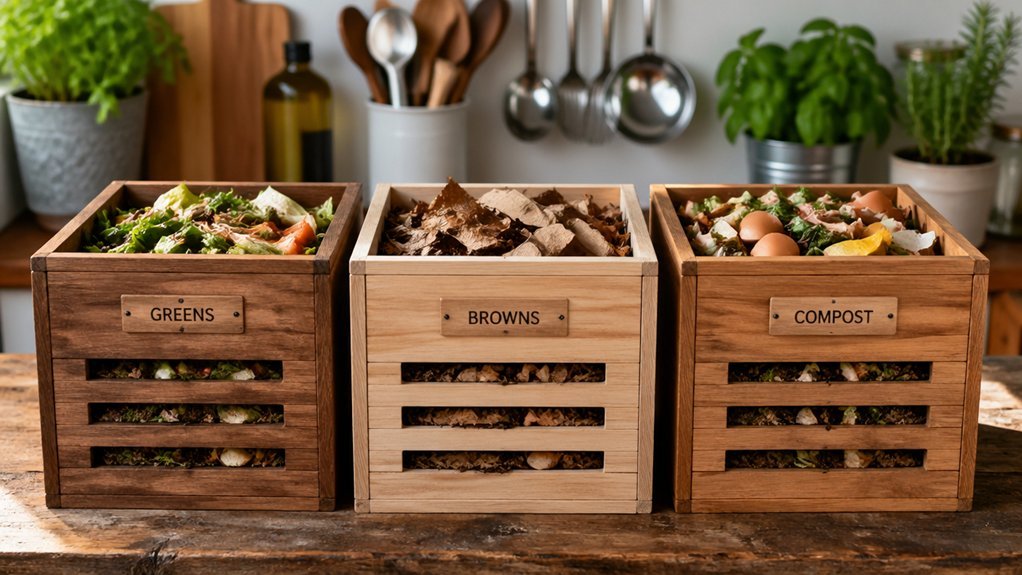
Looking for a compact, odor‑free way to compost kitchen scraps in an apartment? Choose a ventilated bin that fits your space and lifestyle. A 5‑gallon bucket with a tight‑fitting lid works well for kitchen compost because you can drill lid holes and lower‑half holes for drainage and airflow. Add a layer of browns or sticks at the bottom to keep the holes clear, improve aeration, and aid moisture control. Use a separate pail for scraps collection, then transfer the material to the bucket. After each addition, give the bin a quick roll or shake to distribute moisture evenly and accelerate decomposition. This simple setup supports apartment composting without odors or mess. Waste Sorting Accuracy can help ensure you separate appropriate compostable materials from non-compostables at the point of use.
Build a Ventilated Kitchen Compost Bin in 5 Simple Steps
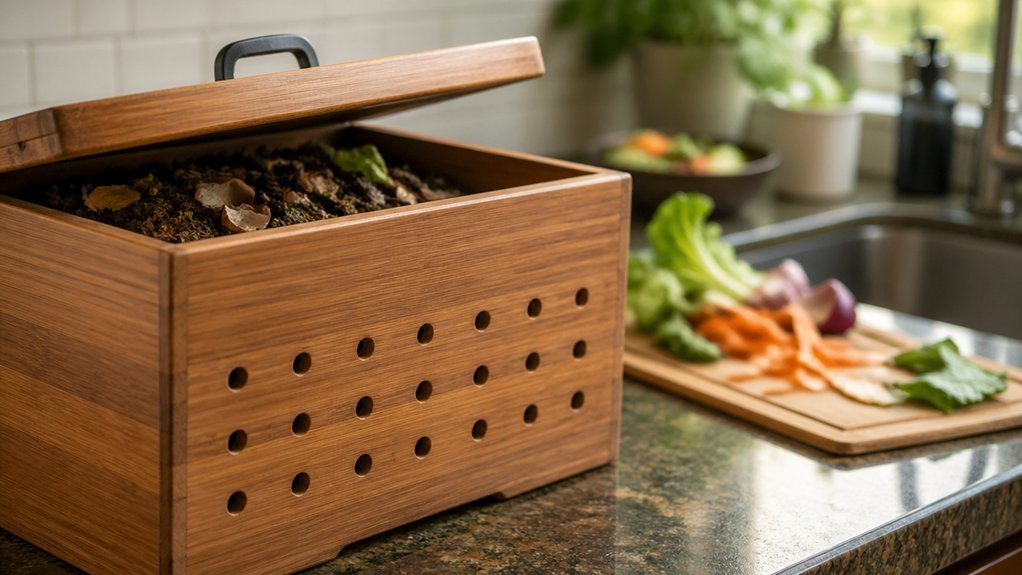
After picking the right ventilated bucket, you can assemble a functional kitchen compost system in just five steps. First, drill evenly spaced holes in the bucket’s lower half and lid—about ten each—to ensure airflow and drainage. Second, line the bottom with a few sticks, wedging them so they stay put and create a gap for moisture control. Third, place a tight‑fitting lid on the bucket; the lid’s holes maintain aeration while keeping pests out. Fourth, add kitchen scraps and shredded paper in alternating layers, never overfilling, so air can circulate and the mixture stays moist but not soggy. Fifth, roll the bin gently every few days to mix the contents, promote aeration, and keep the compost bin healthy for kitchen use. Ventilation features
Troubleshoot Issues With Your Ventilated Kitchen Compost Bin
Why does your compost bin smell sour or attract pests, even though you’ve followed the basic build steps? You probably have a drainage or airflow problem, excess moisture, or clogged ventilation. Fixing these issues restores healthy aeration and keeps pests away. Proper coir bedding can help by promoting better moisture balance and aeration in worm-friendly setups low salt content.
Sour smells and pests signal drainage, moisture, or ventilation issues—fix them for healthy, odor‑free compost.
- Check drainage – Ensure the bin lid holes and bottom holes aren’t blocked; add sticks and dry leaves to keep a clear path for excess liquid.
- Balance moisture – If the mix feels soggy, add more brown material; if it’s dry, sprinkle water lightly and shake to improve aeration.
- Maintain headspace – Don’t overfill; leave room for airflow and for the bin lid to close without crushing the compost.
- Seal against pests – Fit a fine mesh over lid holes, keep clogs away, and inspect regularly for mold or maggots. These steps keep ventilation steady and your kitchen compost bin thriving.
Frequently Asked Questions
What Can I Use as a Compost Bin in My Kitchen?
You can use a sturdy 5‑gallon bucket with a tight‑fitting lid, drill ventilation holes, add a mesh screen, and place sticks or a tray at the bottom for drainage and airflow.
Should Compost Bins Be Ventilated?
Yes, you should ventilate compost bins; airflow prevents mold, reduces odors, and speeds decomposition. Drill holes in the lid and sides, add mesh to keep pests out, and stir regularly for optimal results.
What Is the Best Compost Bin for Kitchen Use?
You’ll get the most efficient kitchen compost using a small, sealed bucket with a charcoal filter and drilled ventilation holes; it fits countertops, controls odor, and lets you turn scraps quickly.
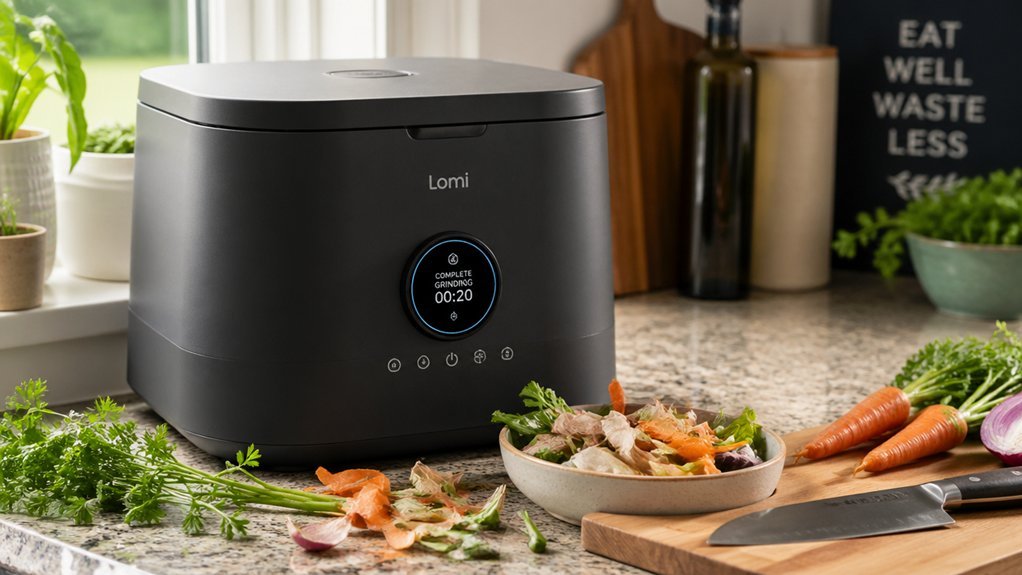
Do Countertop Composters Really Work?
Yes, they work if you keep the mix balanced, stir regularly, and use the built‑in filter or vent. You’ll notice minimal odor and steady breakdown, but only for modest kitchen waste amounts.
In Summary
Now you’ve got a compact, ventilated compost bin that fits your kitchen and keeps odors at bay. By picking the right design, building it in five easy steps, and tackling any hiccups, you’ll turn food scraps into nutrient‑rich soil without hassle. Enjoy a greener apartment, a cleaner countertop, and the satisfaction of turning waste into something useful—right from your own countertop.

Leave a Reply