
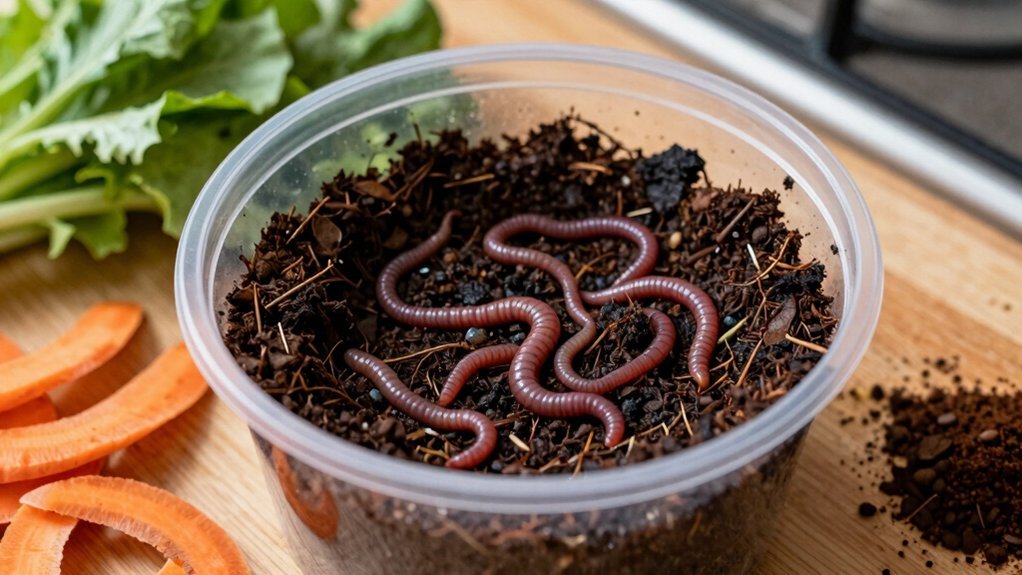
You’ll set up a small, dark plastic bin (like a yogurt container) with holes for airflow, line it with shredded newspaper and a paper‑towel base, moisten to about 80% moisture, add a pinch of garden soil, then introduce five red wigglers. Keep the bin in a cool, shaded spot between 40‑84 °F, feed it tiny amounts of vegetable scraps every 2‑3 days, and use a squeeze‑test to maintain proper dampness. With these basics you’ll start turning kitchen waste into nutrient‑rich castings, and the next steps will show you how to expand, harvest, and brew worm tea.
Get Started With Mini‑Bin Worm Composting
Ready to start? Grab a mini-bin vermicomposting container—think yogurt‑size with drilled drainage and a lid. Line it with fabric or paper towel, then add about bedding of shredded brown cardboard or newspaper moistened to roughly 80 % moisture, plus a pinch of garden soil. Introduce five red wigglers to the bedding; they’ll multiply as castings build up. Place the indoor bin in a cool, dark spot, keeping temperature between 40 °F and 84 °F. Every 2–3 days, scatter a small amount of food scraps—vegetable peels, coffee grounds—over an evenly spread area, avoiding meat, dairy, fats, and excess citrus. Check moisture with a squeeze test: a couple of drops should cling without dripping. Adjust water or bedding as needed, and watch your worm crew thrive. For easier maintenance and nutrient collection, consider a worm compost bin with features like a spigot for collecting nutrient-rich worm tea.
Choose The Right Mini‑Bin For Worm Composting
Which mini‑bin will give your red wigglers the best start? Choose a plastic yogurt container that fits two‑tier setup: an inner bin for bedding and worms, and an outer shell for airflow and drainage. Drill several holes in the inner bin’s bottom; this creates drainage and prevents waterlogging while letting excess moisture escape. Paint the outer container a dark color to block light, keeping the environment cool and calm for vermicomposting. Fill the inner bin with shredded newspaper, moisten it to a sponge‑like texture, and add a layer of paper towels at the bottom to catch castings and stop escape. Aim for about five worms per small container, and you’ll have a compact, efficient mini‑bin ready for successful worm composting. Proper moisture management and ventilation are essential to control odors and maintain healthy worm activity, as highlighted in effective odor control systems.
Prep Bedding For Mini‑Bin Worm Composting
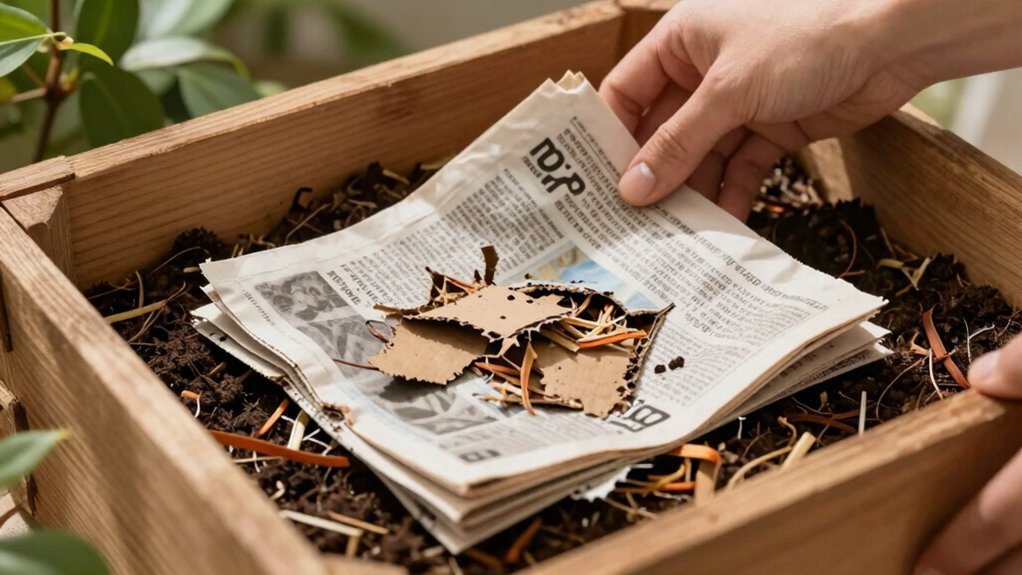
A good bedding base starts with shredded newspaper that’s been moistened to a sponge‑like texture; you’ll want it damp but not soggy, and the squeeze test—when you squeeze a handful only a drop or two should escape—helps you hit the right level.
In your mini‑bin, spread a layer of paper towels first to catch excess liquid and prevent worms from escaping.
Then, loosely pack the moistened newspaper, aiming for a uniform, damp feel throughout.
Use a spray bottle to add moisture gradually, checking the squeeze test each time.
The bedding should feel like a wrung‑out sponge, not dripping.
Once the mini‑bin’s bedding is set, you’re ready to introduce the worms and start composting.
For better odor control during composting, consider using a charcoal filter in your mini-bin lid to keep smells contained and fresh.
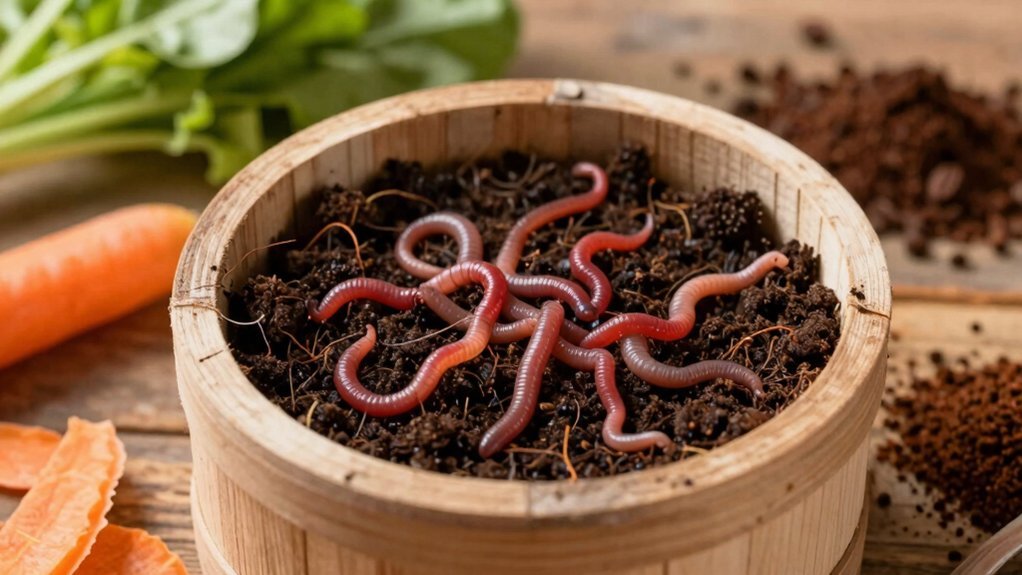
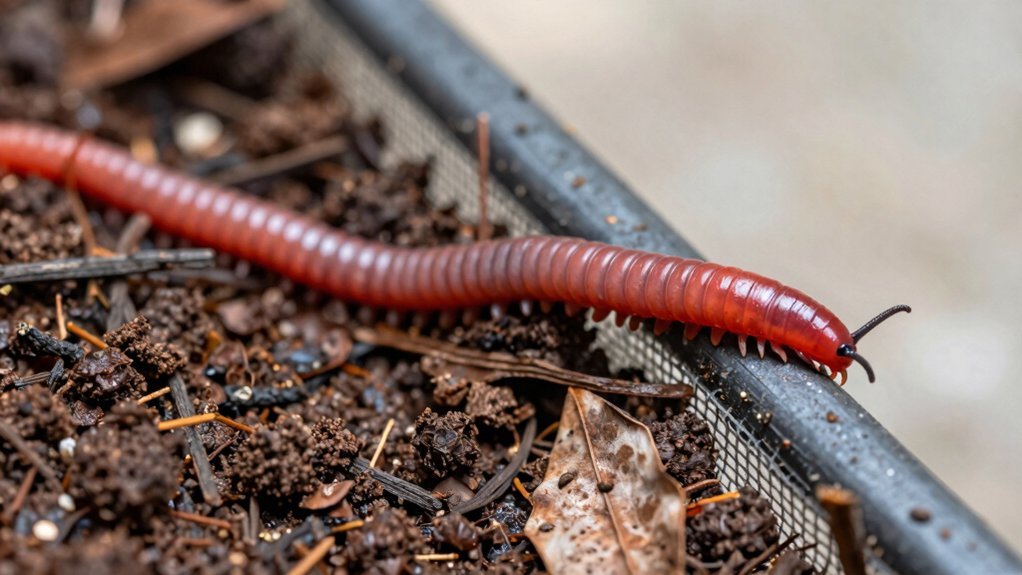
Select Red Wiggler Worms & Determine Quantity
You’ll want to start with Red Wiggler worms because they’re the most efficient composters and breed quickly.
Aim for about five worms per small yogurt‑container‑size space, which translates to roughly 1,000 worms for a typical new bin.
This stocking density gives them enough room to thrive while keeping the bin dark, damp, and cool.
Using a compost bin indoor kitchen with proper ventilation and odor control can enhance worm health and composting efficiency.
Wiggler Selection
Wondering which worms to stock your bin with? Red wigglers dominate vermicomposting because they thrive in compact bins and double their numbers every two months. Aim for a starter population of about 1,000 individuals; this ensures enough mature mates to produce cocoon offspring quickly. Choose a supplier that ships healthy, active worms in breathable bags, and inspect them for a visible clitellum, the sign of a ready‑to‑mate pair. When you unpack, spread them gently over moist bedding materials—think shredded newspaper, coconut coir, and a few damp paper towels to keep humidity ideal.
- Verify worm health and activity.
- Confirm the presence of a clitellum on several individuals.
- Prepare bedding with paper towels for moisture retention.
For beginners, using a 3-tray worm composter can help maintain proper moisture and airflow for healthy worm growth.
Quantity Determination Guidelines
Typically, you’ll want about ½ to 1½ pounds of Red Wigglers per square foot of bin floor, which translates to roughly five worms for a small yogurt‑container bin and scales up proportionally for larger setups. Those starter quantities set a baseline stocking density that drives waste consumption and population growth. As your bin size expands, adjust the worm count so each pound can handle about half a pound of scraps daily. Remember, Red Wiggler numbers double roughly every two months, so a modest start quickly becomes a robust crew.
| Bin Size | Worm Weight (lb) | Approx. Worm Count |
|---|---|---|
| 1 sq ft | 0.5 – 1.5 | 5 – 15 |
| 2 sq ft | 1 – 3 | 10 – 30 |
| 3 sq ft | 1.5 – 4.5 | 15 – 45 |
| 4 sq ft | 2 – 6 | 20 – 60 |
| 5 sq ft | 2.5 – 7.5 | 25 – 75 |
Using a multi-tier tray system with proper aeration and moisture control can enhance worm migration and composting efficiency.
Optimal Stocking Density
How many pounds of red wigglers should you pack into each square foot of bin floor? In vermicomposting, aim for 0.5–1.5 lb of red wiggler worms per square foot of worm bin capacity. Start with a starter population of roughly 1,000 worms to jump-start digestion and worm reproduction. This density gives enough mates for hermaphroditic breeding while avoiding overcrowding that slows composting. As the population doubles every two months, you’ll quickly reach the optimal stocking density for your composting bins, and you can scale up to larger bins like the Worm Factory 360, which holds over 10,000 worms in the same footprint.
- 0.5 lb per ft² – minimal load
- 1 lb per ft² – balanced for most kits
- 1.5 lb per ft² – maximum for aggressive composting
Maintaining the right temperature range around 130-150F is essential for optimal composting activity, ensuring worms stay active and decomposition progresses efficiently.
Feed Worms In Your Mini‑Bin
You’ll want to choose soft, fruit‑based scraps and leafy greens while steering clear of meat, dairy, and citrus, which can upset the bin.
Keep the bedding damp but not soggy—spray lightly and do the squeeze test to ensure only a drop or two of water comes out.
Select Types Properly
Which worms should you choose for a mini‑bin, and why does it matter? You need a species that thrives in cramped, moist environments and processes kitchen scraps quickly. Red wigglers (Eisenia fetida) are the gold standard for vermicomposting because they love topsoil, reproduce every two months, and tolerate the half‑bin bedding mix of shredded newspaper, garden soil, and sand. Their size and appetite keep feeding cycles short, and they help control odors by rapidly breaking down organic matter.
- Red wigglers – optimal for mini‑bins, fast breeding, strong digestion.
- European nightcrawlers – larger, slower, need deeper bedding, not ideal for tight spaces.
- African nightcrawlers – tolerate higher temperatures, but require more moisture and space than a mini‑bin offers.
Moisture Balance Tips
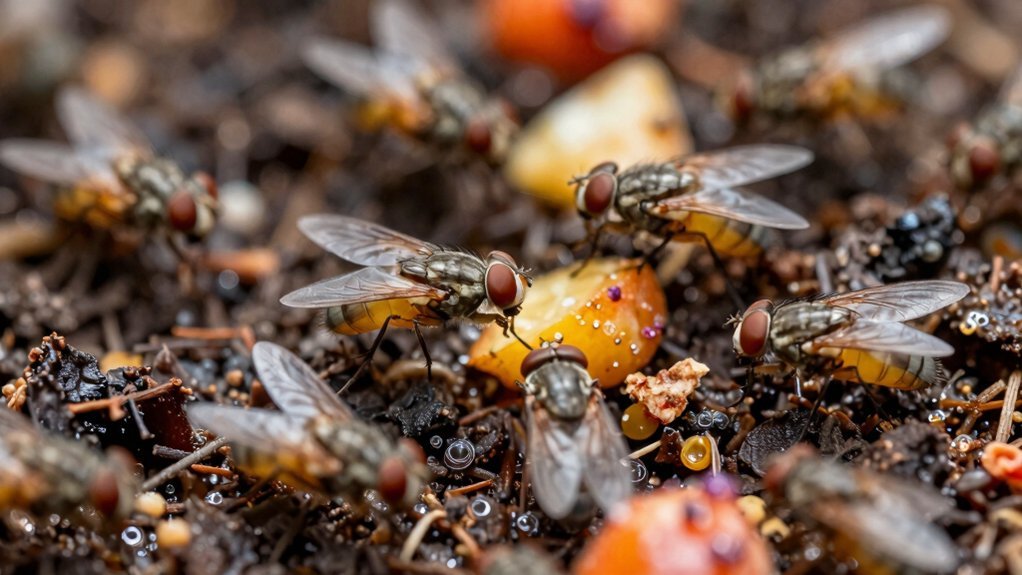
Curious about keeping your mini‑bin worms happy? Master moisture management by checking bedding moisture with the squeeze test: a handful should feel like a wrung‑out sponge and drip only a couple of drops. Feed every 2–3 days, bury scraps, and avoid overfeeding, which spikes moisture and attracts flies. When the bin feels soggy, sprinkle drying materials such as shredded newspaper and give the pile a good shake for aeration to restore oxygen flow. If it’s dry, spray water lightly for rehydration, creating pockets that let worms tunnel. Mix varied scraps to keep moisture steady, and always monitor the squeeze test to stay within the 80% target. This balance keeps your vermicompost thriving.
Avoid Problematic Foods
Where should you draw the line on what to feed your mini‑bin worms? In mini-bin worm composting, you protect red wigglers by avoiding problematic foods that disrupt moisture management and bin maintenance. Stick to a feeding schedule of 1–2 weeks, moving the food spot each time. Remember that meat and dairy avoidance is essential; these items attract pests, cause foul odors, and create excess moisture that can drown the worms.
- Skip oily or fatty scraps – they coat the bedding and hinder aeration.
- Leave out citrus excess – high acidity upsets pH and harms worm gut flora.
- Never add meat, dairy, or cooked foods – they rot quickly, overload the bin, and invite flies.
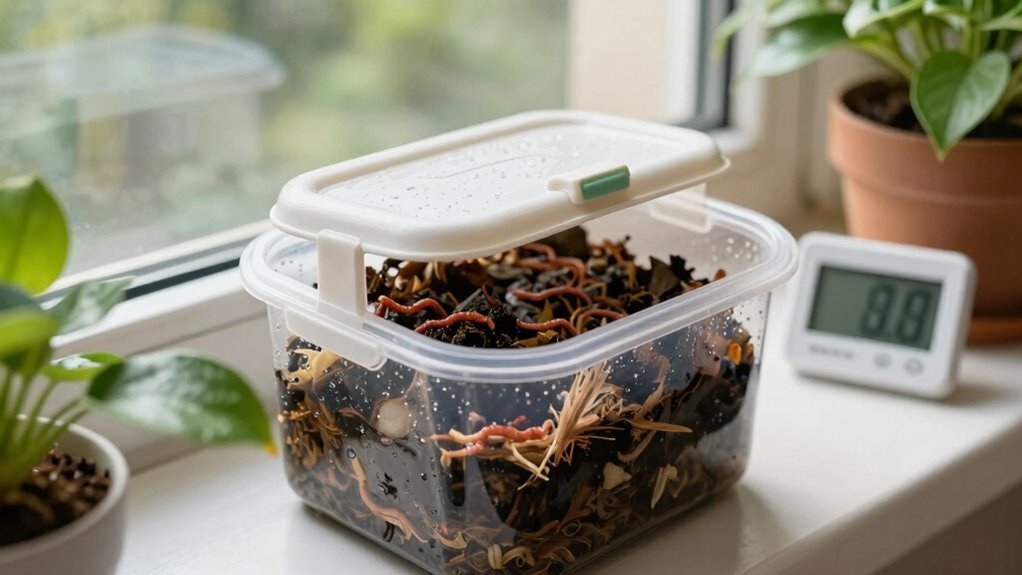
Maintain Moisture & Air In The Bin
How do you keep your worm bin breathing while staying moist enough for healthy compost? Aim for moisture control by treating the bedding like a damp sponge—just a drop or two when you squeeze it. Use a spray bottle to mist the shredded paper or cardboard, creating aeration and air pockets for worm tunnels. If the bin feels soggy, add dry shredded paper to restore balance and prevent foul odors. Keep the bin in a cool, dark spot to stabilize moisture, and check the squeeze test daily. Regularly fluff the bedding to maintain air pockets and replenish lost material. This routine keeps the environment moist yet breathable, supporting active worms and odor‑free compost.
Control Temperature For Your Mini‑Bin
Ever wondered why your mini‑bin sometimes feels like a sauna or a freezer? In mini-bin vermicomposting, temperature control keeps red wigglers thriving. Choose a dark cool location for indoor bins, away from direct sunlight and drafts. Keep bedding moisture steady—damp, not soggy—to buffer heat spikes. Add insulation shade or a cardboard wrap when rooms heat up, and move the bin cooler if it overheats. Adjust your feeding schedule: smaller portions every 2–3 days prevent excess heat from rapid decomposition.
Choose a cool, dark spot, keep bedding damp, and feed small portions every few days.
- Dark cool location
- Insulation shade & bedding moisture management
- Consistent feeding schedule
Harvest Castings & Brew Worm Tea For Plants
Ready to turn your worm bin’s leftovers into garden gold? When the bin looks full and the material feels like a damp sponge, it’s time to harvest the dark, crumbly castings. Gently dump the contents onto a tray, sift out the worms, and collect the nutrient‑rich castings for potting mixes or a top‑dress. While you’re at it, brew worm tea: place a handful of fresh castings in a bucket of water, stir, then strain. Dilute the liquid 1:10 before watering indoor plants to avoid burn. Keep moisture steady, and you’ll enjoy a steady flow of composting rewards.
| Step | Feeling |
|---|---|
| Sift out worms | Satisfying |
| Collect castings | Proud |
| Brew tea | Excited |
| Dilute & water | Calm |
Avoid Common Mistakes
Why do beginners often stumble with mini bin vermicomposting? You may overlook the delicate balance that keeps red worms thriving, leading to foul smells or dead worms. By focusing on the basics—proper bedding moisture, feeding limits, and timely harvest—you can avoid common mistakes and keep your bin productive.
- Bedding moisture – Keep the newspaper‑cardboard mix damp but not soggy; a squeeze‑test should release a few drops, not a stream.
- Feeding limits – Offer small portions every 2–3 days, steering clear of meat, dairy, excess citrus, and large volumes that attract flies.
- Harvest castings – When the top layer darkens, dump the bin, separate worms from castings, and return the worms promptly; use the castings in your garden.
Follow these steps, and your mini bin vermicomposting will stay healthy and odor‑free.
Scale Up Your Mini‑Bin Or Go Mobile
You can increase your bin’s capacity by linking another tote or stacking a larger container on top of your current one, giving the worms more room to thrive.
Adding a portable tray system lets you move the whole setup to the garden, balcony, or a friend’s house without disturbing the colony.
This flexibility lets you scale up gradually while keeping the composting process simple and odor‑free.
Expand Bin Capacity
Ever wondered how to keep your worm farm growing without outgrowing your kitchen? You can expand capacity by adding larger worm bins or stacking trays, letting vermicomposting flourish while staying compact. The key is to preserve darkness, proper moisture, and consistent air circulation, so the crew stays healthy and odor‑free. Keep a steady feeding schedule and use damp newspaper to buffer moisture swings.
- Upgrade to a bigger bin – a Worm Factory 360 holds >10,000 worms in the same footprint, multiplying output tenfold.
- Stack trays – place fresh food on top, let finished compost settle below, and harvest without disturbing the worms.
- Add secondary bins – distribute the population, maintain airflow, and prevent overcrowding as you scale.
Follow these steps, and your mini‑bin will grow with you, delivering richer compost without sacrificing kitchen space.
Add Portable Tray System
How can you keep your worm farm flexible while boosting capacity? By adding a portable tray system to your mini bin, you let red wiggler worms migrate upward for fresh kitchen scraps and downward for finished castings.
Stack trays inside a larger bin or move them between bins to scale up without rebuilding. Drill drainage holes, line with paper towels, and keep the interior dark and damp for indoor composting.
Feed modest amounts, rotating scraps around each tray, and avoid meat, dairy, or excess citrus. As upper trays fill, worms crawl down, leaving nutrient‑rich castings you can harvest from the lower tray.
This modular approach lets you expand capacity, go mobile, and maintain a thriving worm composting setup.
Frequently Asked Questions
What Are the 5 Mistakes That People Commonly Make When Composting With Worms?
You often overfeed, let the bin dry, use meat or dairy, neglect proper bedding, and forget to harvest castings regularly, which all stress worms and slow down composting.
What Three Items Should Not Be Placed in a Compost Pile?
You should keep meat, dairy, and oily foods out of your compost pile; they attract pests, cause foul smells, and slow down the decomposition process, so stick to fruit scraps, veggie peels, and coffee grounds.
How Many Worms Do I Need for a Small Compost Bin?
You’ll need roughly five to ten red wigglers per small yogurt‑container bin, scaling up to about half a pound of worms per square foot of bin space for a typical beginner’s mini compost bin.
Can Coffee Grounds Go in Worm Compost?
Yes, you can add coffee grounds, but keep them moderate and mix them into the bedding or bury them under the top layer. This prevents odor, balances nutrients, and keeps your worms healthy.
In Summary
Now you’ve got the basics, you can start turning kitchen scraps into rich soil with a mini‑bin. Pick a snug container, add damp bedding, introduce a handful of red wigglers, and feed them regularly. Keep an eye on moisture and temperature, harvest the dark castings, and brew worm tea for thriving plants. Avoid common slip‑ups, and you’ll soon enjoy a low‑maintenance, eco‑friendly garden boost.
Leave a Reply